
This post may contain affiliate links: read full affiliate disclosure.
If you have ever spent time searching through a cluttered toolbox or scouring the garage for a missing screwdriver, you know how annoying disorganization can be.
That is where a pegboard tool organizer can help. It is affordable, versatile, and lets you see all your tools at a glance.
You do not need to be a professional carpenter to set one up. With just a board, a few hooks, and an empty wall, you can turn your mess into order in just one afternoon.
In this article, I will show you step-by-step how to create your own pegboard tool organizer, from picking the right size to arranging your tools for the best use.
Let’s jump in!
Why Choose a Pegboard Tool Organizer?
A pegboard tool organizer gives you one of the easiest and smartest ways to control your workspace.
When you toss tools into a drawer, they get lost or pile up, but a pegboard puts everything where you can see it.
You can spot what you have, grab it fast, and put it back just as easily. You get another big win with flexibility-you can move hooks, bins, or shelves around when your tool collection grows or changes.
Pegboards also skip taking up floor space, which makes them perfect for small garages, sheds, or basement workshops.
They save you time, cut down clutter, and make your projects run smoother from start to finish.
Save this article for later
What You’ll Need Before Starting
- Pegboard (metal or wood fiber)
- Mounting hardware (screws, anchors, or frame)
- Variety of hooks and holders
- Small shelves or bins
- Measuring tape
- Level
- Drill or screwdriver
Step By Step to Make DIY Pegboard Tool Organizer
Images are sourced from Sment Hedz YouTube Channel to help my readers visualize these steps. You can check out their channel for more inspiration and detailed guides.
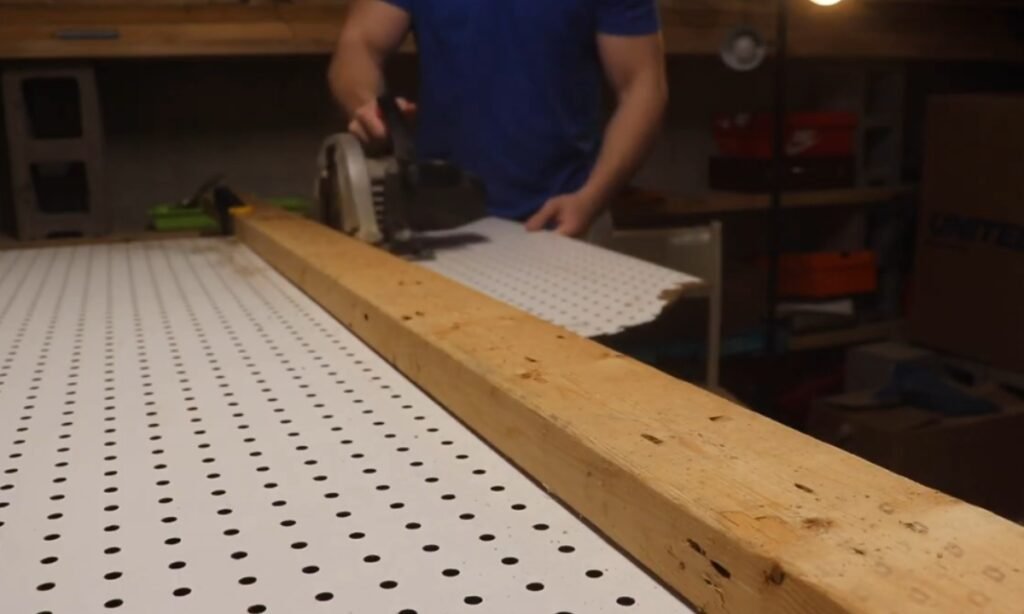
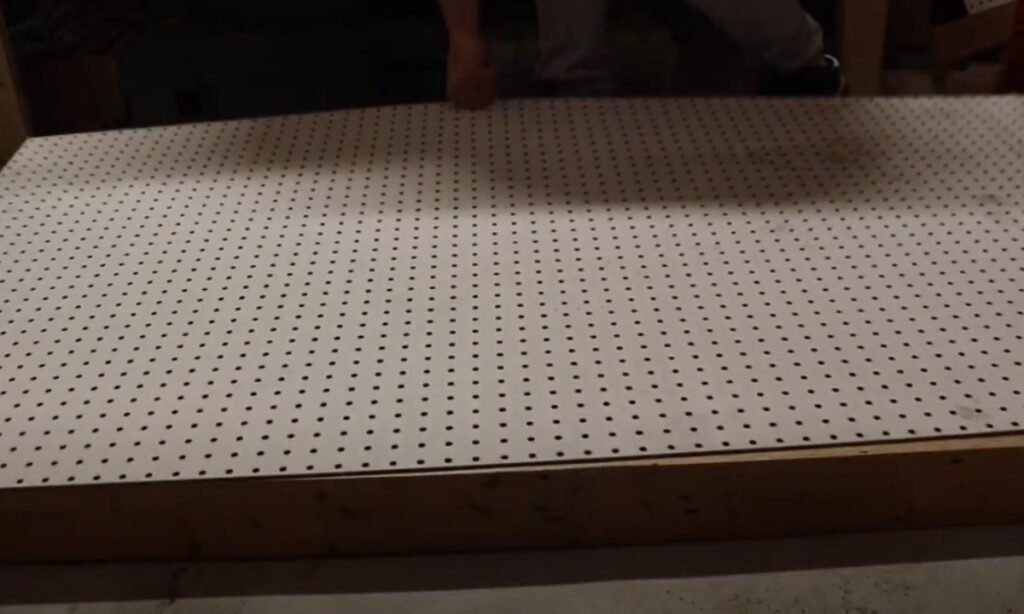
1. Cut Your Pegboard
You have to start by cutting your pegboard to the size you want. If the edges look damaged, you can measure and mark the good parts so you can keep as much material as possible.
A table saw is ideal for this job, but if you don’t have one, you can use another piece of wood as a straight guide and run a circular saw along it.
This method will give you a clean, straight cut without spending money on expensive tools.
2. Measure and Prepare the Frame
Now you have to place the pegboard flat on your work surface and measure how wide and long it is.
Take these measurements and cut your 2×4 lumber to match-you need four pieces for the outer frame and one more piece to run across the middle for extra support.
You can speed up the cutting with a miter saw, but a circular saw will do the job just as well.
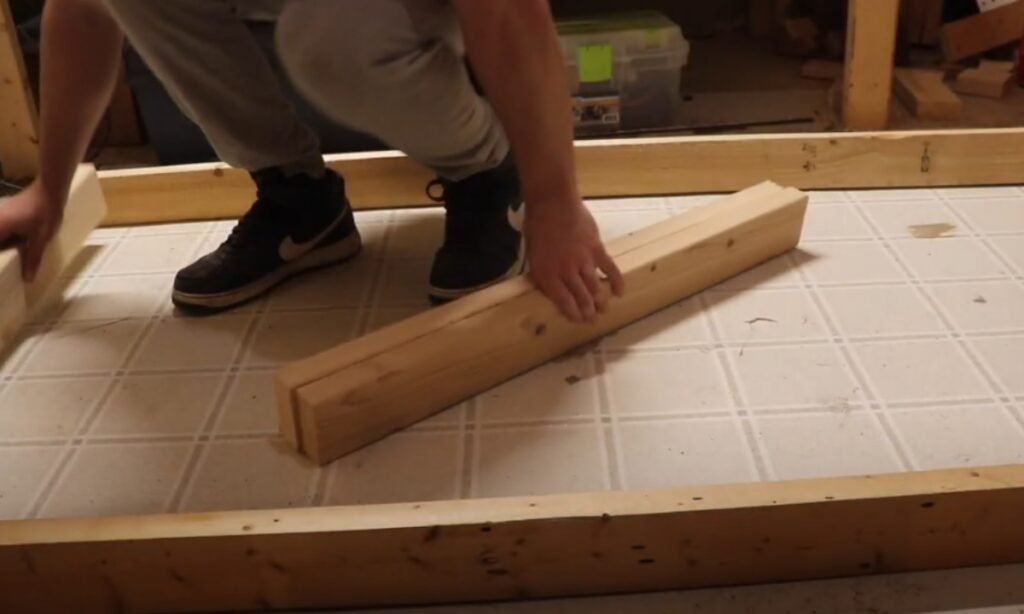
3. Dry Fit the Frame
Before you start drilling, put all the cut 2x4s around your pegboard to make sure everything lines up properly. Fix any rough or uneven edges right now.
This step will save you time later and give you a much tighter fit when you begin attaching the pieces.
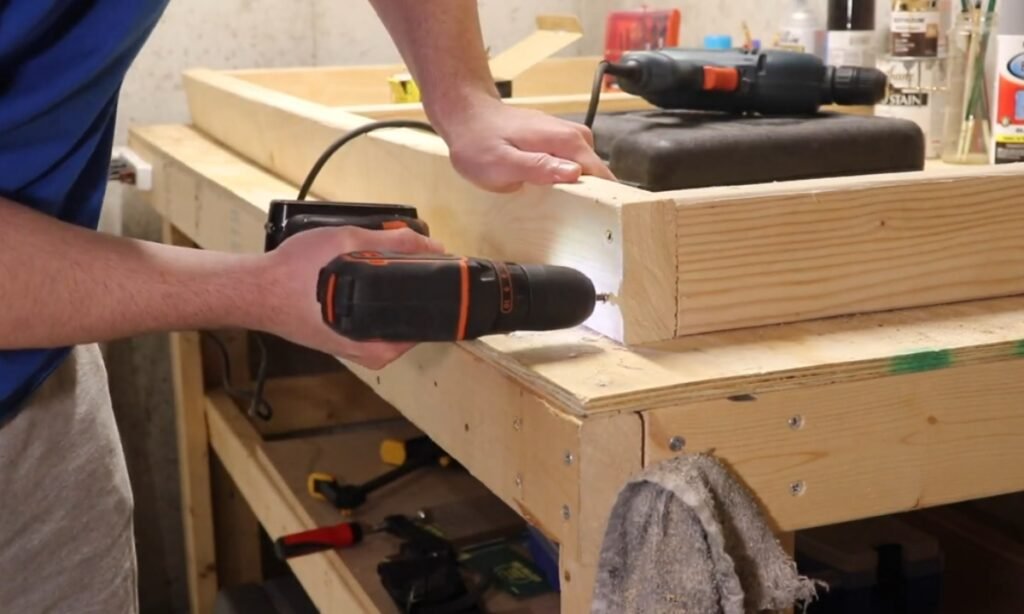
4. Assemble the Frame
First, drill small holes at the ends of your 2×4 boards to stop the wood from cracking. Then push screws through these holes to connect the boards together.
You can use two drills if you have them – one for holes and one for driving screws.
This way, you will not need to change drill bits back and forth. When your wood pieces bend slightly, grab a bar clamp to hold them straight while you screw them into place.
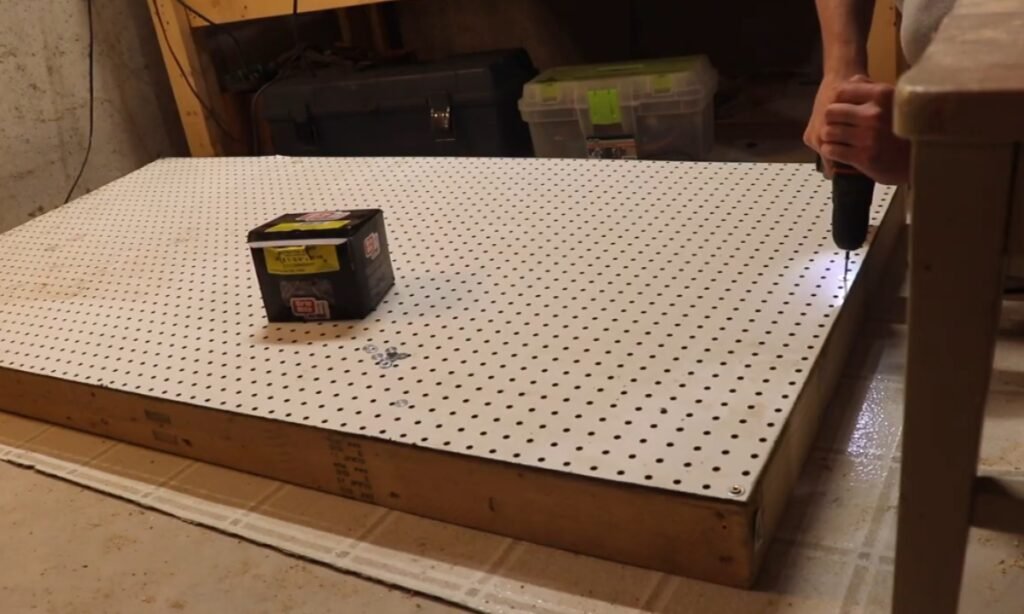
5. Attach the Pegboard
Place the pegboard on top of the completed frame. Secure it with screws and washers so the screw heads will not tear through the thin board.
You have to begin with one side, then adjust the corners if you need to. If your wood has warped, clamp a spare board across the edge to keep everything straight while you finish installing the screws.
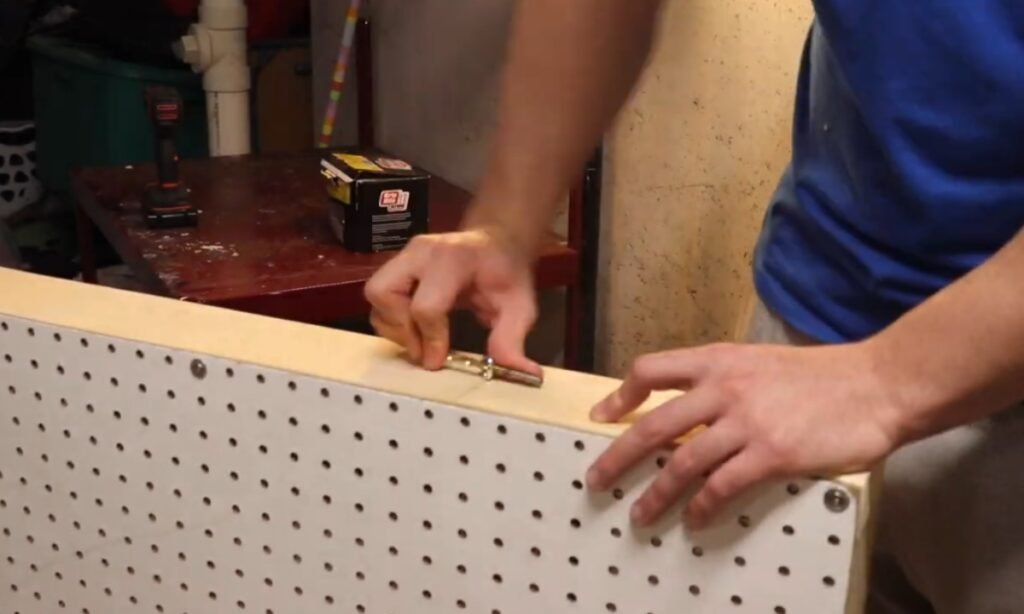
6. Add Hanging Hardware
Pick the spot where you want to hang your pegboard and mark those places.
Drill in eye hooks on the pegboard frame and put matching hooks in your ceiling beam (or wall studs if you mount it flat).
Cut pieces of strong chain and use them to hang the pegboard over your workbench.
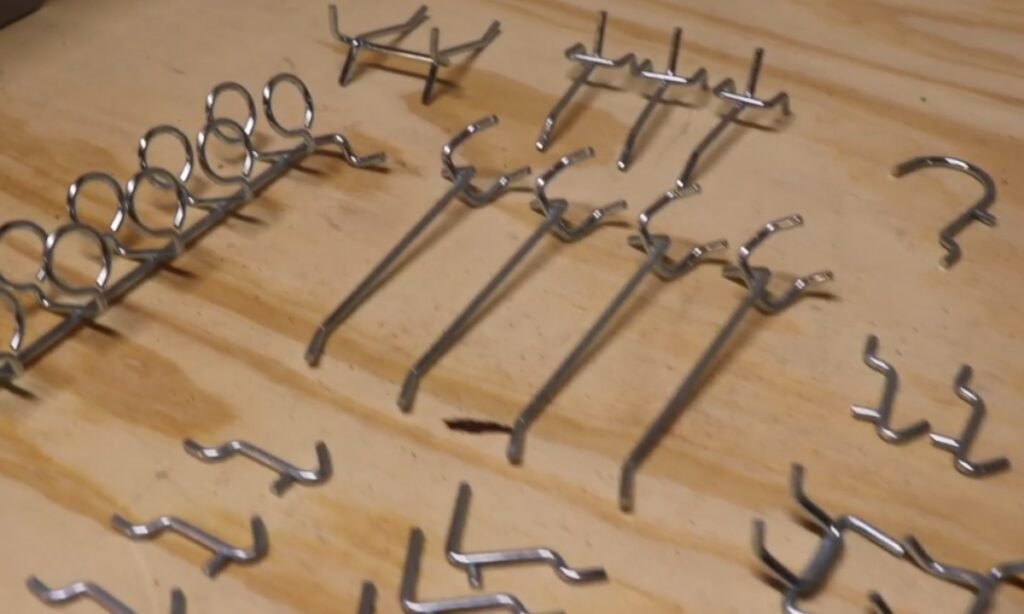
7. Customize with Hooks
Go to your local hardware store and pick up some pegboard hooks-they cost very little and you can find them in many different shapes.
Push them into the pegboard holes and hang your tools on them. You do not need to follow any special system; just make sure you spread your heavy tools around so the weight stays balanced.
The best part is that you can move these hooks whenever you want to change how your tools are arranged.
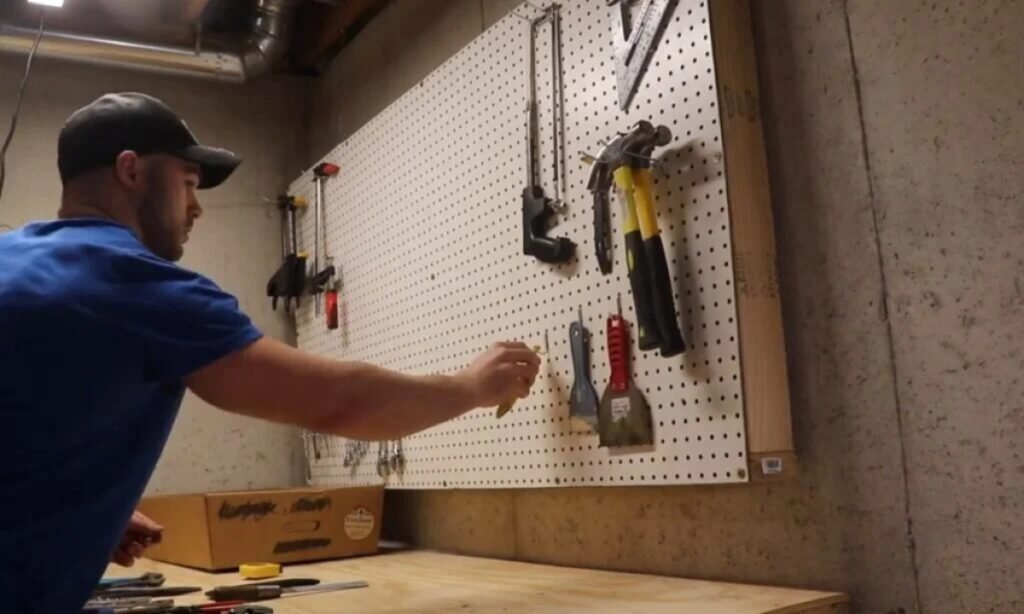
8. Organize Your Tools
Hang your hammers, wrenches, screwdrivers, or whatever tools you reach for most.
Put them where they make sense to you-maybe sort them by size, what they do, or how often you grab them.
The hooks move around, so you can keep tweaking things until everything feels just right.

Common Mistakes to Avoid
One common mistake is to choose a pegboard that is too small. It might look neat at first, but you will quickly run out of space.
You have to go one size bigger than you think you will need, so it can grow with your tool collection.
Another mistake is to skip wall anchors or frames. A pegboard attached loosely to drywall can sag or pull out when you hang heavy tools.
So, you should always secure it with proper anchors, studs, or a wooden frame for long-lasting strength.
People also often overload one section with heavy items like hammers or drills. This not only strains the board but makes the layout harder to use.
You can spread the weight across hooks and add shelves for bulkier tools.
Finally, many people forget to rearrange as their collection changes. A cluttered pegboard defeats the whole purpose.
So, you can take five minutes every few months to shuffle hooks and keep the setup flexible.
Conclusion
You can make your workspace feel instantly organized with a pegboard tool organizer. You should set it up because it keeps all your tools in plain sight, easy to grab, and just as easy to put back.
You can move the hooks and shelves around to fit your needs as your projects change, without spending extra money or taking up more space.
When you hang the last tool, you will wonder why you waited so long to organize your garage or workshop. Clean, practical, and stress-free-that is the true value of a pegboard system.
FAQs
Can a pegboard hold heavy tools like drills or hammers?
Yes, but you need to mount it the right way. Use wall studs or put a wooden frame behind the pegboard to make it strong.
For really heavy tools, add shelves or strong hooks instead of counting on thin metal pegs to hold the weight.
How do I keep my pegboard from looking cluttered over time?
The secret is to organize your tools by how often you use them and keep some empty space for new ones.
Every few months, spend a few minutes looking at your setup and moving things around.
A quick five-minute cleanup keeps everything tidy, easy to find, and prevents mess from building up again.
You may also like to read!
- How to Make DIY Sewing Table – Ultimate Guide
- How to Make a DIY Wire Pumpkin Wreath the Easy Way
- How to Build a Floating Shelves DIY Step By Step

Hi, my name is Ali Mehmood! I’m a passionate writer and DIY enthusiast who loves turning creative ideas into practical, hands-on projects.
I created this website to share inspiring, budget-friendly ideas that you can do yourself – whether it’s organizing your home, crafting something unique, or creating fun projects for kids and pets.
I believe DIY isn’t just a hobby – it’s a smart way to save money, reduce waste, and enjoy the satisfaction of making things with your own hands.
I’m excited to have you as part of this growing community, and I’ll continue bringing you helpful, realistic, and fun DIY ideas you can actually use.


