
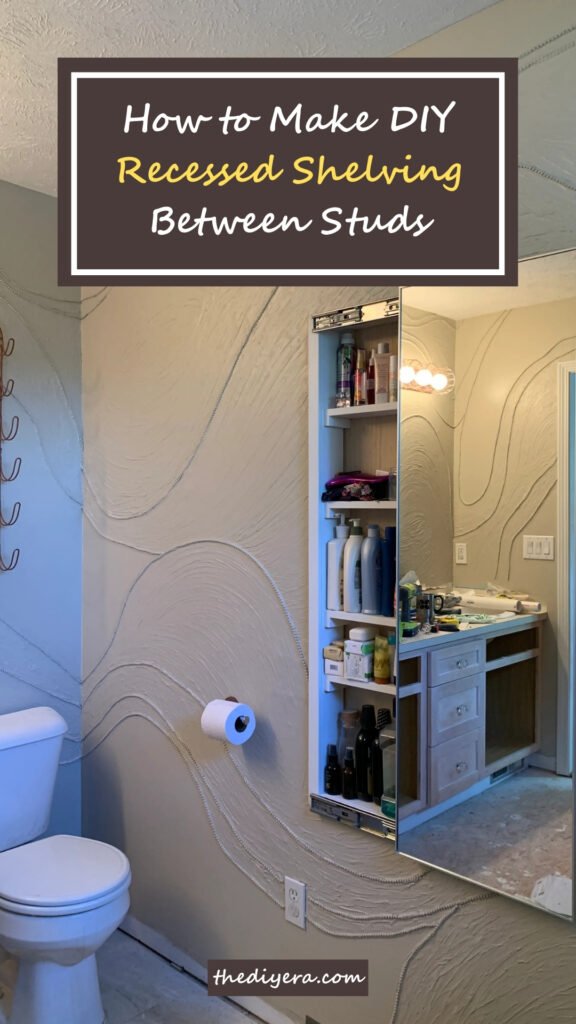
This post may contain affiliate links: read full affiliate disclosure.
Running out of space but do not want to fill your home with big shelves or cabinets? Many of us have walls that seem flat and useless, but behind that drywall is empty space you can use.
That is where recessed shelving between studs comes in. Instead of adding more furniture, you can turn the wall itself into storage.
It is neat, hidden, and makes small rooms feel bigger.
This guide will show you how to plan, build, and style recessed shelves so they look like they have always been part of your home.
What Is Recessed Shelving Between Studs?
Recessed shelving between studs lets you create storage inside your wall instead of adding it to the outside.
Every interior wall has vertical wooden studs placed about 16 inches apart. Between those studs sits empty space that drywall normally covers.
You can cut carefully into the wall and build a shallow box or frame to turn that empty cavity into a built-in shelf. This gives you storage that sits level with your wall.
You get no bulky cabinets that stick out, no lost floor space, just a clean built-in appearance. This ranks as one of the smartest ways to use space you already own without creating clutter.
Save this article for later
Why Is Recessed Shelving a Smart Choice?
When you have limited space, every inch counts. Recessed shelving works well because it gives you storage without taking up floor space.
Instead of adding another cabinet or shelf that pushes into the room, you work with the wall itself.
This makes a big difference in tight areas like bathrooms, hallways, or small kitchens where every square foot matters.
It also creates a clean, built-in appearance that looks more finished than floating shelves or large bookcases.
And because the shelves sit even with the wall, they do not break up the flow of your furniture or make a narrow room feel cramped.
Step-by-Step Guide to Building Recessed Shelves
Images are sourced from On The Fly DIY YouTube Channel to help my readers visualize these steps. You can check out their channel for more inspiration and detailed guides.
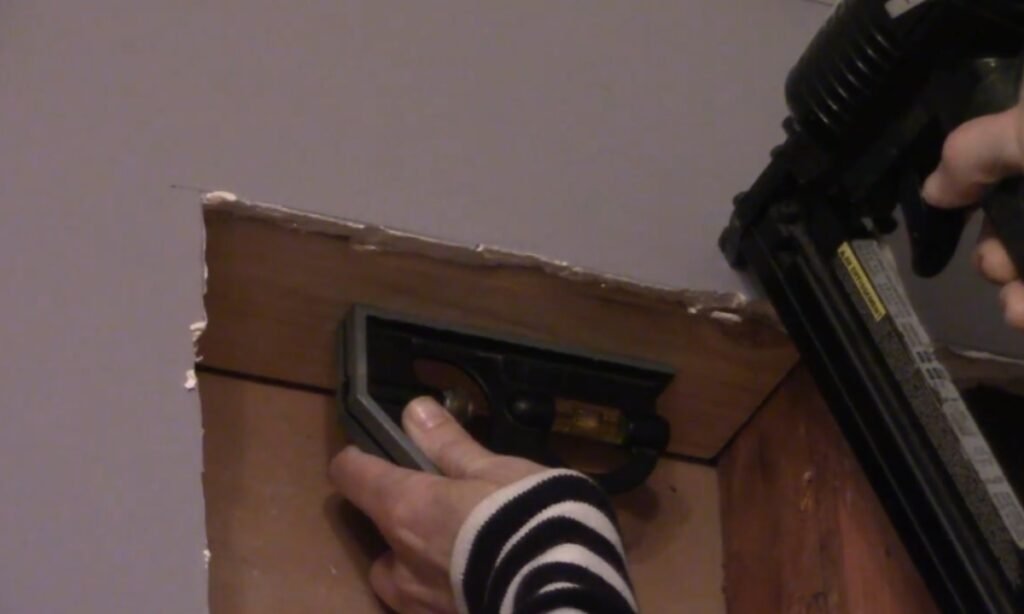
1. Find Your Studs
You can take a stud finder and locate the studs in the wall. Mark them with a pencil. Then, mark the top and bottom edges of the area where you want your shelves.
Check both sides of the wall carefully for outlets, vents, or pipes to avoid any unexpected issues.
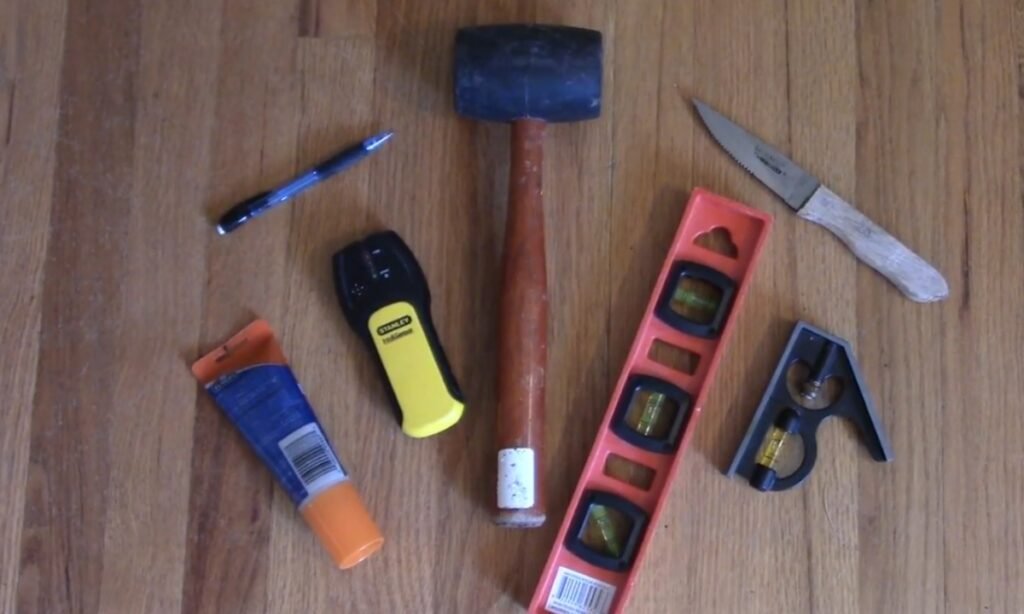
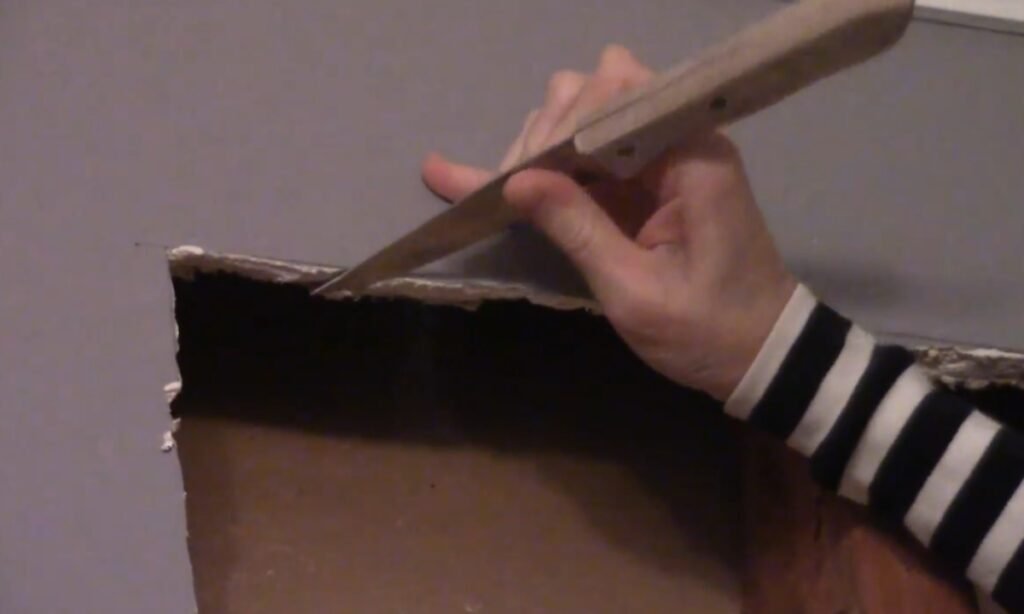
2. Open the Wall
Put on safety glasses and strong shoes. Grab a hammer or small sledgehammer to smash through the drywall inside the lines you marked.
Next, take a serrated knife and cut cleanly to the edges to make a neat opening.
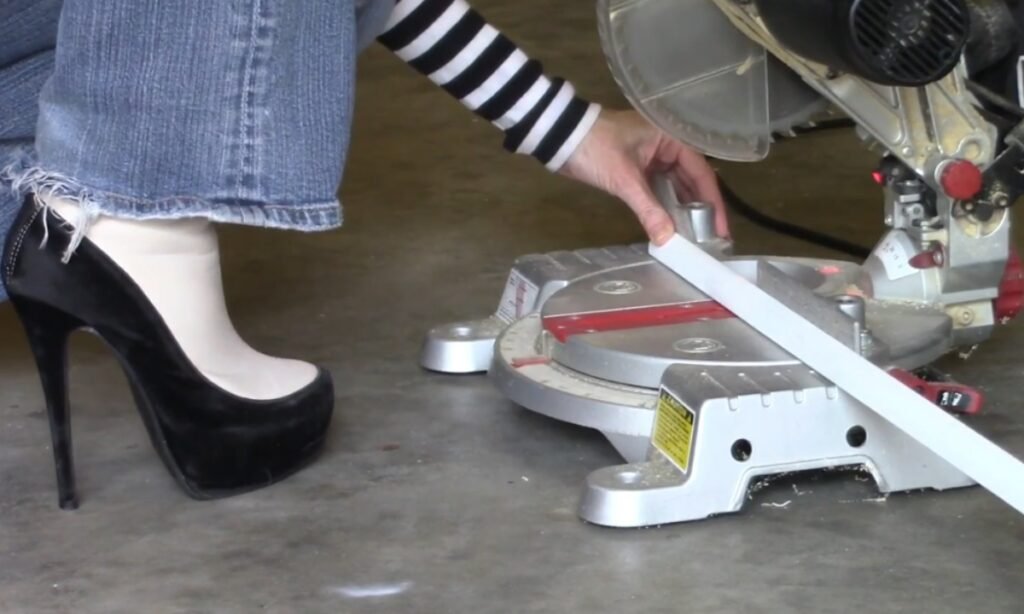
3. Measure and Cut Materials
Measure the width between the studs, then measure the height and depth of the opening.
These measurements will help you size your plywood back panel, shelf brackets, and trim pieces correctly.
If you want, ask your local home store to cut the wood to size for you.
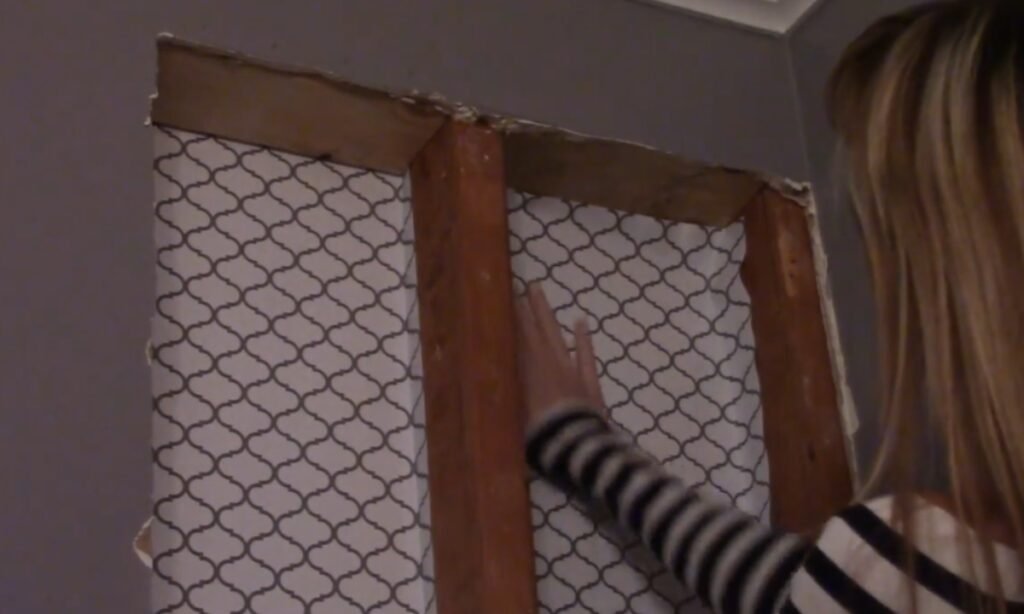
4. Anchor the Top and Bottom
Cut your 2×4 blocks to fit snugly between the studs at the top and bottom. You can use a mallet to tap the nails into place until they sit flush and level.
You should drive a few nails through the wall if you want to hold the frame secure. You will see that this creates a strong frame for your shelves.
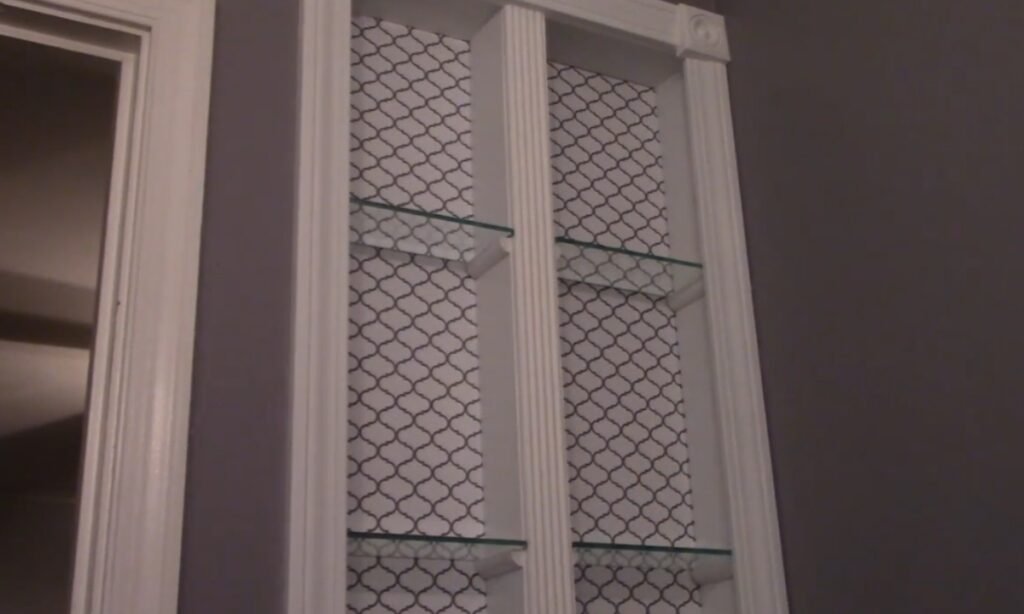
5. Add the Backing and Finish Surface
Cover the back of the cavity with contact paper, wallpaper, or shelf liner to create a clean, finished appearance.
Paint the plywood, trim, rosettes, and quarter rounds before you install them so you can achieve a smooth, professional finish without any mess during installation.
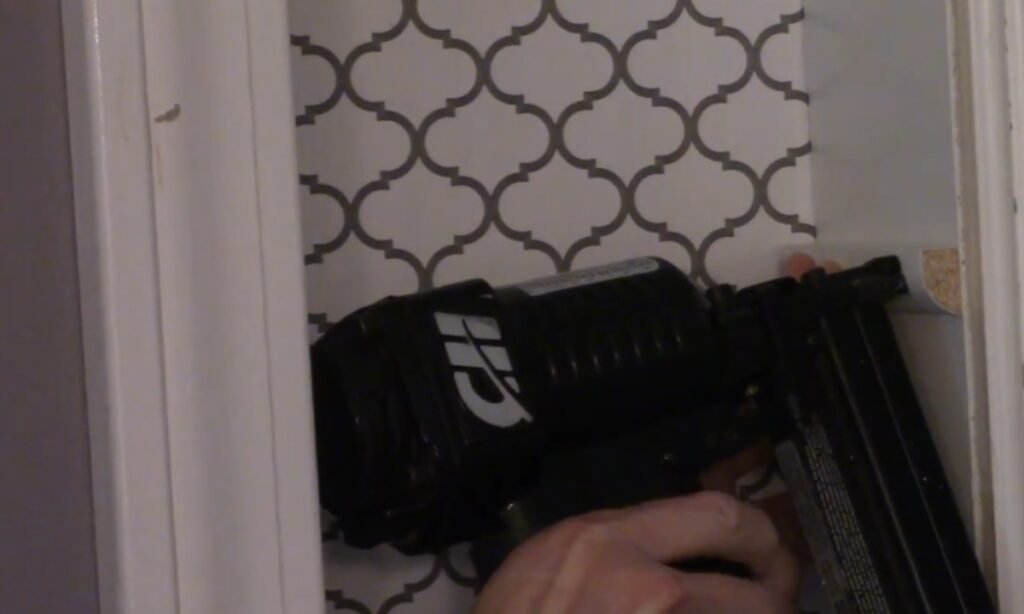
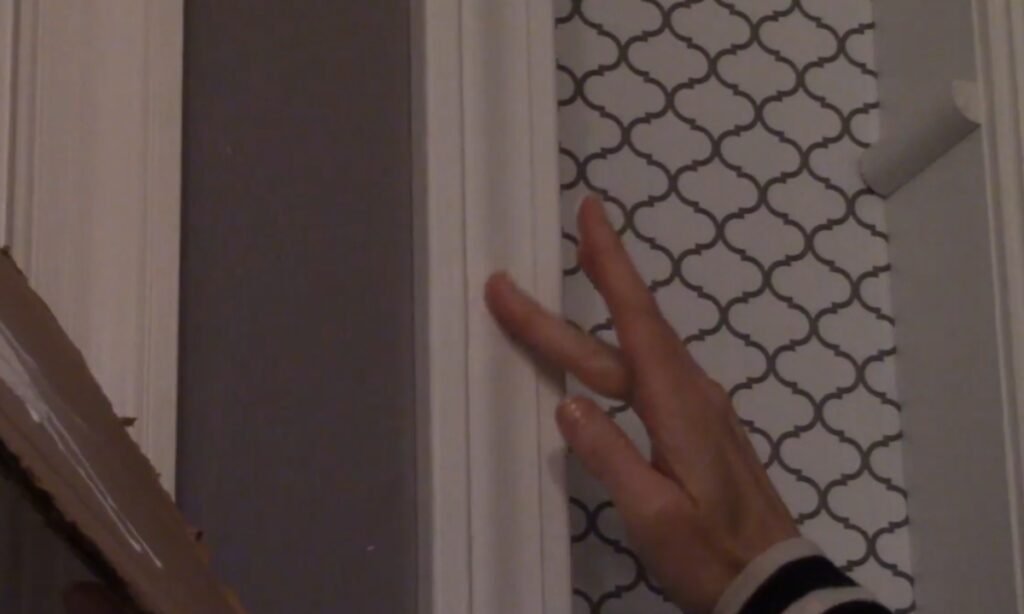
6. Install the Trim and Rosettes
Nail the plywood panels to the studs and 2x4s. Put decorative rosettes in each corner, then measure and cut trim to fit between them.
Attach the trim with a nail gun. Use shims when you need to level out uneven spots on older walls.
7. Set Up Shelf Brackets
Choose where you want each shelf to go. Nail two quarter-round strips on opposite sides of the opening at the same height, these work as brackets.
Do this again for each shelf you want to add, making sure you keep them level.
8. Smooth Out and Touch Up
Fill nail holes with wood filler, wipe away the extra material, and wait for it to dry.
Use a paper plate or cardboard as your paint holder and dab spray paint over the filled spots.
Apply caulk to the corners and seams to make everything look smooth and finished.
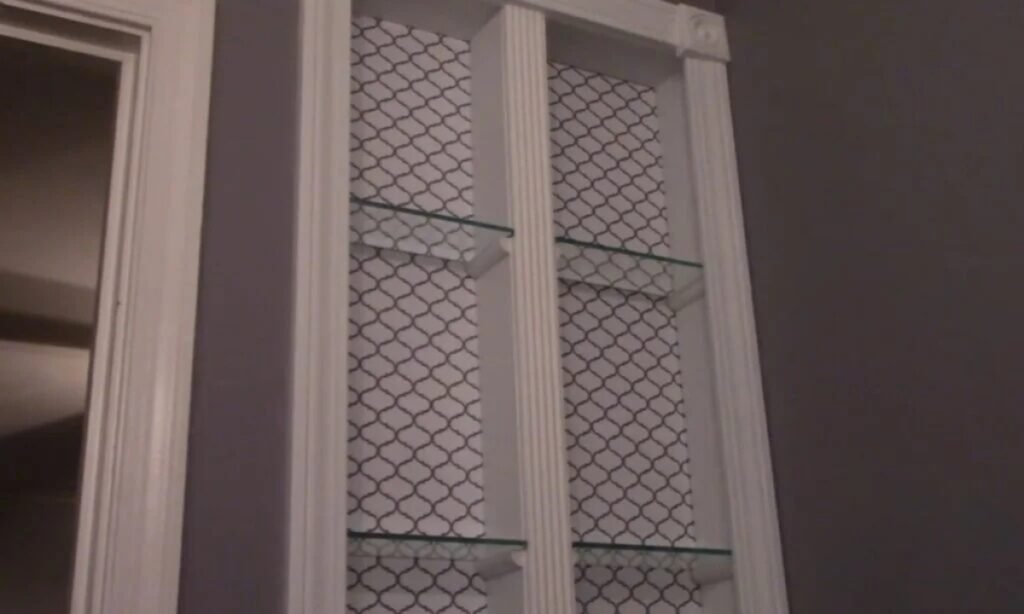
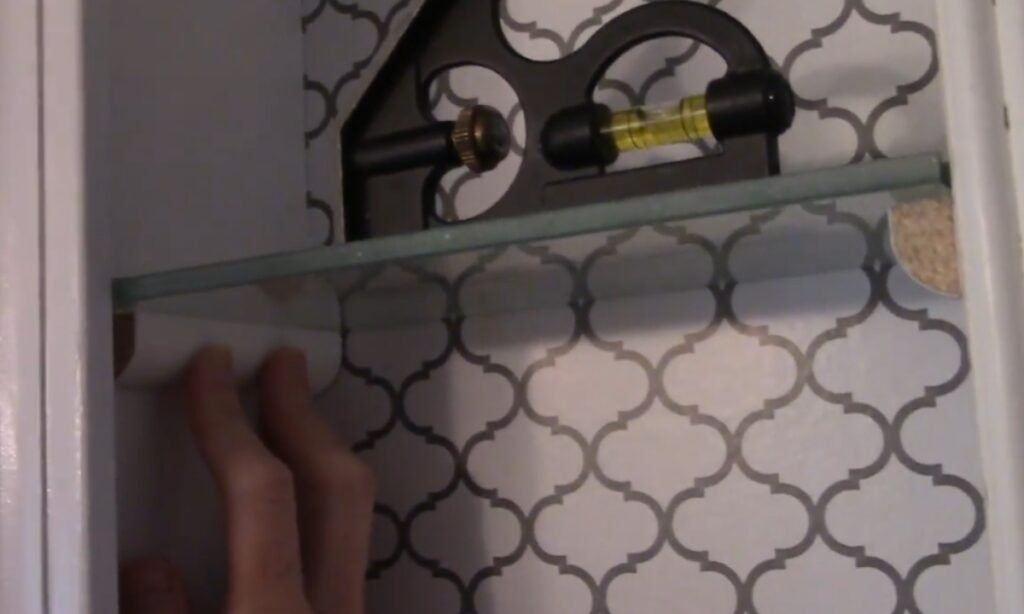
9. Place the Shelves
Place your cut shelves (wood or repurposed glass panes) onto the quarter-round brackets. Check that they sit evenly on both sides.
Your recessed shelving is now ready for you to style and fill with whatever you want.
Common Mistakes to Avoid
Before you cut into a wall, always check for wires or pipes. Skipping this step can cause expensive damage.
Scan the wall or make a small test hole to be sure. Some walls have fire-blocking, and removing it can weaken safety. If you take it out, replace it with proper blocking.
In damp areas, avoid using medium-density fiberboard because it swells. Instead, choose plywood, cement board, or waterproof kits.
Cutting into exterior walls can ruin insulation, so add rigid foam to keep your home energy efficient. Never skip waterproofing in showers.
Use a waterproof membrane or a preformed kit to protect the area. Remember, wall cavities are only about 3.5 inches deep.
Plan your shelves for slim items like toiletries or décor, not for bulky storage.
How Much Does It Cost to Install Recessed Shelving?
When you build recessed shelving yourself, you save a lot of money.
A basic plywood project or ready-made kit typically runs $40 to $150, though bathroom versions cost more when you add waterproofing.
When you hire a professional, you pay much more, labor, finishing work, and moving wires or plumbing can push your total to $300 to $800 per shelf space.
Bottom line: you spend little when you build it yourself, but you pay significantly more for a polished, professionally installed version.
Conclusion
Recessed shelving between studs is a smart way to use the space you already have.
It keeps your walls neat, adds storage without making the room feel crowded, and looks like it was always part of your home. To get it right, plan carefully.
Check for wires and pipes, choose the right materials, and finish it properly. When done well, it gives you storage that is useful, safe, and stylish.
FAQS
Can I add recessed shelving to any wall?
Not always. Interior walls usually work fine as long as you check for electrical wires, plumbing pipes, or fire-blocking materials.
Exterior walls cause more problems because they hold insulation, and when you cut into them, you reduce your home’s energy efficiency.
If you want a niche in an exterior wall, you need to add rigid foam or other insulation behind it.
Will recessed shelves weaken my wall?
No, you can build as long as you only work between studs and do not cut them. The studs carry the load, so you should never remove or cut notches in them.
If you stick to the cavity space and put back any fire-blocking you remove, the wall will stay just as strong.
You may also like to read!
- How to Make DIY Rolling Under Bed Storage
- How to Make DIY Pegboard Tool Organizer
- How to Build a Floating Shelves DIY Step By Step

Hi, my name is Ali Mehmood! I’m a passionate writer and DIY enthusiast who loves turning creative ideas into practical, hands-on projects.
I created this website to share inspiring, budget-friendly ideas that you can do yourself – whether it’s organizing your home, crafting something unique, or creating fun projects for kids and pets.
I believe DIY isn’t just a hobby – it’s a smart way to save money, reduce waste, and enjoy the satisfaction of making things with your own hands.
I’m excited to have you as part of this growing community, and I’ll continue bringing you helpful, realistic, and fun DIY ideas you can actually use.


