This post may contain affiliate links: read full affiliate disclosure.
You have probably seen sensory boards on Pinterest or Instagram and thought, “That looks fun for my toddler, but I have no idea how to make one.”
Maybe you even checked the prices online and realized buying one is way too expensive.
What most parents really need is a simple, step-by-step guide that explains what materials to use, how to attach them safely, and how to make sure the board helps their child learn.
In this article, I will show you everything, from safety tips to budget-friendly ideas, so you can create a sensory board that is fun, safe, and built to last.
Let’s jump into it!
What Is a Sensory Board and Why It Matters?
A sensory board, which you might also hear called a busy board, is a flat board covered with different objects your toddler can touch, turn, push, or slide.
You can think of it as a safe activity center for their little hands. Instead of giving your child many separate toys, a sensory board offers a single spot for them to explore different textures, buttons, switches, zippers, and latches.
This type of activity is more than just fun; it is how young children learn. Each time your child flips a switch or pulls apart Velcro, they are developing fine motor skills, strengthening hand-eye coordination, and learning about cause and effect.
It also gives them an engaging, screen-free activity, which is a big plus for parents.
A sensory board is important because it brings together learning, independent play, and fun into one simple tool your child will enjoy using over and over.
Save this article for later
How to Plan the Layout of Your Board?
Before you pick up the drill or glue, spend a few minutes planning where everything will go. A good layout makes the board feel welcoming, not crowded.
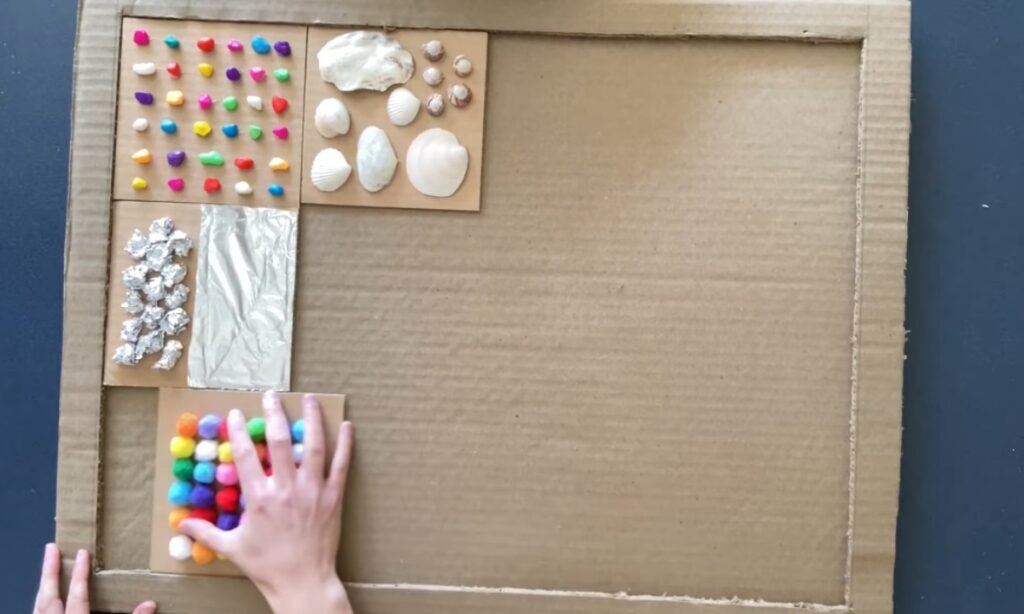
Create clear sections on the board. You can have one spot for different textures, another for parts that move, and a space for latches or things that open and close.
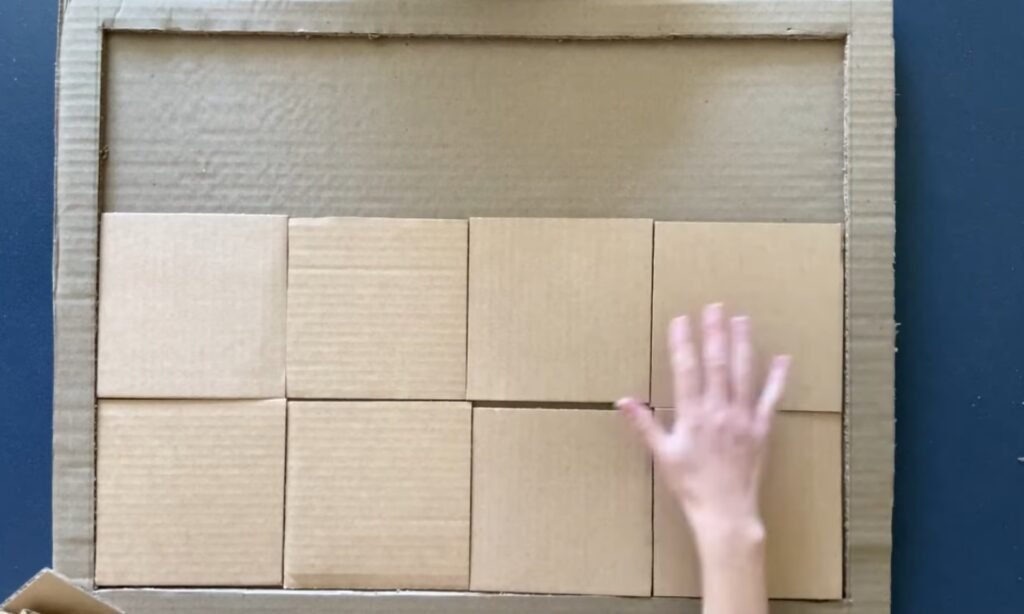
Place all the items on the board first without attaching them to see how it all fits together. Put the bigger items near the bottom where your toddler can easily reach them, and place lighter, simpler pieces higher up.
Remember to leave a little room between each item. This gives tiny fingers enough space to explore one thing at a time without getting frustrated.
Planning ahead not only makes the board look better but also helps your child focus on and enjoy each activity.
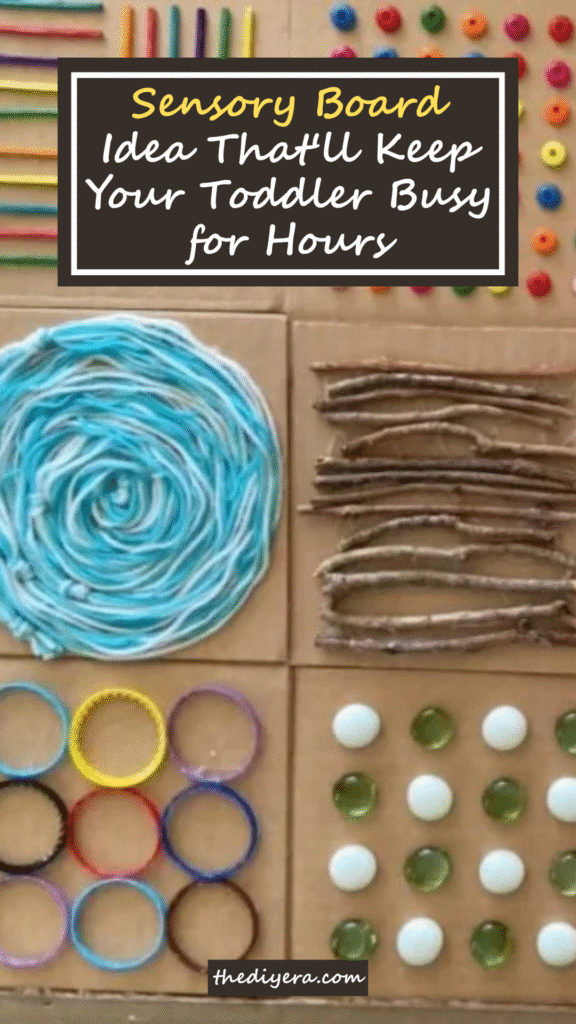
Step-by-Step Guide to Building a Sensory Board
Images are sourced from Easy Play Ideas for Kids YouTube Channel to help my readers visualize these steps. You can check out their channel for more inspiration and detailed guides.
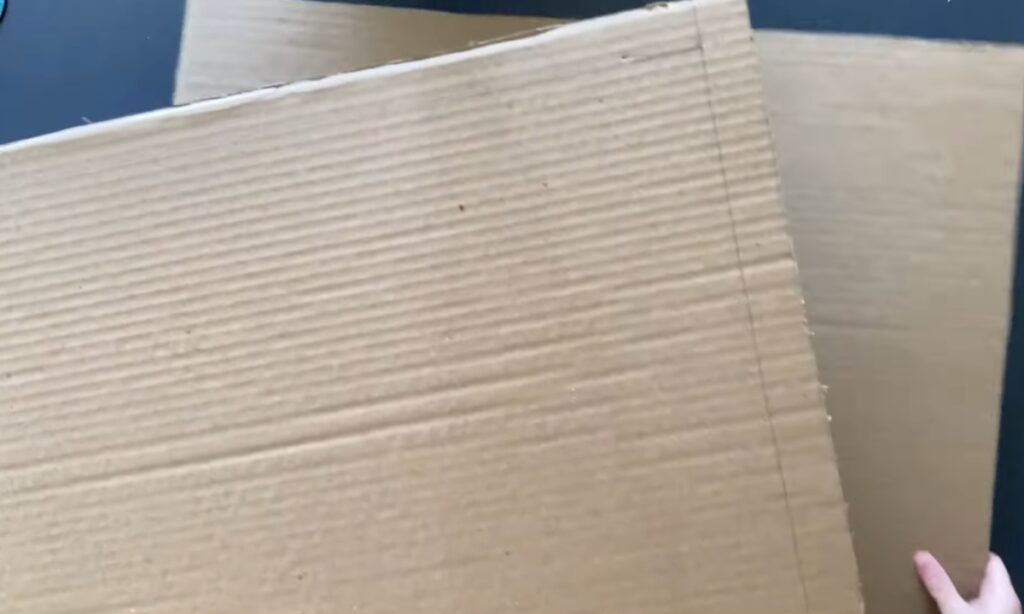
1. Choose a Strong Base
Start with a sturdy wooden board or an old cabinet door. This will hold everything together.
You will make sure the surface is smooth and free of sharp edges to keep it safe for small hands.
2. Gather Sensory Items
Pick the few items that toddlers will enjoy touching, twisting, or sliding.
Look for things like door latches, zippers, Velcro strips, switches, locks, wheels, light chains, or fabric patches.
Lay everything out on the board first to see how it fits before attaching anything.
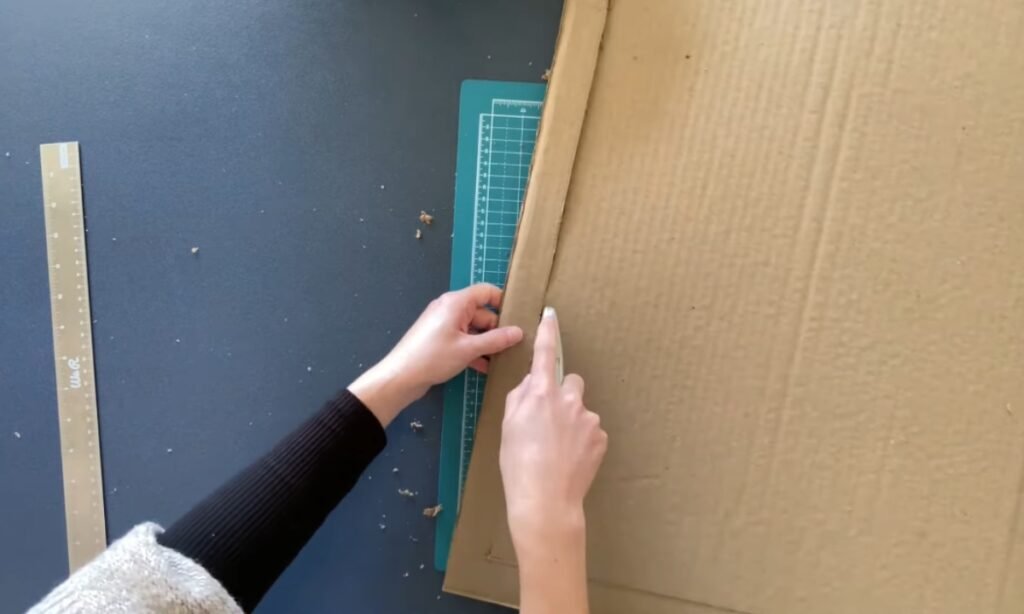
3. Plan the Layout
Firstly, you can place the bigger items, like the door handle and latch, on the board so you set the foundation.
Then you can start filling the empty spaces with smaller textures and buttons.
As you arrange everything one by one, you can make sure your toddler moves easily from one item to the next without feeling overwhelmed.
4. Attach the Items
You can use screws, nails, or strong glue to secure each item firmly. When you add things like zippers or fabric, you can use a staple gun to keep them in place.
After attaching each piece, you can give it a firm tug so you know it’s secure and won’t come loose during play.
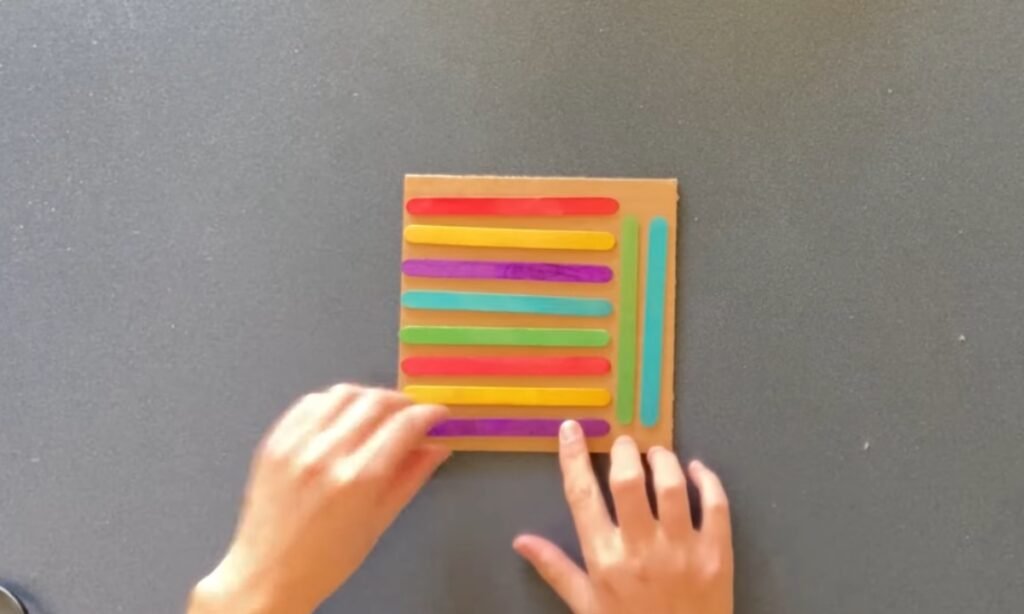
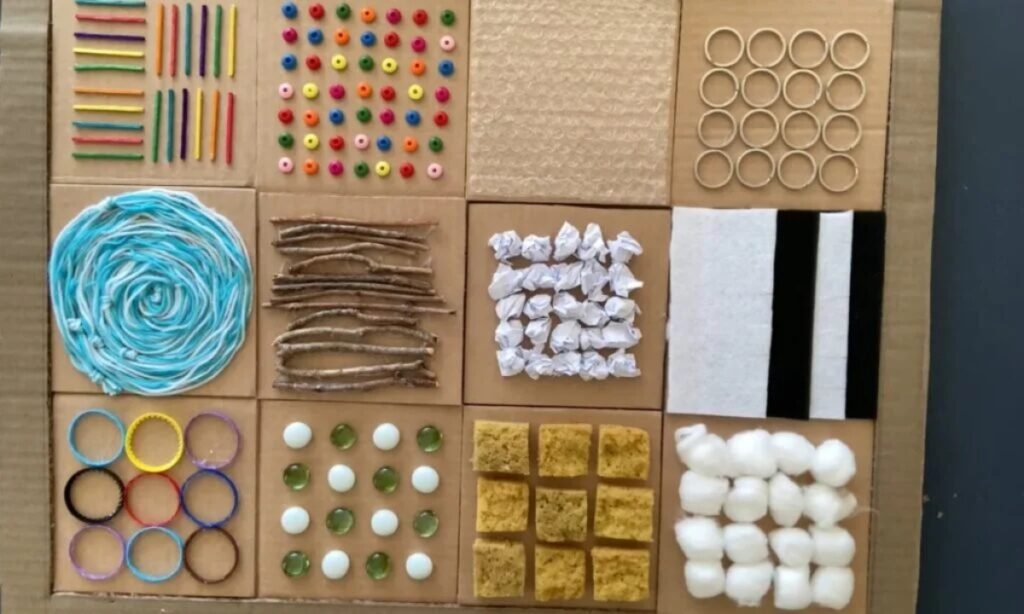
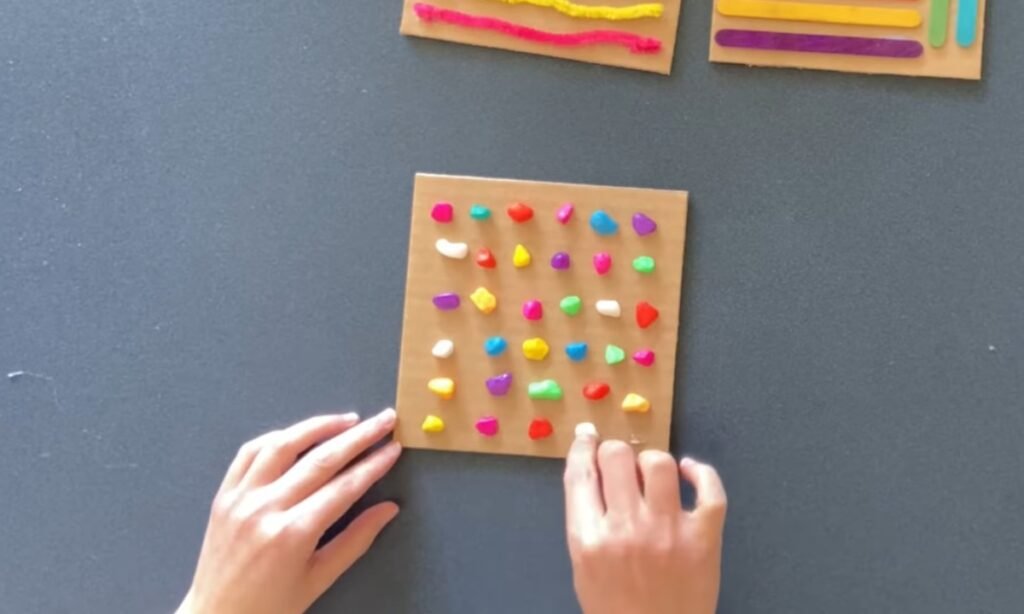
5. Add Textures and Colors
You can include soft fabrics, you can add rough sandpaper squares, or you can tie on colorful ribbons to give your child different sensory experiences.
You can also bring in bright colors so the board feels more exciting and fun for your child to use.
6. Mount or Place the Board
You can hang the board low on a wall, you can lean it against a sturdy surface, or you can lay it flat on the floor.
You can choose a spot where your toddler easily reaches and explores everything without trouble.
7. Let Your Toddler Explore
When the board is ready, you can show your child how to use it. You can demonstrate how to slide the latch, zip the zipper, or press the button.
Then you can step back and let their curiosity take over.

When You Should Buy Instead of DIY?
Making your own sensory board can be a fun project, but it is not always the best choice.
If you do not have the right tools, or you are worried about attaching parts safely, buying a ready-made board might be better.
Store-bought boards are typically tested for safety and made with child-safe materials, which can give you peace of mind. Buying a board can also save you time if you are a busy parent who wants the benefits without the work of building one.
Another reason to choose a pre-made board is its strength. High-quality boards are built to last through daily play and often include features that are hard to make at home, like smooth gears or tricky latches.
In short, if safety, time, or how long it will last are important to you, buying a sensory board can be the smarter move.
Conclusion
A sensory board is more than just a project you make at home, it is a tool that helps your toddler explore, learn, and grow through play.
Whether you create one with everyday items or buy a ready-made board, the purpose stays the same: to give your child a safe place to press, pull, twist, and discover.
Start by focusing on safety, pick features that match your child’s age, and keep the design simple so it does not feel overwhelming.
Most importantly, make it enjoyable. When you see your toddler’s face light up after flipping a switch or sliding a zipper, you will know every bit of effort was worth it.
FAQs
How long will a sensory board last?
A well-made sensory board can last for many years. If you build it on a strong base, like plywood, and remember to tighten the screws now and then, it will hold up well.
Most toddlers grow out of the basic features around age three. You can keep the board interesting by adding new items or tiles as your child learns new things.
With good care, you can even pass the same board down to a younger sibling.
Can I make a sensory board without tools?
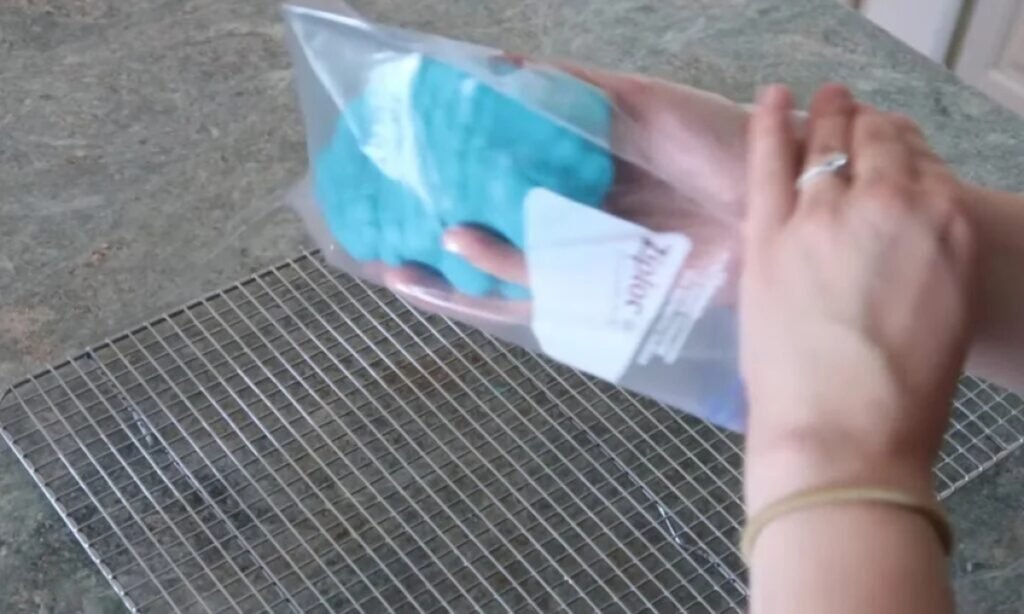
Yes, you certainly can. If you prefer not to use drills or screws, you can start with a big piece of cardboard, a foam board, or a solid tray.
Use strong Velcro, double-sided tape, or safe glue to stick on light items like pieces of fabric, bottle caps, or sponges.
This type of board will not be as tough as a wooden one, but it is fast to make, safe, and great for travel or temporary fun.
You may also love to read!
- How to Make a Baby Mobile at Home
- How to Sew a Baby Blanket Step by Step
- How to Make Homemade Playdough (Easy Recipe)

Hi, my name is Ali Mehmood! I’m a passionate writer and DIY enthusiast who loves turning creative ideas into practical, hands-on projects.
I created this website to share inspiring, budget-friendly ideas that you can do yourself – whether it’s organizing your home, crafting something unique, or creating fun projects for kids and pets.
I believe DIY isn’t just a hobby – it’s a smart way to save money, reduce waste, and enjoy the satisfaction of making things with your own hands.
I’m excited to have you as part of this growing community, and I’ll continue bringing you helpful, realistic, and fun DIY ideas you can actually use.