This post may contain affiliate links: read full affiliate disclosure.
If your cat is scratching your sofa, curtains, or rugs, you know how frustrating it can be. Scratching is not just a bad habit, it is a natural behavior.
Cats scratch are used to stretch their muscles, sharpen their claws, and mark their territory.
Without a good scratching post, your furniture becomes their target.
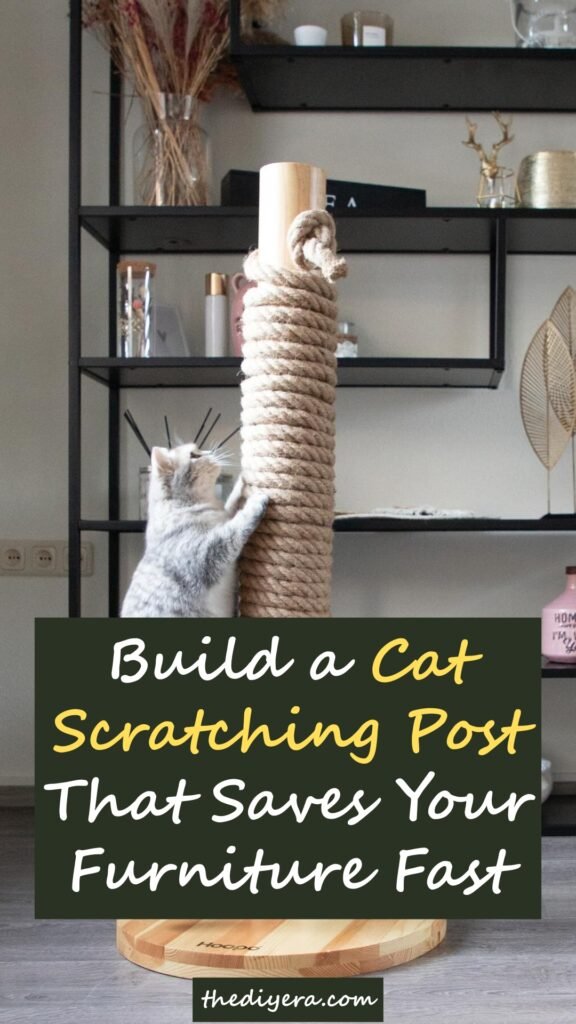
The best way to protect your home and keep your cat happy is to build a sturdy, cat-friendly scratching post yourself.
Why Build a Scratching Post Instead of Buying One?
Buying a scratching post from the store might seem like the easy choice, but you could end up disappointed.
Many posts sold in stores or online are just too short, too light, or wrapped in the wrong material. Your cat might ignore it completely, or it could tip over and frighten them.
The high-quality options often come with a high price tag. When you build the post yourself, you get to choose the perfect height, the right fabric, and a sturdy base that will not wobble.
You will also save money and can design it to match your home, instead of buying something your cat may never use.
Save this article for later
What Materials Do You Need?
Before you begin, gather everything you need to make the process smooth. Starting with a strong wooden base plywood that is 16 to 24 inches wide works well.
For the post, choose a sturdy wooden dowel or a thick log that is 3 to 4 inches in diameter and at least 30 inches tall.
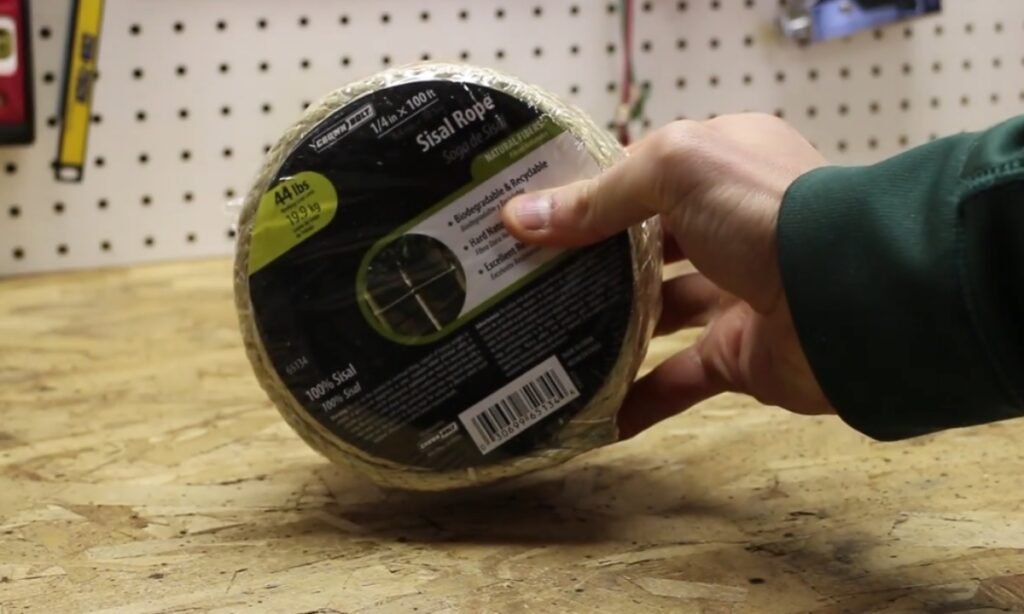
Use sisal rope or sisal fabric for the scratching surface because cats love its rough texture.
You will also need non-toxic wood glue or screws to attach the parts, along with a drill, scissors, and sandpaper.
If you want to make the base more stable, add felt pads or rubber stoppers to the bottom. Having all these materials ready will make the project faster and safer.
Step By Step Guide to Build a Cat Scratching Post
Images are sourced from Rick Osgood YouTube Channel to help my readers visualize these steps. You can check out their channel for more inspiration and detailed guides.
1. Gather Your Materials
You will need the sturdy 4*4 wooden post, a piece of plywood for the base, and about 150 feet of sisal rope.
For some base covering, choose something durable like a stall mat or an old carpet. This will give your cat a comfortable surface to stand on and help keep the base steady.
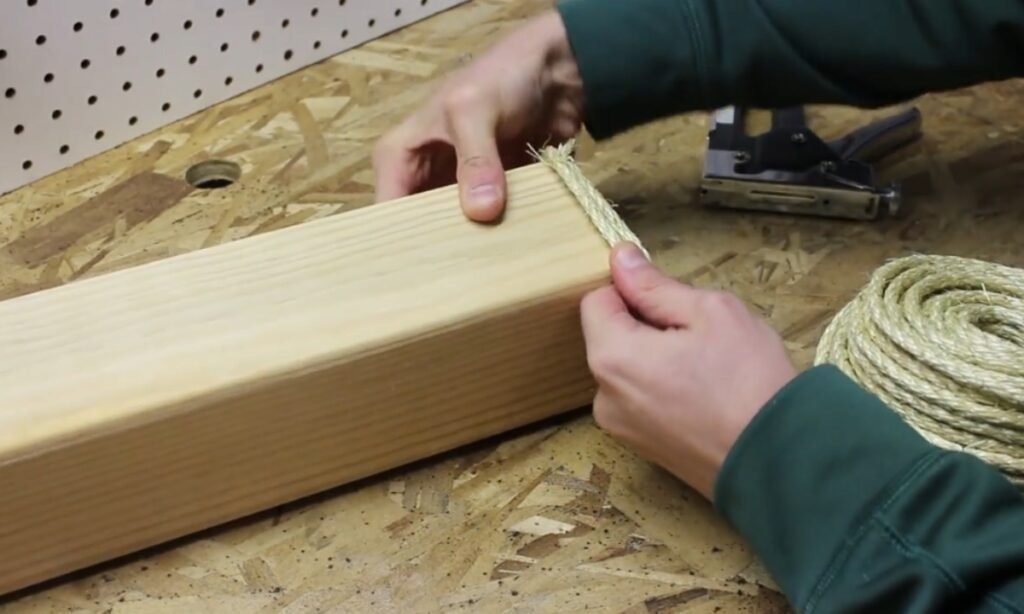
2. Attach the Rope to the Post
Secure one end of the sisal rope to the top of the post using a staple. Wear work gloves to protect your hands, as wrapping the rope can be tough.
You will wrap a rope tightly around the post, making sure each row is snug against the one before it.
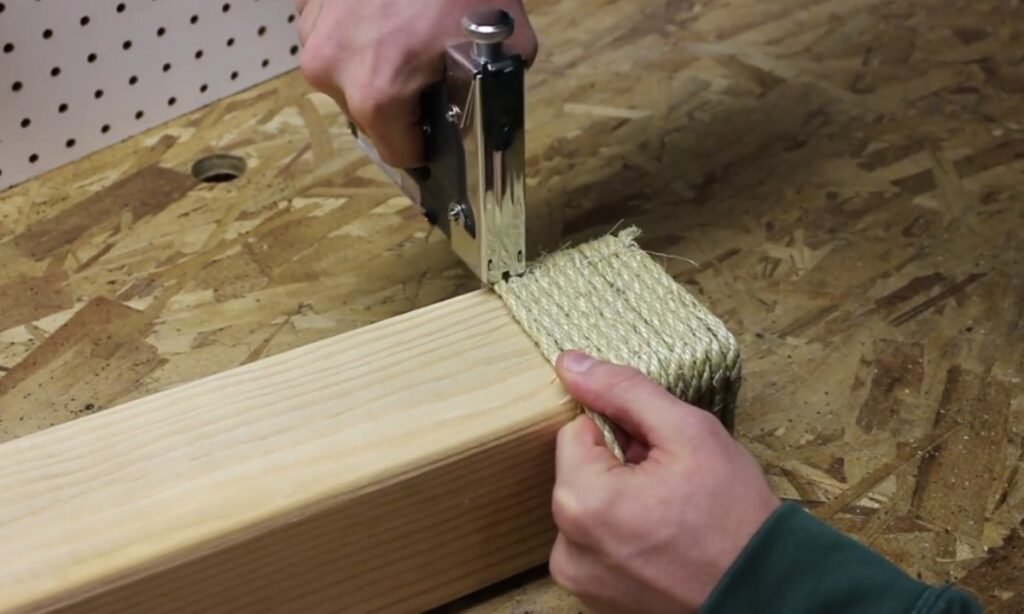
3. Secure the Rope as You Go
Every 8 to 10 turns, add a staple to hold the rope in place. If a staple sticks out, hammer it flat so your cat’s claws do not get caught.
Keep wrapping the rope until you cover most of the post, leaving some space at the bottom to attach it to the base later.
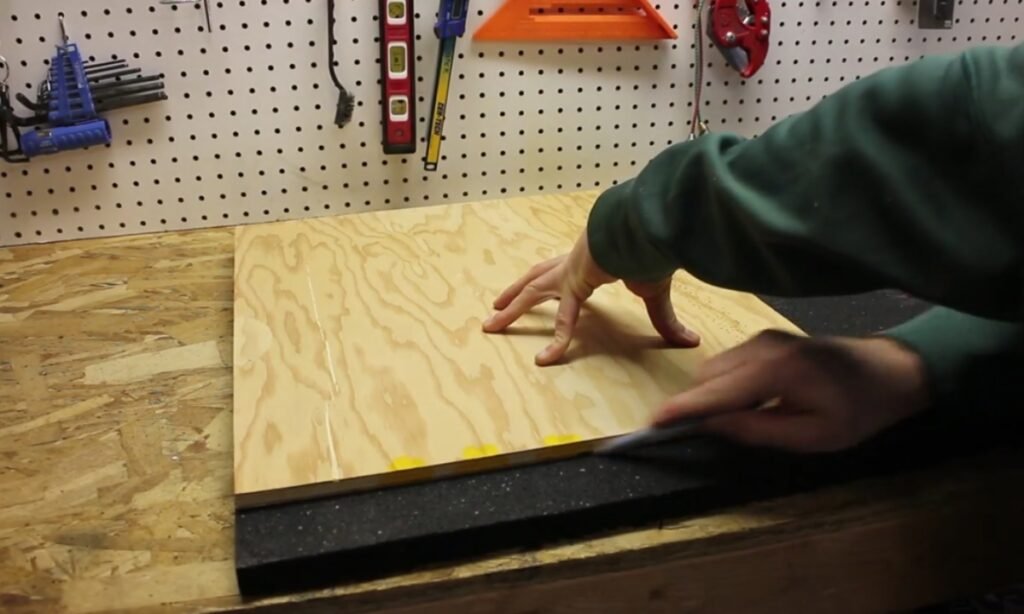
4. Prepare the Base
Place the plywood on the stall mat or carpet and trace its shape. You can use the jigsaw or utility knife to cut the mat to size.
This covering will keep the base from slipping and make it claw-friendly, so your cat does not ruin it in a week.
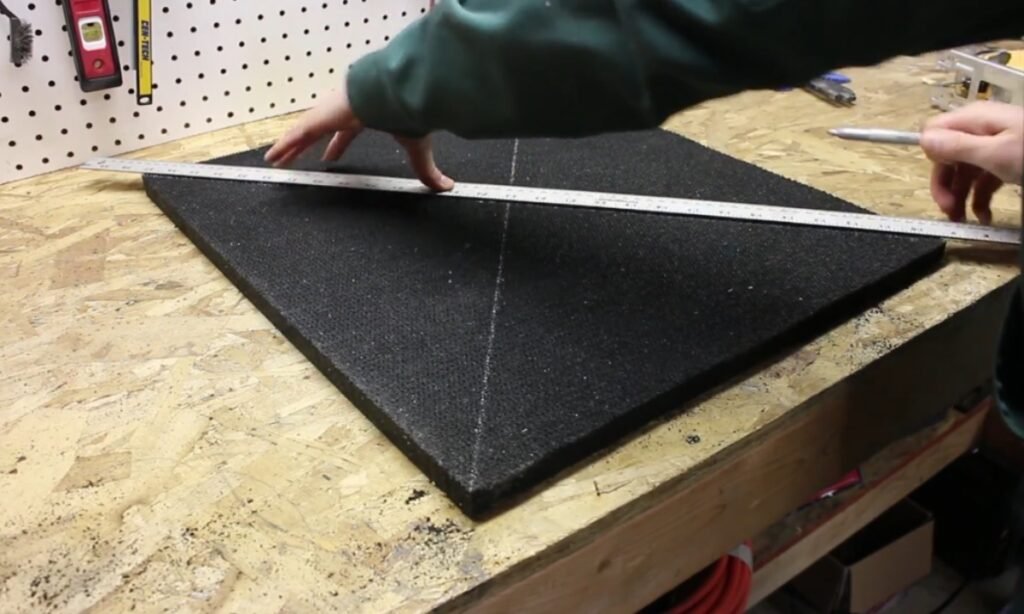
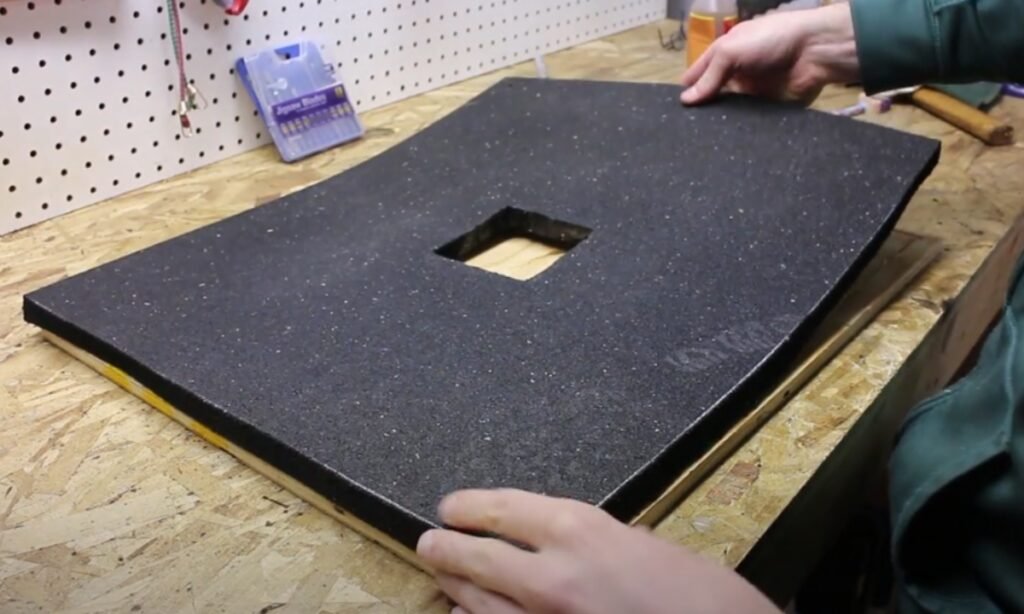
5. Mark and Cut the Center Slot
Find the exact center of your plywood and draw a square the size of your post (a “4×4” is actually about 3.5 inches by 3.5 inches).
Drill a hole in each corner of the square so the jigsaw blade can fit. Then, carefully cut out the square. This is where your post will fit.
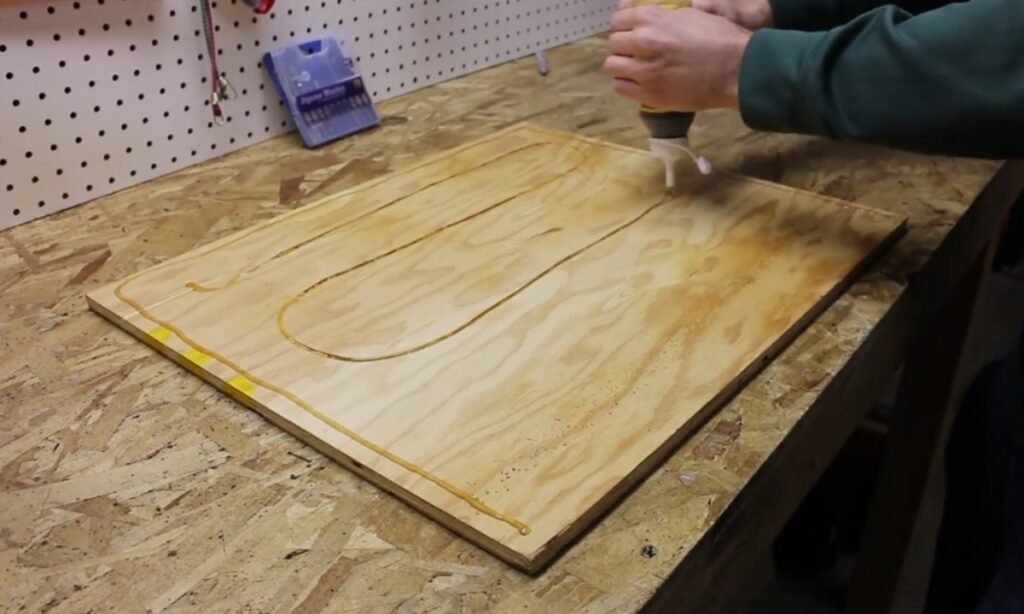
6. Glue the Mat to the Base
Lightly spray the plywood with water. This will help in Gorilla Glue stick better.
You can spread the glue evenly across the board, making sure to cover the edges. Place the mat on top, press it down firmly, and secure it with clamps.
7. Attach the Post to the Base
Place the wrapped post into the square cutout on your plywood base. Turn the whole setup over so the clamps hold the mat tightly in place.
Then, drive screws through the bottom to secure the post. Make sure to countersink the screws so they sit level with the surface and do not scratch your floor.
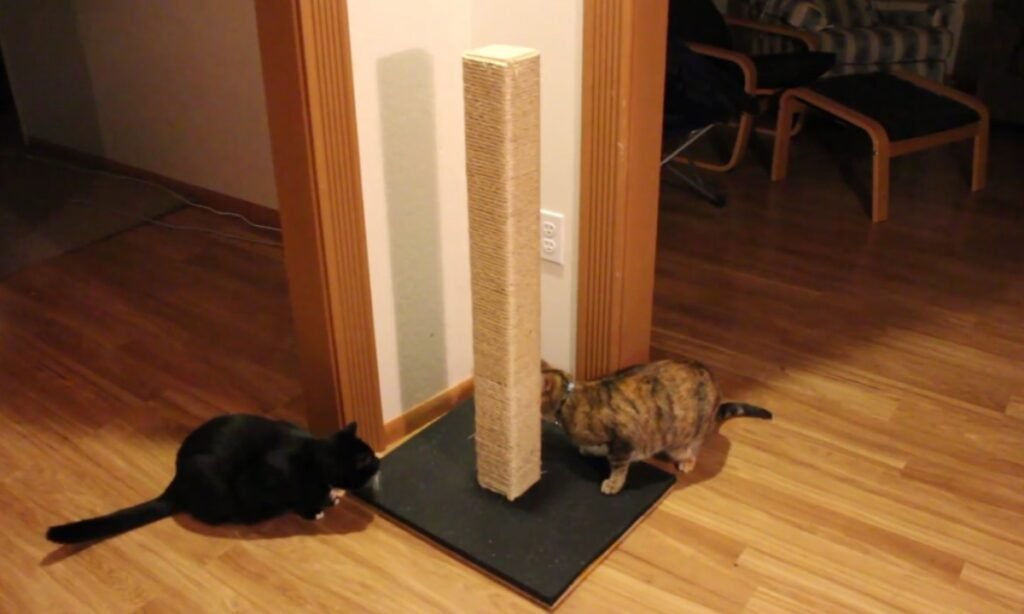
8. Test the Scratching Post
Stand the post upright and let your cat check it out. At first, your cat might just sniff it or walk around it. Give them some time, they will get curious and start scratching.
The best part? Your cat now has a post to scratch instead of your furniture or walls.
How to Train Your Cat to Use the Post?
Getting the post is the easy part; the hard part is teaching your cat to use it instead of your furniture.
Start by placing the scratching post right next to the spot your cat already scratches, like the arm of your sofa or their favorite napping area.
Another idea is to dangle a toy from the top of the post, so their claws naturally sink in as they play.
Whenever you see them using the post, give them a treat or some praise. If they go back to scratching the furniture, gently pick them up and move them to the post without getting angry.
With some patience and positive reinforcement, your cat will learn to use the scratching post.
Conclusion
Scratching is a natural part of a cat’s life, and if you do not give them a proper place for it, your furniture will suffer.
A homemade scratching post fixes this problem because it is sturdy, tall, and made with materials your cat will love.
Plus, you get to decide the size, design, and safety of the post. With the right spot and a little training, your cat will stop scratching the sofa and enjoy their new post.
Building one takes some effort, but it saves you money and keeps your home safe for years.
FAQs
How tall should a scratching post be for my cat?
Your cat needs a post that is tall enough for a full-body stretch. For most cats, a post that is at least 30 inches tall works well.
Your cat will likely not use a post that is too short because they cannot extend their muscles completely.
You should always choose the post size based on your cat, not just how it looks in your space.
What if my cat ignores the scratching post?
You might not give up right away. Most cats just need a little encouragement.
Try placing the post where your cat already likes to scratch, such as near the sofa or their favorite sleeping spot.
When they use it, give them a treat as a reward. A little bit of smart placement, appealing scents, and positive rewards will help them choose the post instead of your furniture.
You may also like to read!
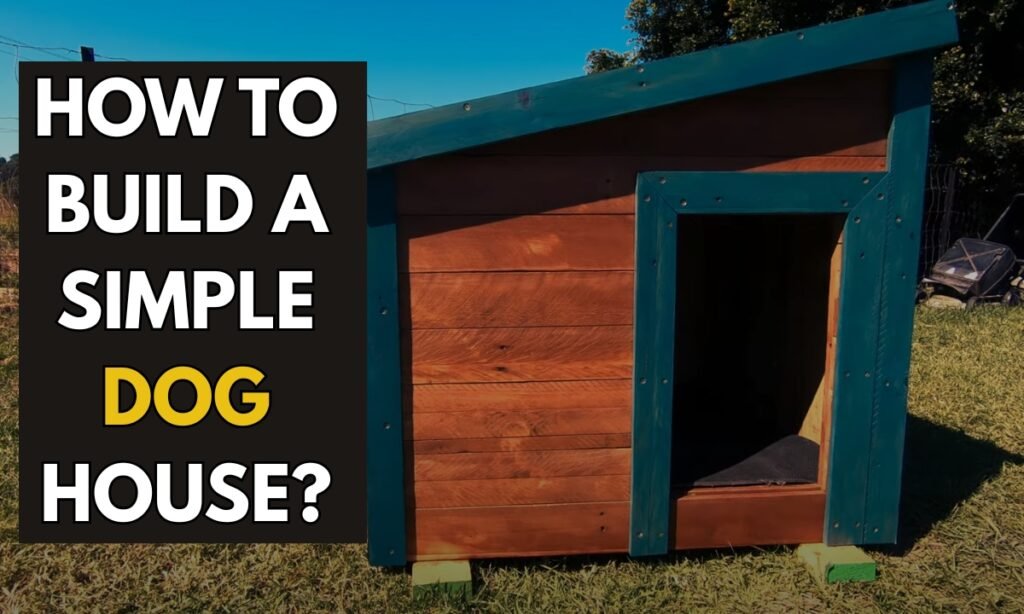
- How to Build a Simple Dog House – Ultimate Guide
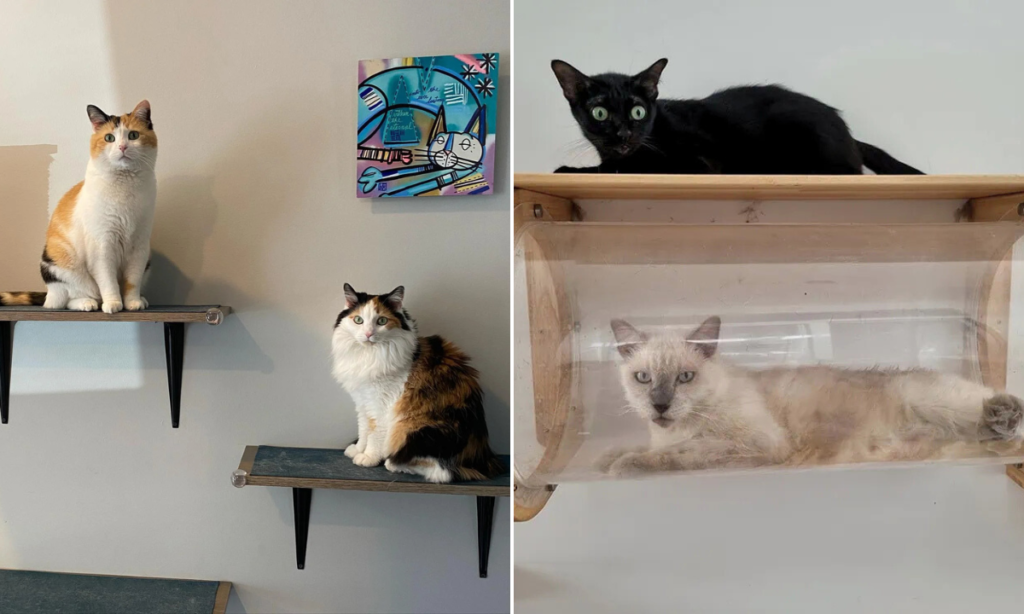
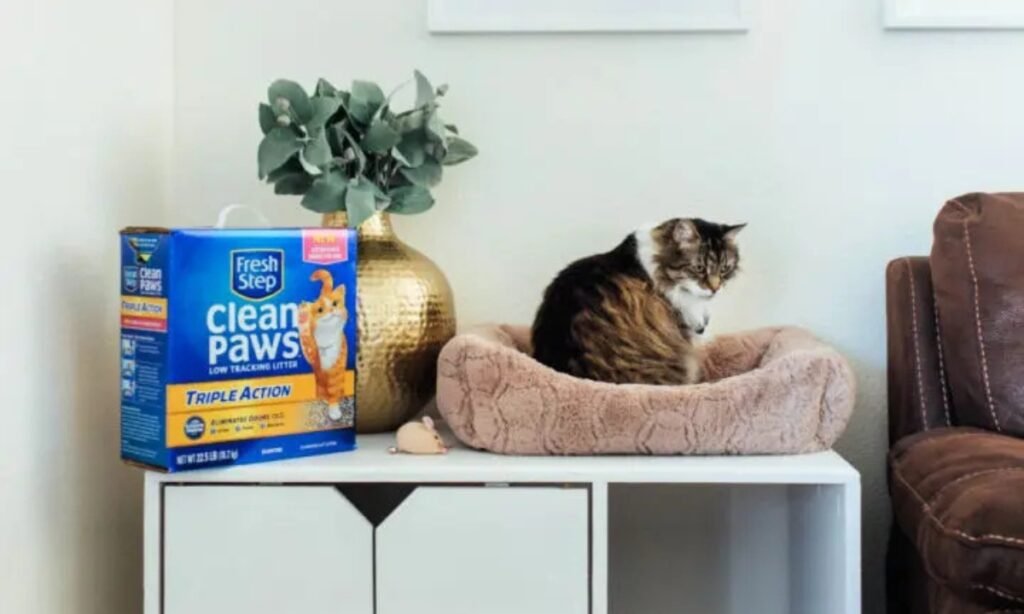
- 25 DIY Cat Litter Box Ideas
- How to Make Friendship Bracelets At Home

Hi, my name is Ali Mehmood! I’m a passionate writer and DIY enthusiast who loves turning creative ideas into practical, hands-on projects.
I created this website to share inspiring, budget-friendly ideas that you can do yourself – whether it’s organizing your home, crafting something unique, or creating fun projects for kids and pets.
I believe DIY isn’t just a hobby – it’s a smart way to save money, reduce waste, and enjoy the satisfaction of making things with your own hands.
I’m excited to have you as part of this growing community, and I’ll continue bringing you helpful, realistic, and fun DIY ideas you can actually use.