This post may contain affiliate links: read full affiliate disclosure.
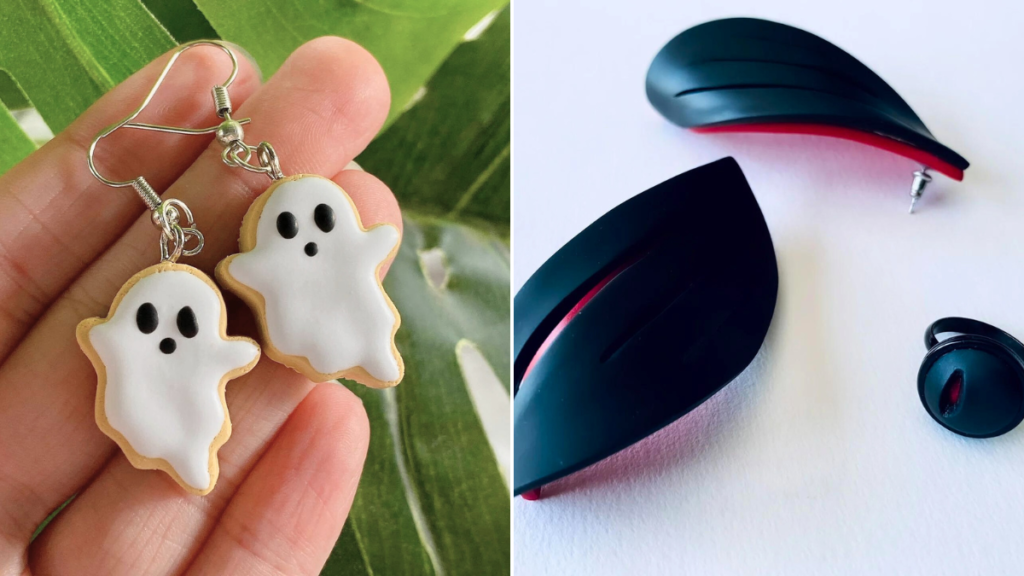
You have probably seen those beautiful clay earrings online and thought, “I wish I could make something like that.”
Maybe you even gave it a try, but the clay cracked, the posts came loose, or the finish looked rough instead of smooth.
The truth is, most guides leave out the small details that make the difference between earrings that fall apart in a week and ones that look like they came from a boutique.
This guide will change that. I will take you through each step.
What Problems Do Beginners Face With Clay Earrings?
Most beginners run into the same issues. The first mistake is choosing the wrong clay-air-dry clay breaks easily and is not water-resistant.
Another common problem is cracking or snapping because the clay was not baked at the right temperature.
You can lose posts quickly if you only glue them instead of securing them properly.
You also make your earrings look untidy if you leave rough edges, bubbles, or fingerprints behind.
You might think spray sealers and resin will help you, but if you use the wrong kind, you end up with pieces that turn sticky or yellow over time.
Save this article for later
Materials and Tools You Need
- Polymer clay
- Earring hardware
- Rolling tool
- Cutters or craft knife
- Texture tools
- Baking setup
- Small tools
- Finishing supplies
Step-by-Step: How to Make Clay Earrings
Images are sourced from The Sunshine Lane YouTube Channel to help my readers visualize these steps. You can check out their channel for more inspiration and detailed guides.
1. Gather Your Tools and Supplies
Before you start, arrange everything you need within easy reach.
You will need polymer clay (Premo for the base and Sculpey 3 for the designs), a cutting mat or ceramic tile, a pasta machine or an acrylic rolling pin, a blade, a dotting tool, shape cutters, sandpaper, an oven thermometer, pliers, jump rings, earring hooks or posts, and your creativity.
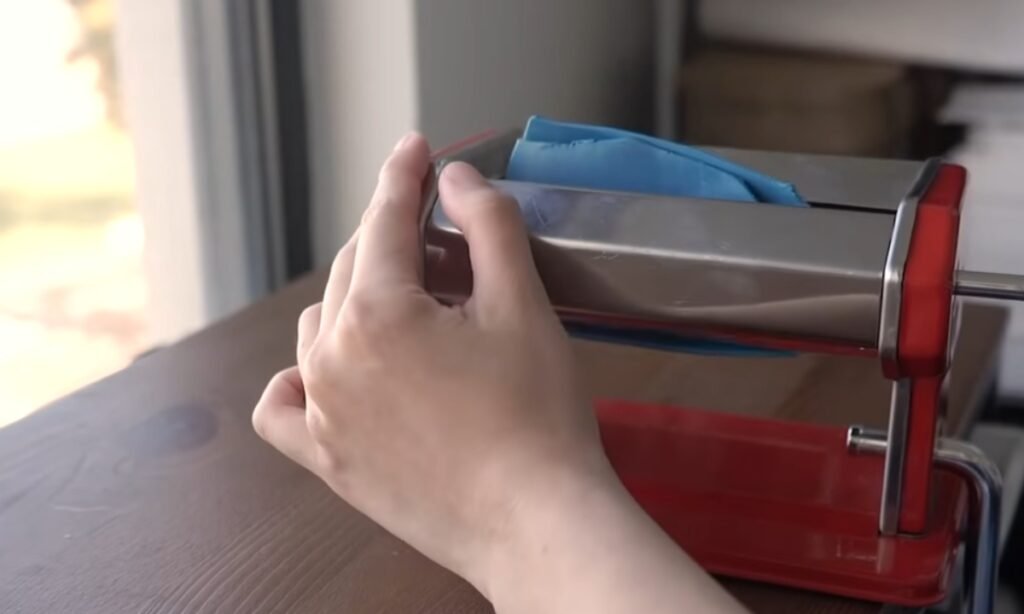
2. Condition the Clay
You may choose the clay color you want for the base. Run it through the pasta machine, folding and repeating until the texture feels smooth and flexible.
If you use some rolling pin, roll it evenly from both sides. This step removes air bubbles and helps prevent cracks after baking.
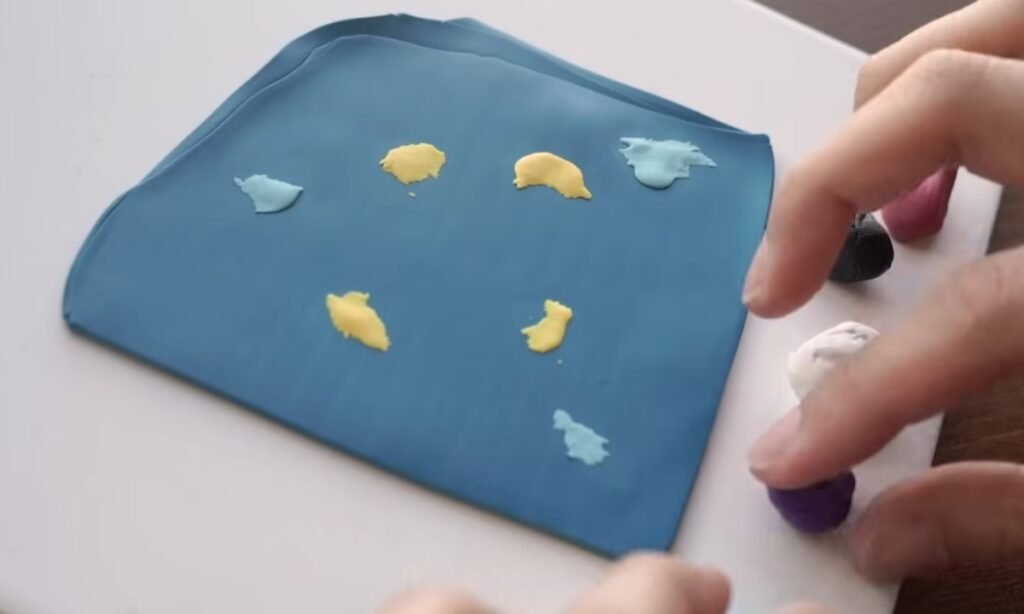
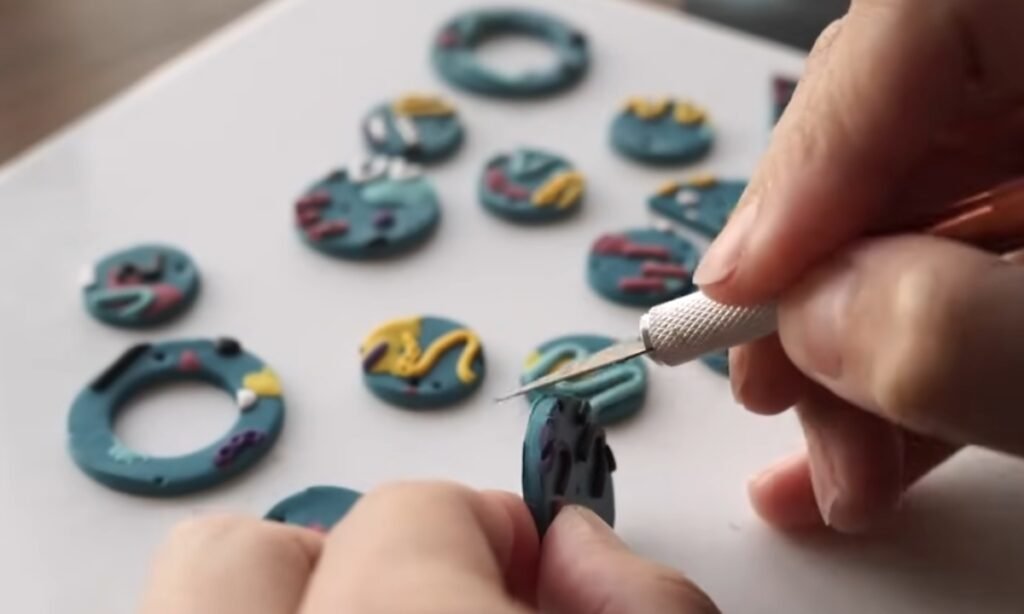
3. Create Your Design Slab
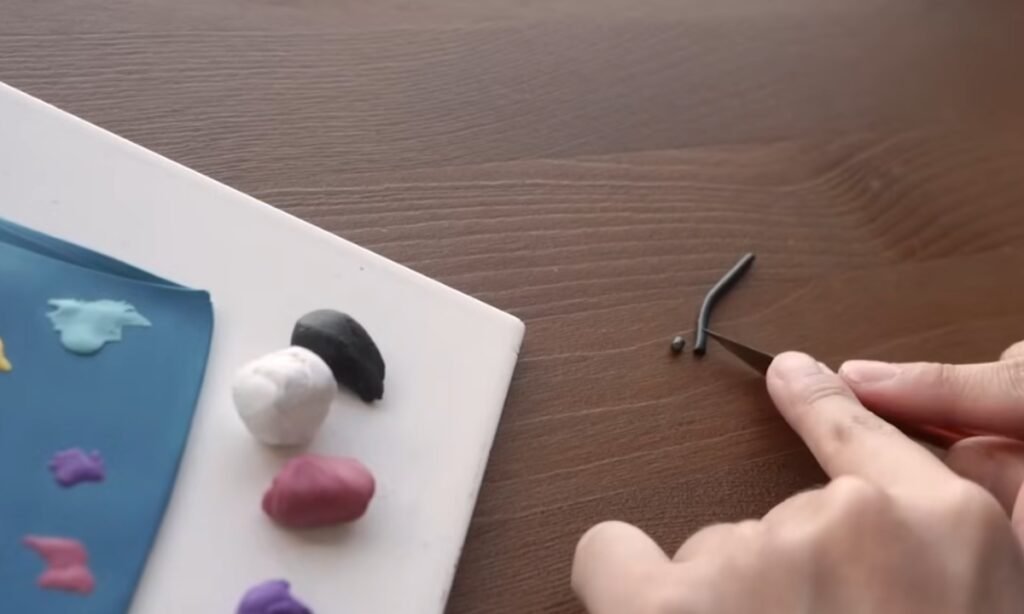
This is the fun part. Flatten the base clay and decorate it with smaller pieces of clay in different colors. Roll, press, and place blobs, dots, squiggles, or any shapes you like.
Mix colors to create custom shades. Use the blade for sharp cuts and the dotting tool for small details. Fill the slab so it looks complete and balanced.
4. Cut Out Shapes
When your slab design is ready, grab your shape cutters and start cutting out your earrings. Circles, arches, or any fun shapes will work great.
Place the cutter where the design looks the most interesting. You can even cut shapes in half or mix different sizes to make your pair stand out.
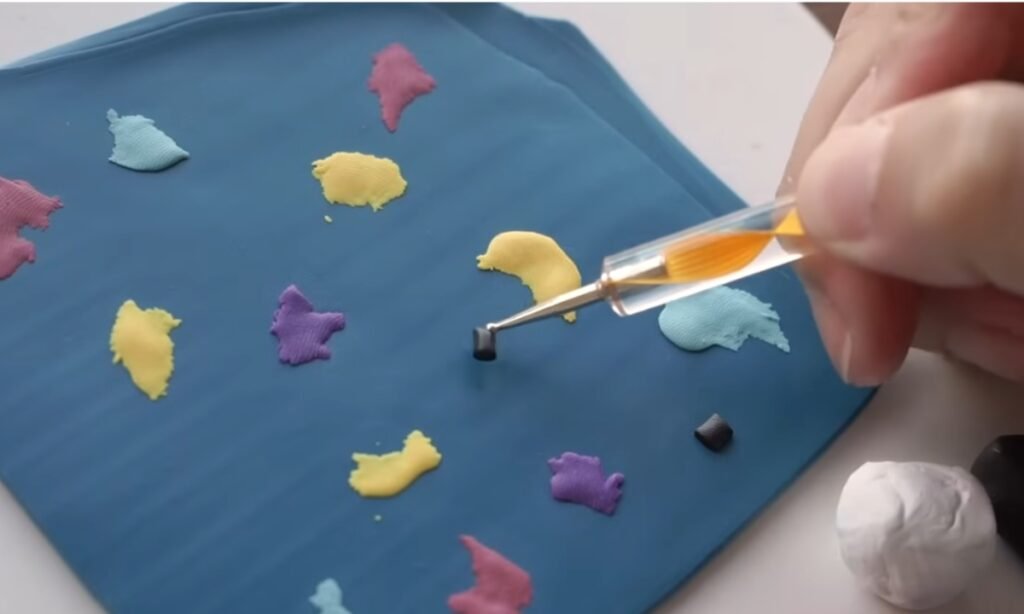
5. Poke Holes for Jump Rings
Before baking, use a dotting tool or a toothpick to make small holes for the jump rings.
It is much easier to do this now than after baking. Make the holes slightly larger to avoid frustration later.
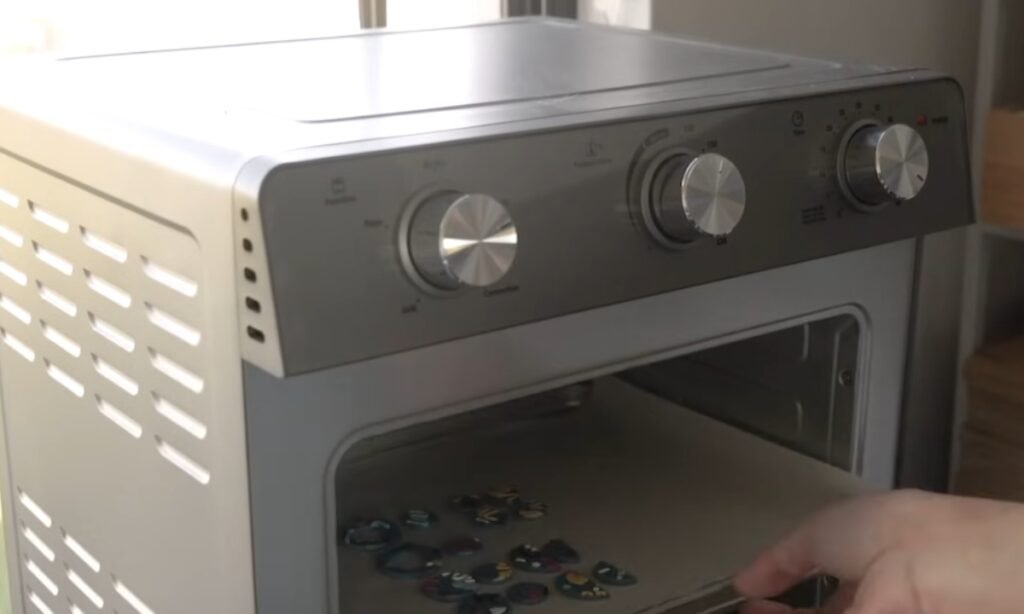
6. Prep for Baking
Use your blade to trim any rough edges so you will not have to spend too much time sanding later. Place your pieces on a ceramic tile or on baking paper on a tray.
You can preheat your oven to 130°C and use an oven thermometer to clarify the temperature is correct. You can bake for about 50 minutes, checking every 10 minutes to prevent burning.
7. Sand and Smooth
Let the pieces cool completely. Once they are cool, use fine sandpaper to smooth the edges. If there are larger bumps, carefully trim them with your blade first.
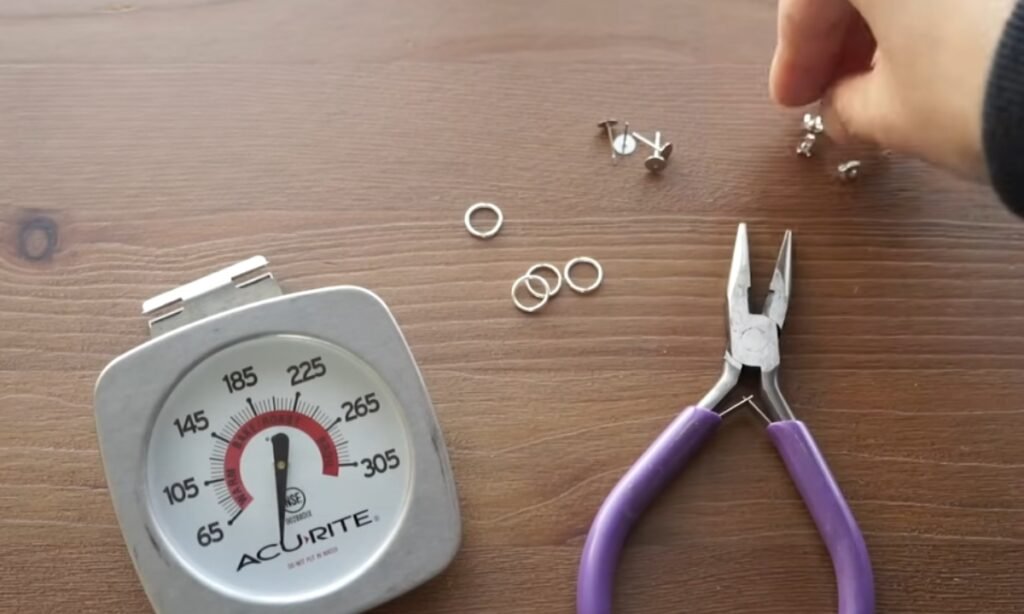
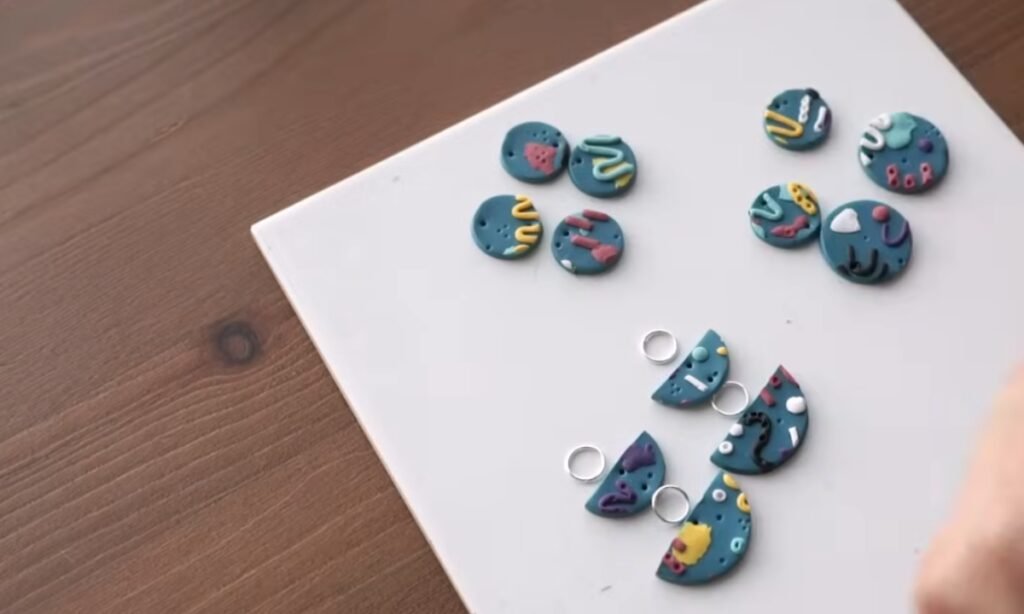
8. Assemble the Earrings
You can use pliers to open a jump ring. Loop it through the holes and connect the pieces. Attach your earring hook or stud backing.
Adjust the hooks with pliers to make sure they are facing the right direction.
9. Final Touches
Hold up your finished pair and take a moment to admire them. You have just made your own clay earrings!
Each pair will be one of a kind, and with some extra practice, you will develop your own style.

Quick Fixes for Common Mistakes
Clay earrings can have small problems, but they are easy to fix.
If your earrings crack, they were not baked long enough-rebake them at the right temperature and cover them with a foil tent.
Air bubbles happen when the clay is not pressed well, so roll it firmly before shaping. Brown spots in the oven mean the heat is uneven-use parchment paper and an oven thermometer to fix this.
If the posts fall off, embed them in the clay instead of just gluing them. For rough edges or fingerprints, smooth them out with wet sanding in stages.
If a sealer turns sticky or yellow, sand it off and skip sealing unless you need to protect special surface effects.
Caring for Your Clay Earrings
Taking care of your clay earrings will keep them looking great for years. Keep them away from water-polymer clay is strong, but soaking can weaken the metal parts and dull the finish.
You may store your earrings in a box to prevent scratches. If they get dirty, wipe them gently with a damp cloth instead of using harsh cleaners.
Avoid perfumes, hairsprays, or lotions, as they can damage the clay or metal. Do not bend or drop thin designs, as they can break under pressure.
With these simple steps, your earrings will stay lightweight, durable, and just as beautiful as the day you made them.
Conclusion
Making clay earrings at home is not just a fun activity-it is a way to create jewelry that reflects your personal style.
The process might seem challenging at first, but once you learn which clay works best, how to bake it correctly, and how to attach the posts securely, it becomes straightforward.
With some sanding and attention to detail, your earrings can look as if they were bought from a boutique.
With time and practice, you will not only save money but also create designs that perfectly suit your taste.
FAQs
Why do my clay earrings keep breaking?
This usually happens because the clay is either underbaked or rolled too thin.
Always bake it at the exact temperature mentioned on the clay package, use an oven thermometer to ensure accuracy, and keep your slabs about 2 to 3 millimeters thick to make them strong.
Do I need to seal polymer clay earrings?
No, baked polymer clay is already strong and waterproof.
You only need a sealer if you have used mica powders, chalk, or paint that needs protection. Otherwise, sealing is not necessary.
You may also like to read!
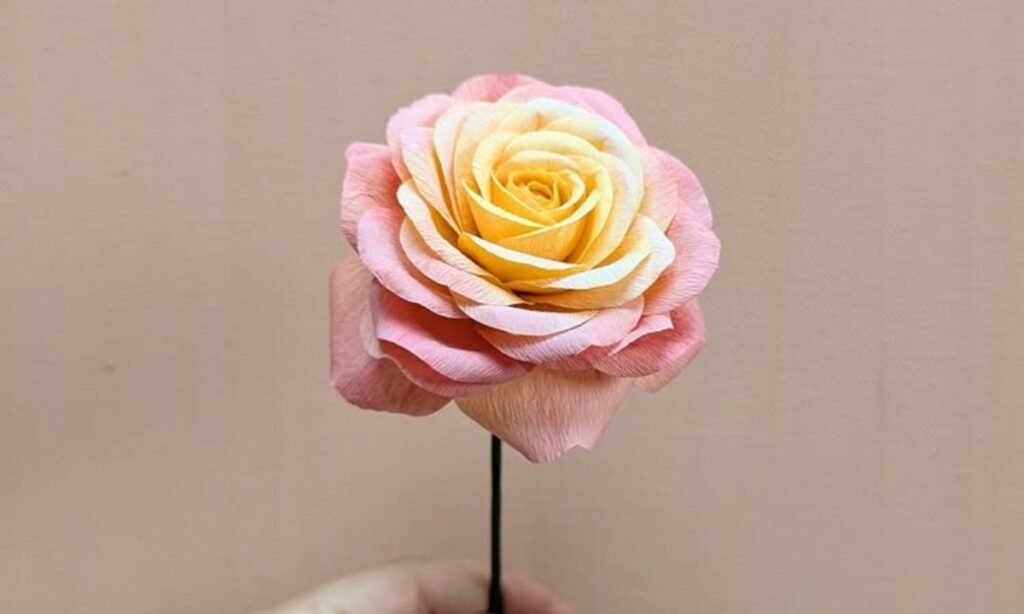
- How to Make Paper Flowers Step By Step
- How to Build a DIY Compost Bin
- How to Make Outdoor Candles at Home

Hi, my name is Ali Mehmood! I’m a passionate writer and DIY enthusiast who loves turning creative ideas into practical, hands-on projects.
I created this website to share inspiring, budget-friendly ideas that you can do yourself – whether it’s organizing your home, crafting something unique, or creating fun projects for kids and pets.
I believe DIY isn’t just a hobby – it’s a smart way to save money, reduce waste, and enjoy the satisfaction of making things with your own hands.
I’m excited to have you as part of this growing community, and I’ll continue bringing you helpful, realistic, and fun DIY ideas you can actually use.