

This post may contain affiliate links: read full affiliate disclosure.
Your dining table shakes every time you press the pedal. Your shoulders tense up, your neck starts to ache, and the fabric keeps snagging at the edge of the machine.
The problem is not you-it is your setup. A proper sewing table solves the real issues: wobbling, the wrong height, and fabric getting stuck.
This guide will help you build a table that works for you. We will set the machine bed to match your elbow height, so your shoulders can relax.
We will make the surface stable, so the machine stays steady, and level the area around the needle, so the fabric moves smoothly.
Do I Need a Drop-Leaf for Cutting Space?
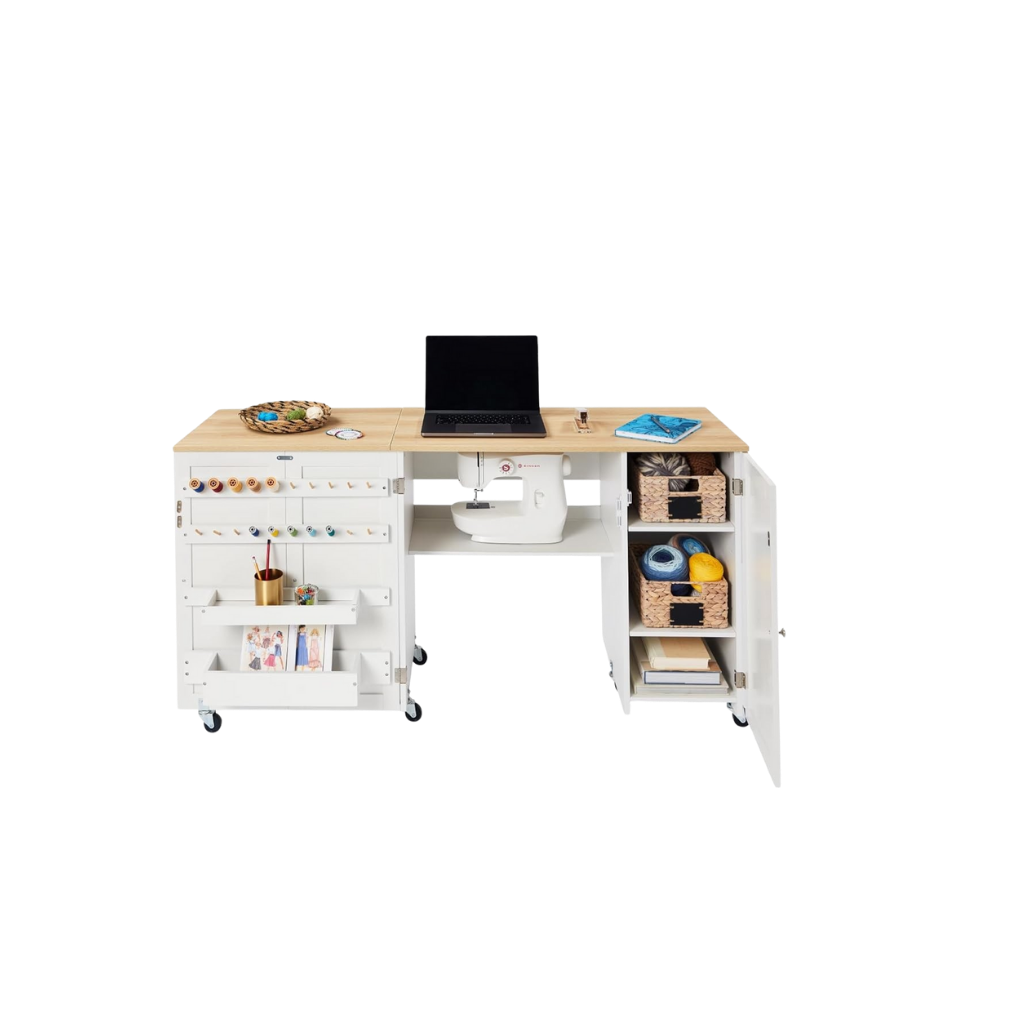
If you cut fabric often or work in a small room, yes-a drop-leaf will help you a lot. It gives you a big, flat area when you need it and folds away when you do not need it.
Set the leaf to your standing elbow height (most people find this around 34 to 39 inches). Put it on the left side so quilts and large pieces stay supported while they pass the needle.
Use a continuous piano hinge and screw it into a solid wood cleat under the tabletop. Support the leaf with folding shelf brackets that can hold 50 to 100 pounds, or use a swing-down leg.
Make the leaf 12 to 18 inches deep and as long as the table. Even 12 inches makes a real difference.
Round over the front edge so fabric glides smoothly, and check that the leaf sits perfectly level with the main top.
If it does not, shim the brackets to fix it. Make sure you can reach the brackets easily so you can fold the leaf without moving the machine.
Save this article for later
Tools & Materials (Only What You’ll Use)
- Tape measure
- Drill/driver with bits
- Jigsaw or circular saw
- Clamps
- Sander + sandpaper
- 3/4″ plywood or MDF (top)
- 1×3 or 2×2 lumber (stiffeners)
- Wood screws (#8)
- Wood glue (PVA)
- Total-lock casters (optional)
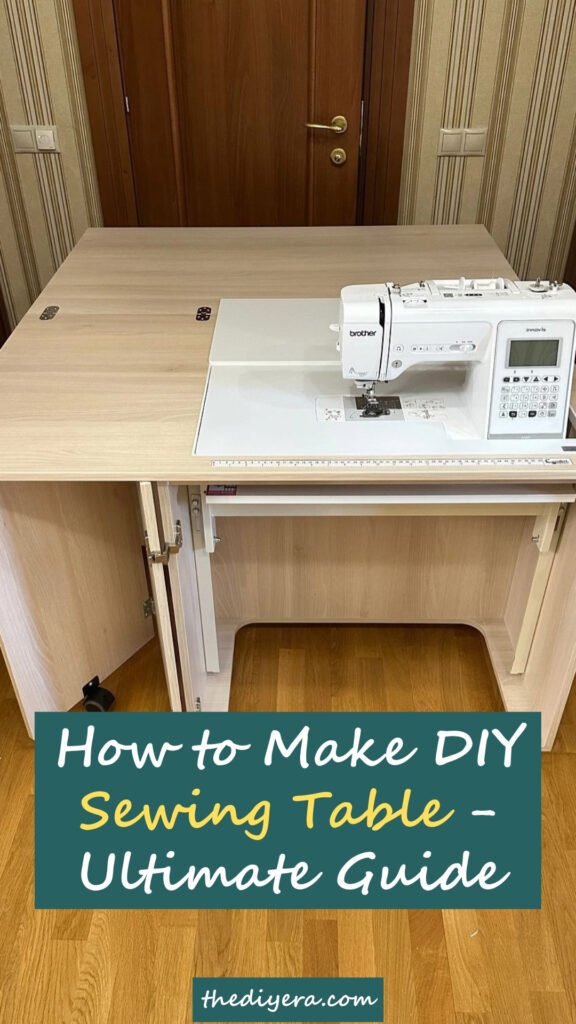
Step By Step Guide How to Make a Sewing Table
Images are sourced from Kristi – Addicted 2 Decorating YouTube Channel to help my readers visualize these steps. You can check out their channel for more inspiration and detailed guides.
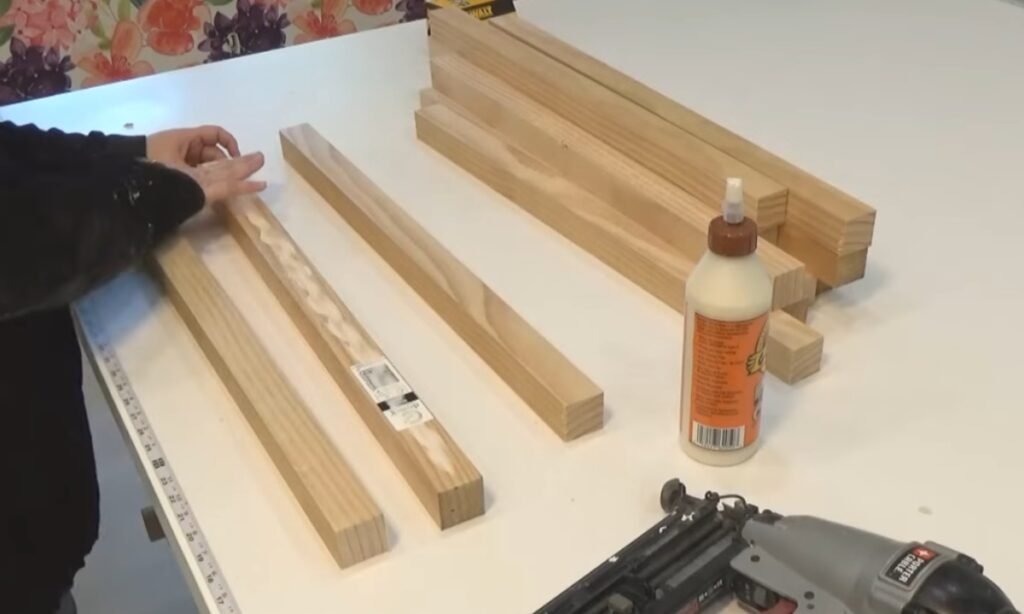
1. Cut and Build the Legs
Cut your 1½” x 1½” lumber into 12 pieces, each measuring about 26½” long.
Take three pieces and glue them together, then secure with nails to create one strong leg. Repeat this process to build four sturdy legs total.
2. Make the Bottom Shelf
Use a 48-inch by 48-inch sheet of half-inch plywood. Build a frame on the bottom side with glue and nails to make it stronger.

3. Attach Legs to Shelf
Clamp a scrap piece of 1×3 wood to use as your guide. Line up the legs with the edge of the shelf and drive screws through to secure them.
Turn the unit around to attach the next three legs. When you finish those, tip the entire unit on its side so you can reach the fourth leg and fasten it in place.
4. Add Trim and Apron
Cover the raw shelf edges with 1×3 trim pieces. Next, place 1×4 apron boards into the leg notches, then nail and screw them into position.
Finally, add pre-primed boards on top to create a clean, finished appearance.
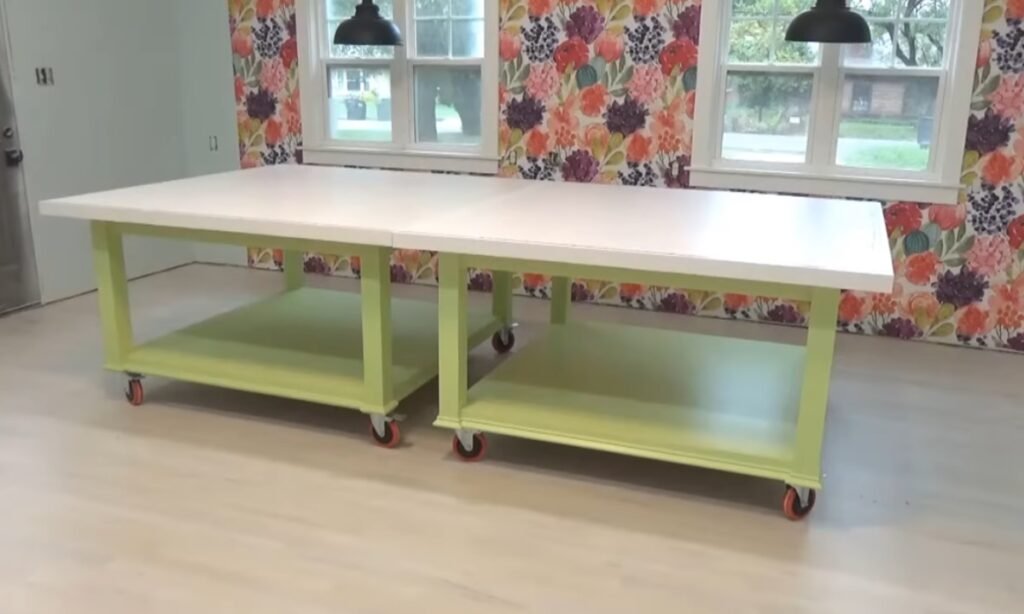
5. Install Casters and Reinforce Legs
Attach 6-inch casters under each leg so you can roll the table with ease. Add short 1½” x 1½” blocks inside the leg notches to give you extra stability, then fill any gaps and sand everything smooth.

6. Add Decorative Base Trim
Cut, miter, and attach the trim around the base using small nails or wood glue. This step will hide and give the table a clean, polished look.
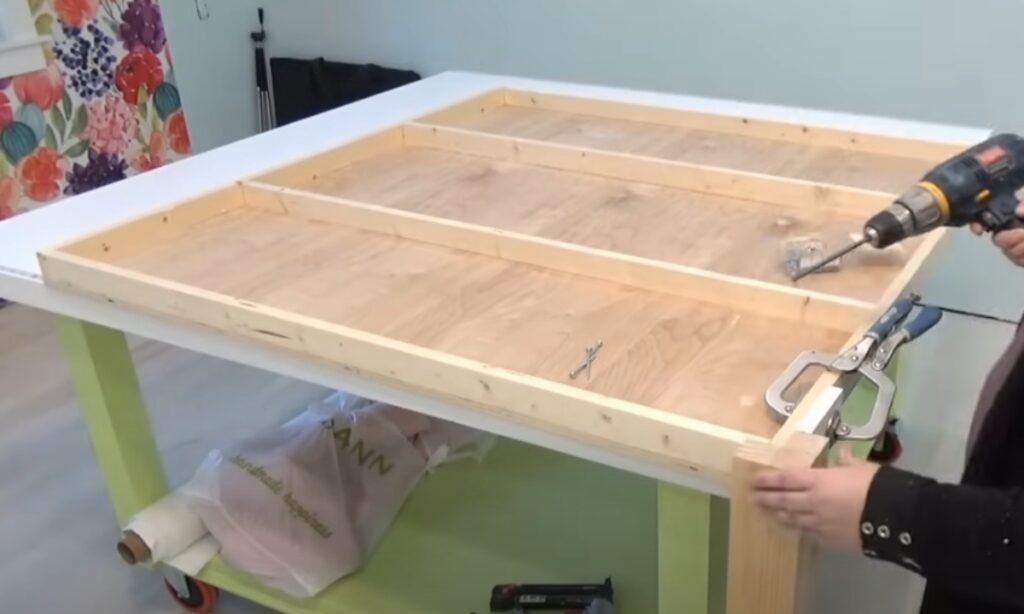
7. Build and Mount the Tabletop
You should take three MDF panels and join them together to create a 60-inch square top.
You can strengthen the connection by adding glued strips along the joints. Once the glue sets, you should lift the completed top and center it carefully on your base.
Finally, you must secure everything in place using brackets and screws to ensure a solid, stable connection.

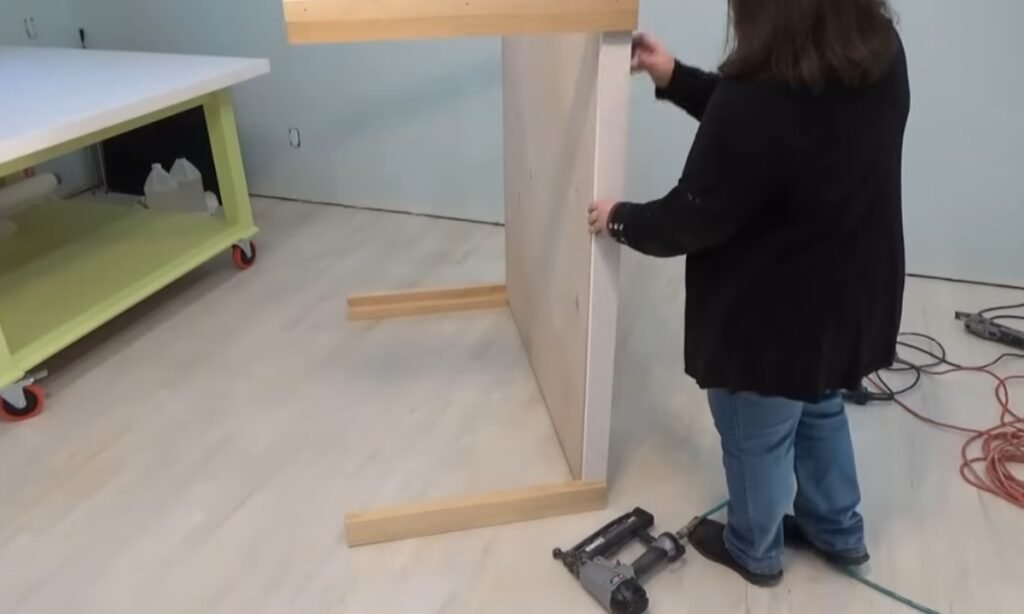
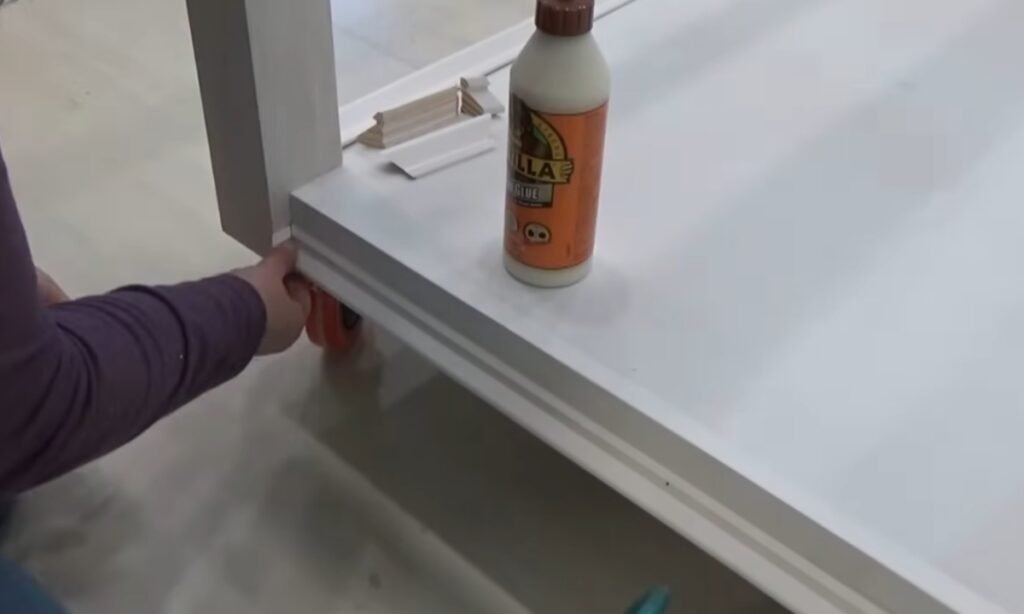
8. Laminate, Finish Edges, and Paint
Apply glue laminate to your MDF board using contact cement and dowels to prevent air bubbles from forming.
Use a router to trim the excess material, then cover the raw edges with 1×3 boards.
Sand the entire surface smooth, fill any gaps or imperfections, and finish with paint to create a strong, long-lasting surface.
Common Mistakes
Most problems begin with the wrong height-set your machine bed to match your seated elbow height so your shoulders stay relaxed.
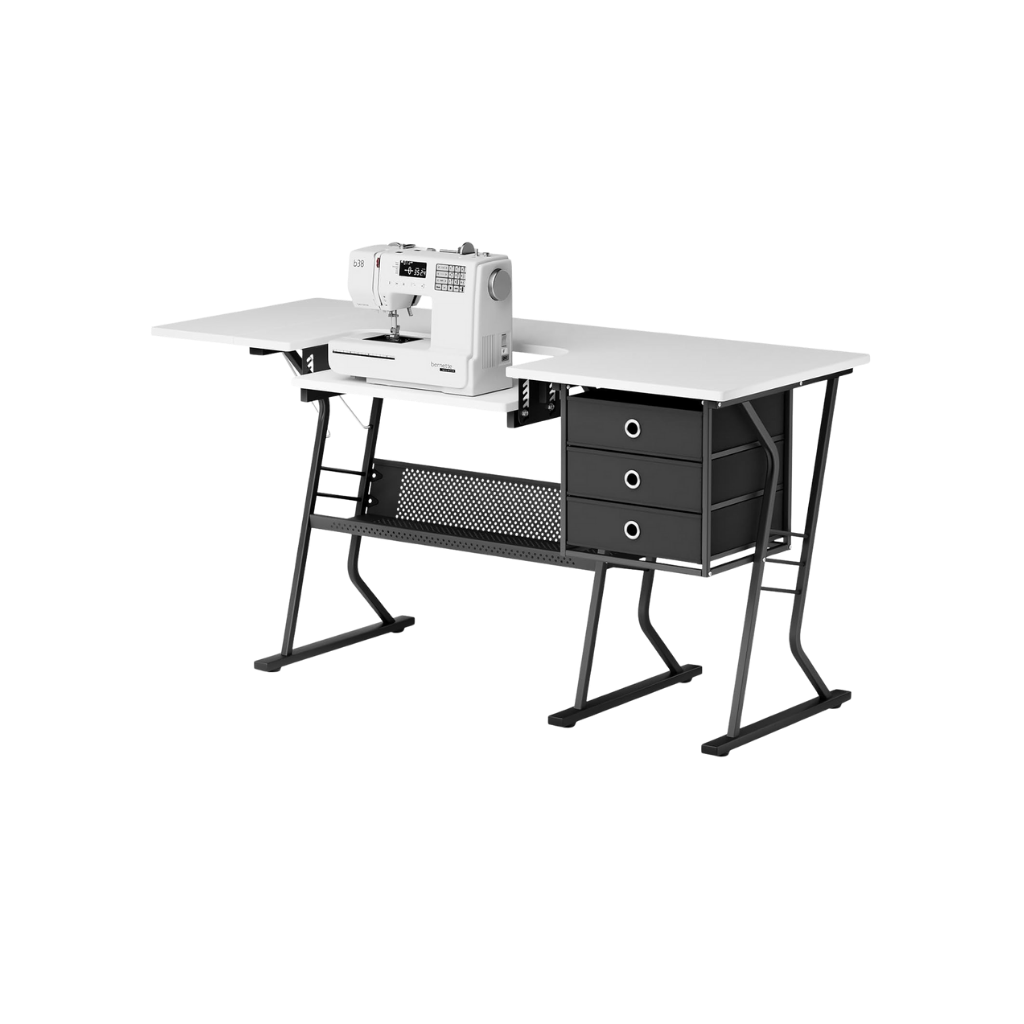
A shaky base makes your machine vibrate, brace the frame or use two cabinet boxes and make the top sturdy.
A thin top bends under pressure, glue wooden rails underneath or build a strong box frame for real stability. A low cutting wing hurts your back, set it to match your standing elbow height.
A tight space traps your machine and bends the cables; leave space around the edges and keep a clear path for the knee-lift and power cord.
Blocked air vents make the motor too hot; keep the vents open and cut small slots if you need more airflow. A sharp front edge catches your fabric, round it off or add smooth edge strips.
Basic wheels let your table roll around; use locking wheels or rubber feet instead. Bare machine feet create vibration, put a rubber mat under your machine.
Conclusion
You do not need a fancy cabinet to sew comfortably-you need the right height, a stable top, and smooth fabric flow.
Set your machine bed at elbow height, pick the build that works for your space (quick desk change or solid torsion-box), and keep the surface smooth and level so fabric moves easily.
Lock your table with full-lock wheels, reduce shake with a vibration pad, and protect your machine’s air vents.
Do a quick test stitch, adjust height or pedal position, and you are finished. A calm, steady setup gives you straighter seams, less pain, and more time actually sewing.
FAQs
Do I really need a flush insert, or is an extension table enough?
Use a flush insert when you quilt or work with heavy fabric. It levels the area around the needle so your fabric will not snag or drag.
If you do not want to cut into your table top, you can use a clip-on acrylic extension table for most projects.
Either option works well. Make sure you leave enough room for the knee-lift and power cords when you set up your workspace.
I don’t own big tools. What’s the simplest build that still feels pro?
Start with a sturdy desk or two strong shelf units. Place a three-quarter-inch plywood or medium-density fiberboard top on them.
Glue and screw one-by-three rails underneath the top to prevent it from bending. Adjust the height so the machine bed matches your seated elbow height.
Use a clip-on extension table instead of cutting a recess. Put a rubber mat under the machine to keep it steady, and add total-lock casters if you need to move it around.
You may also like to read!
- How to Sew a Cute & Functional Sewing Machine Cover
- How to Make a DIY Wire Pumpkin Wreath the Easy Way
- How to Build a Floating Shelves DIY Step By Step

Hi, my name is Ali Mehmood! I’m a passionate writer and DIY enthusiast who loves turning creative ideas into practical, hands-on projects.
I created this website to share inspiring, budget-friendly ideas that you can do yourself – whether it’s organizing your home, crafting something unique, or creating fun projects for kids and pets.
I believe DIY isn’t just a hobby – it’s a smart way to save money, reduce waste, and enjoy the satisfaction of making things with your own hands.
I’m excited to have you as part of this growing community, and I’ll continue bringing you helpful, realistic, and fun DIY ideas you can actually use.


