This post may contain affiliate links: read full affiliate disclosure.
A plain notebook does the job, but sometimes it feels too boring to actually make you want to use it. I’ve had notebooks like that sitting untouched simply because the cover had zero personality.
The good news is you don’t need to replace them with expensive journals. A few supplies you may already have at home can completely change how they look.
You can work with fabric scraps, scrapbook paper, paint, stickers, old magazines, wrapping paper, or even materials you would normally throw away.
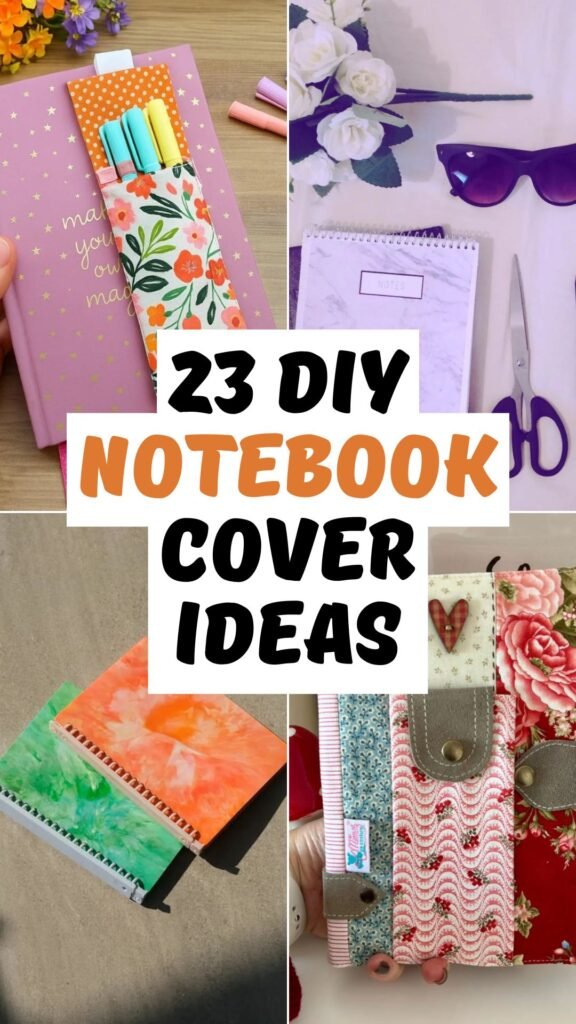
In this article, I’m sharing 23 DIY notebook cover ideas you can use for inspiration.
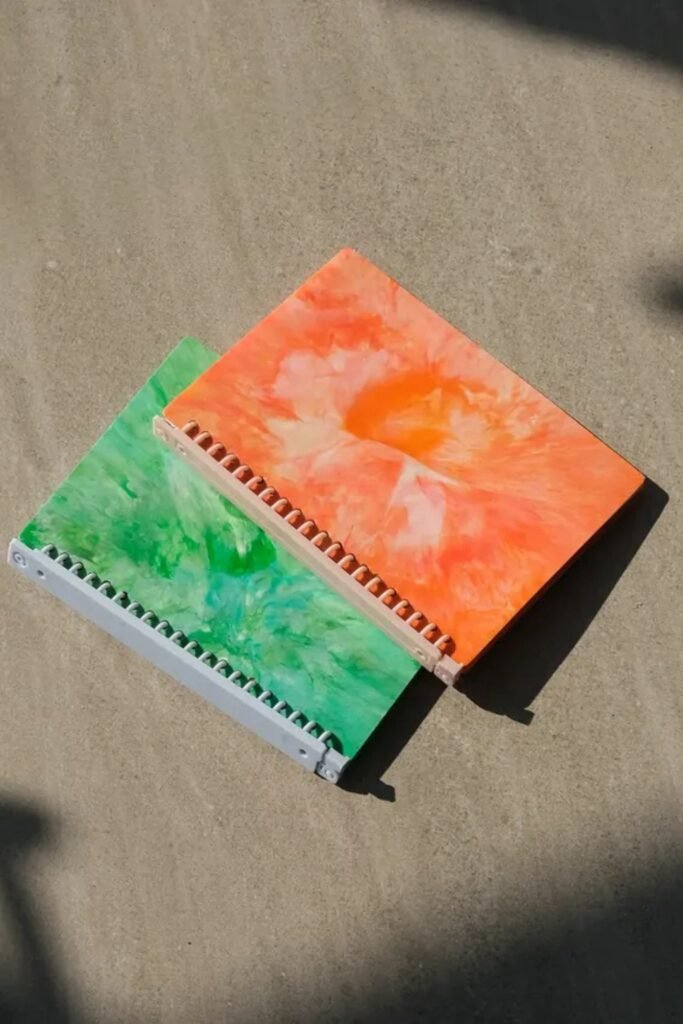
Marble Contact Cover
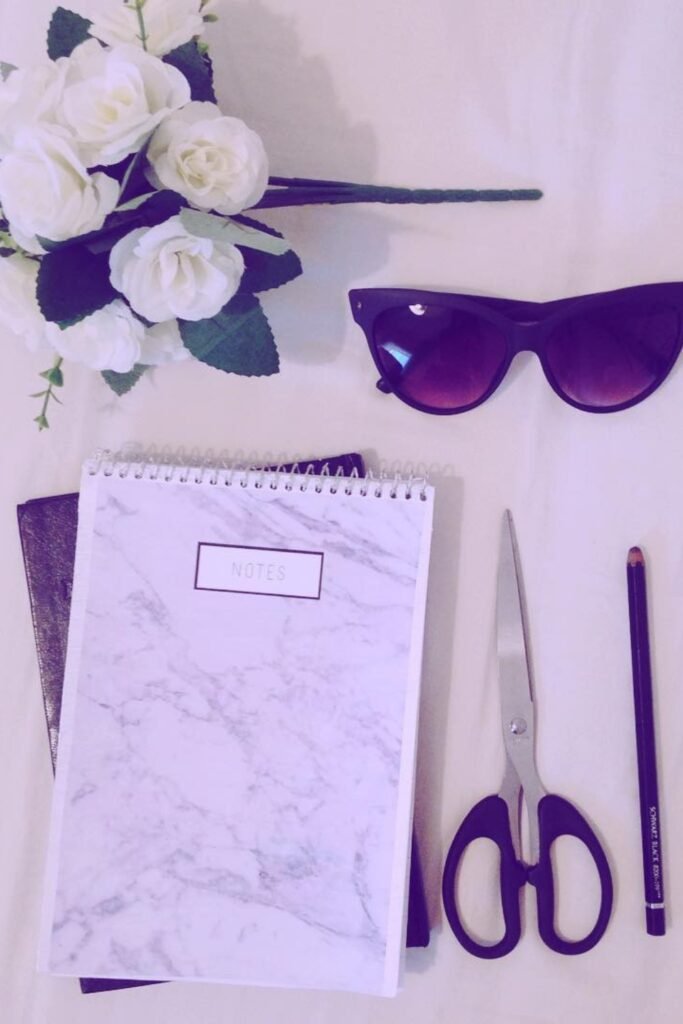
Marble contact paper gives a basic notebook a cleaner finish without wet glue, making it especially handy when you want fewer wrinkles.
Trace the closed cover first, leave a little extra around each edge, then smooth the adhesive sheet down gradually from one side.
Keep the spiral completely clear while trimming, because even a neat marble finish becomes frustrating when the binding cannot open freely.
Handy Pen Pocket
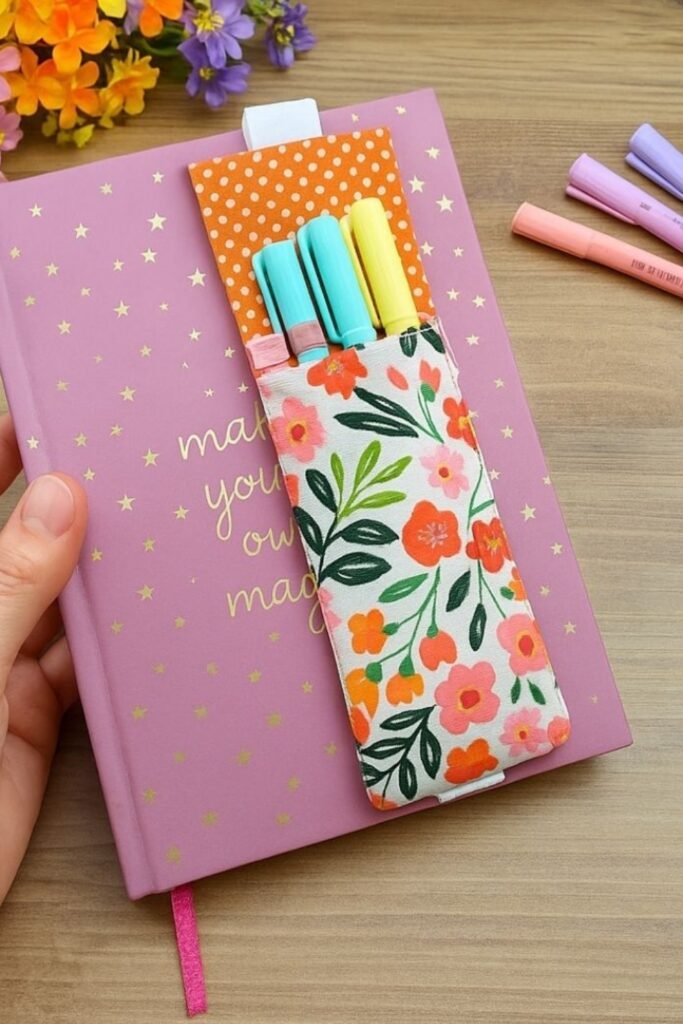
Turn the cover into storage by adding a slim fabric pocket that keeps your most-used pens and highlighters within easy reach.
Choose sturdy cotton and reinforce the pocket opening before attaching it, since that top edge gets pulled every time you grab a pen.
A removable elastic strap makes this idea even smarter, letting you move the organizer onto another journal after filling the current one.
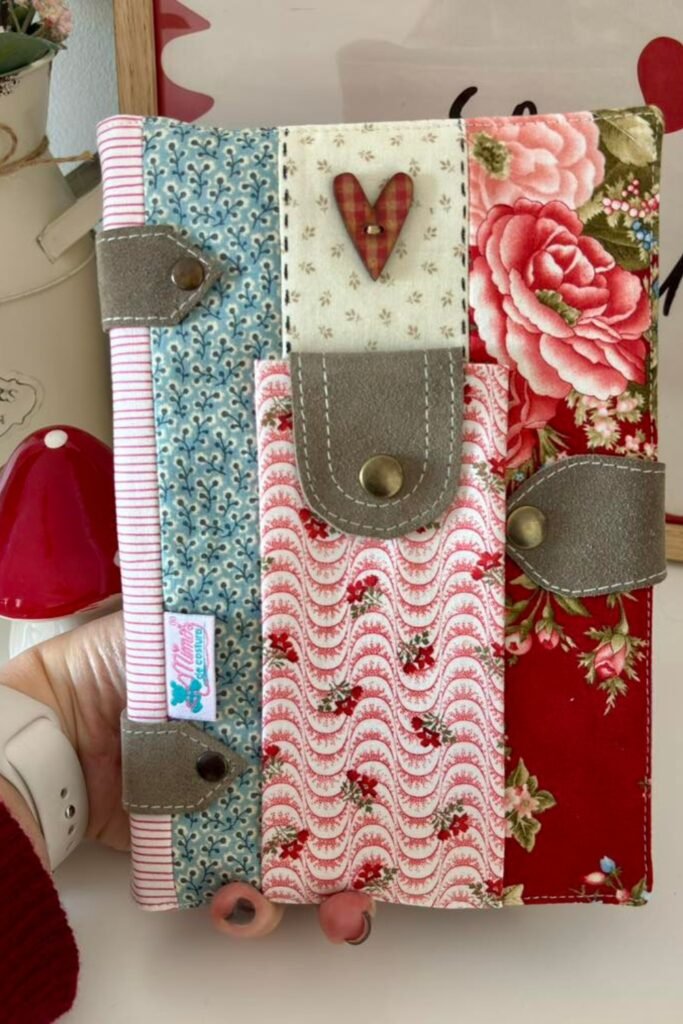
Patchwork Fabric Cover
Save your smallest fabric scraps for a patchwork cover, where mismatched florals and prints actually make the finished notebook more interesting.
Sew the pieces into one panel before fitting it around the notebook, then add interfacing if your fabrics feel thin or floppy.
Snap tabs are worth adding to a reusable cover because they keep everything closed while still letting you replace the notebook inside.
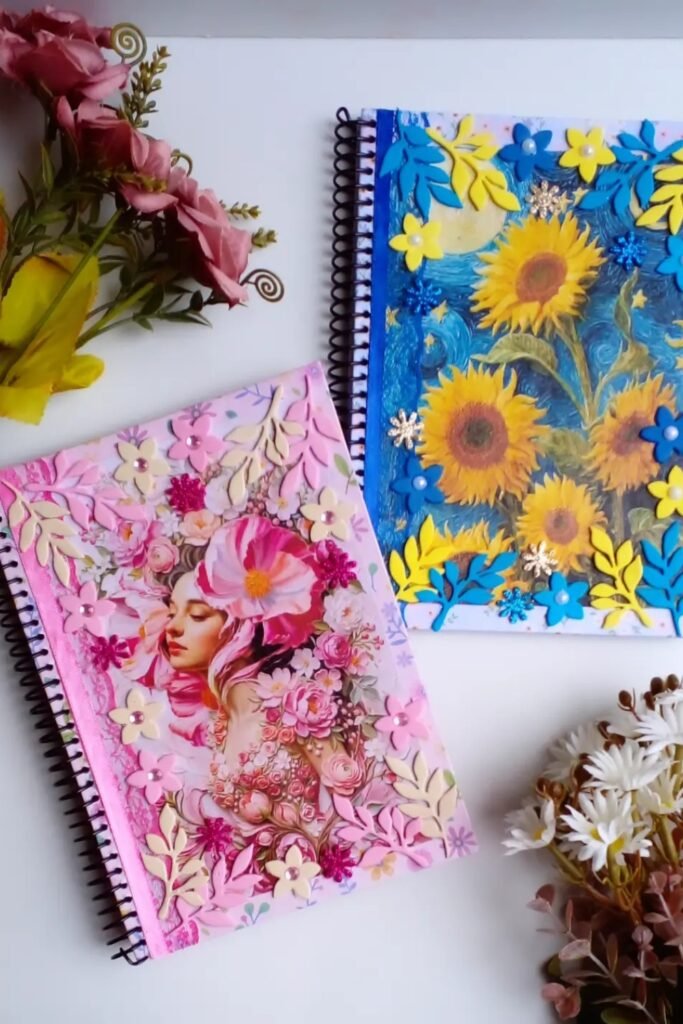
Layered Floral Art
Layered floral covers work best when you build the design from flat background pieces first and save raised embellishments for the end.
Foam or cardstock leaves create dimension quickly, but keep bulky decorations away from the spiral so they never interfere with turning pages.
Use pearls, glitter, or tiny flowers as accents rather than filling every gap; leaving some background visible keeps detailed designs from feeling crowded.
Watercolor Wash Cover
Watercolor is perfect when you want every notebook to look different; let two or three shades blend instead of controlling every mark.
Paint the cover separately on heavyweight paper, allow it to dry completely, then attach it so moisture never warps your notebook pages.
Finish with a clear protective layer once everything dries, especially when the notebook will travel in backpacks where painted surfaces get rubbed.
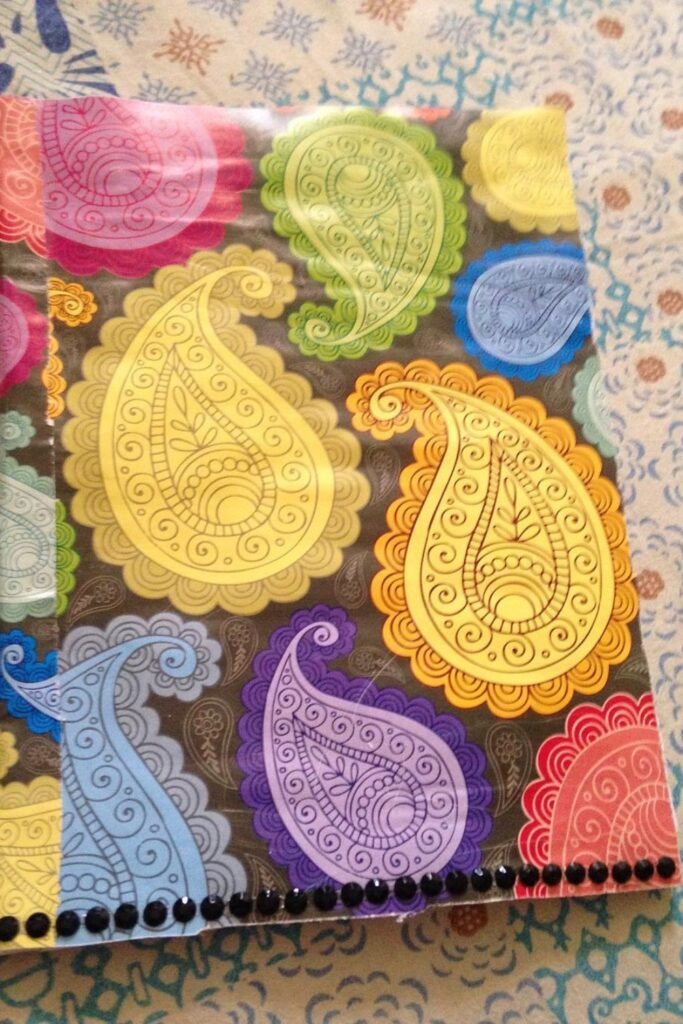
Bold Paisley Cover
Busy patterned paper can do most of the decorating for you, so choose one strong print rather than layering several competing materials.
Wrap the pattern neatly around the cover edges, pressing each corner firmly before trimming away excess paper that could eventually start peeling.
A simple row of small gems along one edge adds texture without hiding the paisley design or making the notebook uncomfortable to hold.
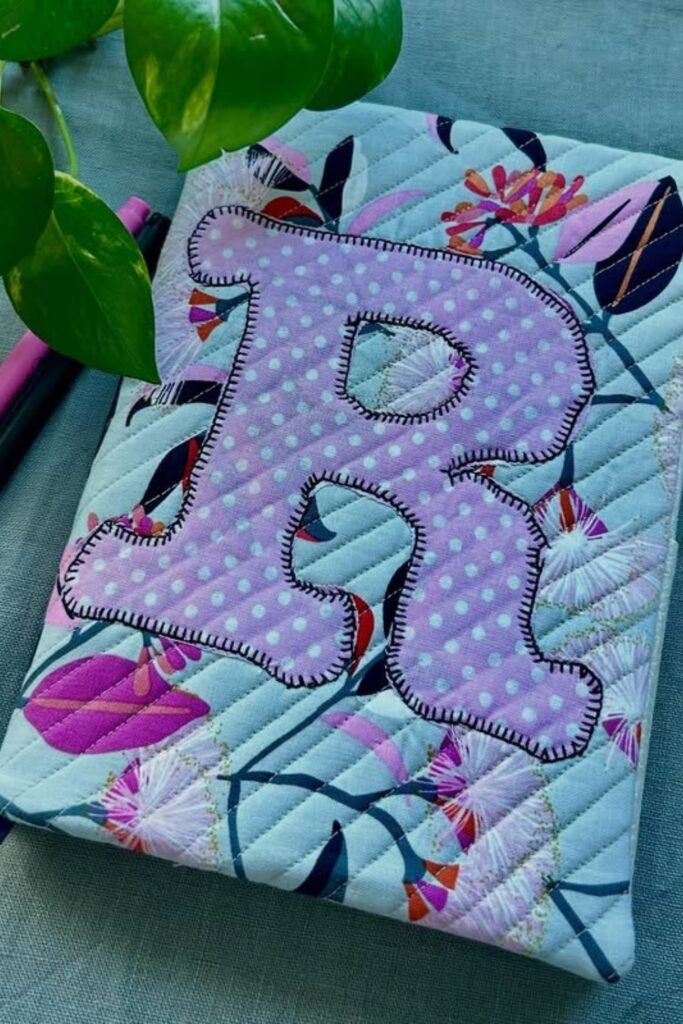
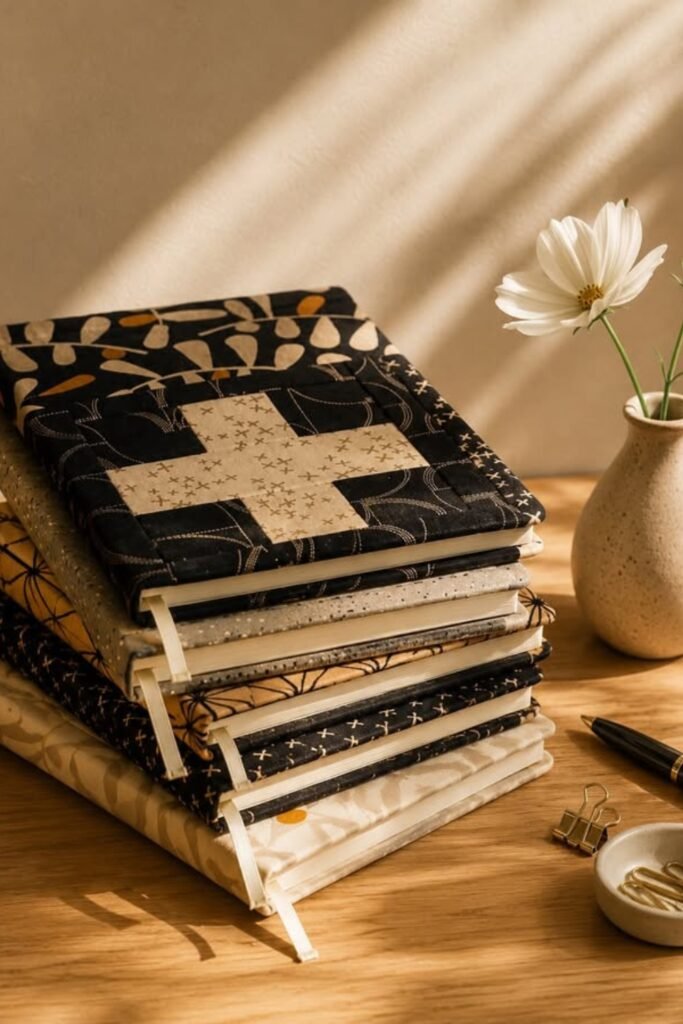
Quilted Initial Cover
Make a reusable cover feel truly personal by appliquéing one oversized initial onto quilted fabric instead of adding lots of smaller decorations.
Stitch around the letter with a contrasting thread, which secures the raw edges while giving even a simple fabric shape handmade character.
Add light batting beneath the outer fabric before quilting; it creates that soft padded finish while still keeping the notebook easy to carry.
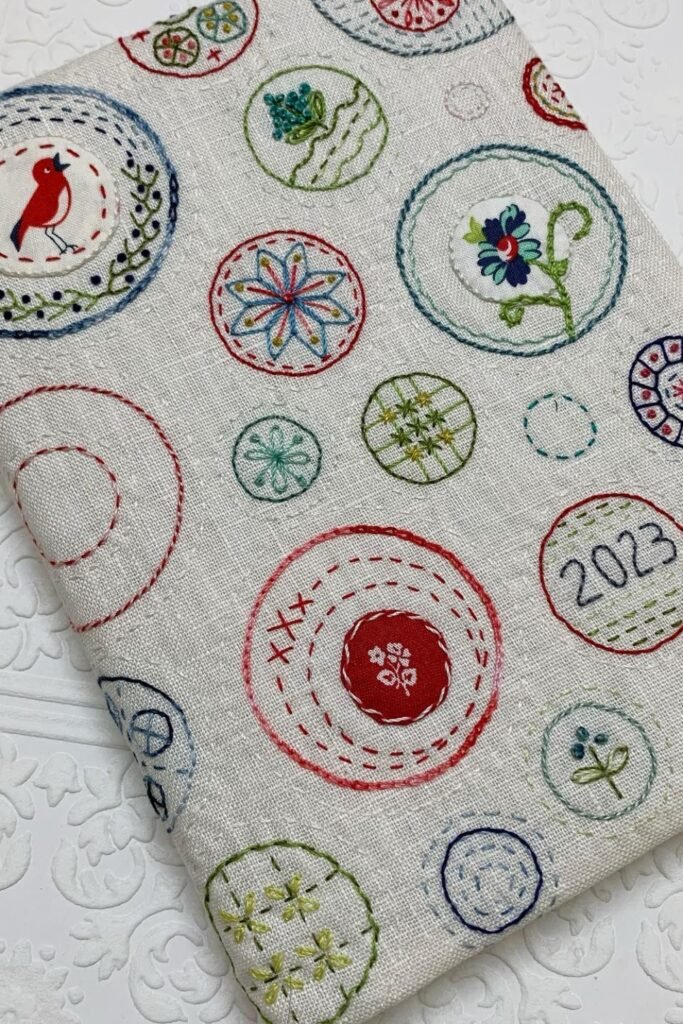
Embroidered Linen Cover
Plain linen gives embroidery room to shine, so sketch several loose circles first and fill only selected areas with tiny stitched motifs.
Mix running stitches, flowers, French knots, and small fabric appliqués rather than repeating one technique across the entire notebook cover surface.
Keep thicker embroidery away from folded edges, where extra thread can create bulk and make a fitted fabric cover harder to close neatly.
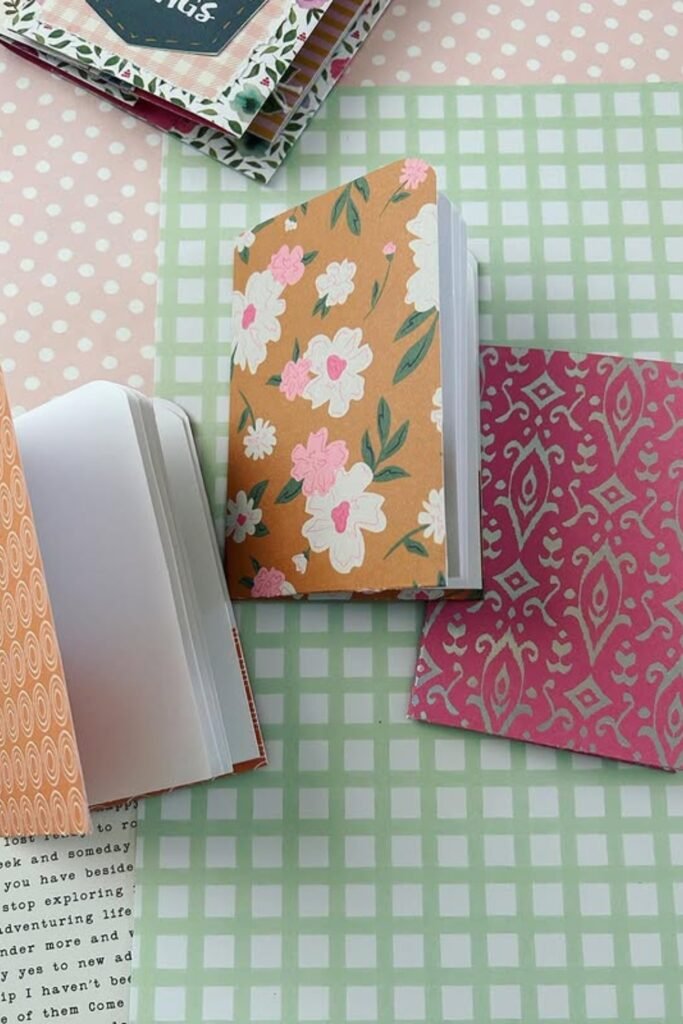
Scrapbook Paper Covers
Scrapbook paper is an easy shortcut for covering small notebooks because the pattern already provides detail without requiring extra painting or decorating.
Trace your notebook onto the paper before cutting, then round the corners to match the original cover for a cleaner finished edge.
Use strong double-sided adhesive near every edge instead of relying only on the center, since loose corners are usually first to peel.
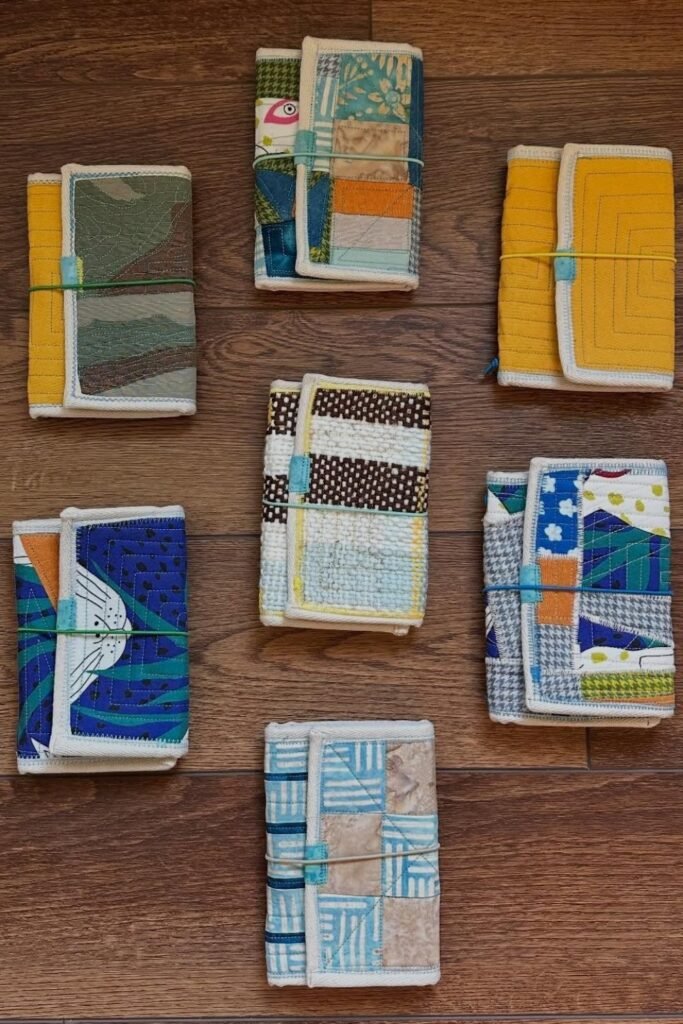
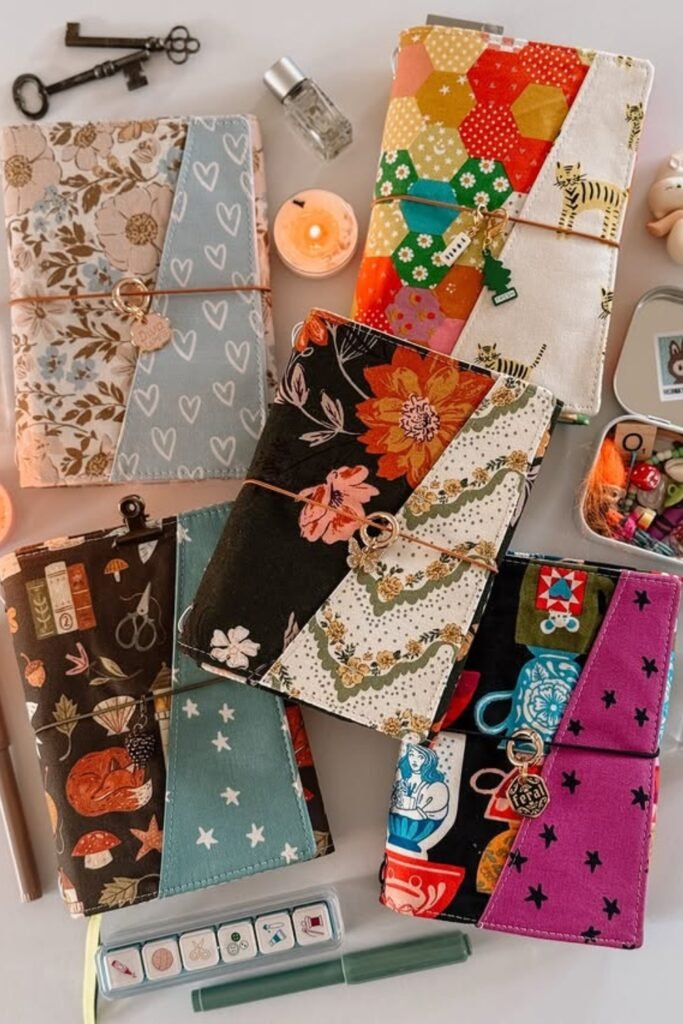
Scrap Fabric Wraps
Those awkward fabric scraps left after sewing projects are perfect for small reusable covers, especially when you combine contrasting pieces instead of matching.
Piece the scraps together first, then add lightweight interfacing behind them so the finished cover keeps its shape through regular opening and closing.
A simple elastic loop around the middle gives these covers an easy closure and avoids adding buttons or hardware that creates unnecessary bulk.
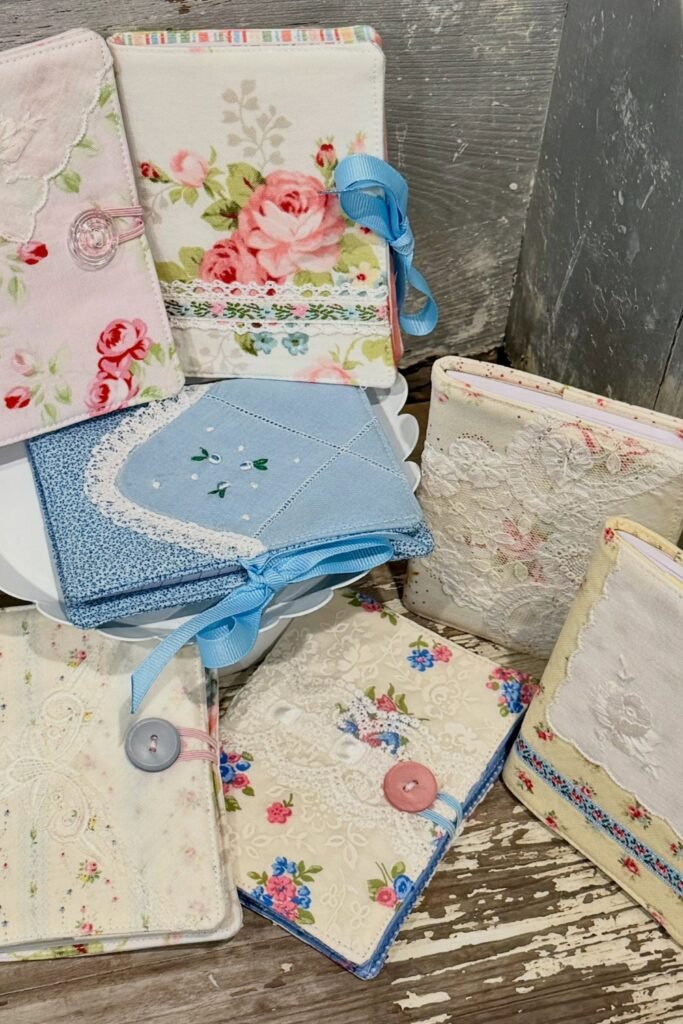
Vintage Lace Covers
Old lace, embroidered linens, and tiny floral fabrics can turn simple journals into something special, so check your scrap basket before buying supplies.
Layer lace over a sturdier cotton base rather than using it alone, which protects delicate stitching and gives the notebook cover better structure.
Ribbon ties and button loops suit this softer construction nicely, while also keeping stuffed journal pages from making the finished notebook fall open.
Built-In Fabric Pocket
A wide fabric pocket makes your cover work harder, giving you an easy place for loose notes, receipts, stickers, or small stationery.
Sew the pocket onto the outer panel before assembling the cover, because adding it afterward makes neat stitching around the edges much harder.
Choose a coordinating fabric rather than an exact match; subtle pattern changes make patchwork interesting while keeping the finished notebook visually connected.
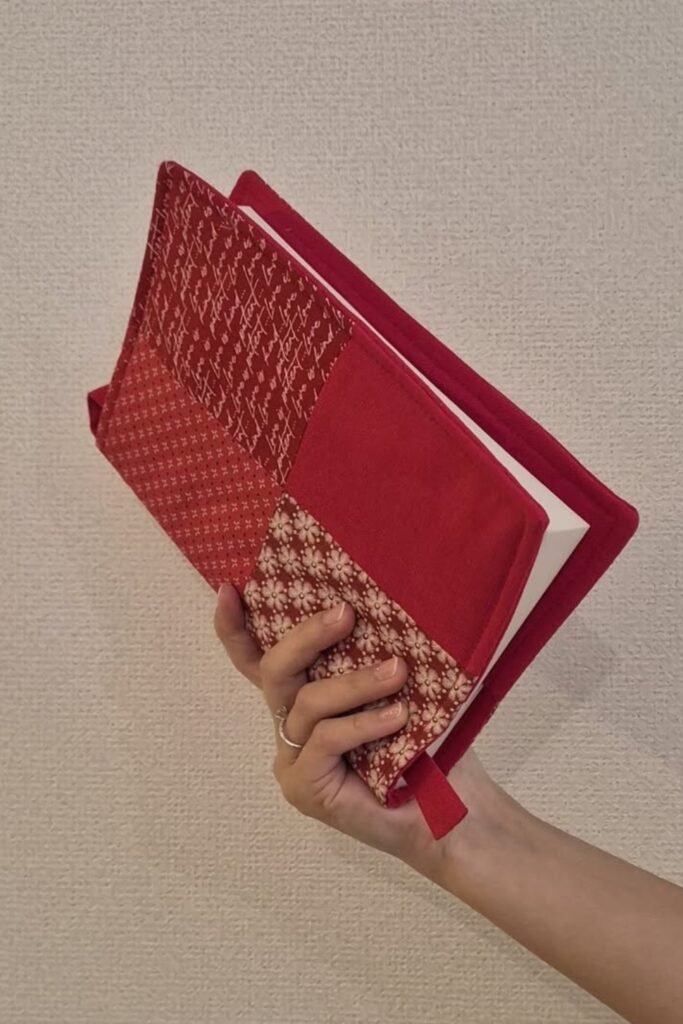
Mix-and-Match Patchwork
Forget perfectly matching fabrics here; combining florals, geometrics, novelty prints, and solids makes each reusable cover feel completely one of a kind.
Start with larger scraps and fill smaller spaces afterward, which makes arranging the patchwork easier without creating dozens of unnecessary tiny seams.
Wrap an elastic cord around the finished cover for a flexible closure, then add one lightweight charm whenever you want extra personality.
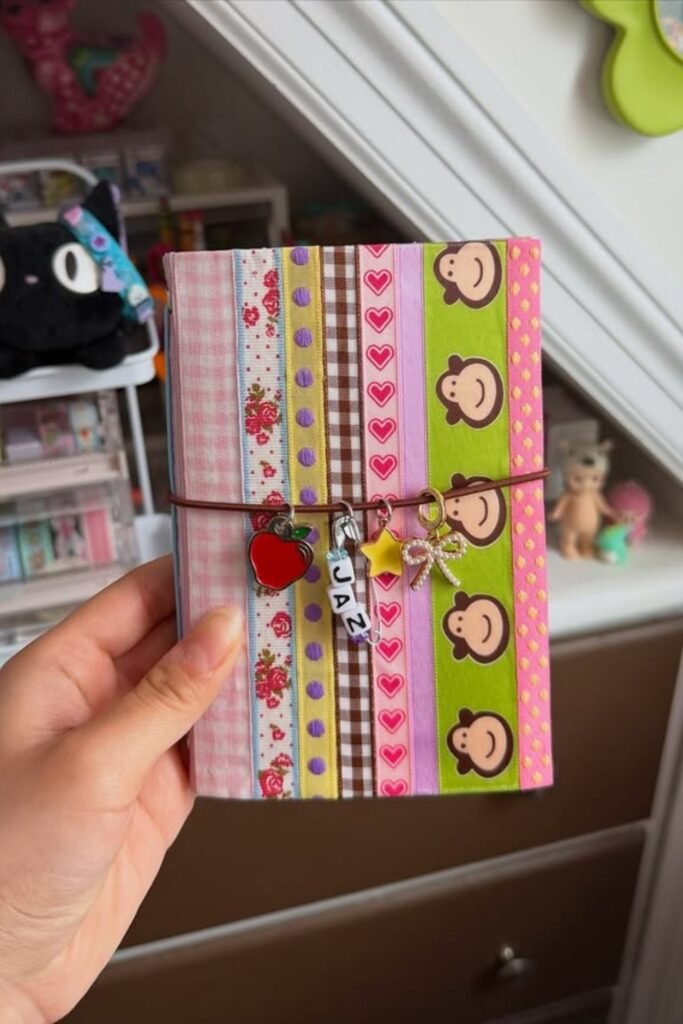
Ribbon Strip Cover
Leftover ribbon becomes surprisingly useful when arranged in vertical strips, especially if your scrap collection contains patterns too narrow for bigger projects.
Line the ribbons tightly beside each other over sturdy fabric, then stitch or glue their edges down so frequent handling cannot shift them.
Once the background feels playful enough, stop decorating and add just a few removable charms along the elastic closure for personal detail.
Graphic Painted Covers
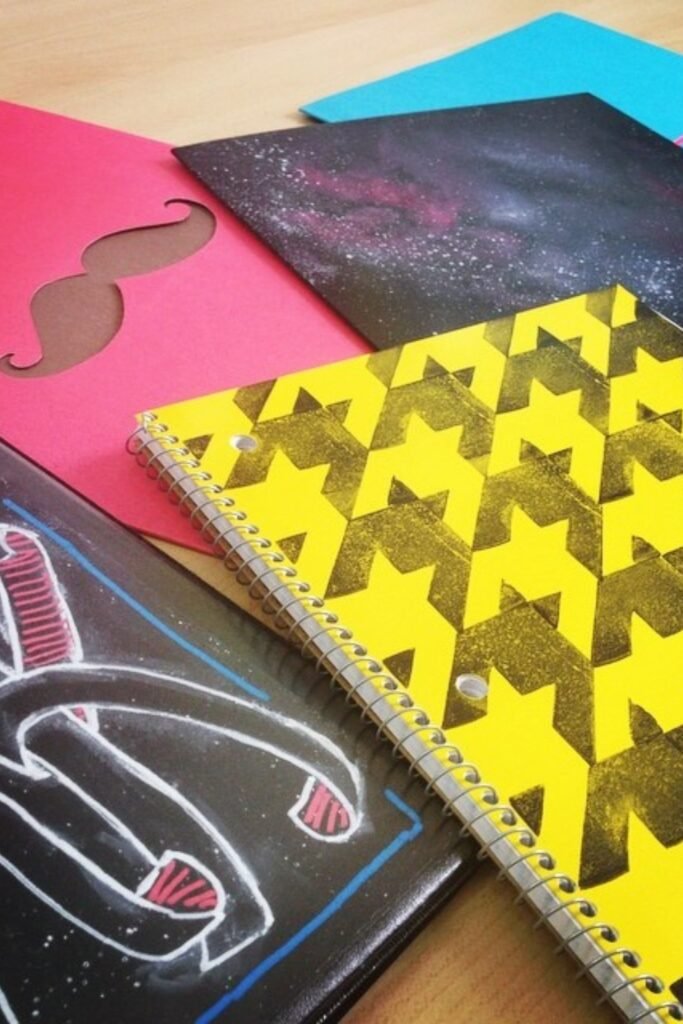
Simple shapes can make inexpensive notebooks look completely different, and you do not need advanced painting skills to create a strong design.
Use masking tape, homemade stencils, or traced templates for repeated patterns, then build thin paint layers instead of applying one heavy coat.
Let every painted layer dry before closing the notebook, and seal frequently handled covers so the design survives rubbing inside a school bag.
Airmail Collage Cover
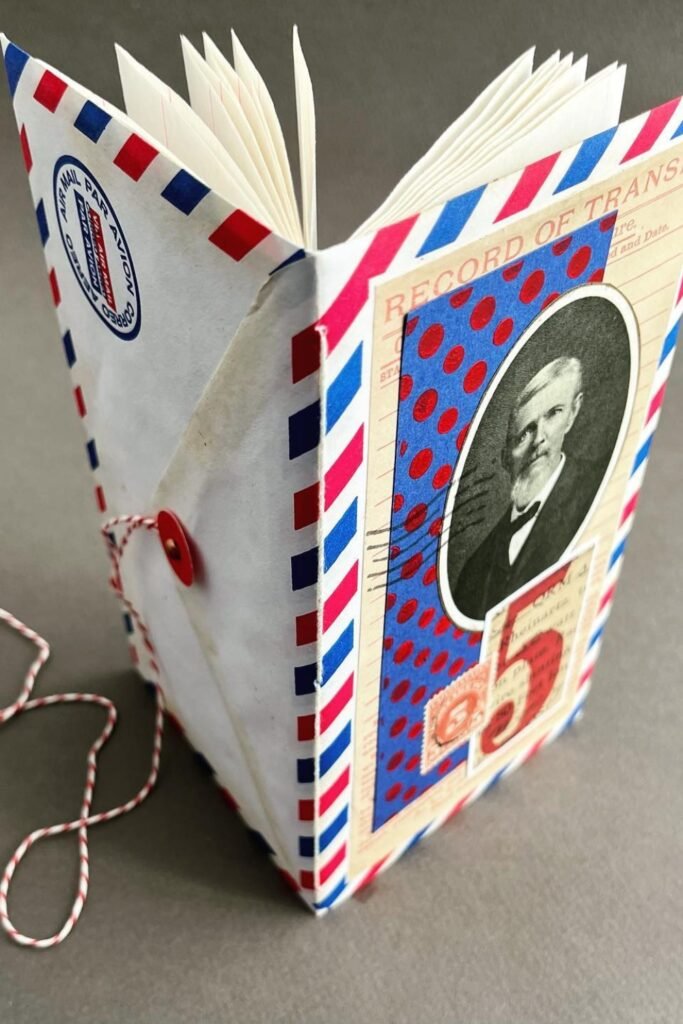
Old envelopes, stamps, tickets, and photocopied portraits can become a story-filled cover instead of disappearing into your paper scrap drawer.
Arrange the largest paper piece first, then overlap smaller ephemera around it, keeping important details away from edges that need trimming.
Finish the collage with clear sealer and a simple button-and-string closure, which adds function without competing with all those layered paper details.
Botanical Border Cover
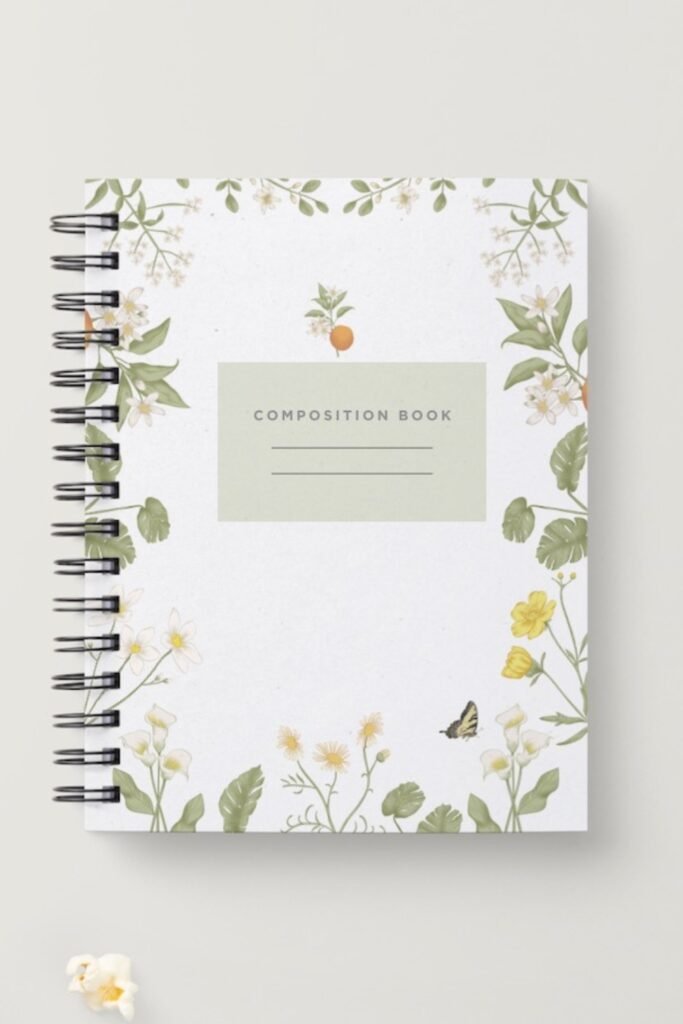
Leave some breathing room when decorating with botanical prints; a wide white center makes delicate flowers feel intentional rather than overly busy.
Print or cut small leaves and flowers, arranging them around the outer edge before committing with glue or permanent adhesive sheets.
Reserve the middle for a simple label, making this approach especially practical for school subjects, recipe books, journals, or organized project notes.
Structured Fabric Wrap
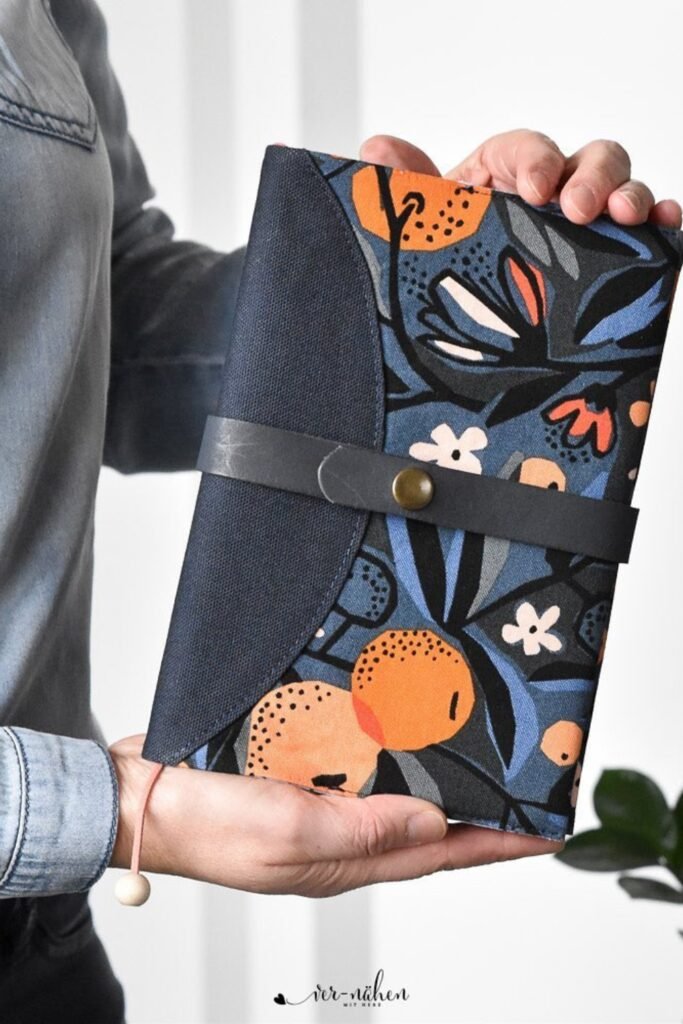
A fabric cover feels much sturdier when you combine a patterned outer panel with a solid reinforced section around the spine and closure.
Add interfacing between fabric layers before sewing, then test the notebook inside before topstitching so the finished wrap never fits too tightly.
A snap-fastened strap handles daily use better than decorative ribbon, making this style worth trying for journals you carry outside the house.
Front Pocket Organizer
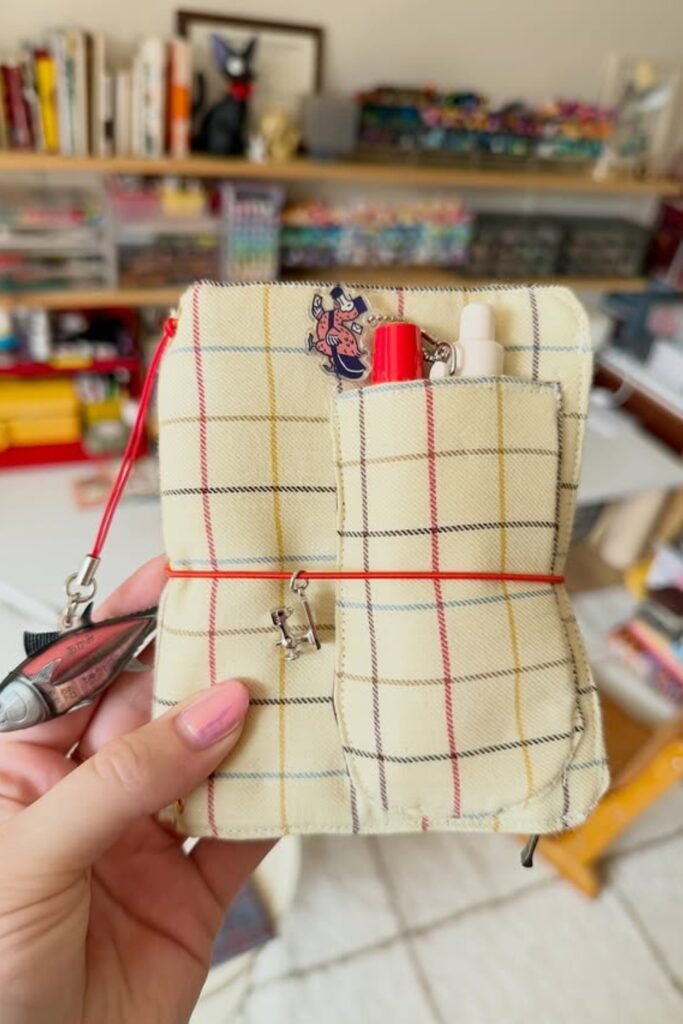
Give a small notebook extra purpose by sewing a roomy front pocket that can hold pens, clips, stickers, or frequently used supplies.
Position the pocket before assembling the outer cover, then divide it with vertical stitches whenever you want separate slots for smaller stationery.
Stretch an elastic cord around the middle for quick closure, leaving bulky charms optional so the pocket remains comfortable when completely filled.
Leather Pen Holder
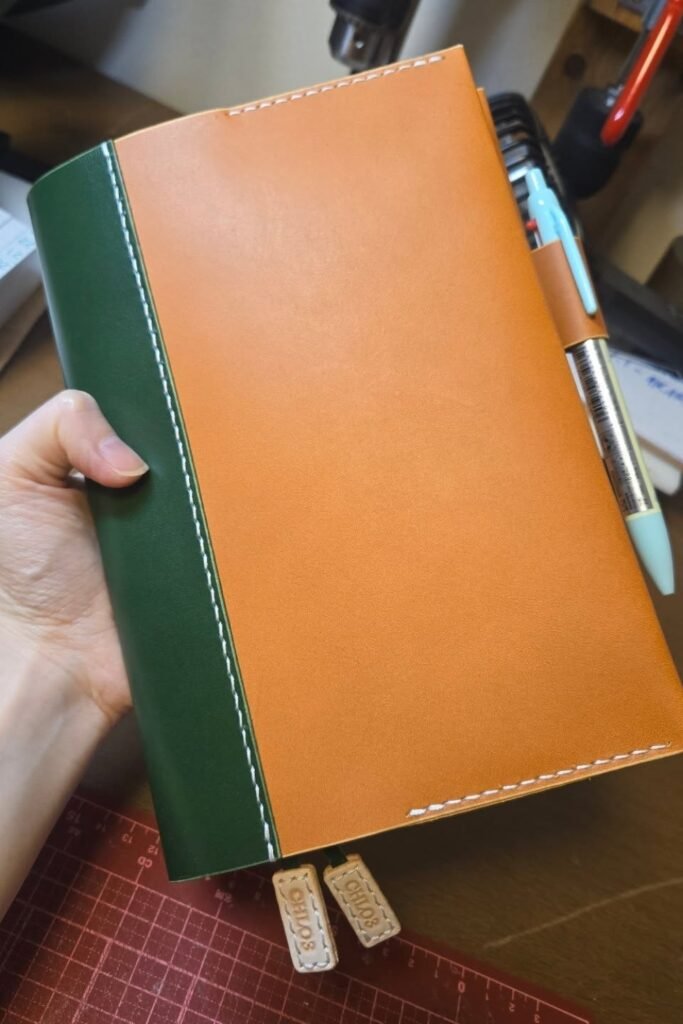
A smooth leather cover is worth making for a notebook you carry daily, since the material protects corners without adding much bulk.
Build a slim pen loop into the outer edge before stitching, checking its width with your favorite pen so it stays secure.
Pair two leather shades when scraps are limited; the contrasting spine looks intentional while helping you use smaller leftover pieces efficiently.
Scrapbook Paper Wrap
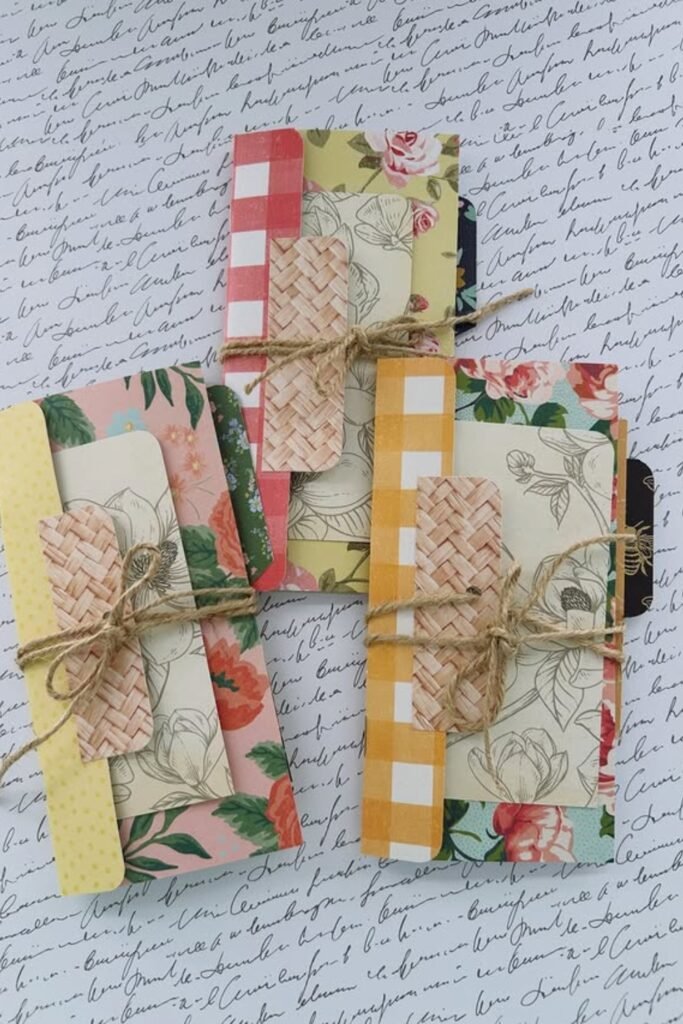
Mixing several scrapbook papers is an easy way to use leftovers, especially when florals, checks, and neutral prints share similar tones.
Cut a sturdy cardstock base first, then layer patterned pieces over it with slight overlaps so no unfinished joins show through later.
Wrap jute around the notebook instead of attaching permanent hardware, giving you a simple closure that can be loosened as pages expand.
Hand-Painted Florals
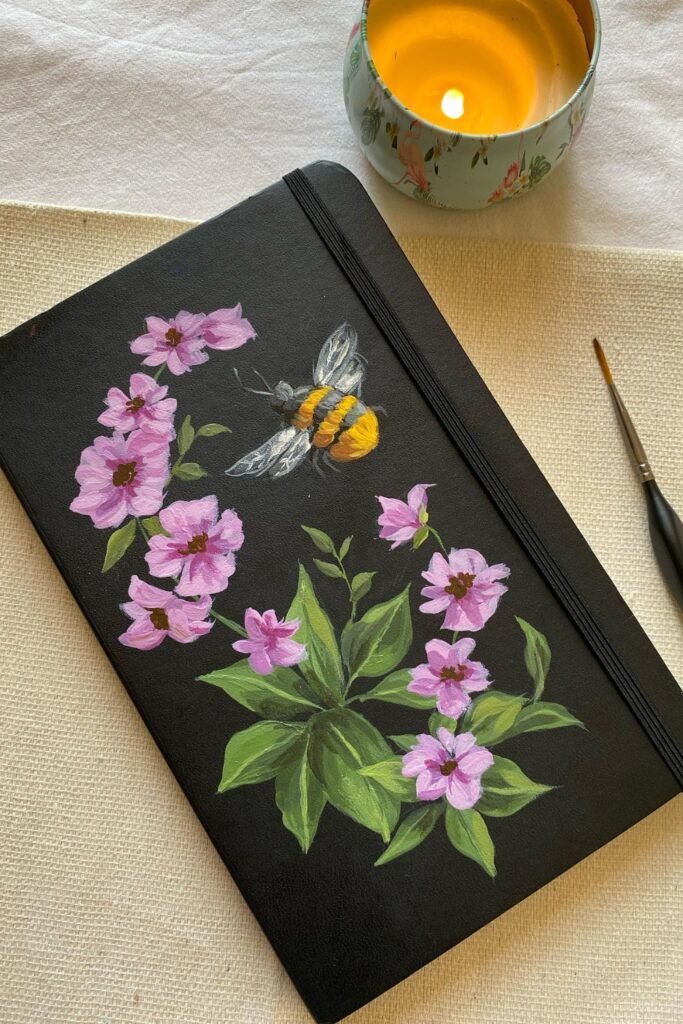
Dark notebook covers make colorful hand-painted details stand out beautifully, so you can transform a plain journal without covering the entire surface.
Sketch flowers and your main motif lightly first, then build acrylic paint in thin layers so leaves, petals, and details stay controlled.
Leave some original cover visible around the artwork; that negative space keeps detailed botanical painting balanced and makes each handmade element noticeable.
Quilted Fabric Covers
Quilted covers are ideal for using coordinated fabric scraps, while the padded layers give everyday notebooks extra protection without making them feel bulky.
Piece contrasting prints together before quilting, then wrap the finished panel around your notebook so seams stay flat along the opening edges.
Add a ribbon bookmark before finishing the cover; it is a small detail that makes handmade journals noticeably more practical for daily writing.
FAQs
What Material Works Best for a DIY Notebook Cover?
It depends on how you use your notebook. Scrapbook paper and contact paper are beginner-friendly, while fabric or leather works better for reusable covers.
If your notebook travels in a backpack, choose something durable and reinforce the corners and edges where wear usually starts.
How Do I Keep a DIY Notebook Cover From Peeling?
Pay extra attention to the edges instead of simply adding more glue everywhere. Use an adhesive suited to your chosen material, smooth the cover firmly, and let it dry completely.
For paper or painted designs, adding clear contact paper or an appropriate protective sealer can help the surface handle everyday use.

Hi, my name is Ali Mehmood! I’m a passionate writer and DIY enthusiast who loves turning creative ideas into practical, hands-on projects.
I created this website to share inspiring, budget-friendly ideas that you can do yourself – whether it’s organizing your home, crafting something unique, or creating fun projects for kids and pets.
I believe DIY isn’t just a hobby – it’s a smart way to save money, reduce waste, and enjoy the satisfaction of making things with your own hands.
I’m excited to have you as part of this growing community, and I’ll continue bringing you helpful, realistic, and fun DIY ideas you can actually use.