

This post may contain affiliate links: read full affiliate disclosure.
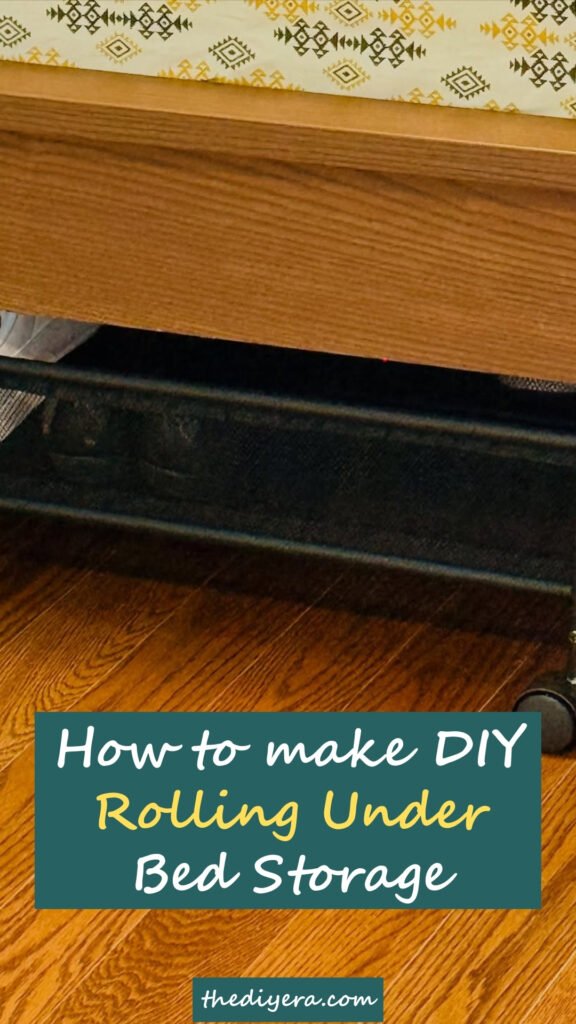
If you have ever pushed boxes under your bed, you know the hassle. They get stuck, gather dust, and pulling them out feels like a workout.
The truth is, that space could solve your storage problems if it were easier to use. That is where rolling under-bed storage comes in.
With just a few wooden boards, four wheels, and an afternoon of your time, you can build a storage box that slides out smoothly every time.
In this guide, I will show you how to measure, build, and upgrade your own rolling storage so you can finally make smart use of that wasted space.
Why Rolling Storage Solves a Real Problem
The space under your bed is valuable, but most people let it go to waste.
When you push boxes or bins under there, they scrape the floor, get stuck on the carpet, or end up so far back that you forget what is inside.
Rolling storage solves all of that. A box with wheels slides out easily with one hand, so you can grab what you need without bending or struggling.
It also makes cleaning simple, just roll everything out, vacuum, and slide it back in.
For small bedrooms, dorm rooms, or kids’ rooms, this one change can free up as much space as a whole closet without needing extra furniture.
Save this article for later
Step By Step to Make the Rolling Bed Storage
Images are sourced from Average Joe’s Joinery YouTube Channel to help my readers visualize these steps. You can check out their channel for more inspiration and detailed guides.
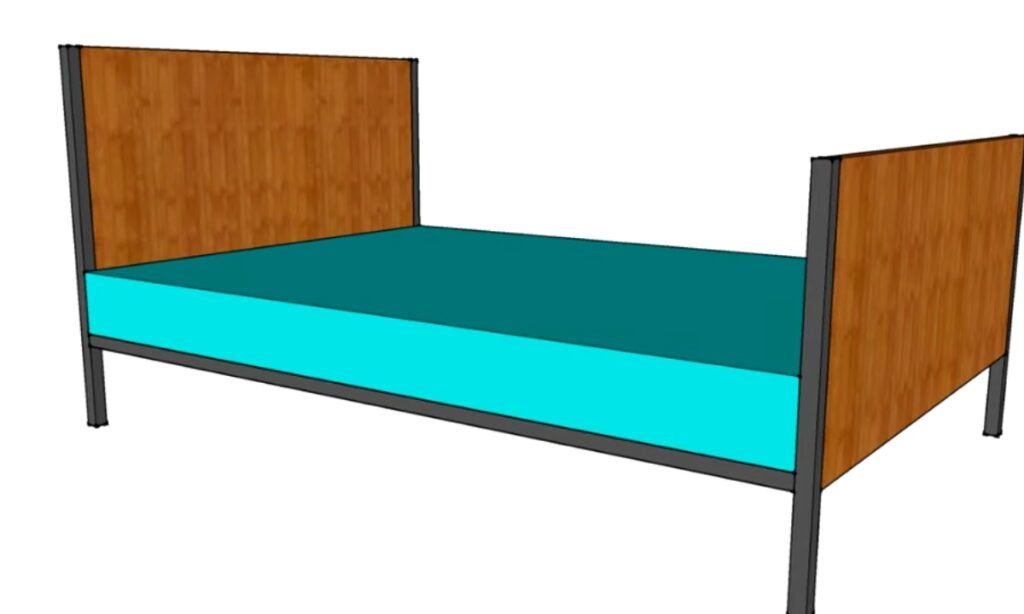
1. Measure the Space
Take your tape measure and check the height from the floor up to the bed rail. Next, measure the width between the bed legs.
Make sure you leave small gaps for clearance when you build your storage. Remember to add extra space if you plan to put wheels on your storage unit.
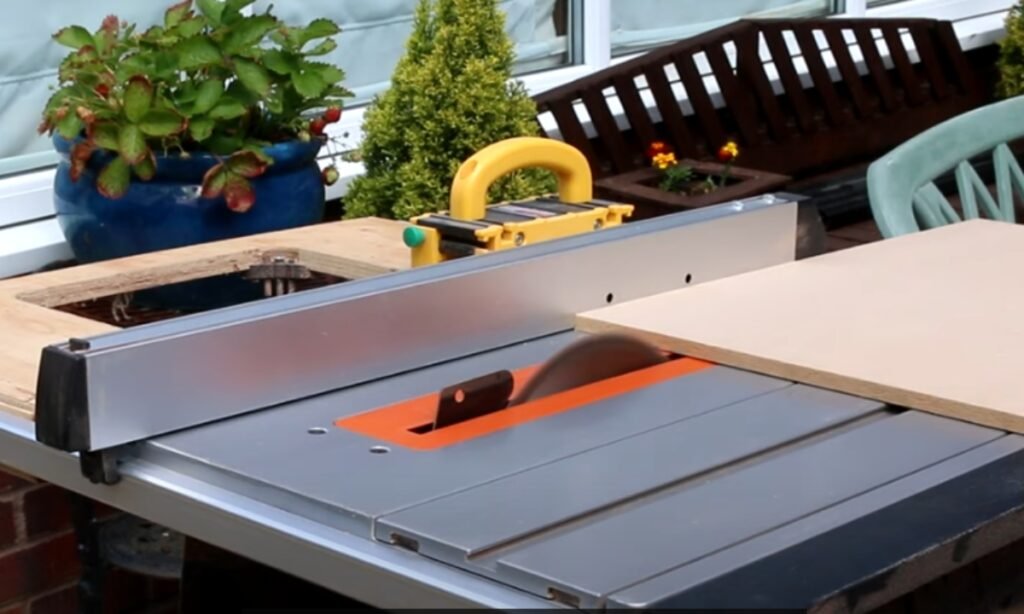
2. Cut the Wood
Use MDF that measures 12mm or 18mm thick. Cut all your pieces to the right size using a table saw or circular saw.
Keep your cutting list close by so you can make sure every piece fits together the way it should.
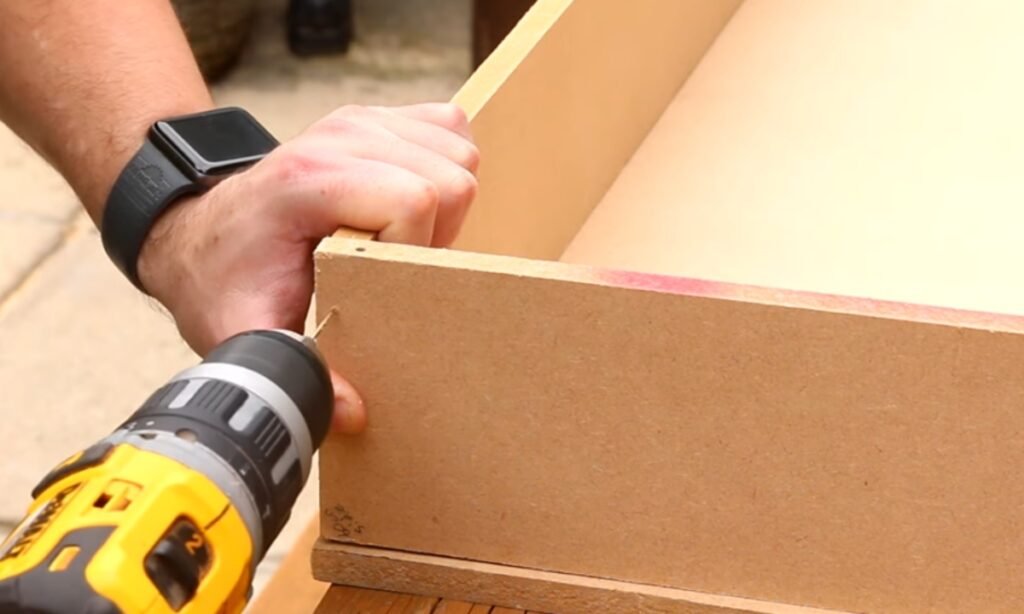
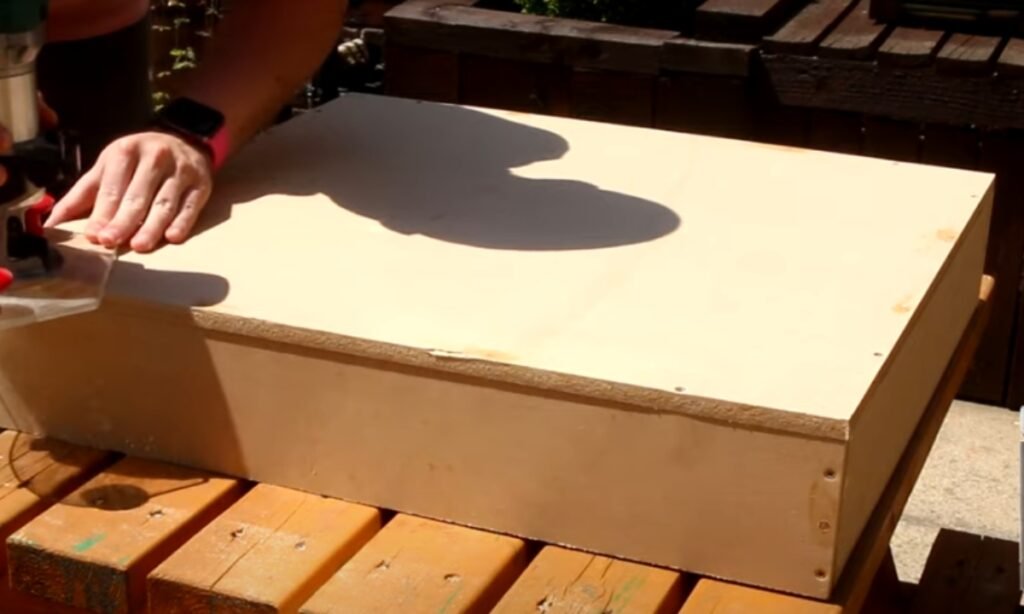
3. Build the Frame
Put down the base and attach the front, back, and side panels using glue and screws. Make sure you drill pilot holes first to prevent the wood from splitting.
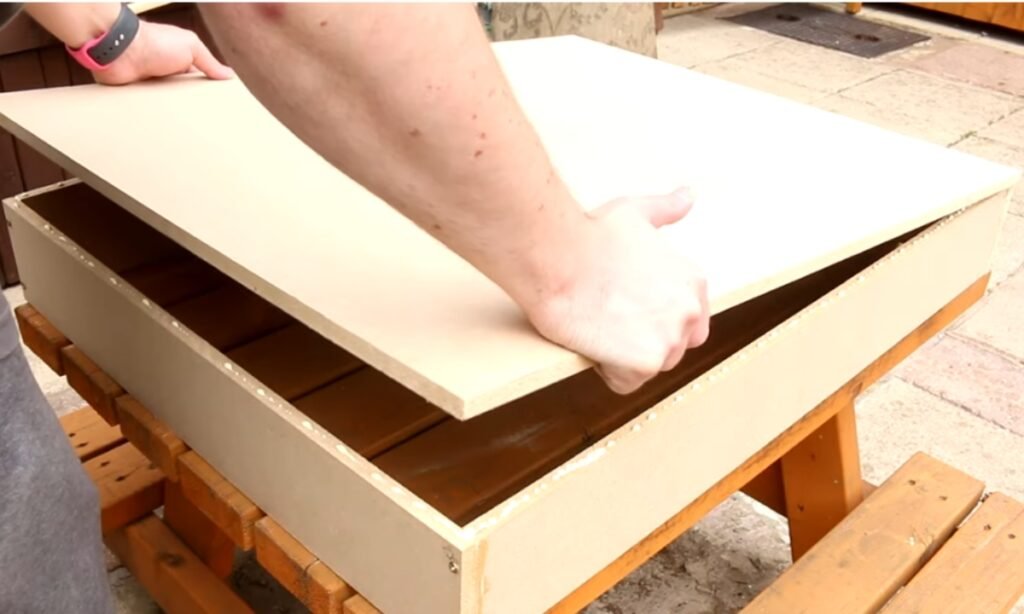
4. Attach the Bottom
Turn the frame upside down, apply glue along the edges, and attach the bottom panel with screws. This makes a sturdy box that will serve as your drawer.
5. Reinforce with Dowels
Make holes between the screws. Apply glue to wooden dowels. Hammer the dowels into the holes until they sit flush with the surface.
This method will make your drawer much stronger.

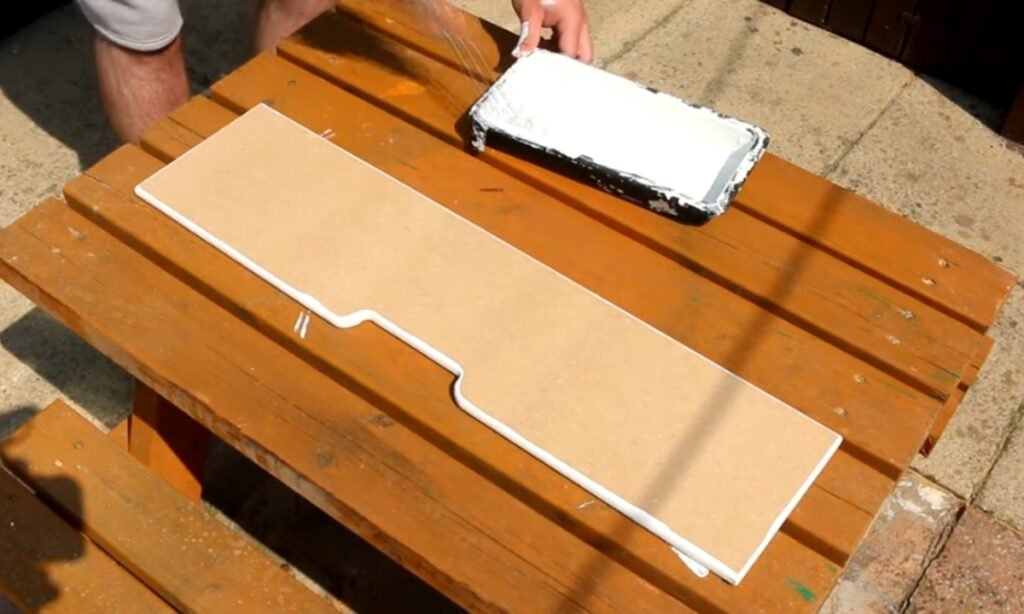
6. Smooth and Shape
You can sand the edges by hand or use a router to make them smooth and rounded.
If you want handles built into your drawer fronts, cut them out using a jigsaw or a template to guide you.
7. Paint and Finish
Apply two coats of eggshell wood paint. Sand lightly between each coat. Wait for the paint to dry completely.
Then glue the drawer fronts onto the surface. Finish by applying a protective spray coat over everything.
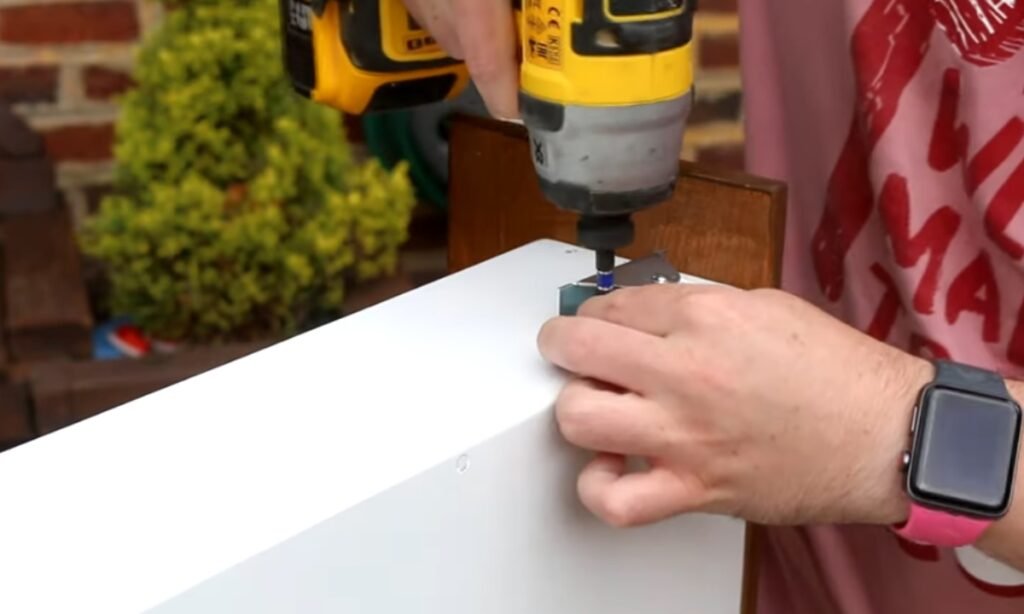
8. Add Wheels and Slide In
Screw the wheels into the bottom corners to make the drawers roll smoothly. Slide the drawers under your bed, fill them with your items, and the job is done.
How Do You Keep It Rolling Easily?
Once you have built rolling storage, a little care will keep it working well for years. Dust and dirt are the main problems,they clog the wheels and can scratch your floor.
The solution is easy: every few weeks, roll the box all the way out and clean the wheels with a damp cloth. If the wheels squeak, add a drop of light oil to the caster joints.
On hardwood floors, check for dirt or sand along the path and vacuum it before sliding the box back in.
For fabric storage inside, place a small cedar block or lavender sachet to keep things fresh. These simple steps will make sure your storage stays easy to use and safe for your floors.
Conclusion
The space under your bed does not have to sit empty or collect dust.
With a basic rolling box, you can turn it into storage that you can reach easily, clean without trouble, and count on for years.
You only need a few materials, some wheels, and simple steps to build something that really helps your day-to-day life. After you put it in place, you will ask yourself why you did not make it earlier.
FAQs
How much weight can rolling under-bed storage hold?
It depends on which wheels you pick. Most small casters hold 30 to 50 pounds each, so a box with four wheels can safely carry about 100 to 150 pounds.
If you want to store heavy things like books, choose stronger casters and use thicker plywood for the bottom.
How do I stop dust from getting into the storage boxes?
The simplest solution is to add a lid or fabric cover. You can also line the inside with zip-lock bags or storage bins for better protection.
If you worry about allergies, use sealed containers and add a cedar block or lavender sachet to keep everything fresh while keeping dust out.
You may also like to read!
- How to Make DIY Pegboard Tool Organizer
- How to Make DIY Sewing Table – Ultimate Guide
- How to Build a Floating Shelves DIY Step By Step

Hi, my name is Ali Mehmood! I’m a passionate writer and DIY enthusiast who loves turning creative ideas into practical, hands-on projects.
I created this website to share inspiring, budget-friendly ideas that you can do yourself – whether it’s organizing your home, crafting something unique, or creating fun projects for kids and pets.
I believe DIY isn’t just a hobby – it’s a smart way to save money, reduce waste, and enjoy the satisfaction of making things with your own hands.
I’m excited to have you as part of this growing community, and I’ll continue bringing you helpful, realistic, and fun DIY ideas you can actually use.


