This post may contain affiliate links: read full affiliate disclosure.
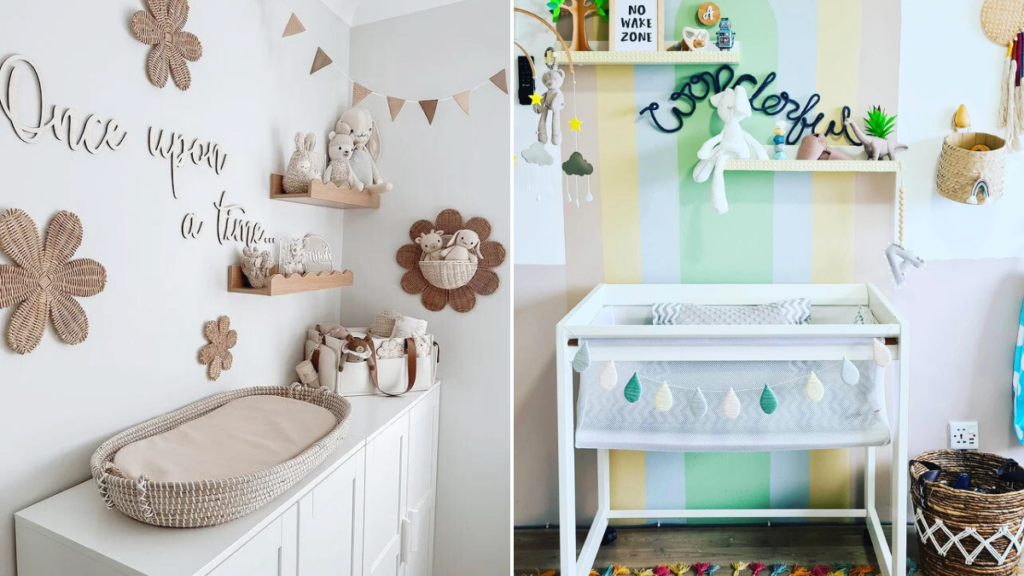
Every parent wants a nursery that feels warm, safe, and personal. But finding the right baby mobile can be frustrating.
Store-bought ones are often too expensive, poorly made, or do not match your style. Then there are the worries: Is it safe? Will it hang straight? Will it actually keep your baby’s attention?
You do not have to settle for something that does not work. Making a baby mobile at home is easy, affordable, and completely customizable.
In this article, I will show you the safest materials to use, simple step-by-step instructions, and quick fixes for common problems like tilting or poor balance.
Let’s jump into it!
Why Make a Baby Mobile at Home?
Making a baby mobile at home gives you complete control. You can pick the colors, shapes, and style that match your nursery instead of settling for a store-bought design. It adds a personal touch because every piece you make feels special and meaningful.
It also helps you save money. Most craft supplies like felt, paper, or wooden beads cost much less than a mobile from the store. You can even use materials you already have at home.
Most importantly, a homemade mobile helps your baby’s development. The movement and colors improve visual tracking, focus, and brain growth during the early months.
Since you make it yourself, you know exactly what materials are used, making it safer and more reliable.
Save this article for later
How to Balance Your Mobile the Right Way?
Getting a mobile to hang straight can be tricky if you do not balance it properly. Start by working from the bottom up.
Attach two pieces to one arm and slide the hanging point until both sides look even. Then, move that balanced arm up to the next level and repeat the process.
Always make adjustments before tying the knots tightly. Use pieces that are similar in weight to keep everything steady, and make sure the string lengths are the same.
Hold the mobile by the top string and let it dangle. If it hangs level and sways gently, you have got the balance just right.
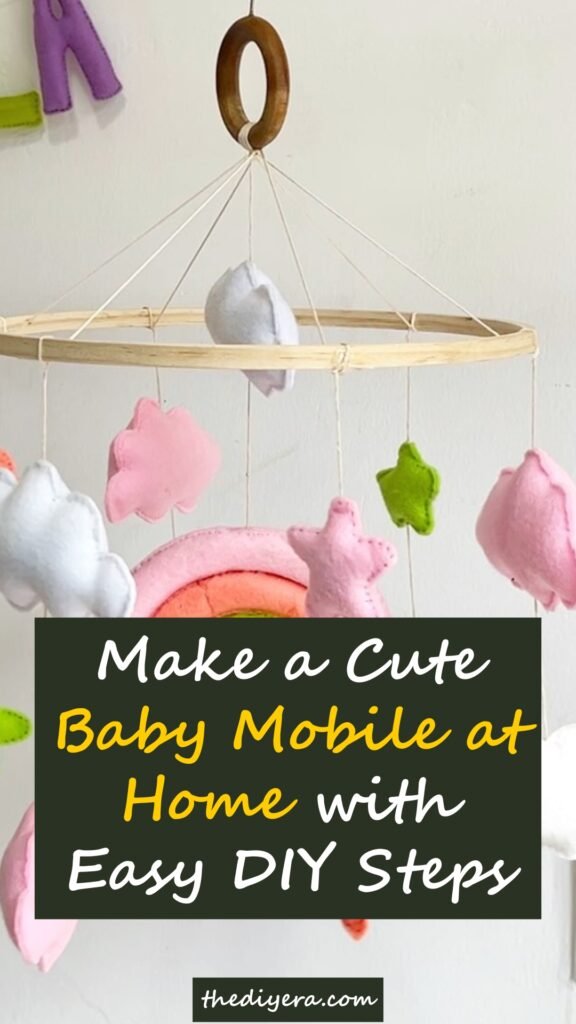
Step By Step Guide to Make a Baby Mobile at Home
Images are sourced from Helis Toys Studio YouTube Channel to help my readers visualize these steps. You can check out their channel for more inspiration and detailed guides.
1. Gather Your Materials
You can start by gathering everything what you need.
Get soft fabrics in pastel colors, cotton stuffing, a needle and thread, scissors, and a wooden hoop or frame for the mobile base.
Having all your supplies ready from the beginning will make the process much easier.
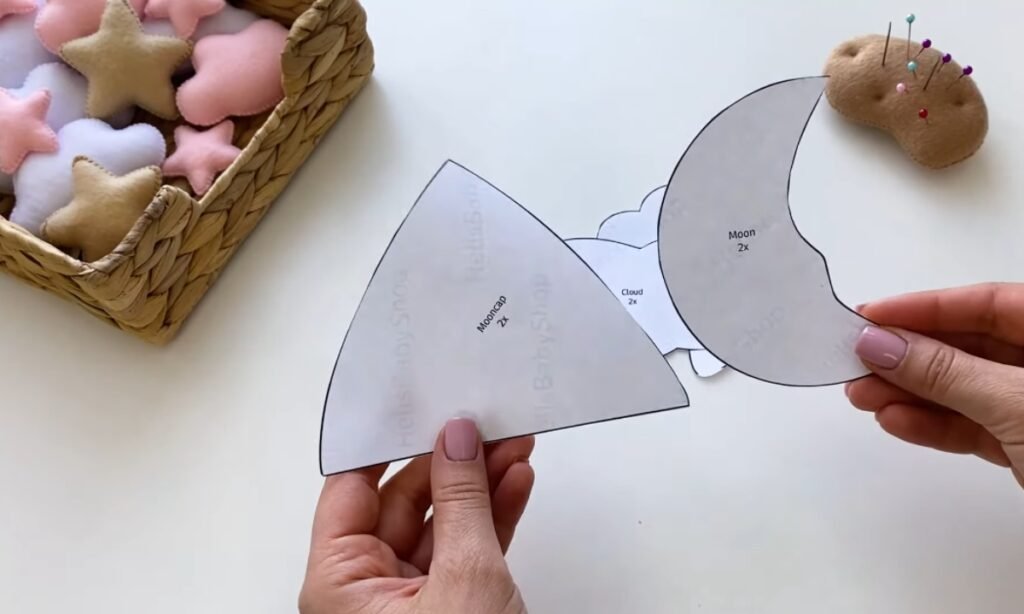
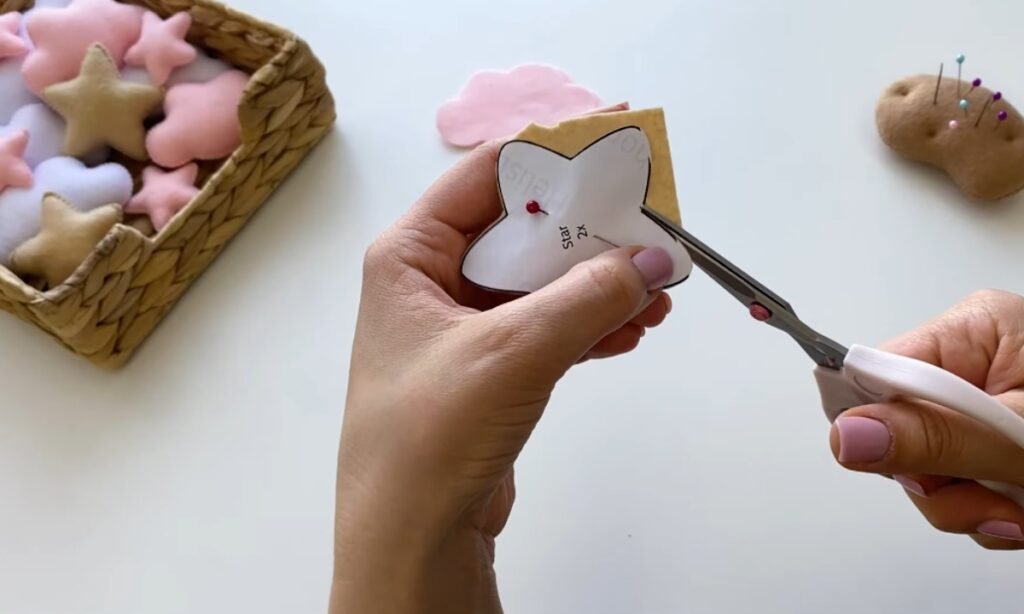
2. Cut Out the Shapes
Next, you can trace and cut out the shapes for your mobile. Choose clouds, stars, and a moon to make it playful and dreamy.
Remember to cut two identical fabric pieces for each shape because they will be sewn together and stuffed.
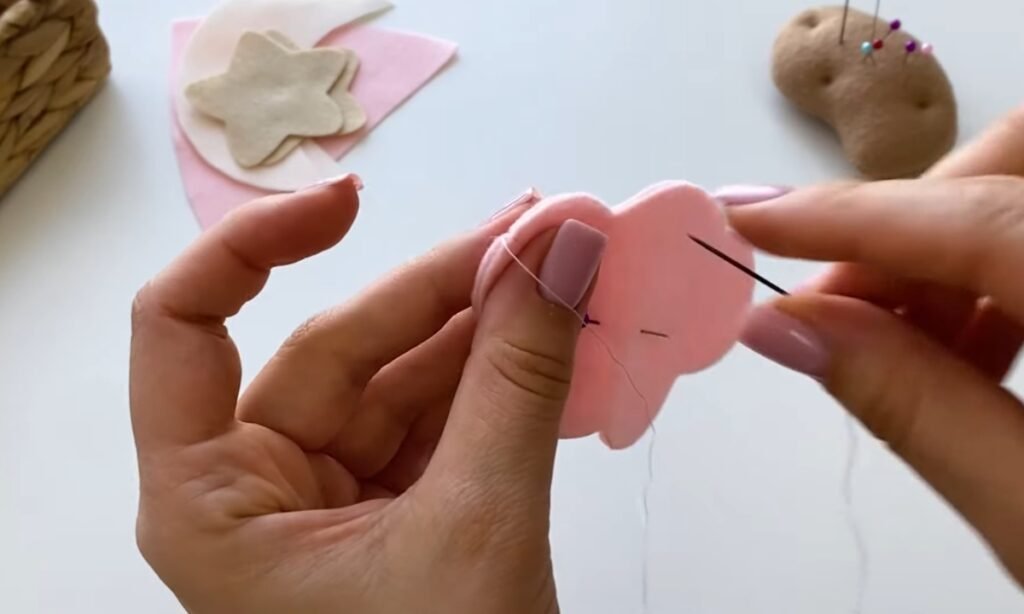
3. Sew the Cloud
Take the two cloud cutouts and align them together. Start stitching around the edges, but leave a small opening.
Most of the stitching is done, fill the cloud with soft stuffing to make it look puffy. Finally, close the gap with neat and tidy stitches.
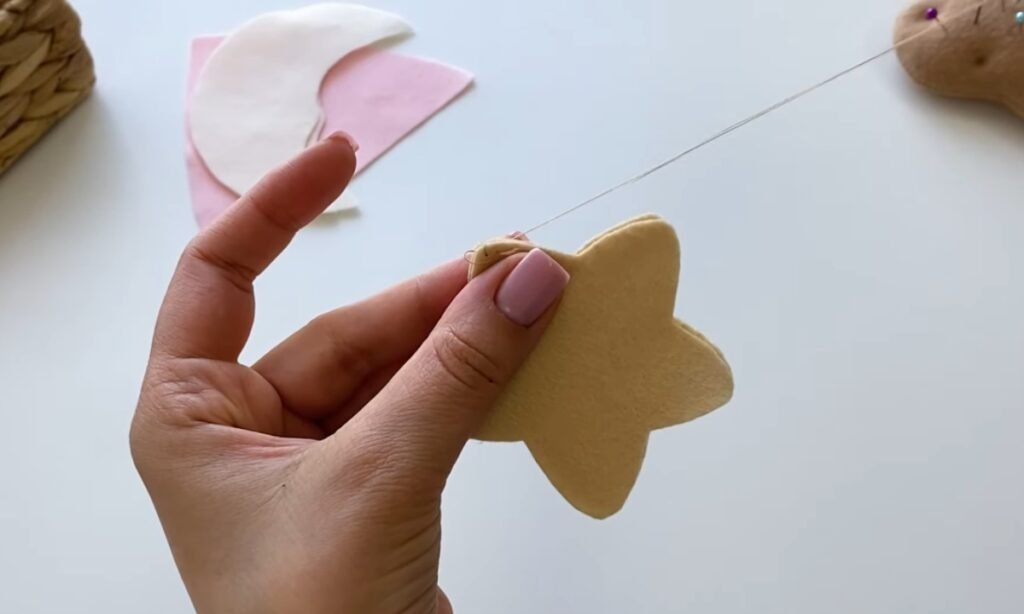
4. Sew the Star
Now move on to the star. Just like the cloud, align both fabric pieces, sew around the edges, and leave a small opening.
Stuff it lightly to keep it soft but still structured, and then finish off the stitching.
5. Sew the Moon
Now, do the same thing for the moon shape. Sew carefully along the curved sides to help it keep its form.
Push stuffing inside, and then sew the opening shut. This piece will be the star of your mobile.
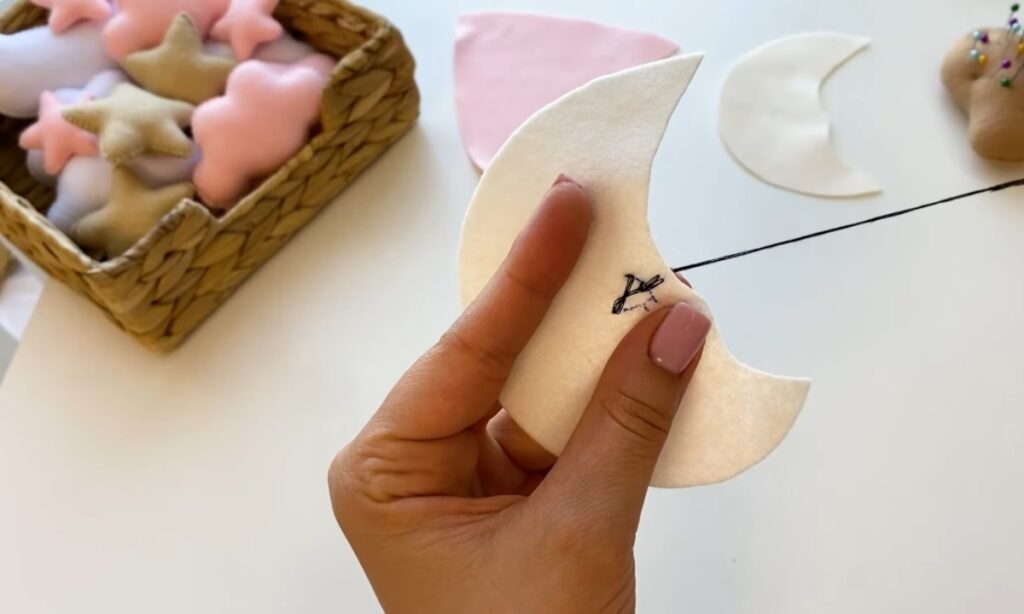
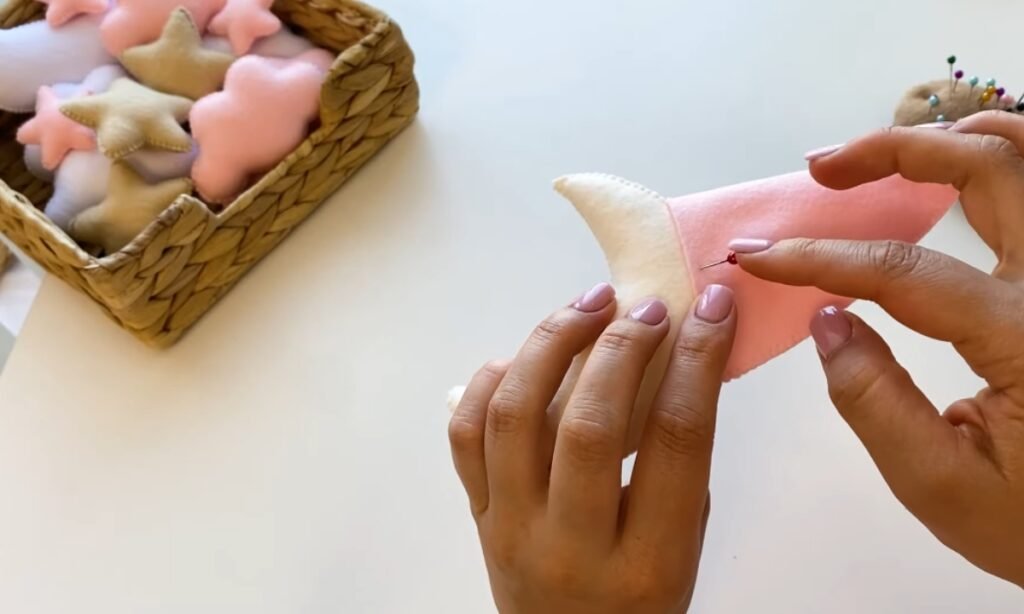
6. Add a Cap to the Moon
To add some charm to your moon, you can make a small cap out of fabric. Then, stitch the cap right onto the top curve of the moon.
This small touch will give the moon a more fun and one-of-a-kind look.
7. Assemble the Pieces Together
Once you have all your shapes ready, sew the small stars onto the large cloud or attach them right to the strings.
Check that each piece is hanging safely so it will not fall apart when the mobile moves.
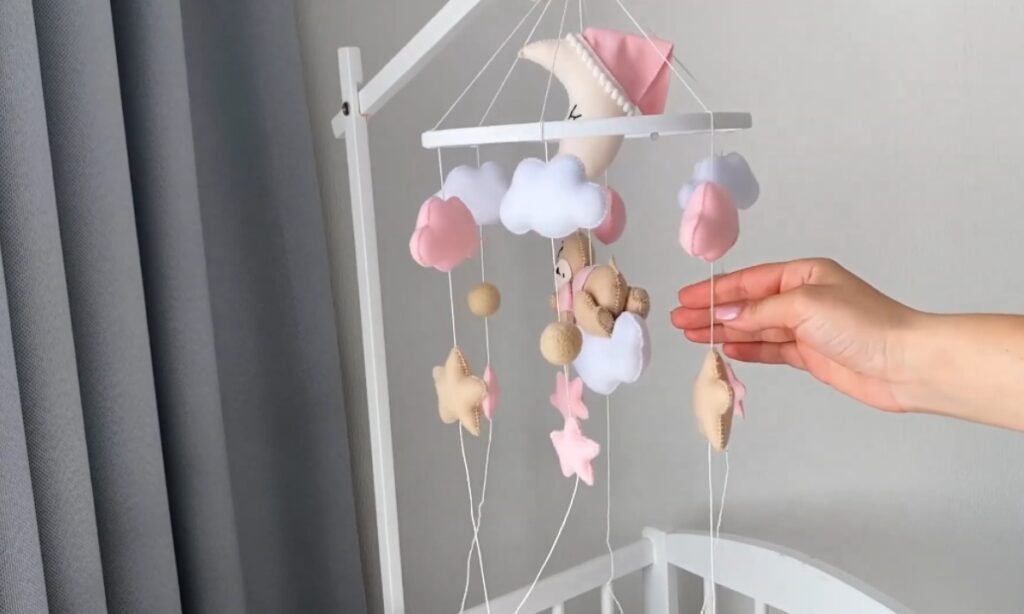
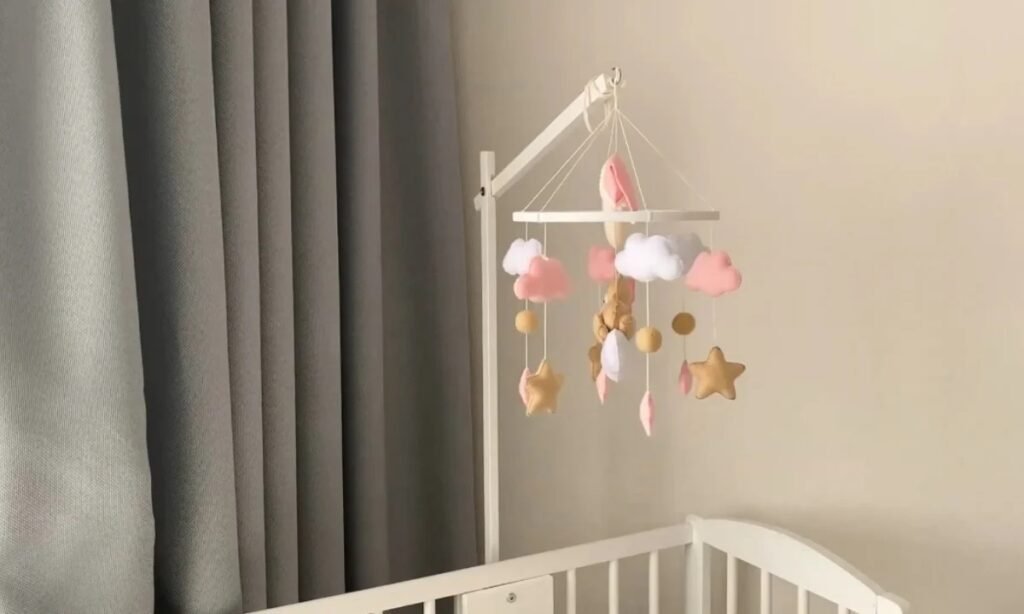
8. Attach to the Frame
Next, tie each shape to the wooden hoop or mobile frame with a strong thread. You should adjust the lengths of the thread so the pieces hang at different heights.
This will create a nice floating look. After you make sure everything is balanced, your handmade baby mobile is ready to hang over the crib.
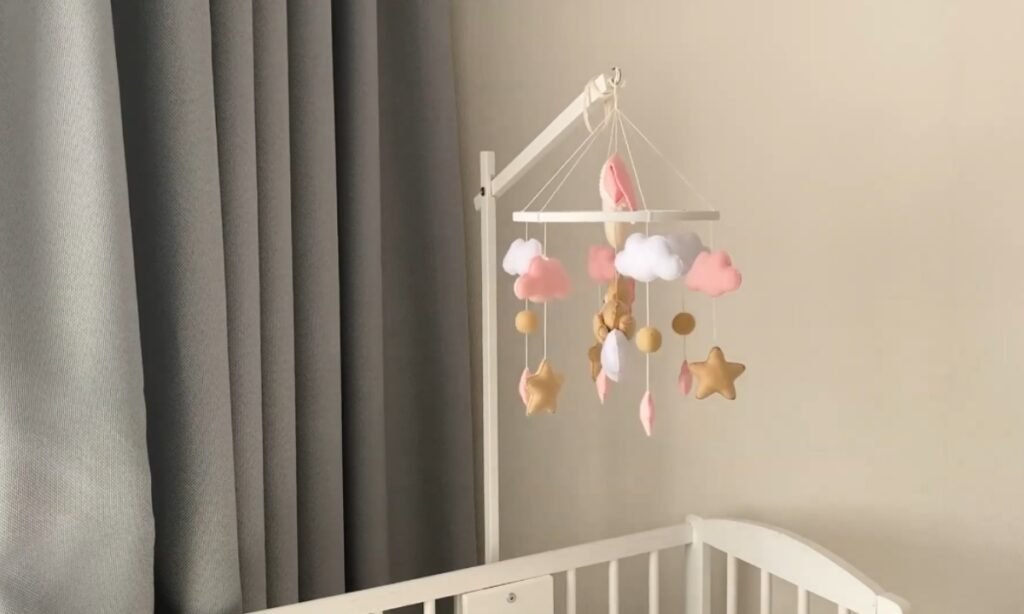
Where and How to Hang the Mobile?
Where you hang the mobile is just as important as how it looks. You should always hang the mobile far out of your baby’s reach.
A safe distance is about 16 inches above the mattress. If you do not want to put it over the crib, you can hang it above the changing table or rocking chair instead.
This way, your baby still gets to enjoy looking at it. Use a strong ceiling hook or wall arm that can hold the mobile’s weight securely.
You need to check the height regularly because babies grow fast and can reach farther very quickly.
Conclusion
Making a baby mobile at home is simple, creative, and meaningful. You can design something that fits your nursery while ensuring every material is safe for your baby.
With basic supplies and the right method to balance it, your mobile will hang evenly and look polished.
Always prioritize safety by hanging it out of your baby’s reach and taking it down once your baby can sit up.
In the end, you will have more than just decoration, you will have a handmade piece that keeps your baby entertained and adds a personal touch to the room.
FAQs
Can I reuse materials from old toys or crafts to make a baby mobile?
Yes, but you need to be careful. You should only reuse parts that are light, safe for health, and that you can attach firmly.
Do not use any small items that could break off, as a child might choke on them.
How long does it usually take to make a baby mobile at home?
Most simple designs, like a felt ball or an origami mobile, can be completed in one to two hours.
More detailed mobiles with painted beads or layered themes might take a full day, especially if you need to wait for paint or glue to dry.
You may also love to read!
- How to Sew a Baby Blanket Step by Step
- How to Make Homemade Playdough (Easy Recipe)
- How to Make Slime Without Borax at Home

Hi, my name is Ali Mehmood! I’m a passionate writer and DIY enthusiast who loves turning creative ideas into practical, hands-on projects.
I created this website to share inspiring, budget-friendly ideas that you can do yourself – whether it’s organizing your home, crafting something unique, or creating fun projects for kids and pets.
I believe DIY isn’t just a hobby – it’s a smart way to save money, reduce waste, and enjoy the satisfaction of making things with your own hands.
I’m excited to have you as part of this growing community, and I’ll continue bringing you helpful, realistic, and fun DIY ideas you can actually use.