
This post may contain affiliate links: read full affiliate disclosure.
A DIY cutting board is one of those projects that looks simple but gives you real, everyday value.
Whether you want something functional for daily chopping or a statement piece for serving, making your own lets you control the size, style, and finish.
In this article, you’ll find 22 DIY cutting board ideas ranging from beginner-friendly builds to more detailed designs, so you can choose a project that fits your skill level and your kitchen style.
Why Make a DIY Cutting Board?
Making your own cutting board allows you to choose the exact size, wood type, and design that fits your kitchen and cooking habits.
You can build something more durable than store-bought options while adding a personal touch.
DIY cutting boards also let you reuse scrap wood, customize features like handles or grooves, and create a functional piece that works for both food prep and serving.
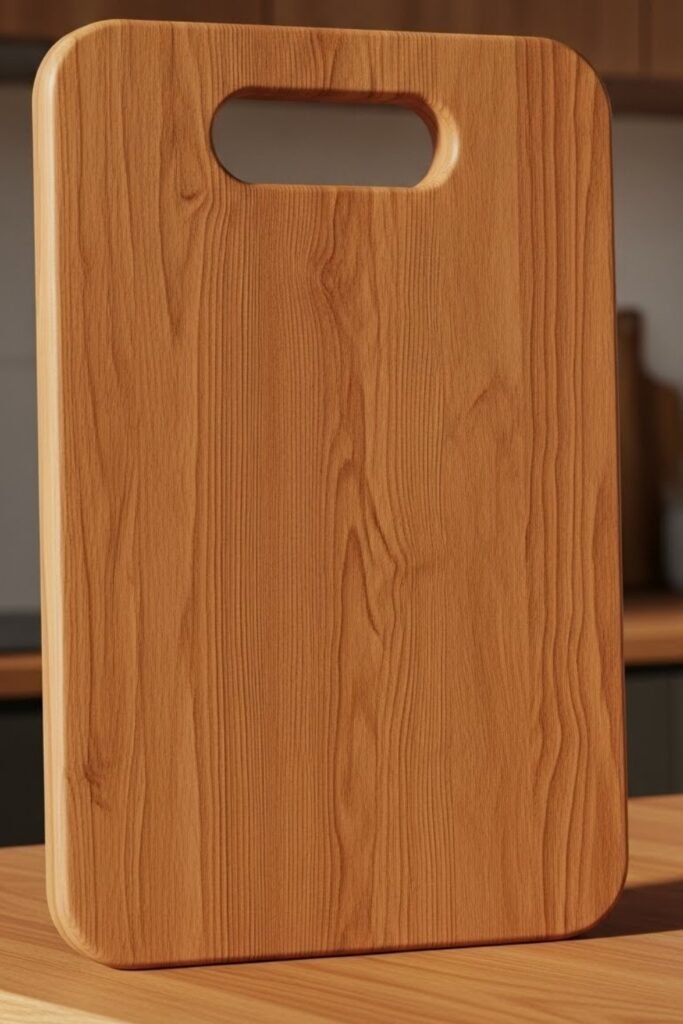
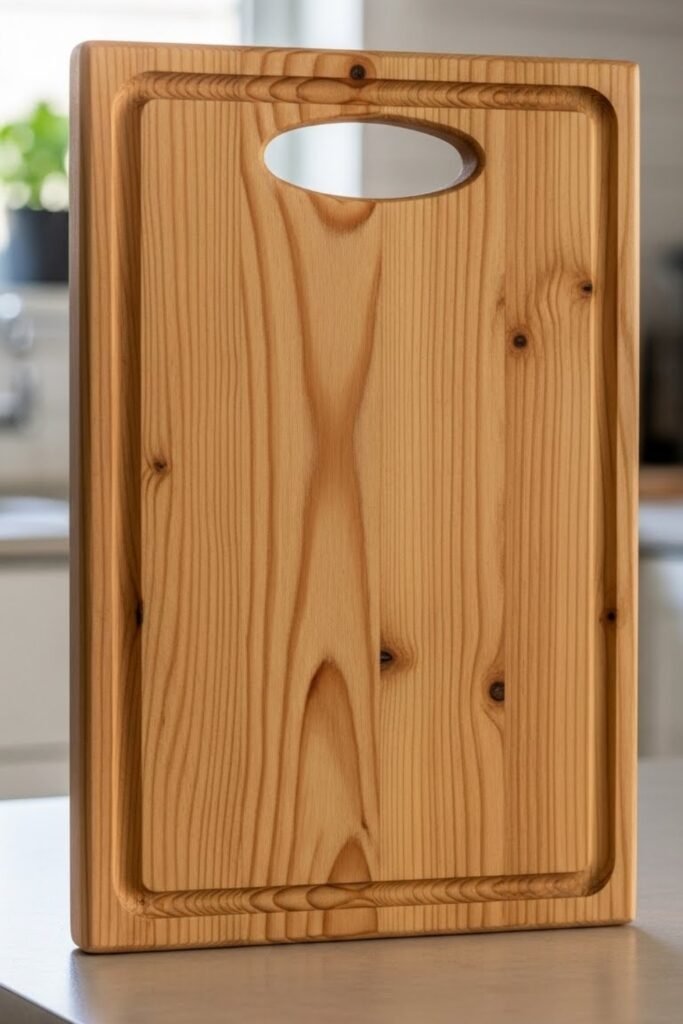
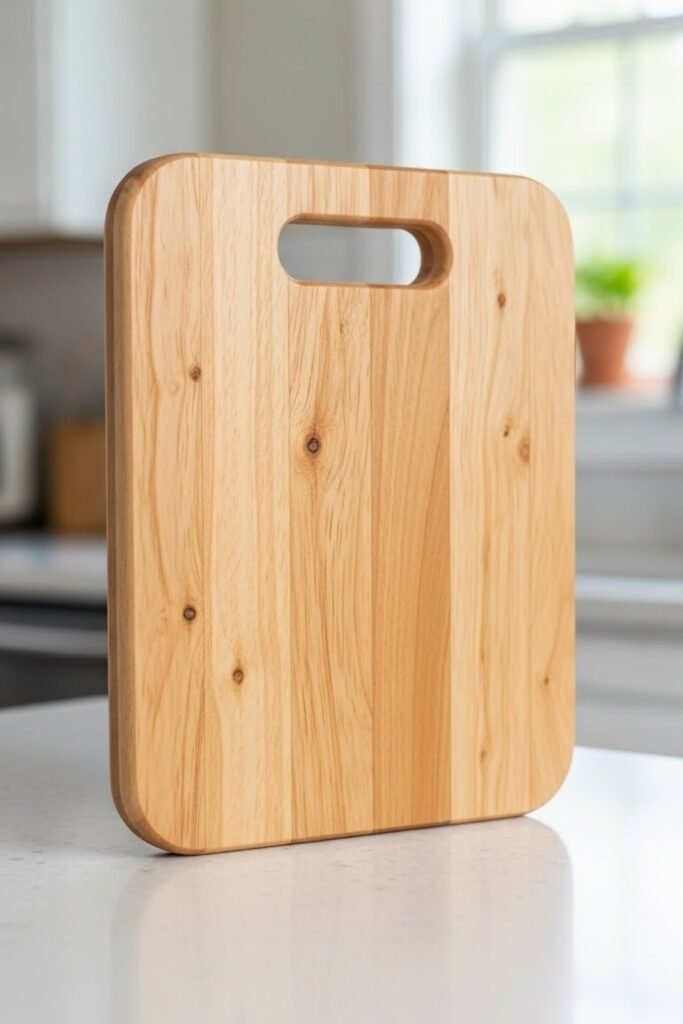
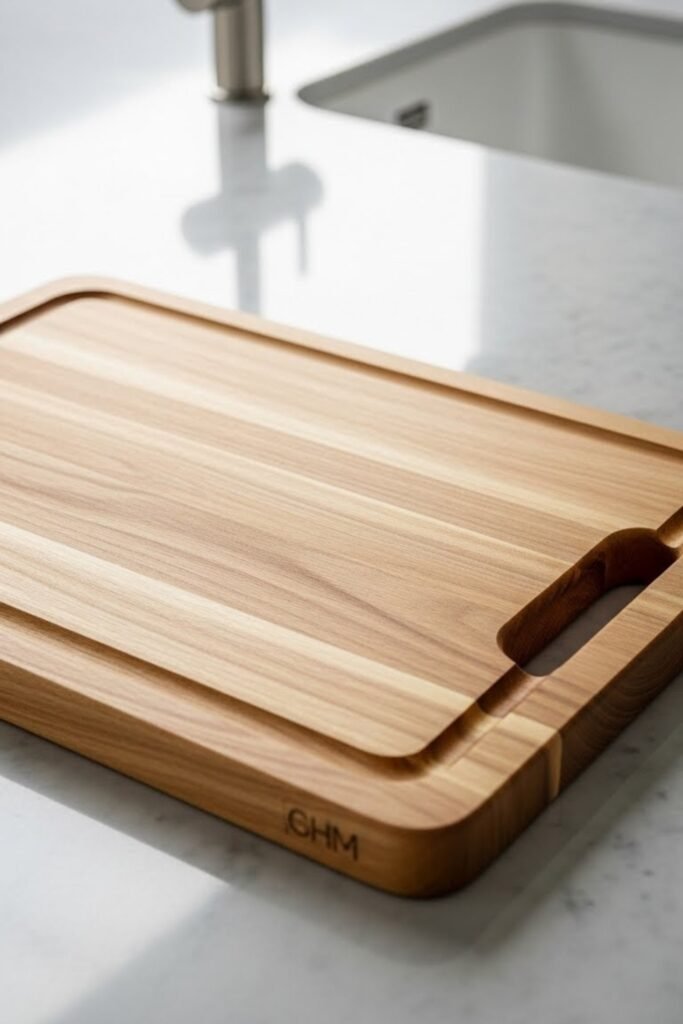
Handle Cutout
A handle cutout cutting board adds function without extra hardware. After shaping the board, drill and cut an oval or rectangle opening near one end.
Smooth the edges carefully so it feels comfortable in hand. This style makes the board easy to carry, hang, or store while keeping the design clean and modern.
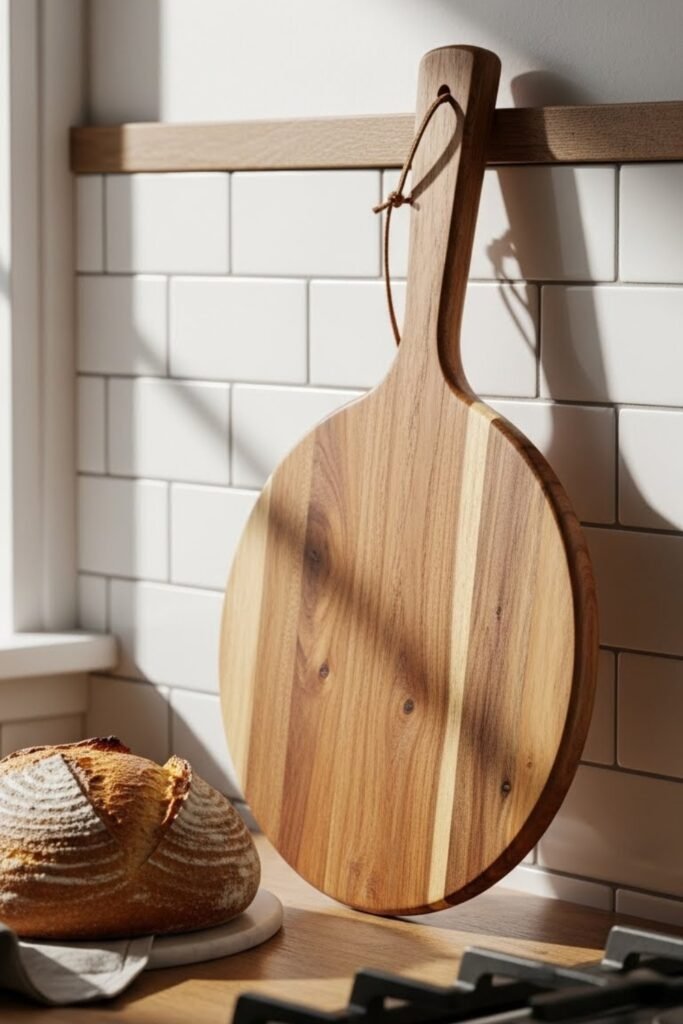
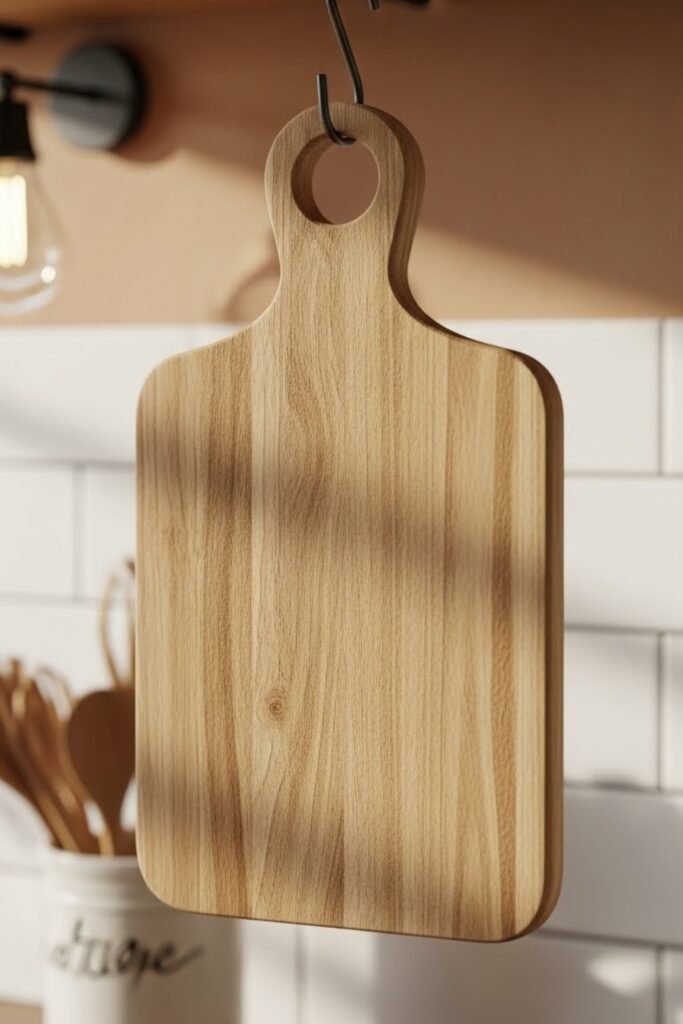
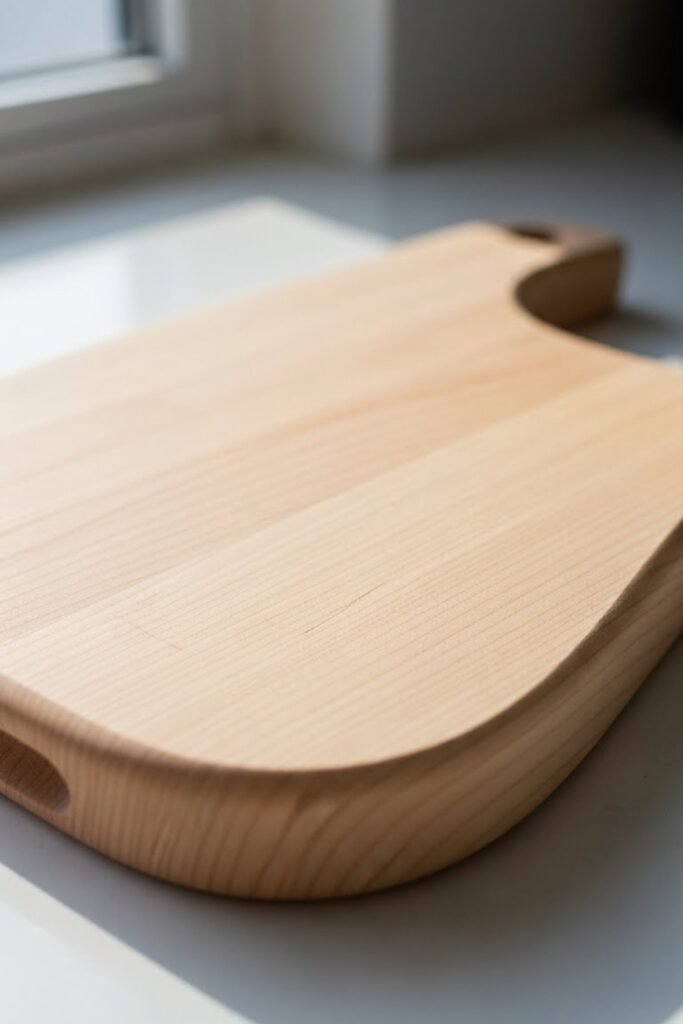
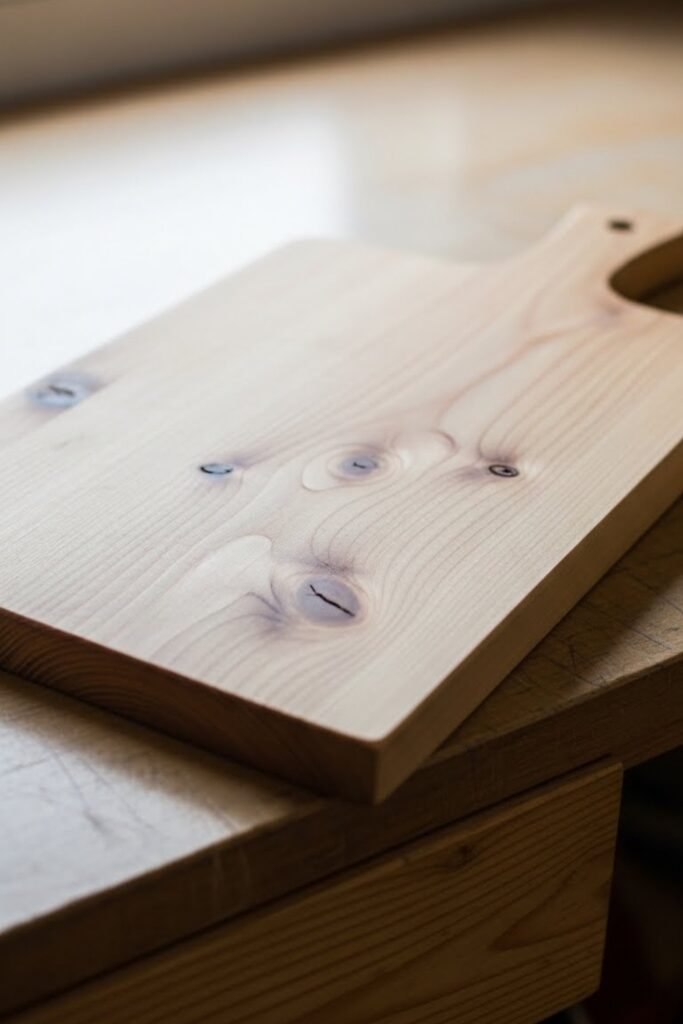
Paddle Style
A paddle style cutting board features a long handle attached to a rounded or rectangular base. Start with one solid wood piece and cut the paddle silhouette using a jigsaw.
This design works great for serving bread or snacks and doubles as wall décor. A simple oil finish highlights the natural wood grain.
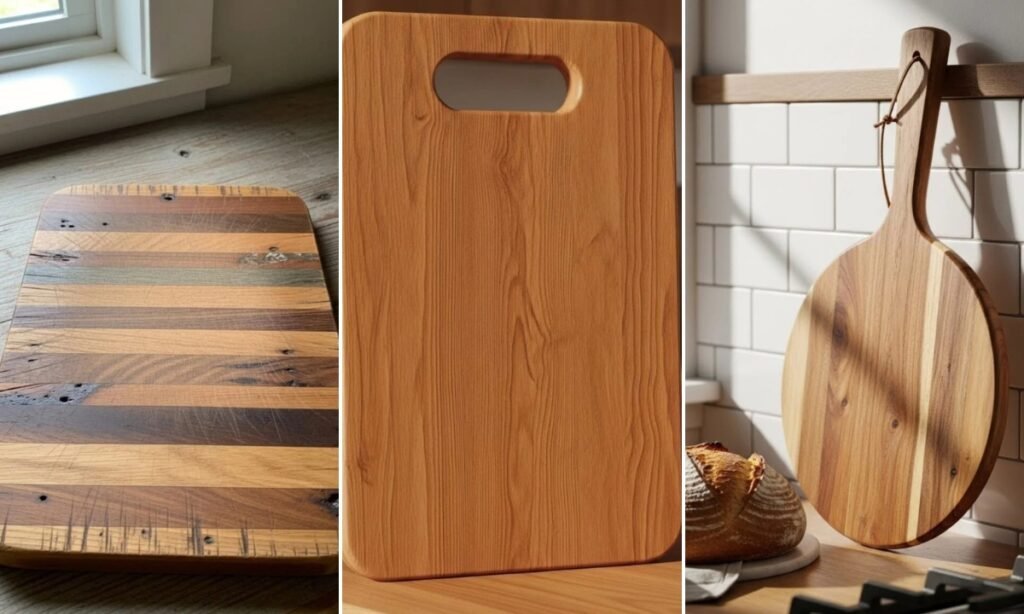
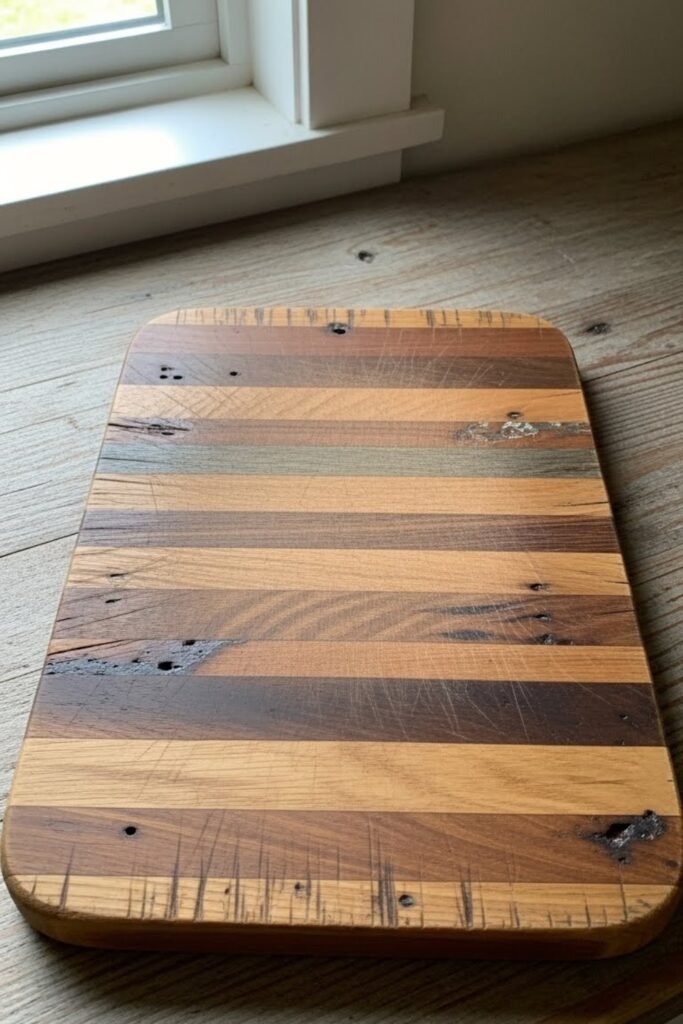
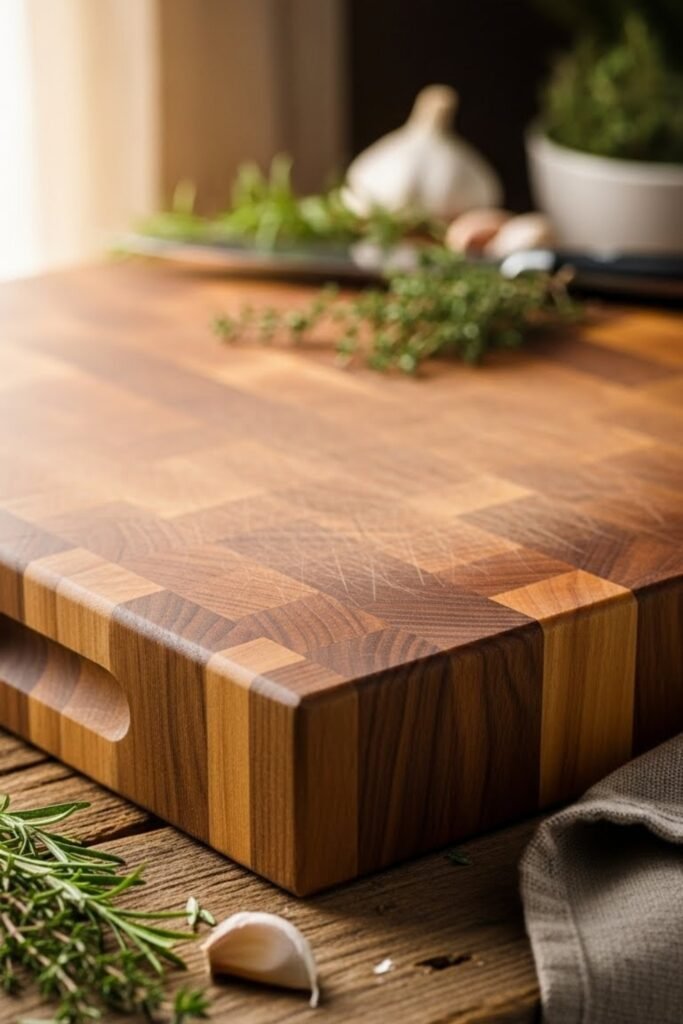
Reclaimed Wood
A reclaimed wood cutting board gives old lumber a second life. Use hardwood from furniture or shelving, making sure it’s clean and untreated.
Trim away damaged areas, glue boards edge-to-edge, and sand smooth. The natural imperfections and aged grain create a warm, character-filled board with history behind it.
Hanging Board
A hanging cutting board is designed with a hole or slot for wall storage. Drill a clean hole near the top or add a small metal ring.
This style saves counter space and turns the board into functional décor. Sand the edges well so the hanging area stays smooth and strong.
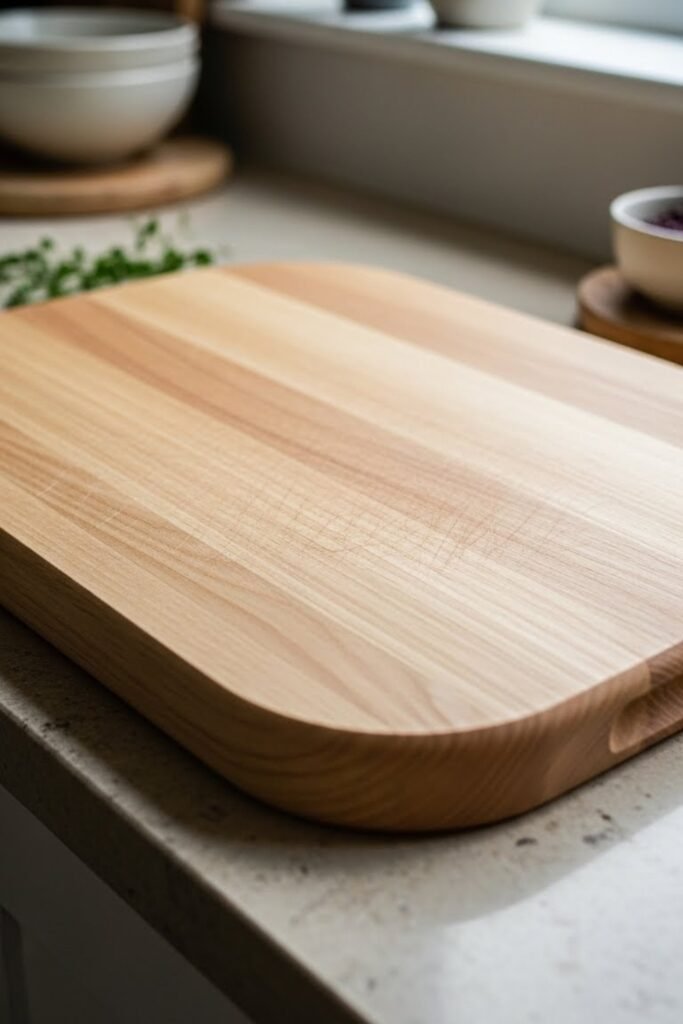
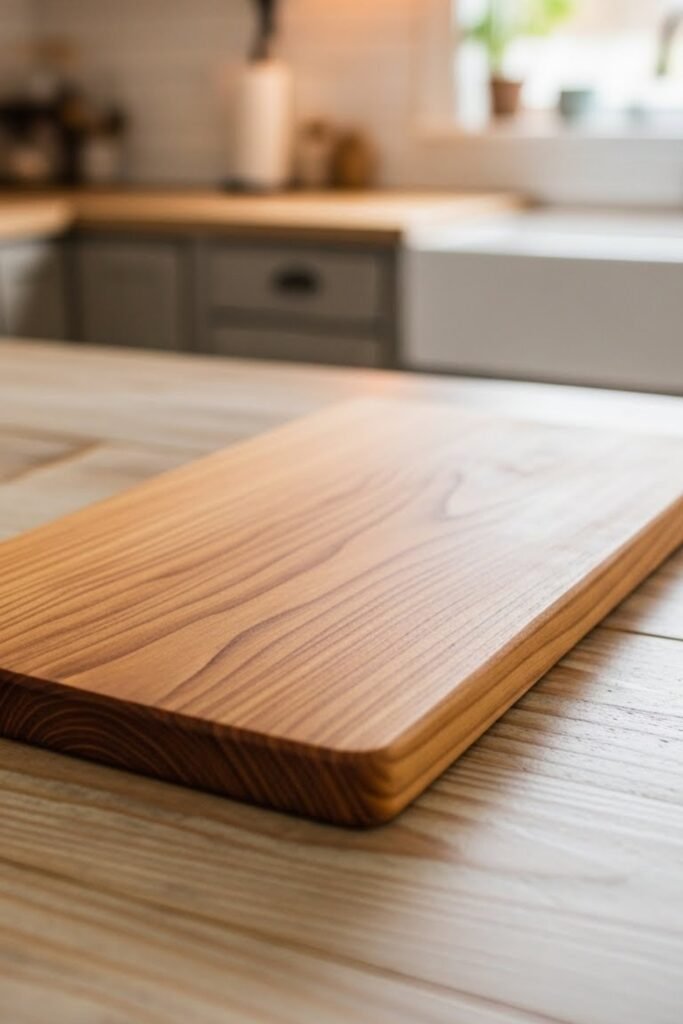
Rounded Edge Board
Make a basic cutting board shape, then soften all edges using sandpaper or a router. Rounded edges make the board more comfortable to use and help prevent chipping over time.
This simple upgrade instantly improves both the look and feel of your cutting board without adding complexity to the build.
Scrap Board
Use leftover wood pieces from old projects to create this board. Cut scraps to the same thickness, glue them together tightly, and clamp overnight.
After drying, sand the surface smooth and apply food-safe oil. This is a beginner-friendly project that saves money and turns waste wood into a useful kitchen item.
Handle Board
Start with a simple rectangular board. Mark a small oval or slot near one end and cut it using a jigsaw. Sand the handle area carefully so it feels comfortable to hold.
This design makes the board easy to carry, hang, and store while keeping the build process very simple.
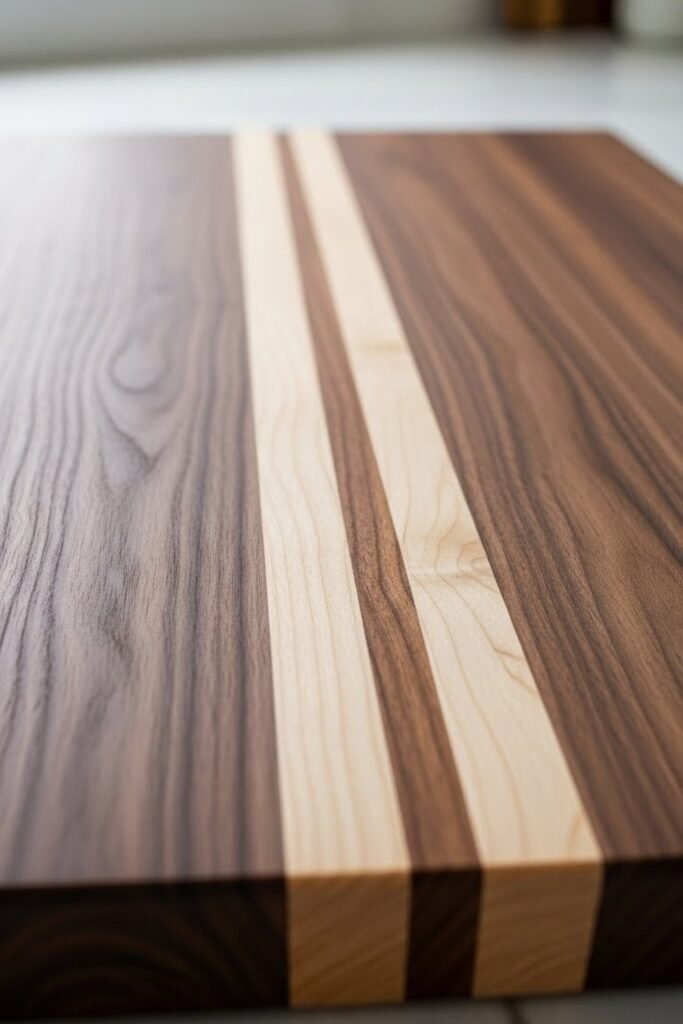
Two-Tone Board
Pick two different wood types and cut them into equal sizes. Glue them side by side and clamp until fully dry. Sand everything smooth and finish with food-safe oil.
The contrast between woods gives a stylish look without needing advanced tools or skills, making it great for DIY beginners.
Rounded Board
Create a basic cutting board shape, then round all edges using sandpaper or a router. Soft edges feel better in your hands and help prevent chips or cracks over time.
This small detail improves comfort and durability while keeping the project easy and beginner-friendly.
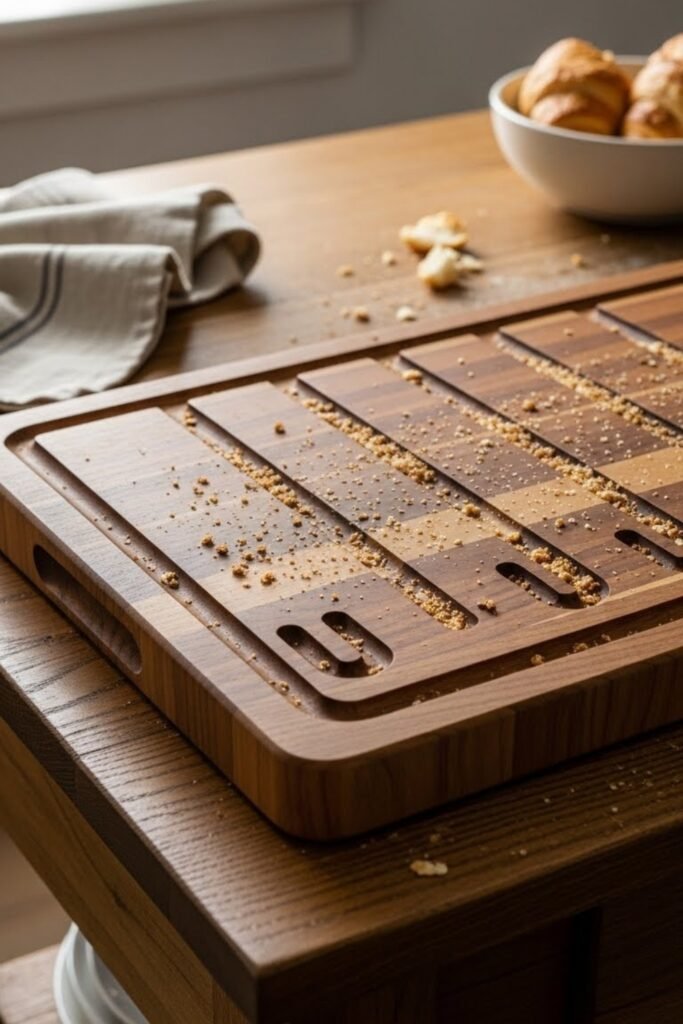
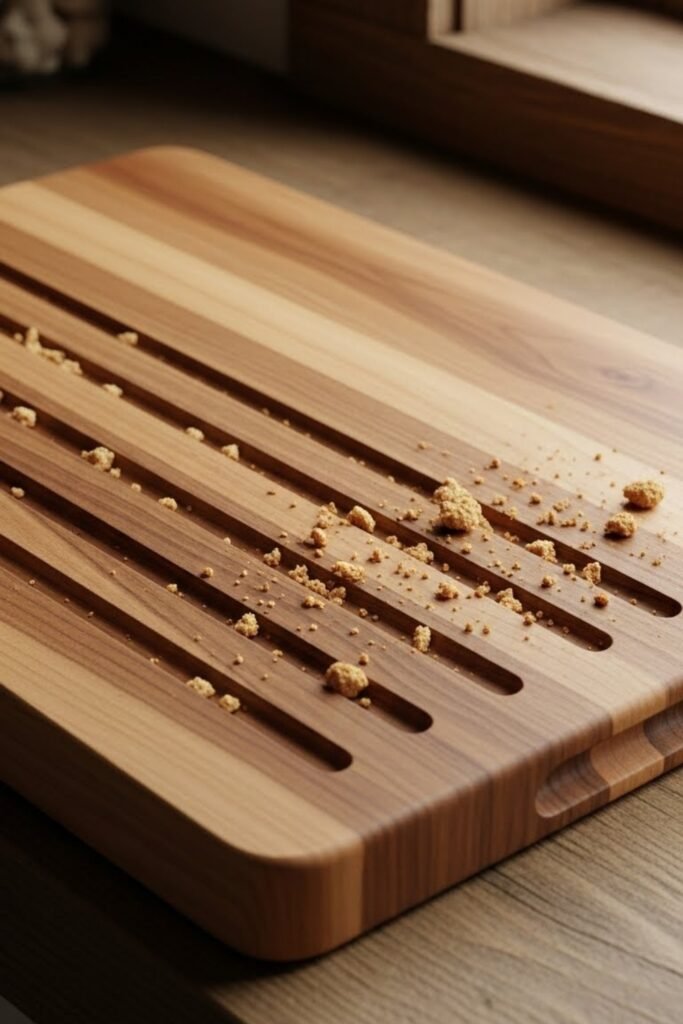
Crumb Board
Make a regular cutting board, then add shallow grooves across one side using a router or chisel. These grooves catch bread crumbs and keep your counter clean.
Leave the other side flat so you can still use it for chopping. This board is especially useful if you bake or slice bread often at home.
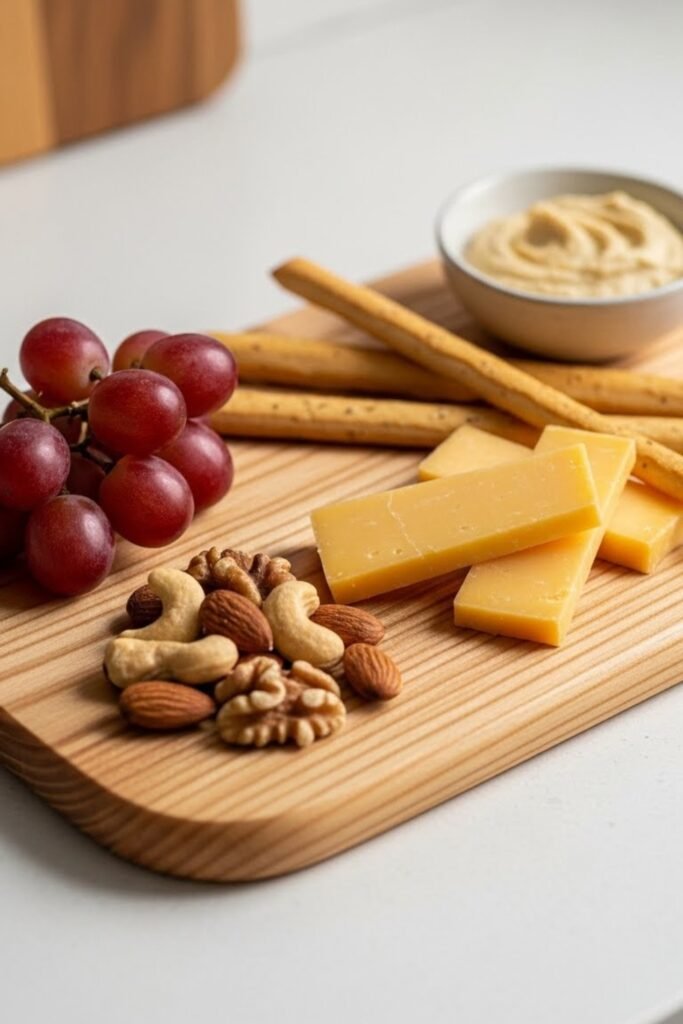
Snack Board
Create a small-sized board perfect for fruits, cheese, or quick snacks. Use a thinner piece of wood to keep it lightweight. Sand the edges well and finish with food-safe oil.
This project is fast to make and great for beginners who want a practical result without a lot of cutting or gluing.
Long Board
Cut a long rectangular board for serving bread, appetizers, or slicing large items. This shape works well for entertaining and everyday use.
Sand the surface smooth and oil it properly. You don’t need special tools—just accurate measuring and clean cuts to keep it simple and functional.
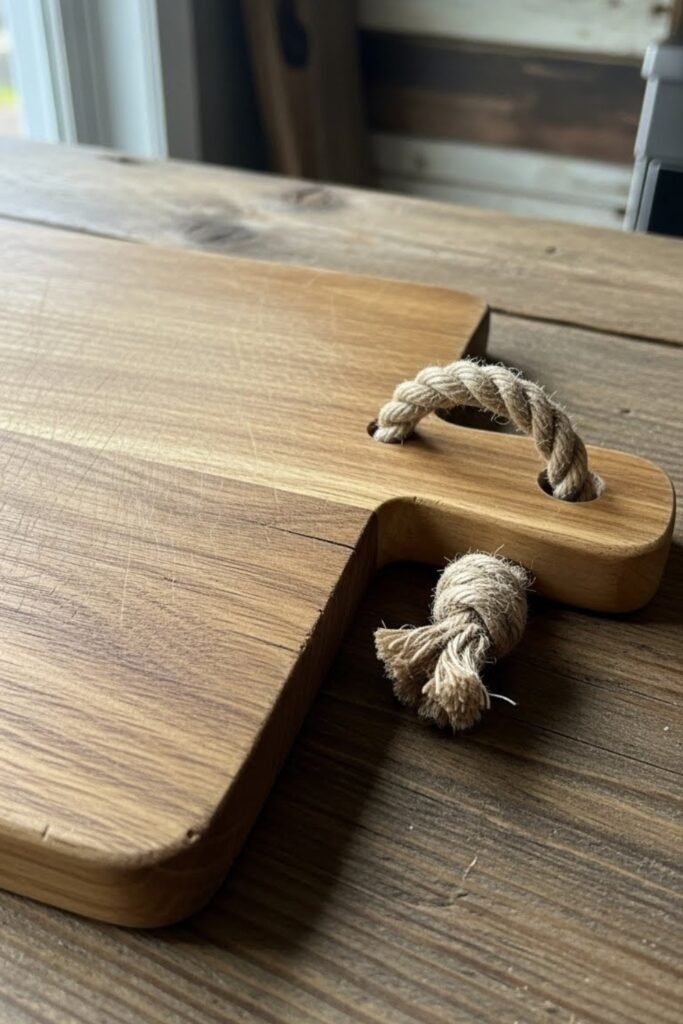
Rope Board
Drill a hole in one corner of the board and add a thick rope loop. Sand the hole edges so the rope doesn’t wear out.
This makes the board easy to hang on a hook and adds a decorative touch while keeping the project very easy and practical.
Corner Cut
Take a standard rectangular board and cut one corner diagonally. Sand the cut edge smooth so it feels comfortable.
This small change gives the board a unique look without adding extra work. It’s an easy way to make a basic cutting board feel more custom and handmade.
Block Board
Glue several thick wooden boards together to create a heavy cutting surface. Clamp well and let it dry completely.
This type of board stays in place while chopping and feels very solid. It’s great if you want a sturdy board without adding handles or extra design details.
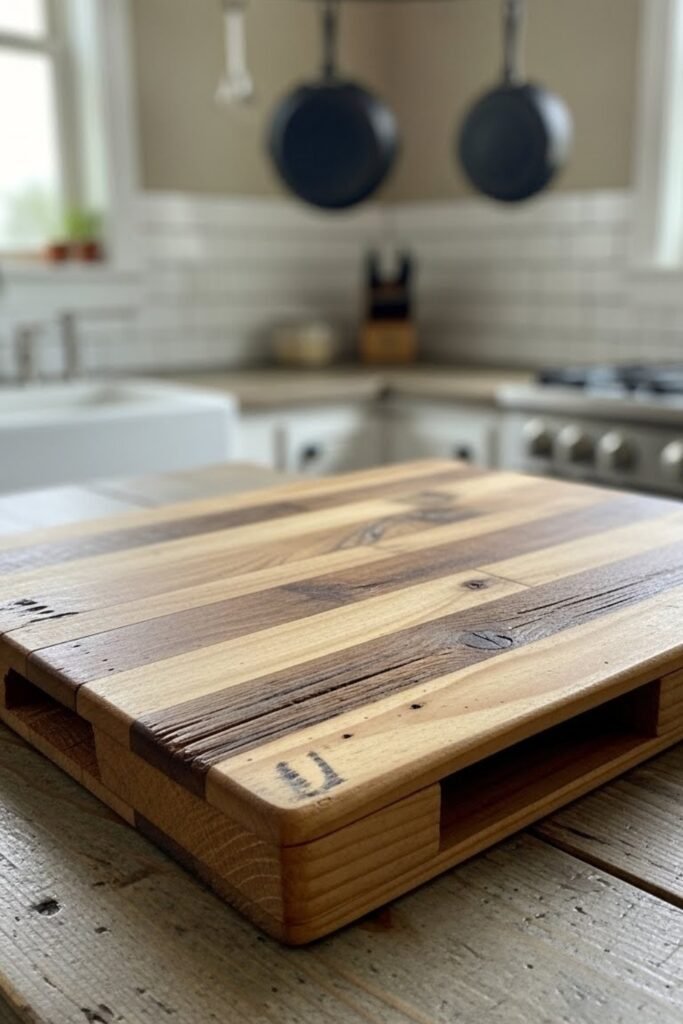
Pallet Board
Use clean, untreated pallet wood for this project. Remove nails, sand thoroughly, and glue pieces together if needed.
Once smooth, apply food-safe oil. This board has a rustic look and is a good way to reuse free materials, making it budget-friendly and practical.
Square Board
Cut the wood into a clean square shape instead of the usual rectangle. Sand all sides evenly and soften the edges slightly.
This simple shape feels modern and works well for small kitchens. It’s easy to make and doesn’t require special tools beyond basic cutting and sanding.

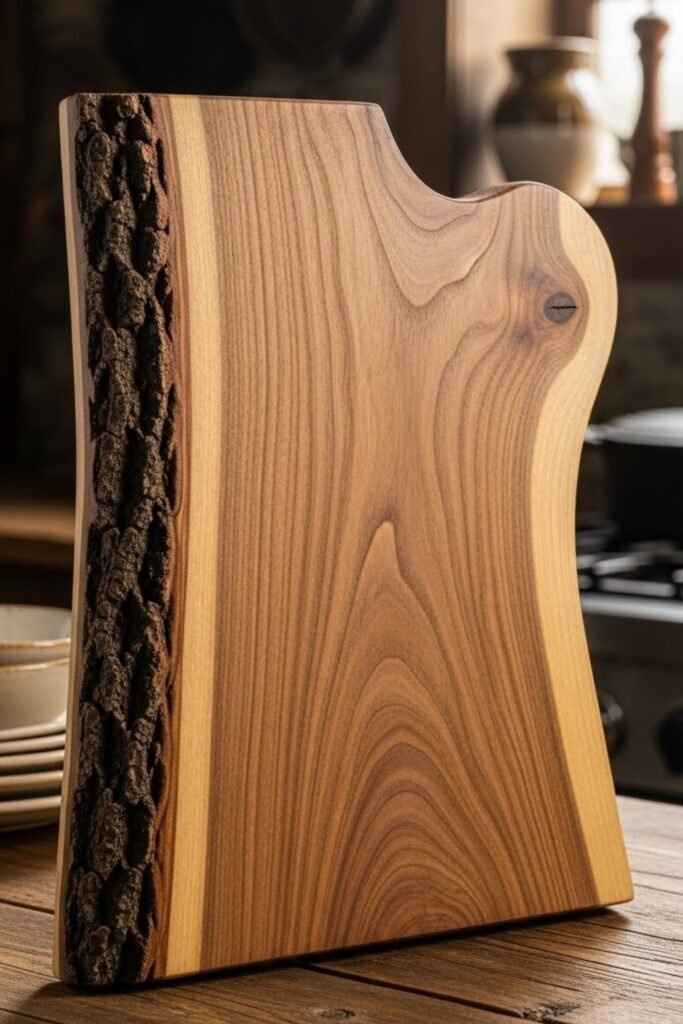
Live Edge
Use a wood slab that already has one natural edge. Sand the live edge carefully to remove splinters but keep the natural shape.
Finish with food-safe oil. This board looks handmade and unique without needing extra design work or advanced woodworking skills.
Kids Board
Make a smaller cutting board with fully rounded corners for safety. Keep the board lightweight so kids can handle it easily.
Sand very smooth and apply food-safe oil. This board is great for helping kids learn basic kitchen skills while staying safe.
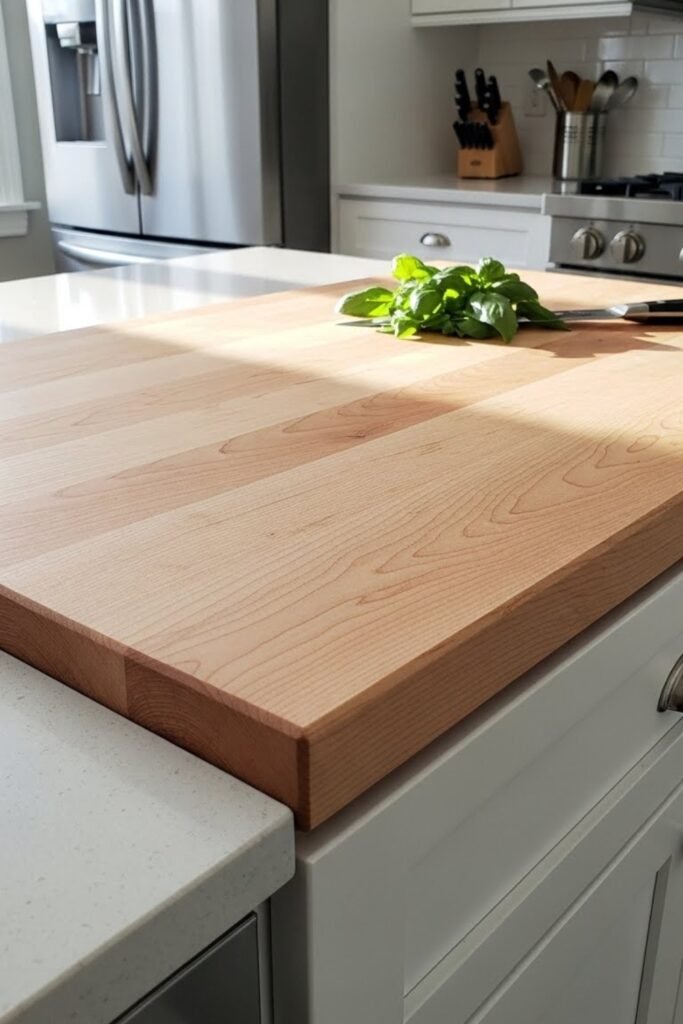
Counter Fit
Measure a specific area of your kitchen counter and cut a board to fit that space perfectly. This gives you extra chopping space without clutter. It’s a practical DIY that feels custom-made and works well in small kitchens.
Reversible Board
Design the board so both sides are usable. Keep one side completely flat for chopping and add a groove or design on the other for serving.
This doubles the usefulness without extra materials. Just flip it depending on the task, making it practical for everyday kitchens.
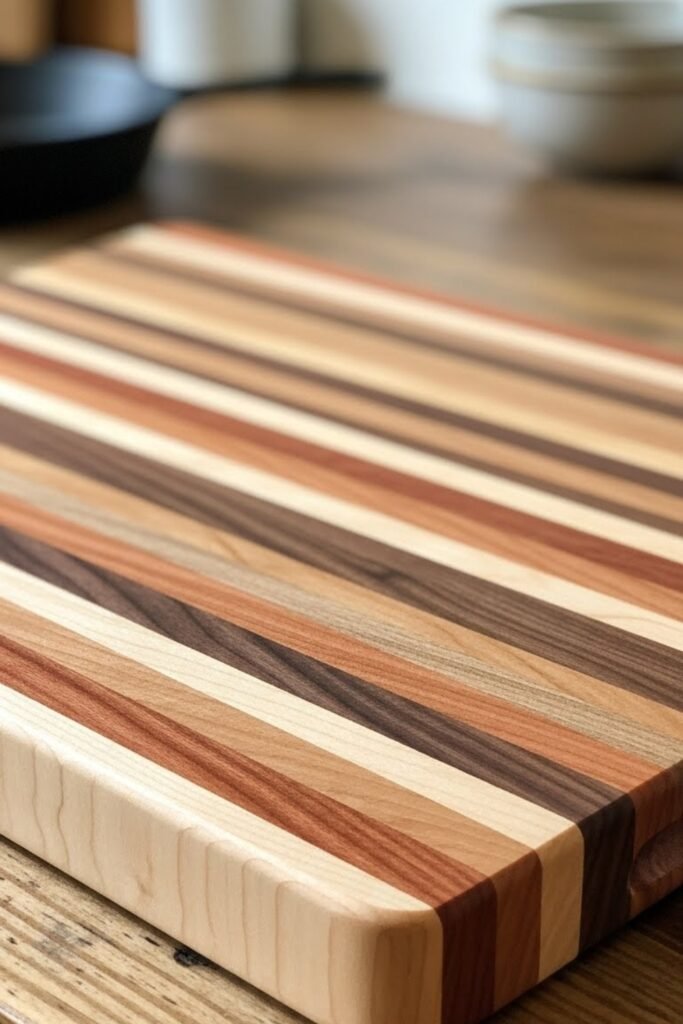
Strip Board
Cut wood into strips of different widths and glue them together side by side. Clamp tightly and let dry overnight. Sand smooth and oil the surface.
This method creates a handmade look while still being easy to build with basic tools.
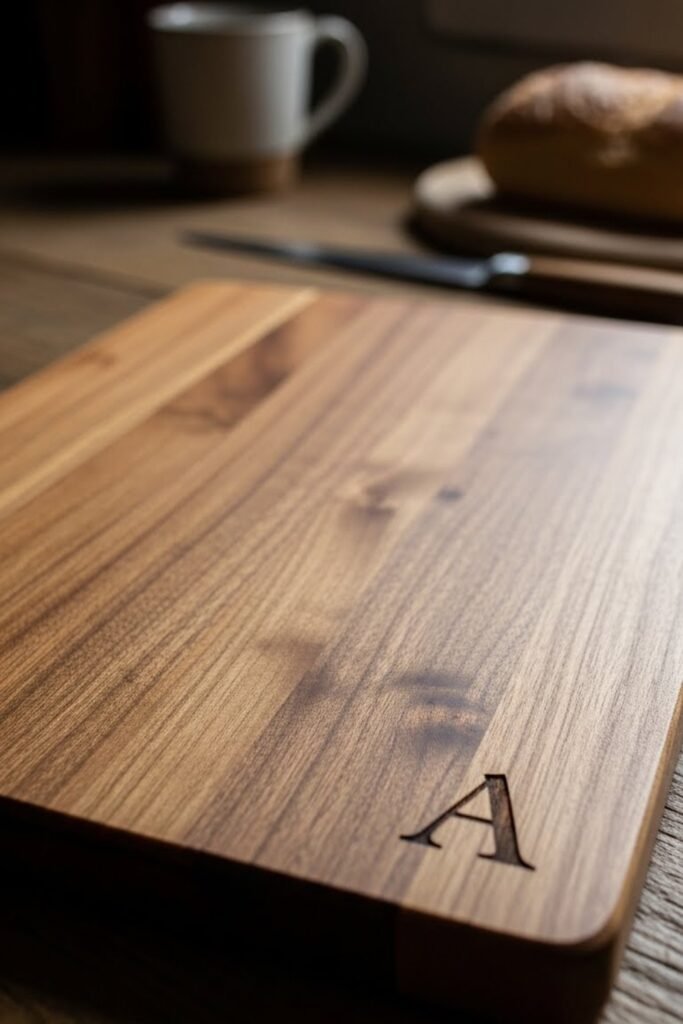
Initial Board
Add a single letter or short word using a wood burner or simple carving tool. Keep it small so it doesn’t affect cutting space.
This personal touch makes the board great for gifts without complicating the build.
Grip Board
Instead of a full handle, carve shallow finger grips on two sides of the board. Sand the grips well so they feel comfortable.
This keeps the board looking clean while still being easy to lift and move.
Thin Board
Use a thinner piece of wood to make a lightweight cutting board for quick tasks. Sand it very smooth so it doesn’t feel sharp or flimsy.
This type of board is easy to clean, easy to store, and perfect for everyday chopping without taking up much space.
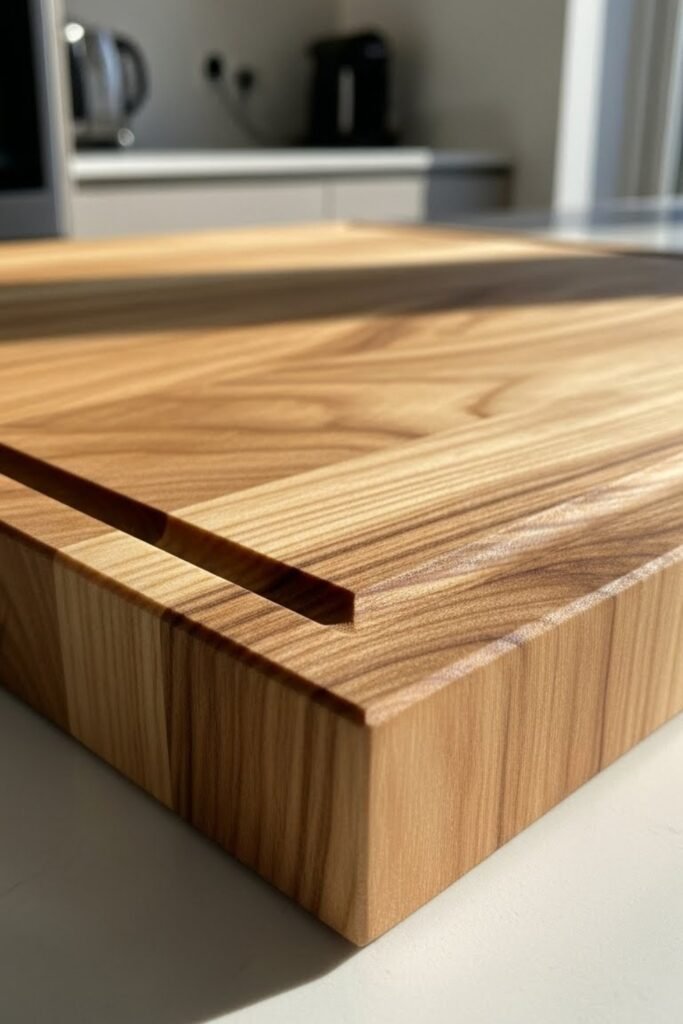
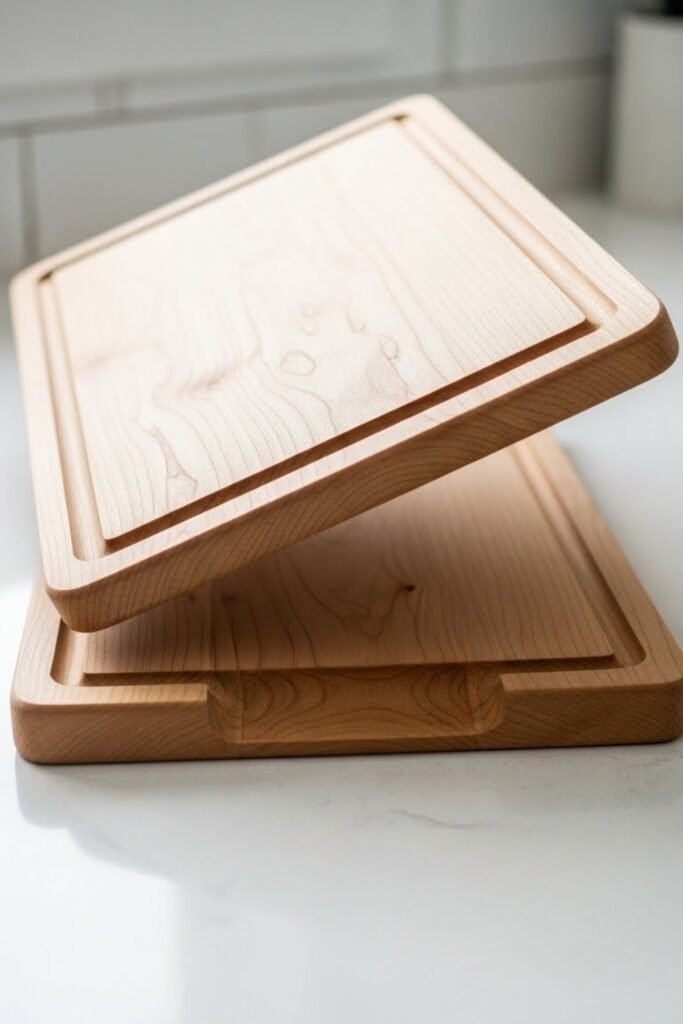
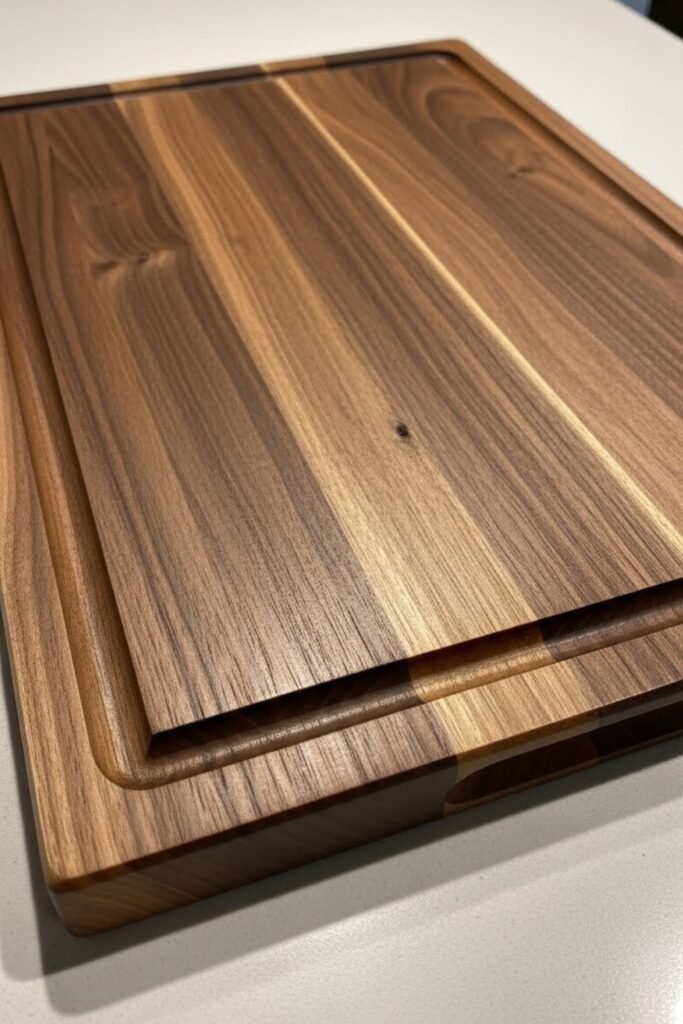
Juice Groove
Carve a shallow groove around the edge of the board using a router or chisel. This groove catches juices from fruits or meat and keeps your counter clean.
It’s a useful upgrade that adds function without changing the basic shape of the cutting

Hi, my name is Ali Mehmood! I’m a passionate writer and DIY enthusiast who loves turning creative ideas into practical, hands-on projects.
I created this website to share inspiring, budget-friendly ideas that you can do yourself – whether it’s organizing your home, crafting something unique, or creating fun projects for kids and pets.
I believe DIY isn’t just a hobby – it’s a smart way to save money, reduce waste, and enjoy the satisfaction of making things with your own hands.
I’m excited to have you as part of this growing community, and I’ll continue bringing you helpful, realistic, and fun DIY ideas you can actually use.


