

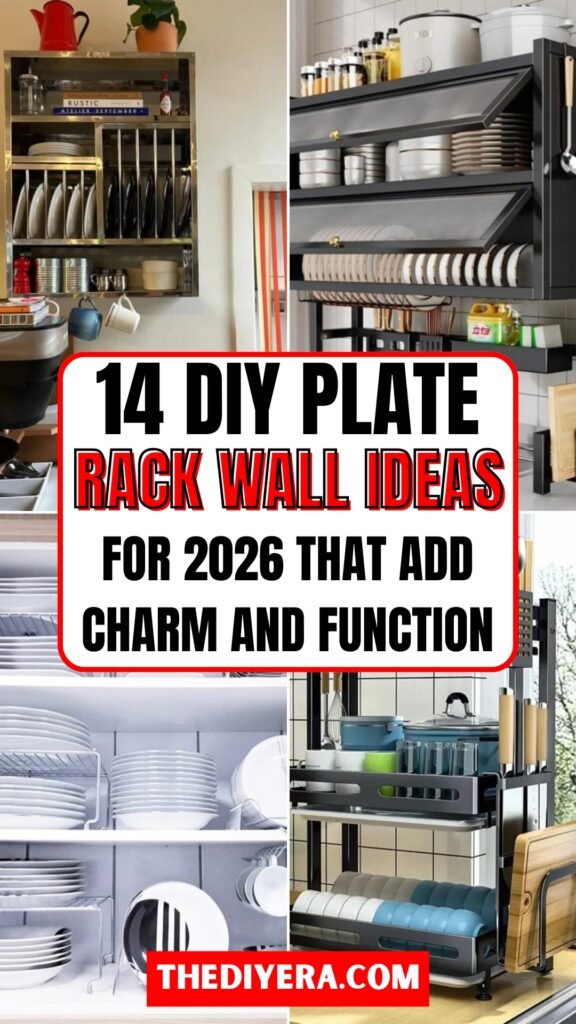
This post may contain affiliate links: read full affiliate disclosure.
If you’ve searched for DIY plate rack wall ideas, chances are you’re already frustrated. You’ve seen beautiful racks online.
But no one explains why plates don’t fall, how much weight a wall can handle, or how deep a rack actually needs to be.
Some ideas look great in photos, yet feel risky in real kitchens – especially if you plan to store real, everyday plates instead of lightweight décor pieces.
The confusion usually starts with the details people skip. How far apart should the rails be? Should plates lean or sit straight? Is drywall enough, or do you need studs?
These unanswered questions make a simple project feel stressful, and that’s why many people abandon the idea halfway through.
Instead of just showing you what looks good, we’ll break down what actually works, why certain plate rack designs feel safer, and how to build one.
Save this article for later!
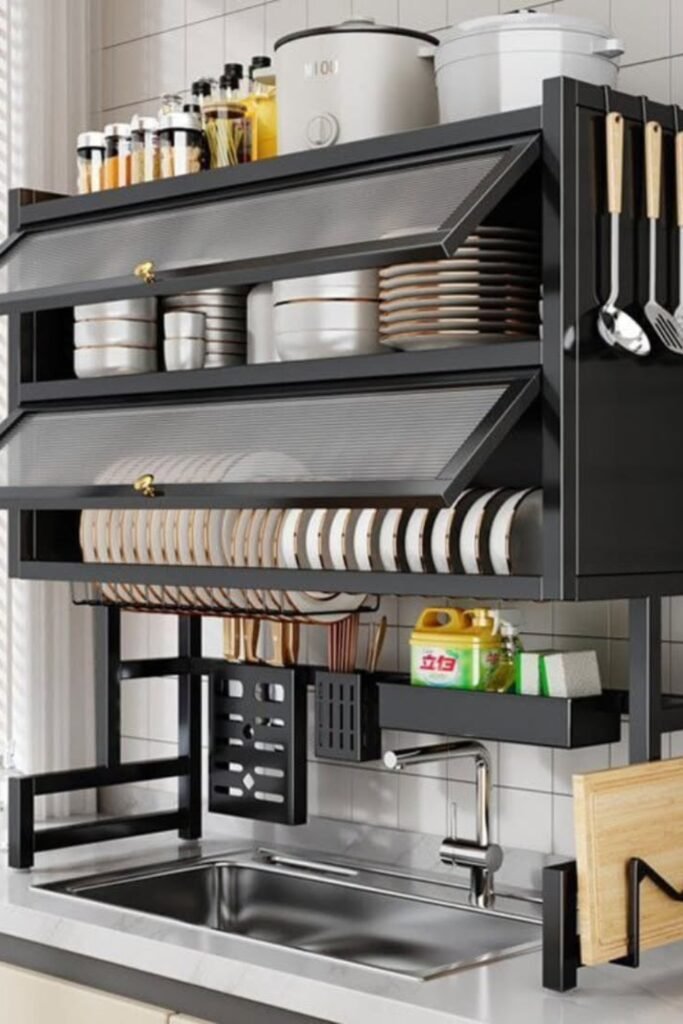
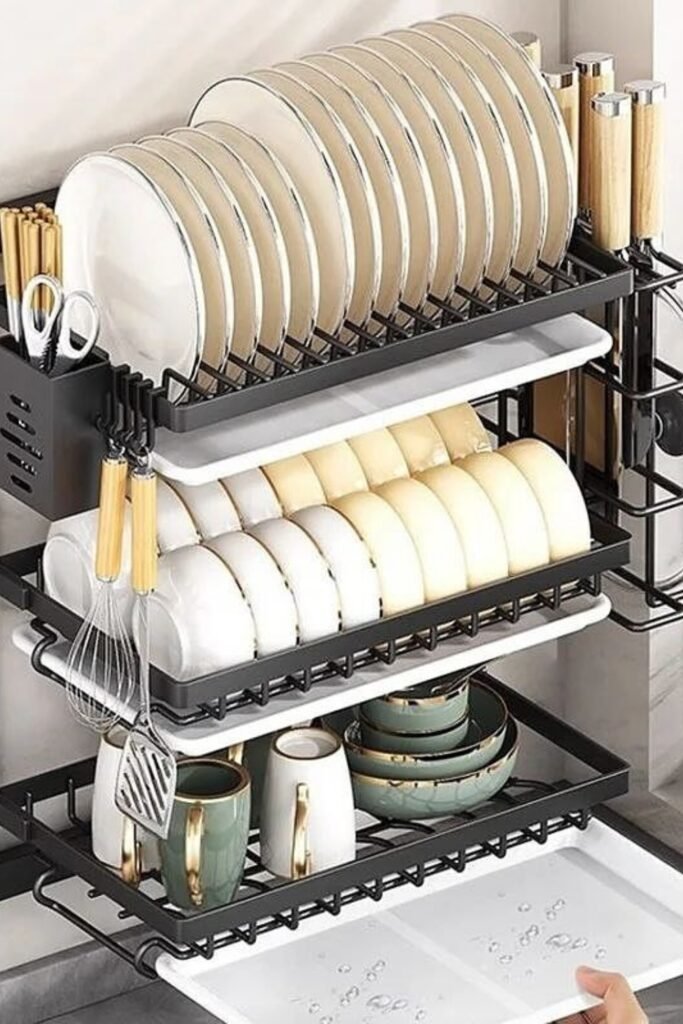
Go Vertical Above the Sink
When daily dishes pile up, mounting a slim wall rack above the sink keeps plates drying safely without stealing counter space.
Build this using metal frames or sealed wood shelves, fixed directly into studs for moisture resistance and everyday weight handling.
Angled slots help plates drain naturally here, making this setup ideal for busy kitchens needing speed and order.
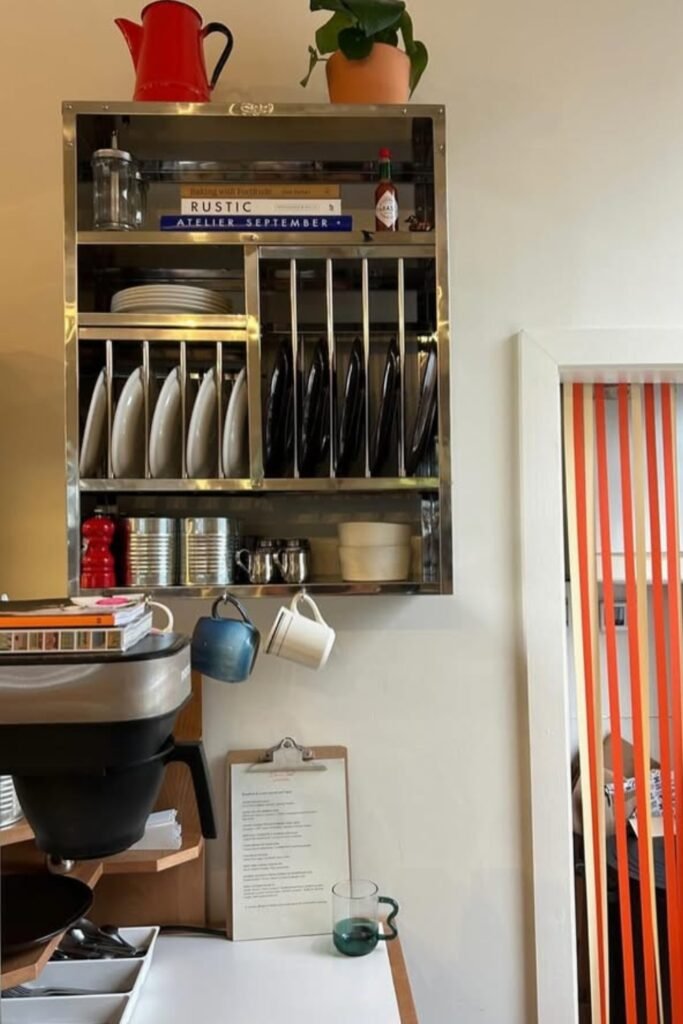
Frame Plates Into a Statement Wall
A bold wall-mounted rack can turn a blank prep wall into functional storage while showcasing dish collections openly.
Recreate this by building a box-style frame with vertical dividers sized precisely for your largest dinner plates.
This works best in dining corners or coffee stations where storage doubles as visual interest.
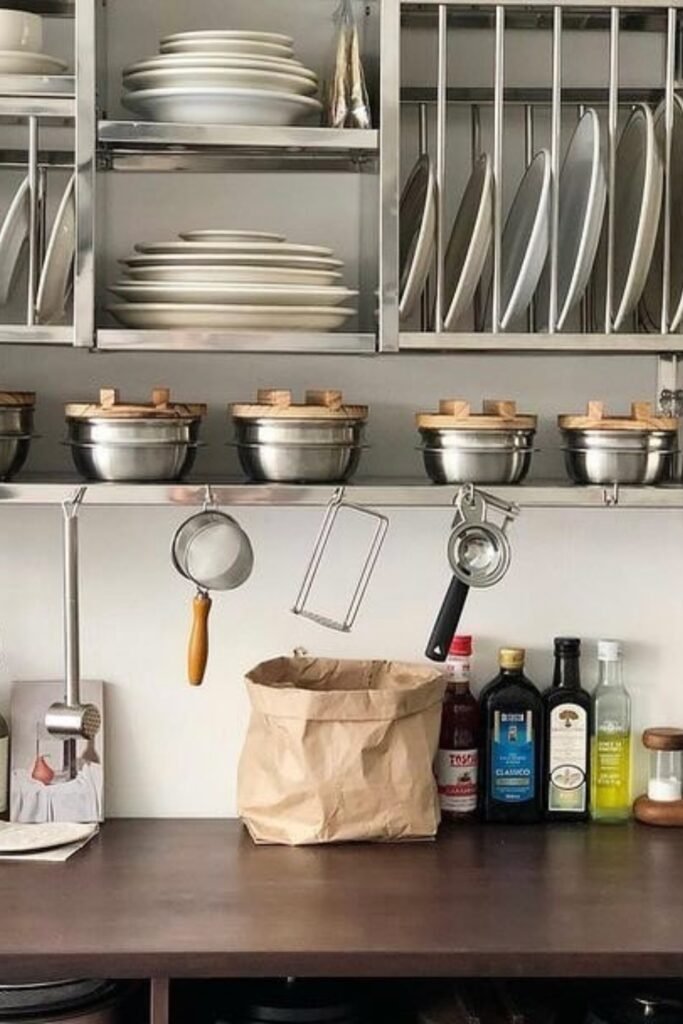
Keep Plates Close to Plumbing
Placing plate racks directly above sinks shortens movement after washing and reduces chances of dropping heavy stacks.
Use shallow shelves with tight spacing so plates lean securely without touching faucets or backsplash fixtures.
This layout suits farmhouse or galley kitchens where workflow matters more than hidden cabinet storage.
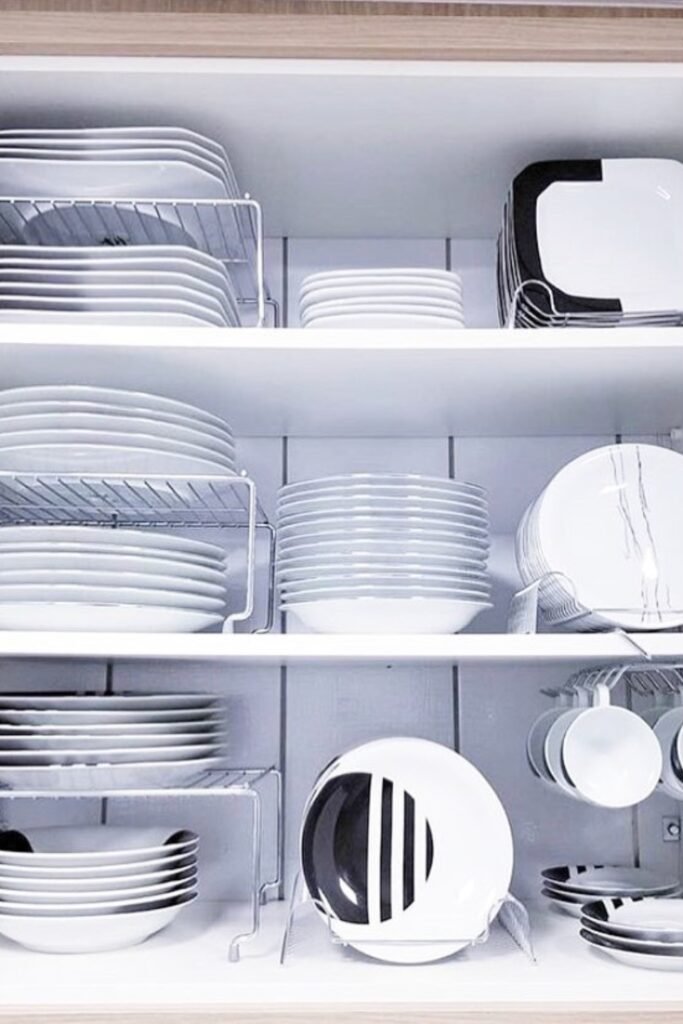
Open Cabinets Without Rebuilding Walls
Instead of building new racks, convert existing cabinets into plate racks by removing doors and adding dividers.
Install metal or wooden separators fixed firmly into shelves to hold plates upright and evenly spaced.
This approach works when you want open storage without drilling new holes into finished walls.
Share Weight Between Wall and Counter
Some racks rest partially on counters while anchoring lightly into walls, reducing stress on drywall alone.
Build a freestanding frame that bolts to studs only for stability, not full load support.
This setup suits rentals or older walls where heavy wall-mounted installations feel risky.
Create an All-In-One Dish Zone
Combining plates, utensils, and glass storage into one rack keeps dish routines contained within a single wall area.
Add hooks or side compartments only where they don’t interfere with plate spacing or balance.
Wide kitchen walls benefit most from this layout, turning one rack into a complete storage system.
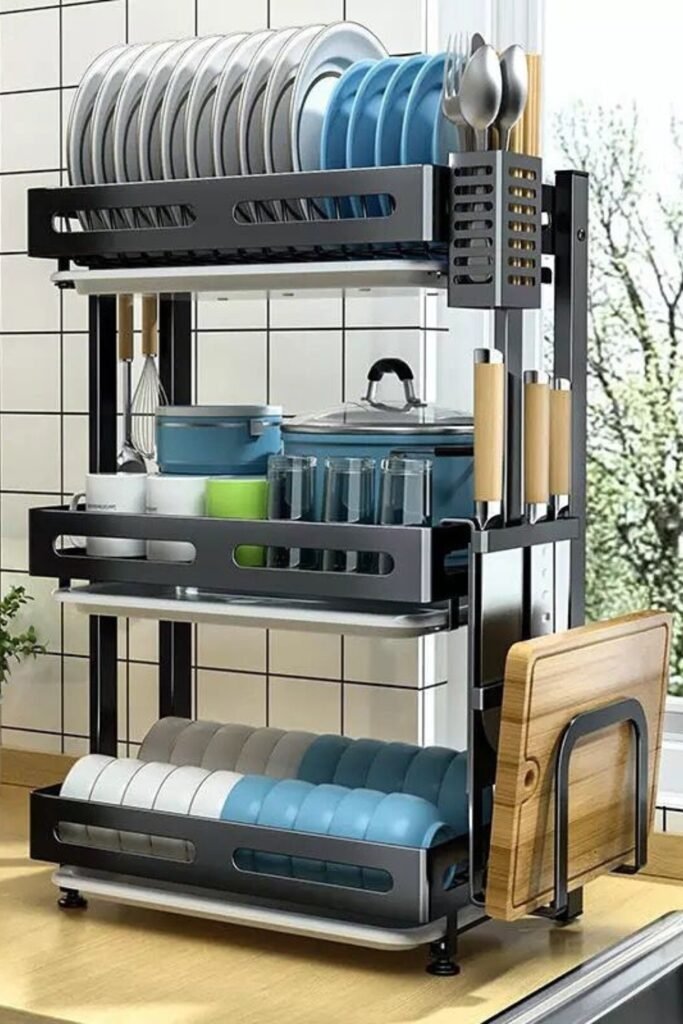
Keep Countertops Clear With a Compact Dish Rack
Counter-mounted racks work well in small kitchens where wall drilling feels risky or space above cabinets stays limited.
Recreate this using a sturdy metal frame with angled plate slots, placed near the sink for quick loading.
This setup suits renters or apartments, offering plate organization without committing to permanent wall changes.
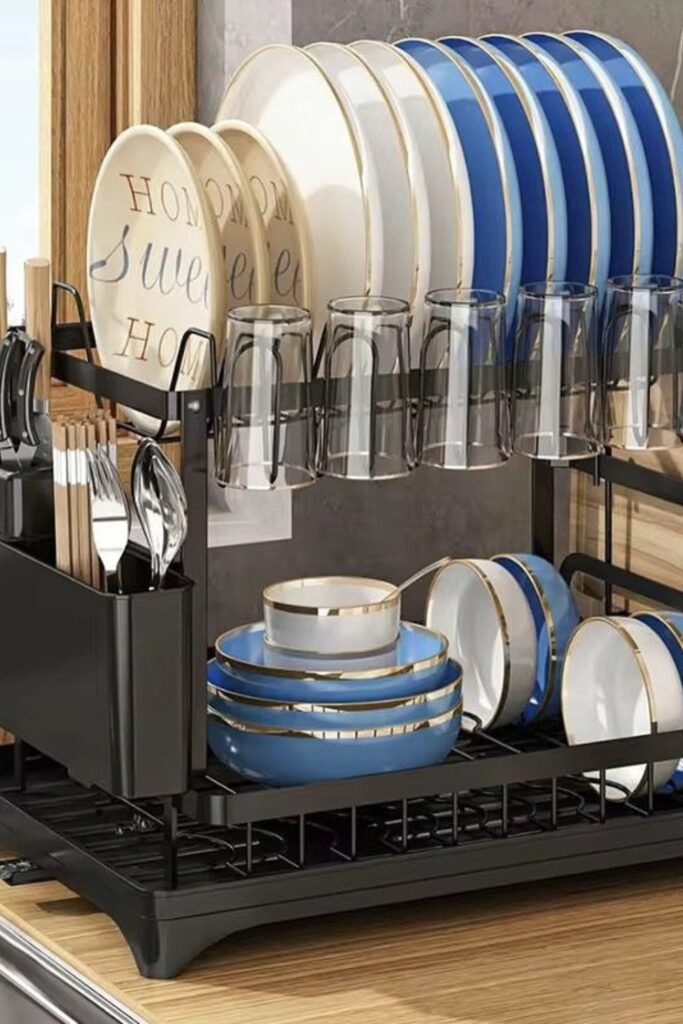
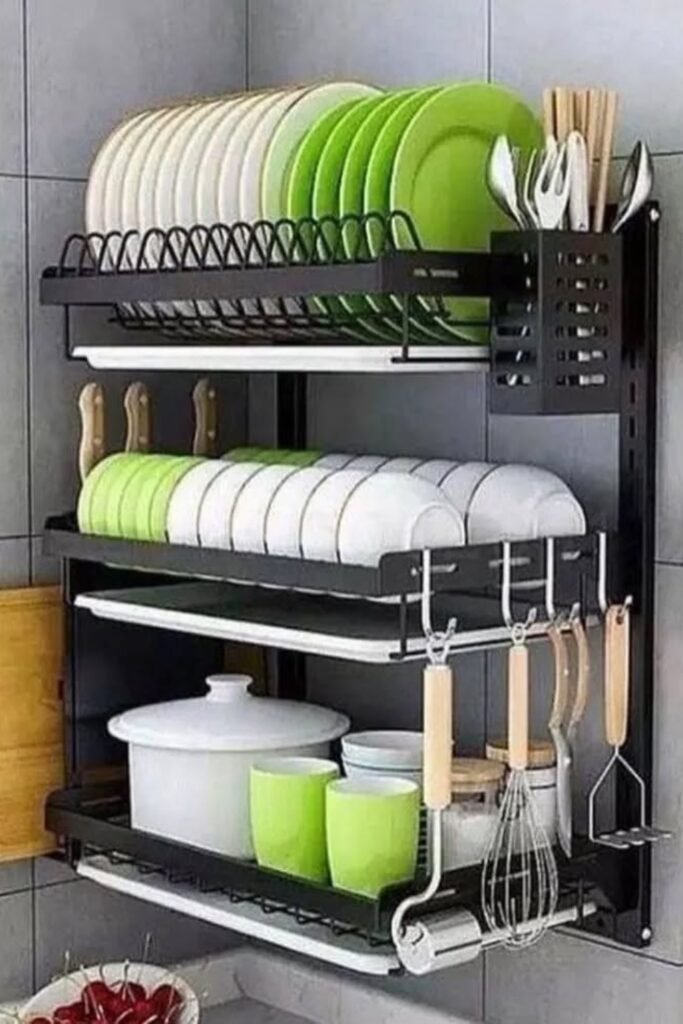
Mount a Modular Rack for Daily Dish Flow
Wall-mounted modular racks shine in busy kitchens where dishes move straight from sink to storage without stacking.
Install a metal rail system anchored into studs, then stack tiers based on plate size and frequency.
This design works best beside sinks, keeping wet plates draining while freeing valuable cabinet space.
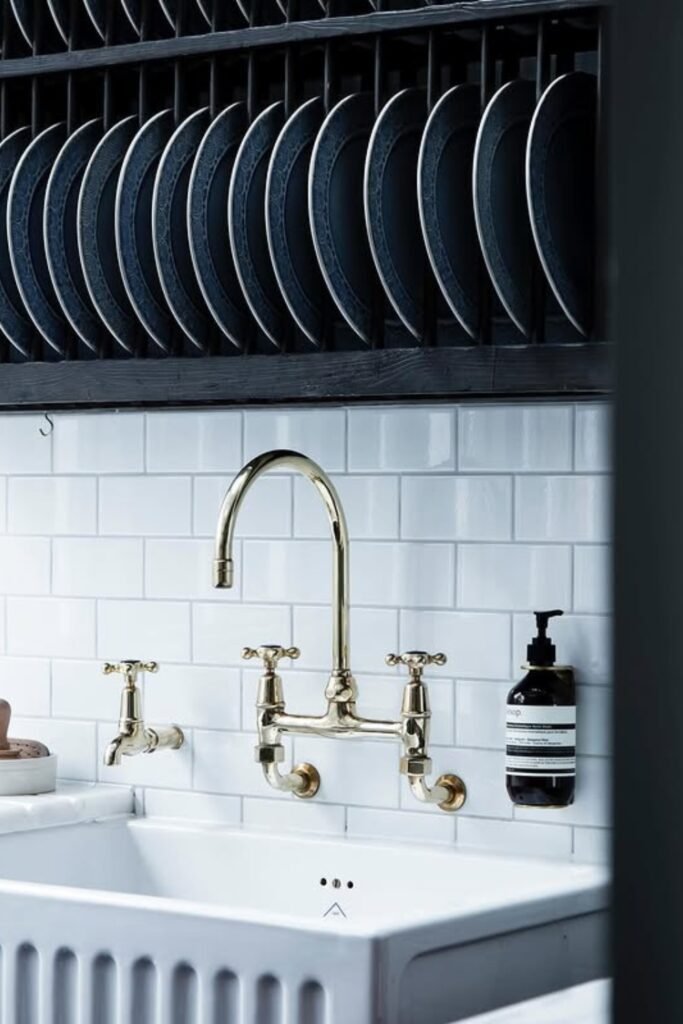
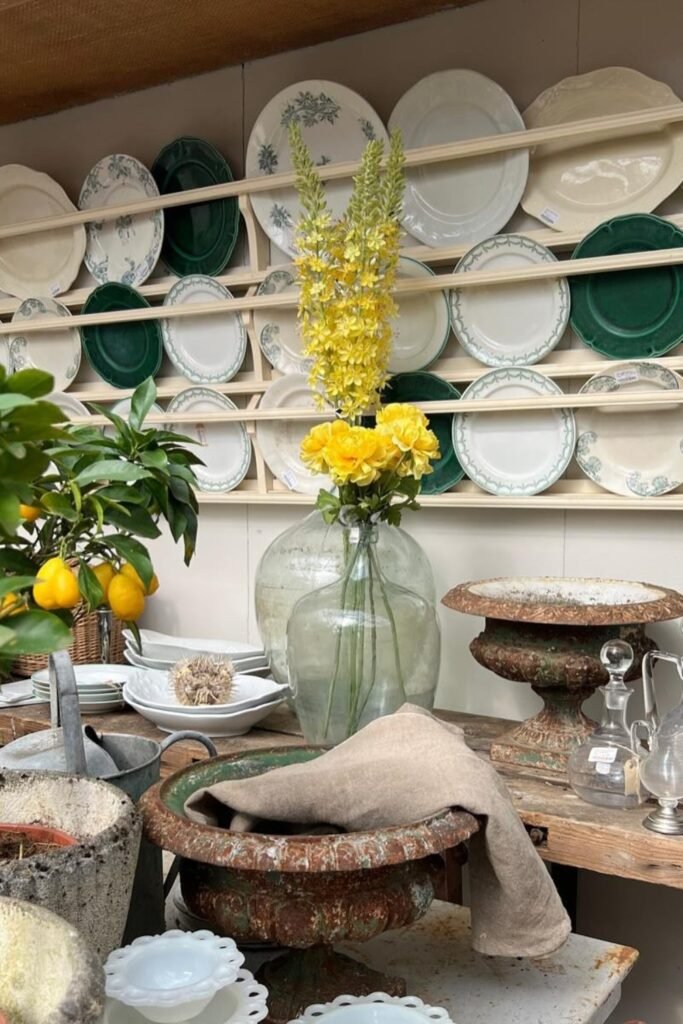
Turn Decorative Plates Into a Feature Wall
A full wall plate rack doubles as storage and décor, especially for collected or vintage dish sets.
Build long wooden rails with shallow lips, spacing rows evenly so plates lean securely without wobbling.
This approach suits dining rooms or open kitchens where display matters as much as daily function.
Add Color-Coded Plate Storage for Easy Sorting
Separating plates by color or size helps families grab dishes quickly without rummaging through stacked cabinets.
Use tiered racks with consistent spacing, adjusting dividers to match dinner plates, salad plates, and bowls.
This system fits well in family kitchens where speed and visibility reduce everyday dish chaos.
Mix Open Shelves With Built-In Plate Slots
Combining open shelves and plate dividers creates flexible storage that adapts as dish collections change.
Install simple wooden shelves, then add vertical slots only where plates need upright support.
This layout works best on long walls, balancing open décor with practical plate organization.
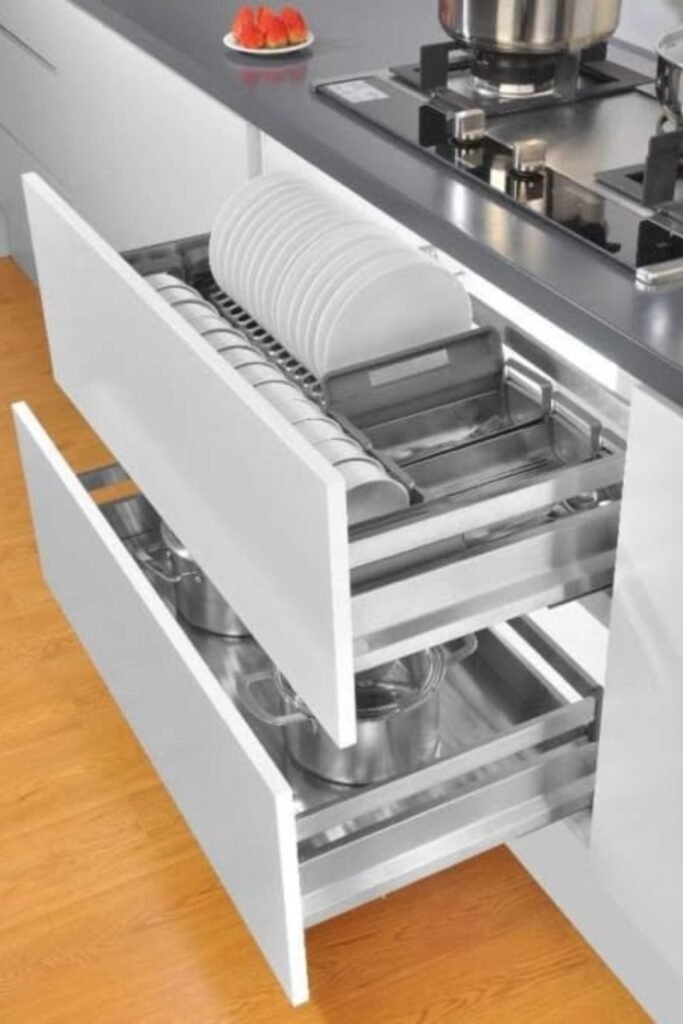
Replace Deep Drawers With Vertical Plate Storage
Pull-out drawers often hide plates poorly, making stacks heavy and hard to manage daily.
Convert drawers by installing vertical plate inserts or shallow rack trays that keep plates upright.
This solution suits modern kitchens where clean lines matter, but access and safety still come first.
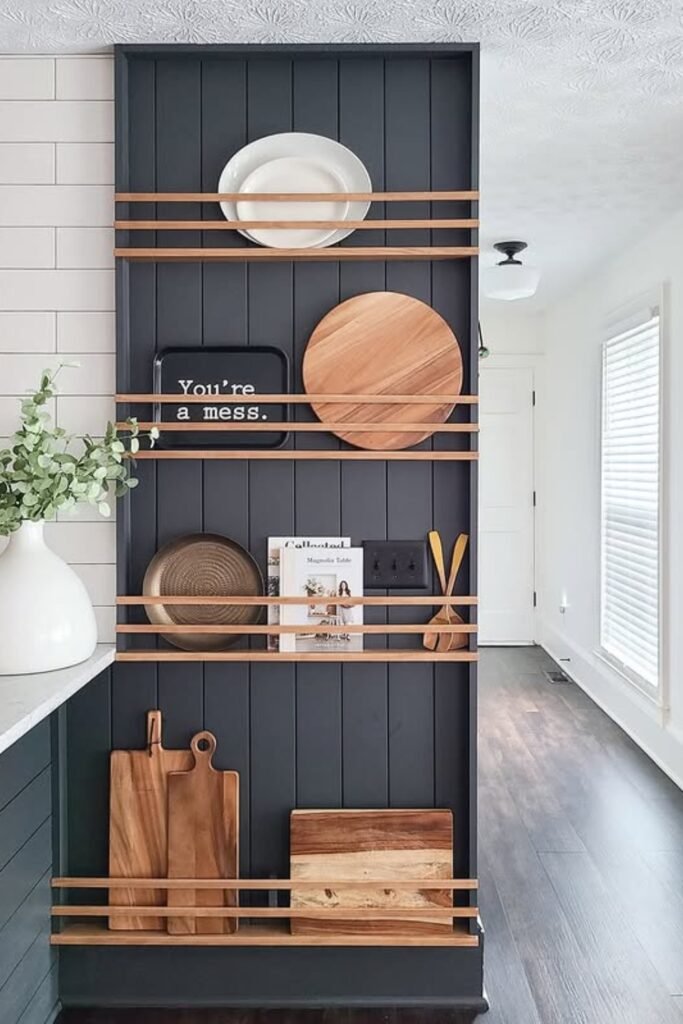
Turn Divider Walls Into Plate Storage
Tall divider walls become storage when slim wooden rails are spaced horizontally to support plates and boards safely.
Recreate this by fixing painted backing panels into studs, then adding evenly spaced dowels or battens across securely.
This works best between kitchen zones, turning awkward divider walls into practical display without crowding cabinets or countertops.
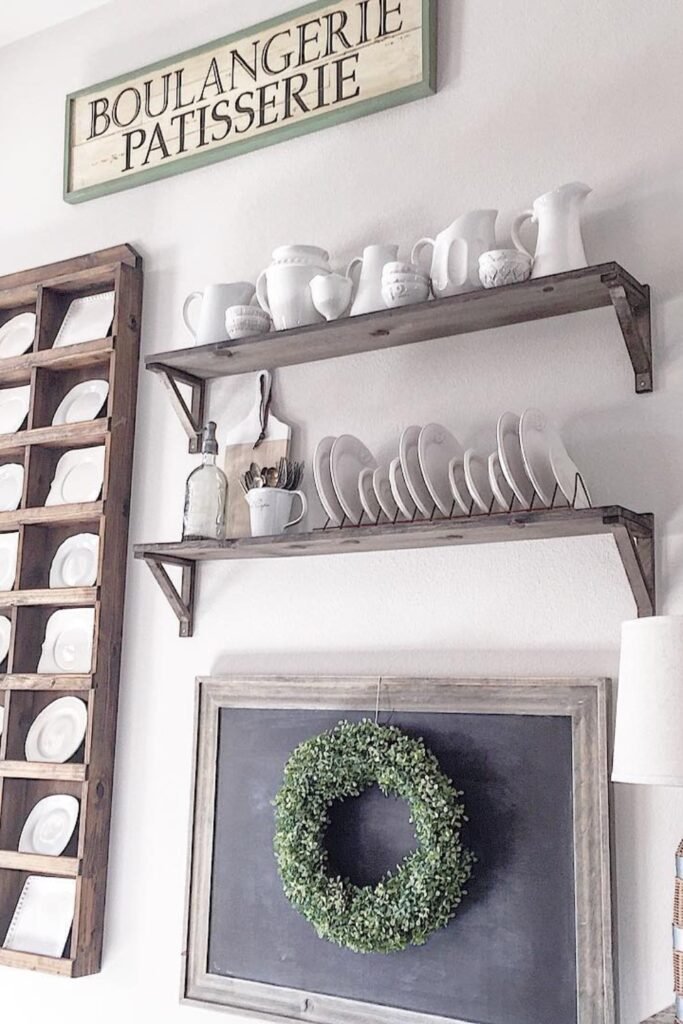
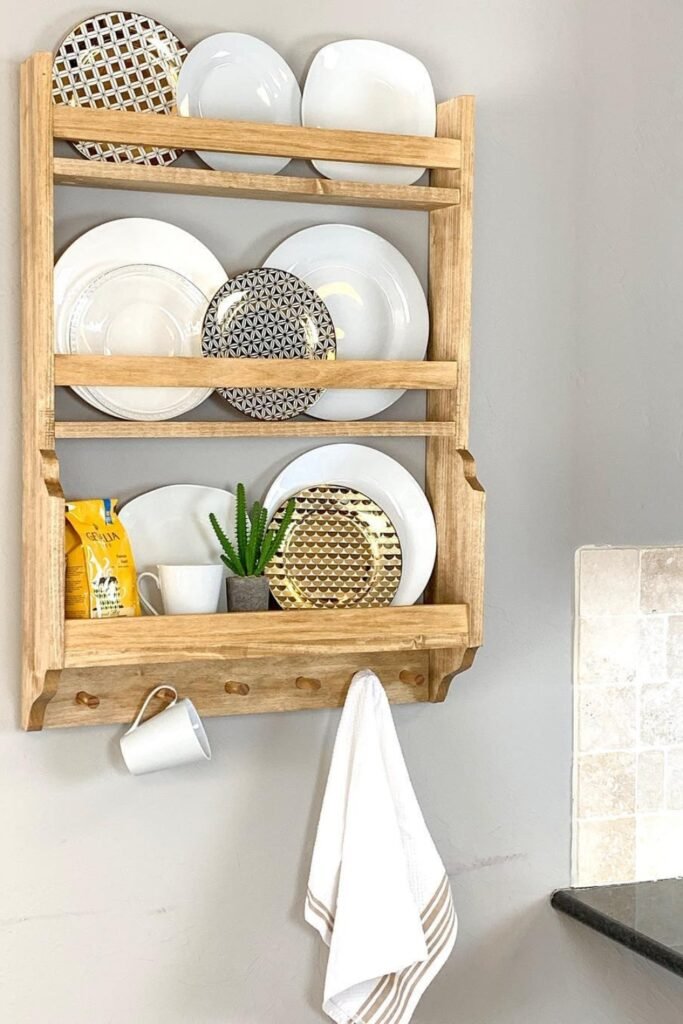
Add a Classic Wooden Wall Rack
Classic wooden wall racks shine in smaller kitchens where open storage keeps daily plates visible and reachable easily.
Build this using solid side frames, shallow shelves, and a front rail to stop plates sliding forward safely.
Hooks underneath add function for mugs or towels, making this ideal near sinks or breakfast corners in homes.

Hi, my name is Ali Mehmood! I’m a passionate writer and DIY enthusiast who loves turning creative ideas into practical, hands-on projects.
I created this website to share inspiring, budget-friendly ideas that you can do yourself – whether it’s organizing your home, crafting something unique, or creating fun projects for kids and pets.
I believe DIY isn’t just a hobby – it’s a smart way to save money, reduce waste, and enjoy the satisfaction of making things with your own hands.
I’m excited to have you as part of this growing community, and I’ll continue bringing you helpful, realistic, and fun DIY ideas you can actually use.


