This post may contain affiliate links: read full affiliate disclosure.
You followed the recipe. You measured everything perfectly. But the playdough still turned out sticky, dry, or just plain wrong.
Sound familiar? You are not alone. Most homemade playdough recipes online skip the important details like how to fix it when it goes wrong or how to make sure it is safe if your toddler decides to taste it.
This guide keeps things simple and real. You will learn exactly how to make soft, stretchy, and long-lasting playdough on your first try.
I will also show you how to fix common problems like crumbly dough or a sticky mess, which ingredients actually matter, and how to store it so it stays fresh for days.
Let us make it easy and get it right.
What’s the Problem With Store-Bought Dough?
Store-bought playdough might seem convenient, but it dries out quickly, smells strange, and can get expensive over time.
Some brands even use ingredients that may not feel safe for toddlers. That is why many parents try making their own. But most homemade recipes miss important details.
The dough often turns out too sticky, too crumbly, or does not last more than a day. Some recipes even skip safety steps like heat-treating raw flour.
Save this article for later
What You’ll Need to Make Playdough at Home
Making playdough at home is simple and only requires a few basic ingredients.
You will need cups of all-purpose flour, a cup of salt and tablespoon of oil, 1 tablespoon of cream of tartar (if you have it), and about 1 cup of warm water.
You can add some food color to make it more fun, and you can even drop in a little vanilla or cinnamon if you like a nice scent.
You will also use a mixing bowl, a spoon, and a pan if you plan to cook the dough. Once the playdough cools, store it in an airtight container to keep it soft for weeks.
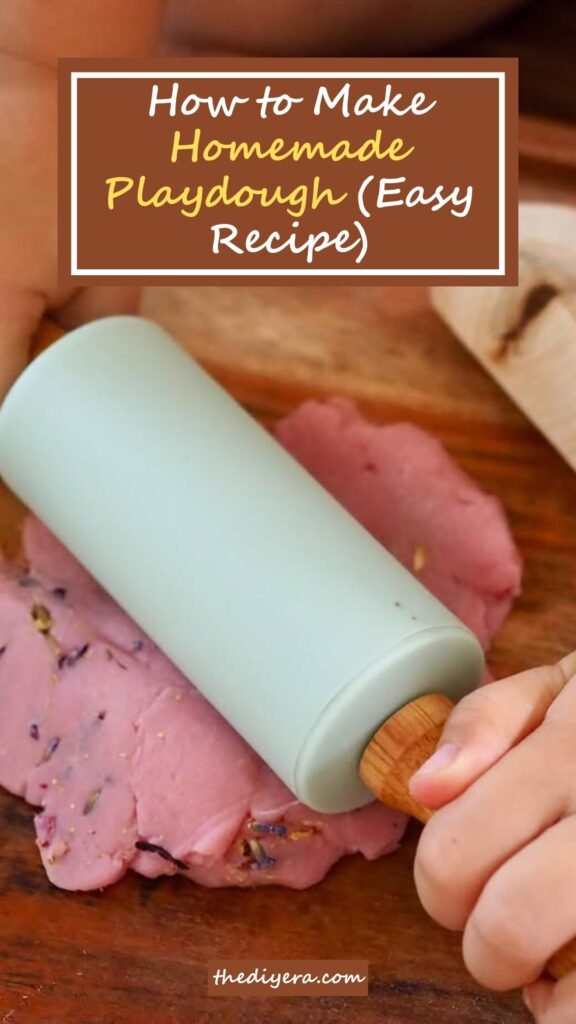
Step-by-Step Process for Homemade Playdough
Images are sourced from Holly Homebody YouTube Channel to help my readers visualize these steps. You can check out their channel for more inspiration and detailed guides.
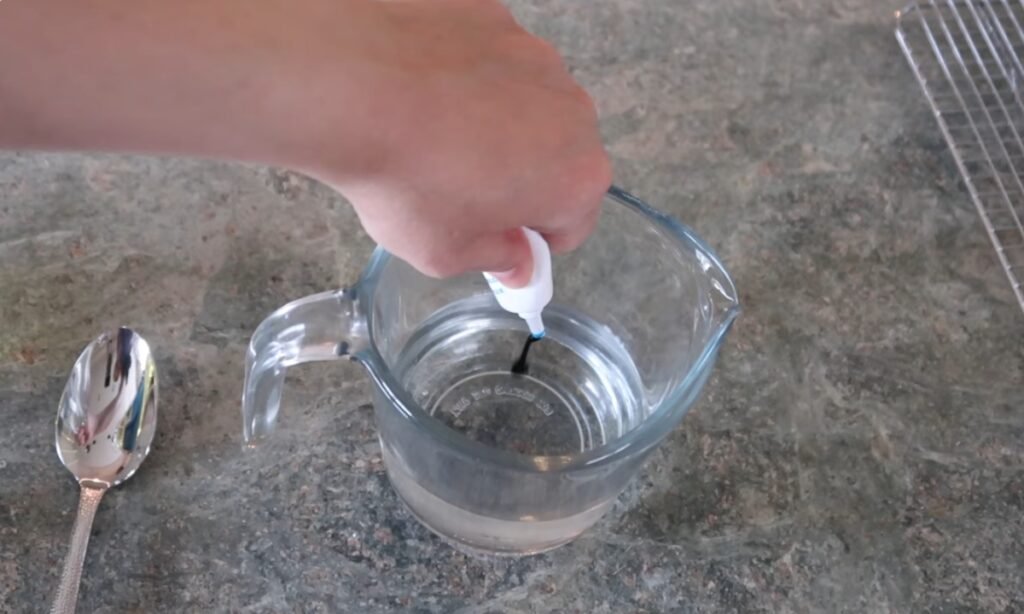
1. Mix the wet ingredients
First, pour water into a cup. Add a few drops of food coloring. While any kind works, gel coloring will give you a richer color.
Stir until the color is consistent, then add a spoonful of vegetable oil and mix it again.
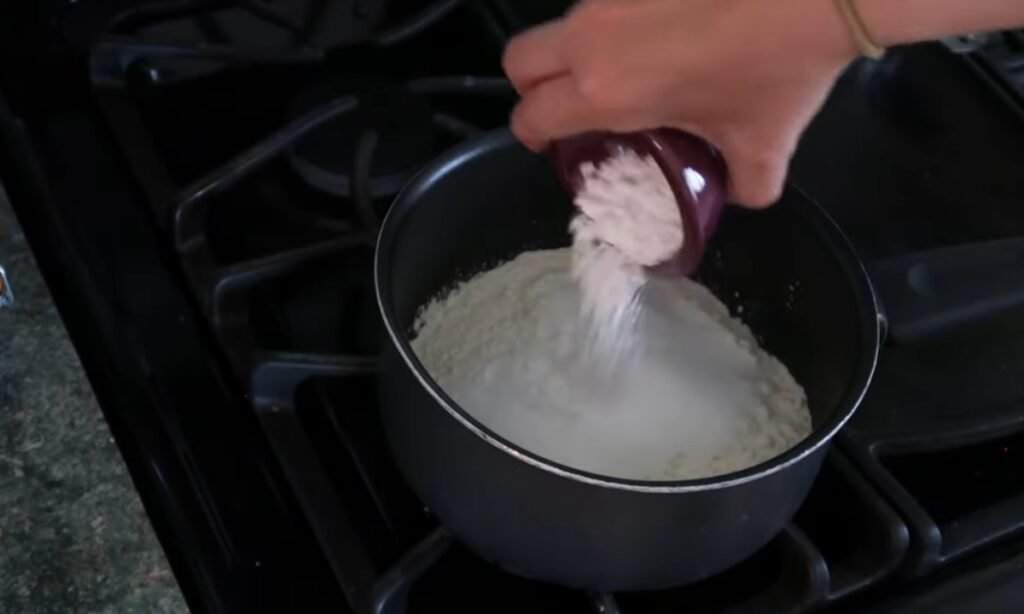
2. Combine the dry ingredients
Next, get a saucepan and place it on the stove. You can add the flour, salt, and cream of tartar. Stir these ingredients together until they are well blended.
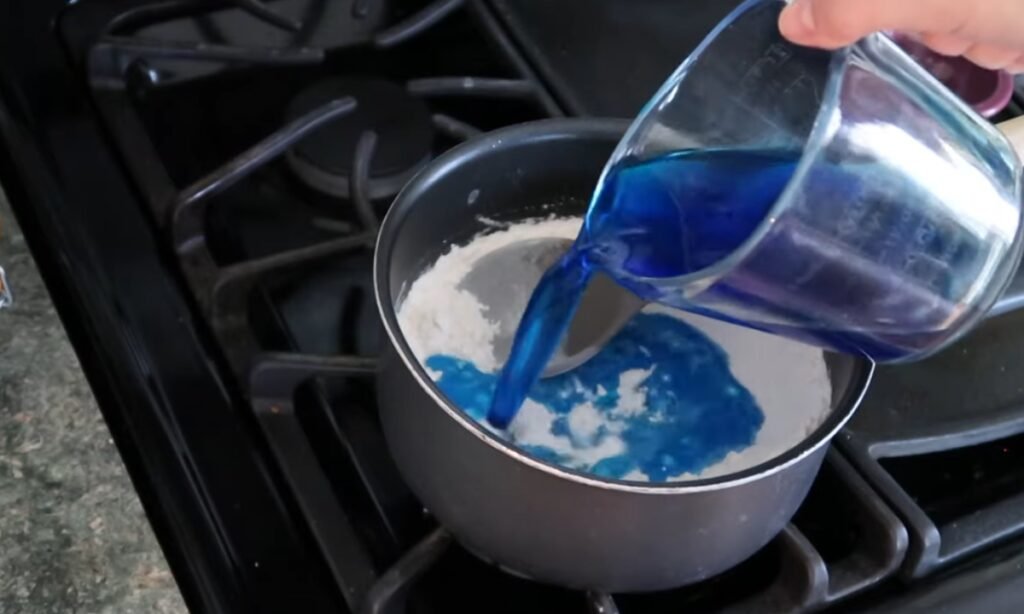
3. Add the liquids to the pan
Pour the colored water and oil mixture into the saucepan with your dry ingredients. Keep stirring until all the dry flour is mixed in and you do not see any clumps.
4. Cook over medium heat
Set your stove to medium or medium-low heat and stir constantly. The mixture will feel watery and sticky at first, which is completely normal. Just keep stirring with patience..
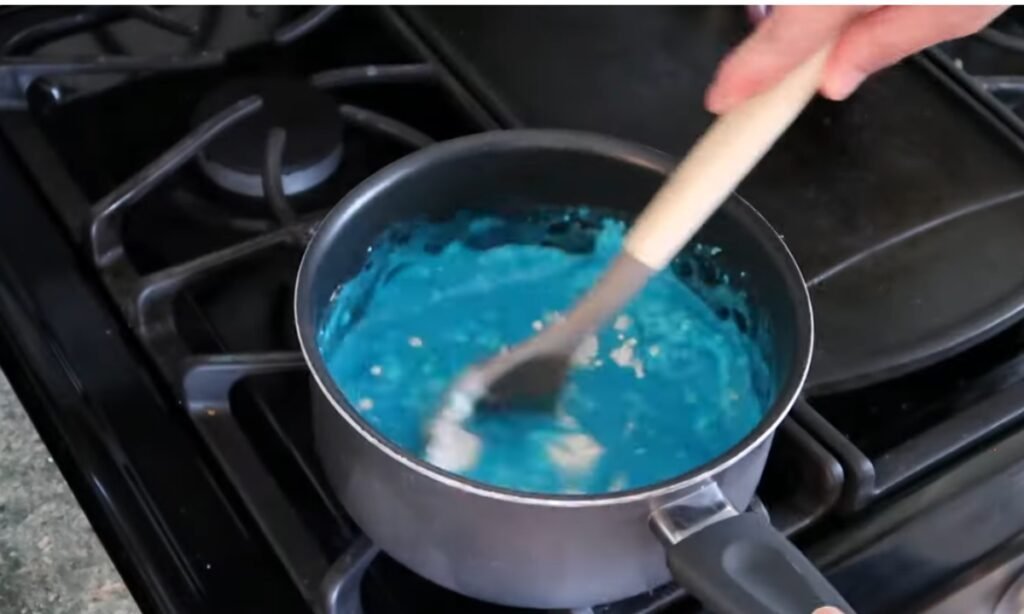
5. Watch for lumps to form
When the mixture can heat up, it will start to get thicker. You will first see lumps forming, and then it will become smoother and firmer.
This is when the magic happens, and it begins to turn into playdough.
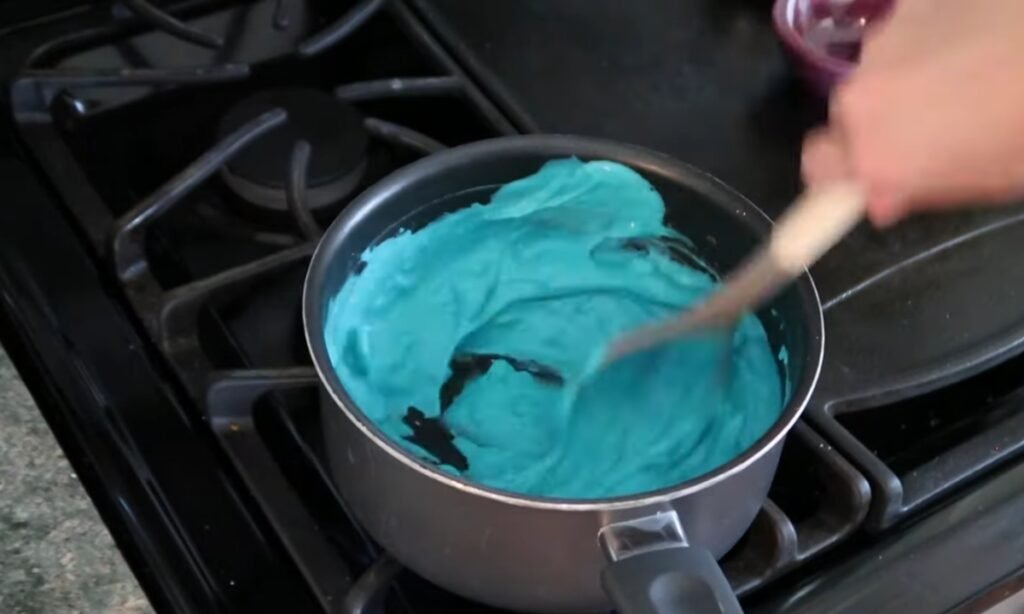
6. Keep stirring until it forms a ball
Do not stop stirring too soon. You need to keep going until the dough comes together into a single ball that pulls away from the sides of the pot.
When you see this, you will know it is done.
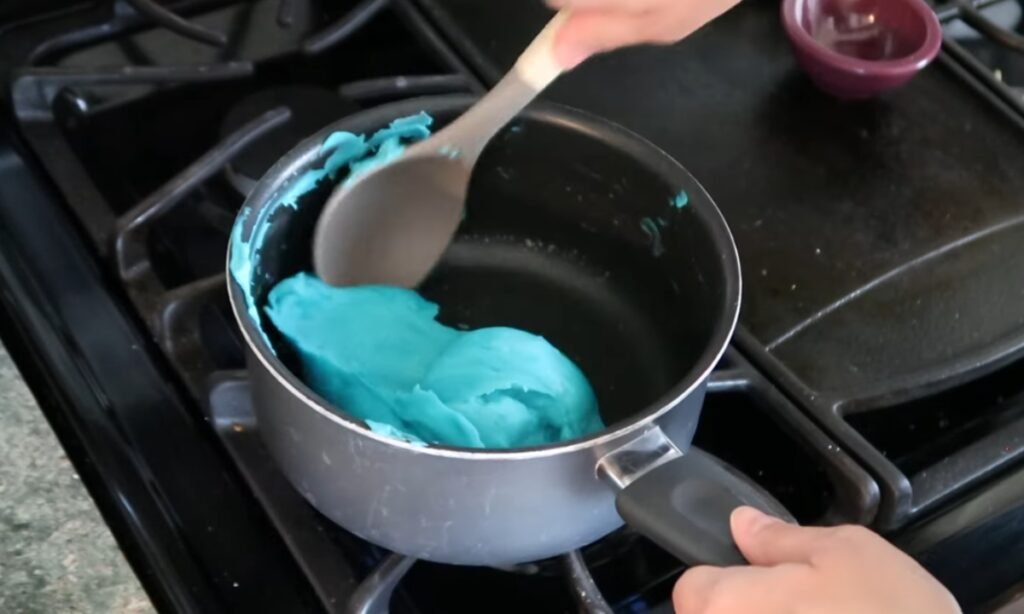
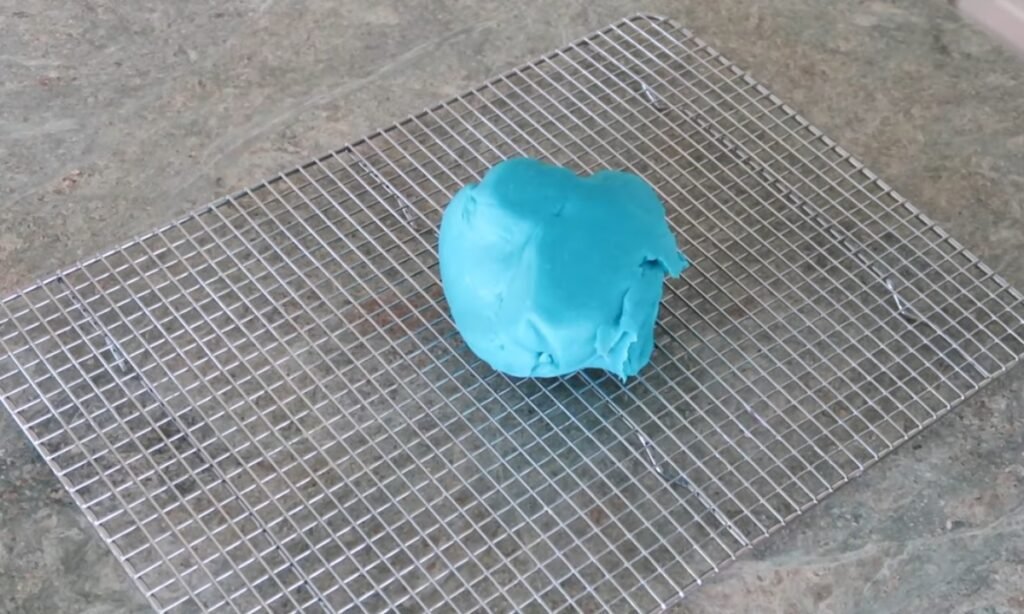
7. Cool the dough
Move the ball of dough to a surface where it can cool down, such as a wire rack, a plate, or a sheet of parchment paper. Let it rest there until you can comfortably touch it.
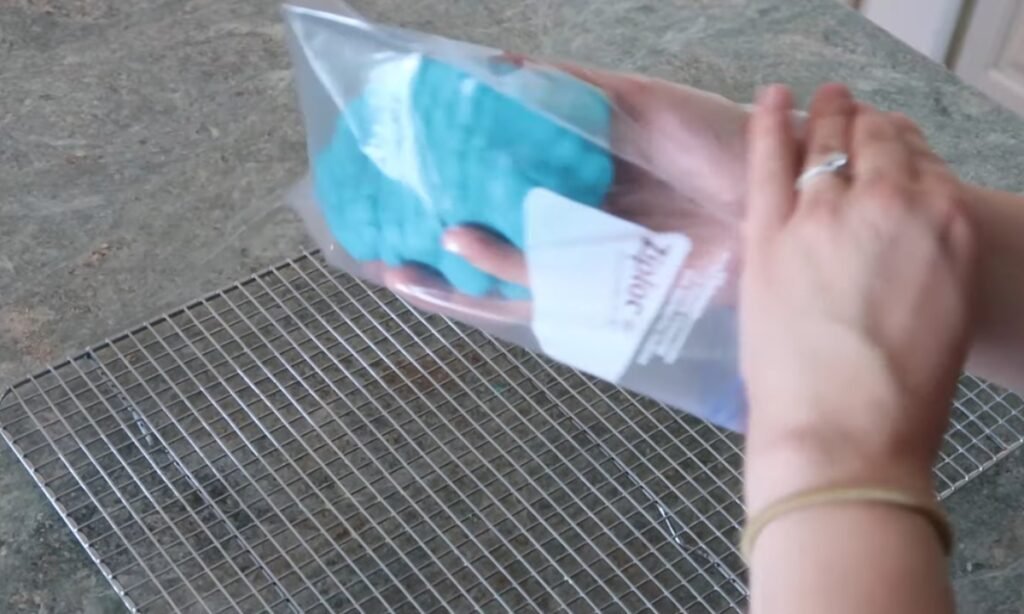
8. Store for later use
After it has cooled, your playdough is ready for squishing and stretching. To keep it from drying out, store it in a sealed bag or an airtight container.
Make sure you press all the air out before you seal it.
Is Homemade Playdough Safe for Toddlers?
Homemade playdough can be safe for toddlers, but you need to take an extra step that most recipes skip.
The main concern is raw flour, which can carry bacteria like E. coli. This is a problem if your toddler puts the dough in their mouth. The solution is simple: heat-treat the flour before using it.
You can spread flour on the baking tray and will bake at 200°C (390°F) for 5 minutes. Stir it halfway through and make sure it reaches 70°C (160°F) to kill any bacteria.
Let it cool completely before adding it to your recipe. You can also heat the flour in a dry pan on the stove, stirring constantly for about 5 minutes.
Once you treat the flour and store the dough properly, it is safe for little hands and much cheaper than store-bought options.
Conclusion
Making playdough at home is simple, but getting it just right is what truly matters. You now have the steps for what to do, what not to do, and how to correct any mistakes.
Whether you make it for enjoyment, a school project, or sensory activities, this homemade dough will last longer and feel better than the kind you buy in a store.
It also costs less. The best part is that you know exactly what goes into it, so you can be sure it is safe. Go on and mix up a batch to start the fun.
FAQs
Can I make a playdough without cream of tartar?
Yes, you can make a playdough without cream of tartar. Cream of tartar helps make the dough smooth and stretchy, but you can use lemon juice or white vinegar instead.
For every tablespoon of cream of tartar the recipe calls for, simply use one tablespoon of lemon juice or vinegar. The final texture might feel slightly different, but it will work just fine.
How long does homemade playdough last?
To make your homemade playdough last, you should store it in an airtight container away from heat. When stored correctly, it can last for two to three months.
Always let the playdough cool completely before you seal it up. If you notice it starting to dry out, you can knead a little bit of oil or warm water into it to make it soft again.
You may also like to read!
- How to Make Slime Without Borax at Home
- How to Make Friendship Bracelets At Home
- How to Make Clay Earrings at Home – Step By Step Guide

Hi, my name is Ali Mehmood! I’m a passionate writer and DIY enthusiast who loves turning creative ideas into practical, hands-on projects.
I created this website to share inspiring, budget-friendly ideas that you can do yourself – whether it’s organizing your home, crafting something unique, or creating fun projects for kids and pets.
I believe DIY isn’t just a hobby – it’s a smart way to save money, reduce waste, and enjoy the satisfaction of making things with your own hands.
I’m excited to have you as part of this growing community, and I’ll continue bringing you helpful, realistic, and fun DIY ideas you can actually use.