This post may contain affiliate links: read full affiliate disclosure.
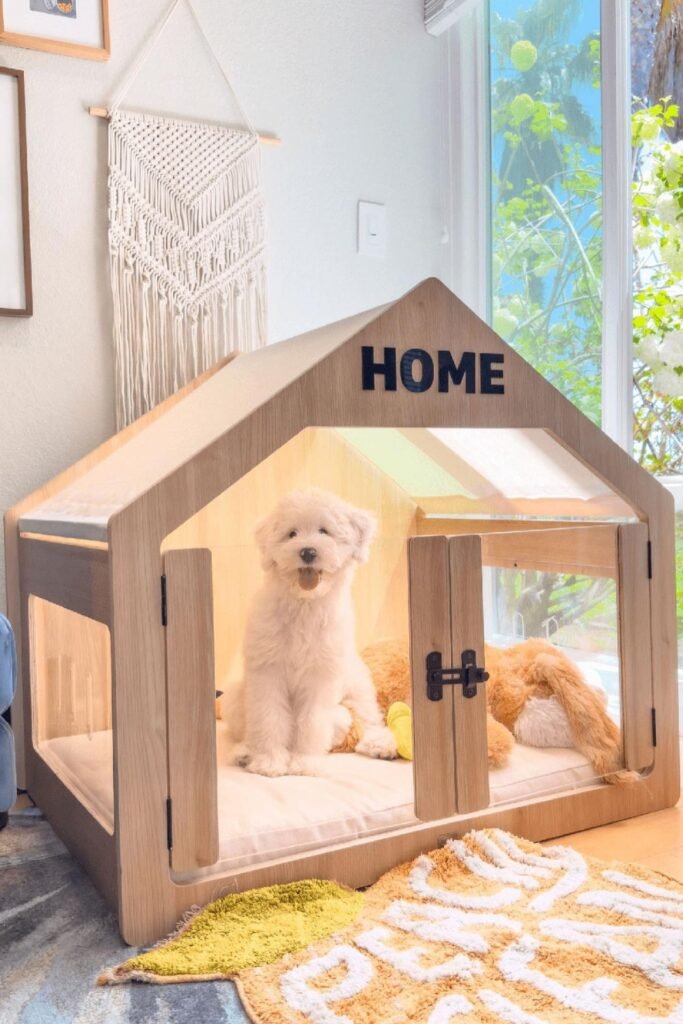
If you’re like me, your furry friend isn’t just a pet – they’re family. And just like any family member, they deserve a space that’s comfortable, safe, and entirely their own.
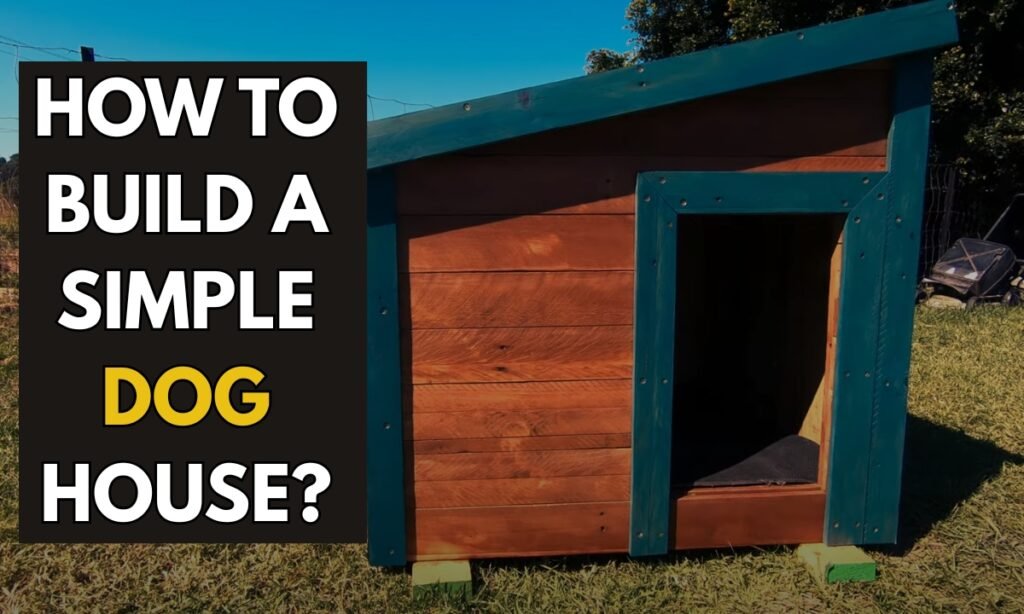
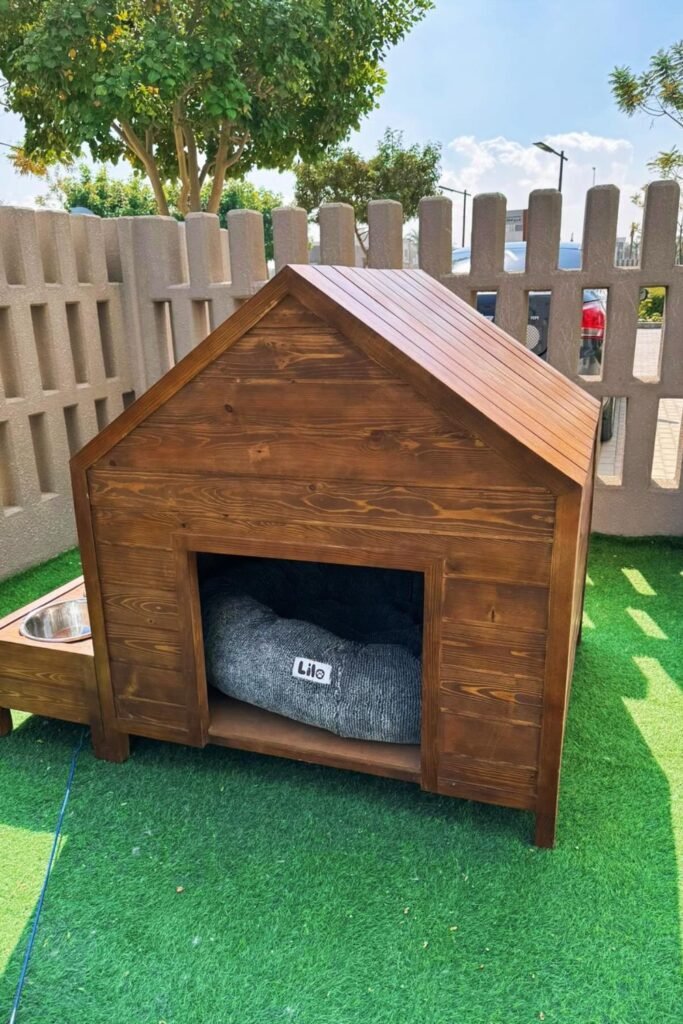
That’s why I’m so excited to share with you one of the DIY projects you can take on – building a dog house!
Now, before you start, picture a complicated woodshop project with endless measurements and fiddly tools, hear me out.
Building a dog house is more than just a project; it’s a way to show your pup just how much you care.
Beyond being practical, I promise this is also incredibly fun. Whether you’re a seasoned DIYer or someone who’s barely picked up a hammer, this guide will show you that you absolutely can make this happen.
Let’s get started!
What Tools and materials will you need?
Before we get into the building fun, let’s take a moment to plan everything out. Trust me, a little preparation goes a long way to make sure your DIY dog house turns out just right – for both you and your pup.
First up, think about the size and design. Every dog deserves a house that fits them like a glove, so grab that measurement tape!
Make sure there is enough space for your dog to stand, turn around, and lie down comfortably.
At the same time, don’t go overboard – too much space can make it harder for the house to stay warm in colder months.
Keep your local climate in mind. You might have to plan for some insulation if it gets chilly and ensure there is plenty of ventilation for those hot summer days.
Next, pick the perfect location in your yard. A flat spot with good drainage is ideal to keep the house sturdy and dry.
If possible, position it in a shaded area to keep it cool and protected from the blazing sun.
Finally, gather your tools and materials. Here’s the list of tools you will need to build your dog house:
- Circular saw
- Drill
- Hammer
- Measuring tape
Here’s the materials you will need:
- Plywood
- Pressure-treated lumber
- Screws
- Nails
- Insulation/ Roof Panels
- Paint
With these simple prep steps checked off, you’re all set to jump into the actual building. Don’t worry, I’ll guide you through it step by step – and you’ll be a DIY pro in no time!
Step-by-Step Construction
Step 1: Build the Base
You have to start with a solid foundation and for that you have to use pressure-treated wood, which is durable and weather-resistant.
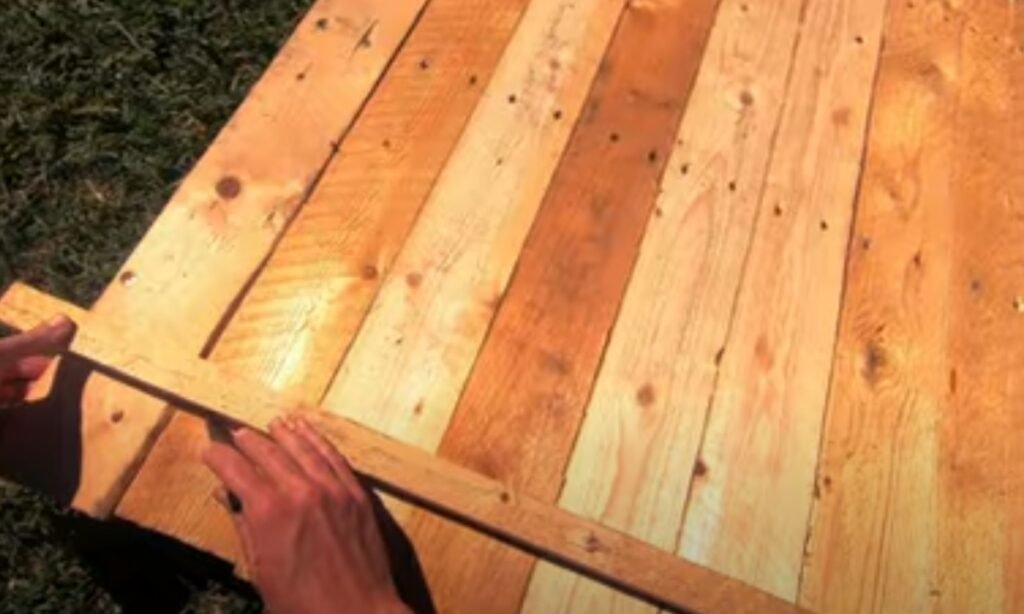
Cut and assemble the base so it sits slightly elevated off the ground. This design will prevent moisture from seeping inside and add an extra layer of insulation to keep your pup comfortable.
Step 2: Construct the Walls
Next, focus on the walls. Use sturdy wood to assemble the side, back, and front panels.
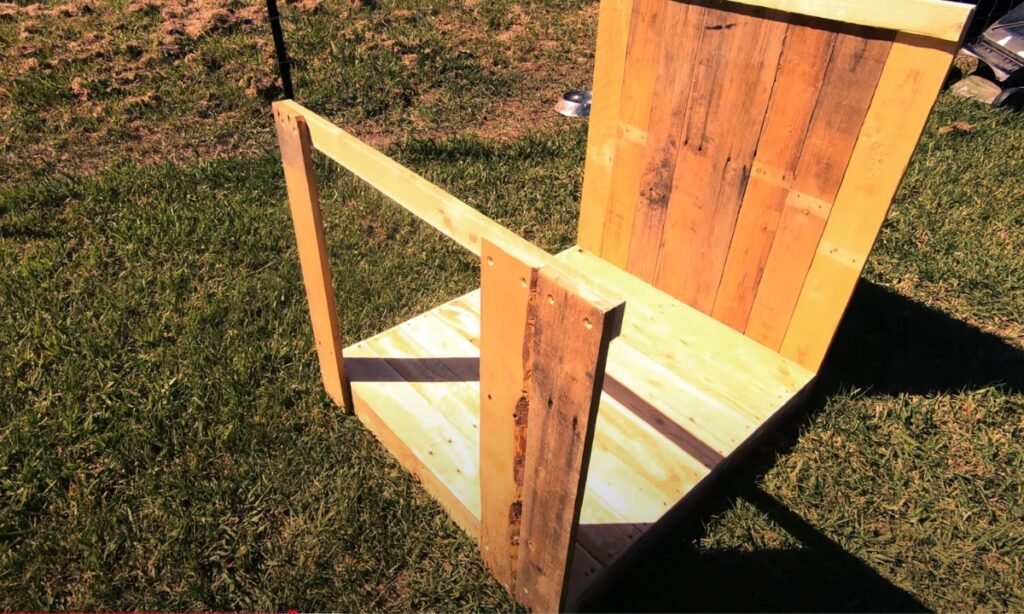
When you construct the front wall, you have to make sure to include a door opening that’s just the right size – 2 to 4 inches wider than your dog’s shoulders.
This opening ensures easy entry while keeping the house cozy and secure.
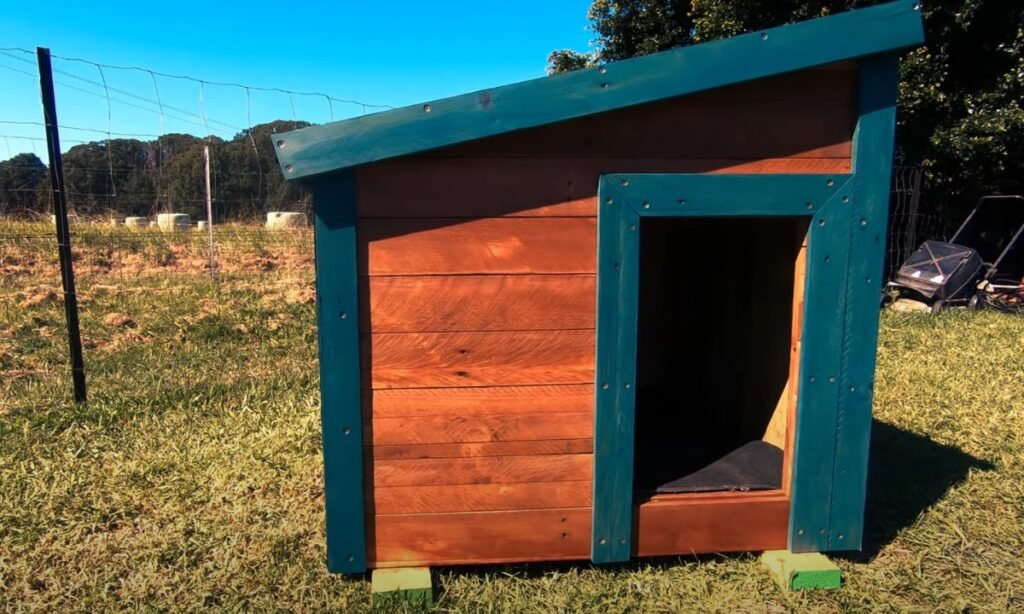
Step 3: Add the Roof
Every good dog house needs a weatherproof roof! So, opt for a slanted and maybe pitched roof design so rainwater doesn’t pool on top.

Attach the roof using durable materials like shingles/ plastic roofing panels to ensure long-lasting protection from the elements.
Step 4: Insulate and Weatherproof
For extra comfort, you can add insulation such as foam and fiberglass inside the walls and roof.
This will help regulate the dog house temperature in both hot and cold weather.
Don’t forget to seal any gaps with caulk and finish the exterior with an outdoor-grade paint/ stain.
This final touch ensures your pup’s new home is ready to withstand the elements while looking polished and inviting.
Finishing Touches
Now that the structure is complete, it’s time to add some final touches that make your dog house truly special.
You have to start with a quick safety check – sand down any rough edges and double-check that no nails and screws are poking out.
Once it’s safe, then you have to think about how you can make it look as inviting as it feels.
A fresh coat of paint and maybe a stain will not only protect the wood but also add personality, and you can always add some decorative trims and even a nameplate to give it an extra dash of charm.
Don’t forget to focus on your dog’s comfort, too! Lay down some bedding like straw and a cozy dog bed for a snug interior.
And according to the climate, you can consider to attach a door flap to shield your pup from rain or wind.
Maintenance Tips
Once your dog’s new house is up and running, a little upkeep will go a long way to keep it comfy and safe.
You have to make it a habit to clean the interior regularly to keep pests and odors at bay – your pup will thank you for the fresh space!
After bouts of extreme weather, take a close look at the structure for any wear and tear that might need attention.
It’s also a good idea to reapply paint or sealant periodically to protect the house from the elements and keep it looking sharp.
Conclusion
And there you have it – a dog house made with your own two hands! Building a dog house isn’t just about creating a functional space; it’s about giving your furry friend a safe, cozy place to call their own.
Along the way, you’ve saved money, learned new skills, and poured a whole lot of love into this project.
The best part? This house is as unique as the pup who’ll enjoy it. Maybe you’ll add their favorite colors, some fun decorations, or a comfy bed to make it extra special.
Customizing it to fit your dog’s personality and needs is what makes this DIY project so rewarding.
You may also read:

Hi, my name is Ali Mehmood! I’m a passionate writer and DIY enthusiast who loves turning creative ideas into practical, hands-on projects.
I created this website to share inspiring, budget-friendly ideas that you can do yourself – whether it’s organizing your home, crafting something unique, or creating fun projects for kids and pets.
I believe DIY isn’t just a hobby – it’s a smart way to save money, reduce waste, and enjoy the satisfaction of making things with your own hands.
I’m excited to have you as part of this growing community, and I’ll continue bringing you helpful, realistic, and fun DIY ideas you can actually use.