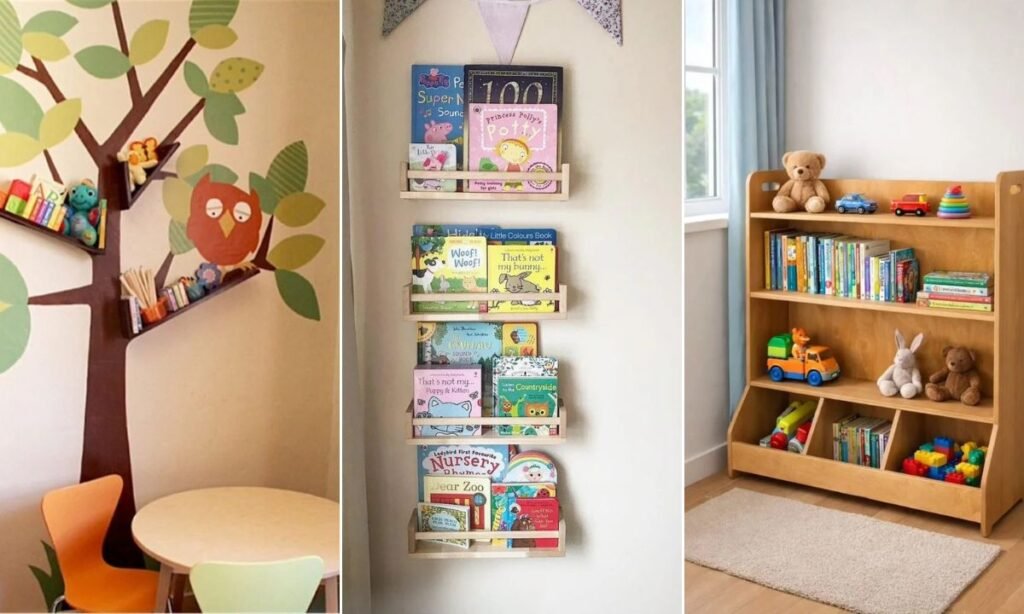
This post may contain affiliate links: read full affiliate disclosure.
Kids’ books have a way of ending up everywhere under the bed, beside the sofa, stacked on the floor, or crammed into shelves children cannot easily reach.
Buying a ready-made bookcase can solve part of the problem, but it may not fit your space, budget, or the way your child actually uses books.
You can build something low enough for little hands, narrow enough for a small bedroom, or roomy enough to hold a growing collection without making the room feel cluttered.
In this article, you’ll find 25 DIY kids bookshelf ideas designed to inspire practical solutions for nurseries, playrooms, bedrooms, and reading corners.
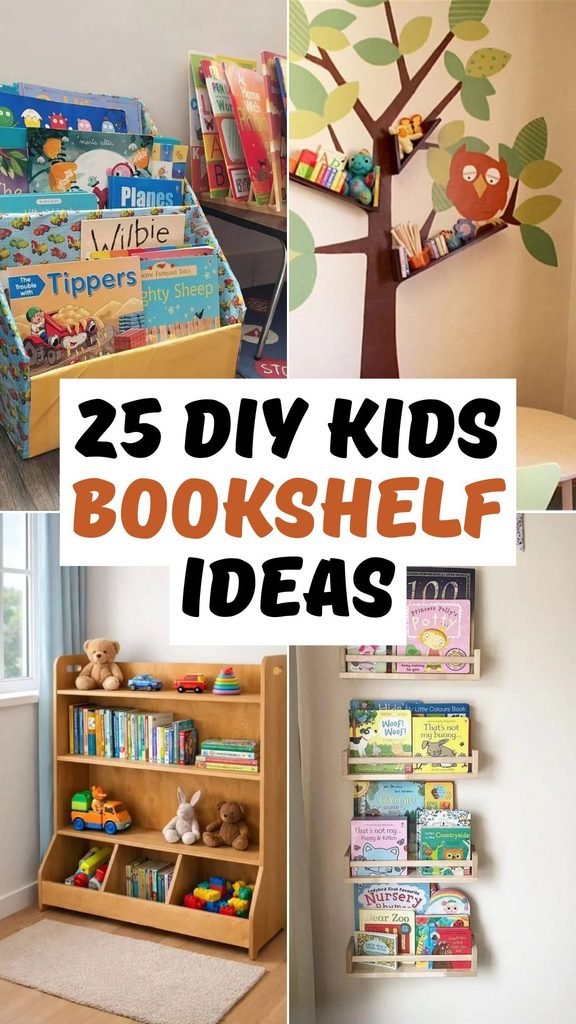
Tree Branch Bookshelf
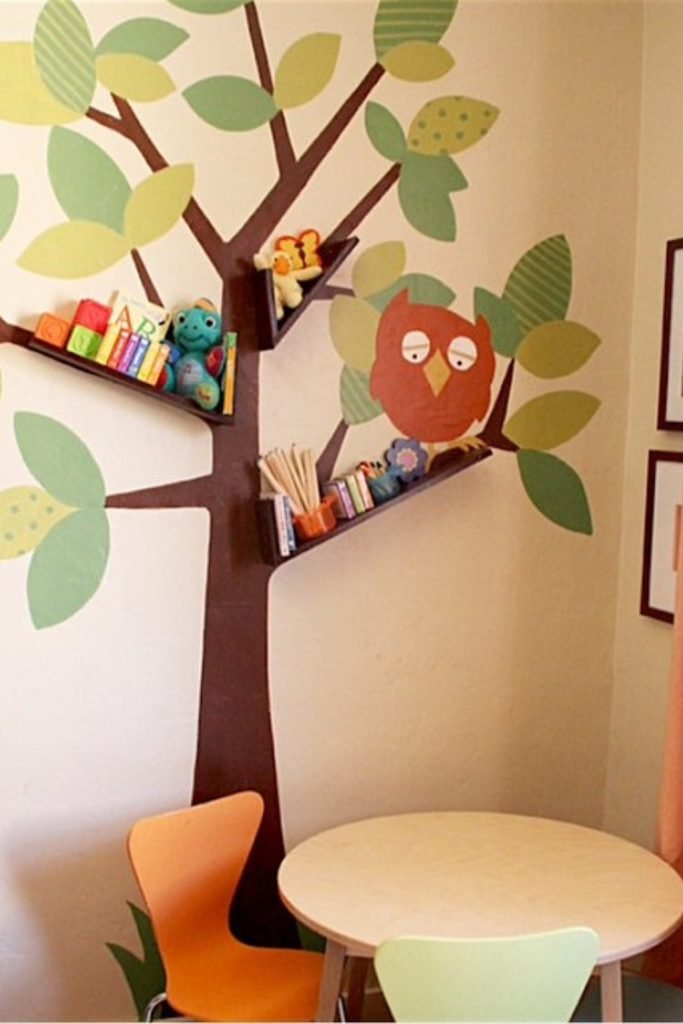
Turn an empty corner into part of the bookshelf by extending a painted tree trunk into simple branch-shaped wooden ledges.
Keep the lower branches within easy reach for everyday books, then use higher branches for favorites, toys, or lighter display pieces.
This works especially well beside a reading table, where the mural makes storage feel playful without adding another bulky floor unit.
Front-Facing Book Bin
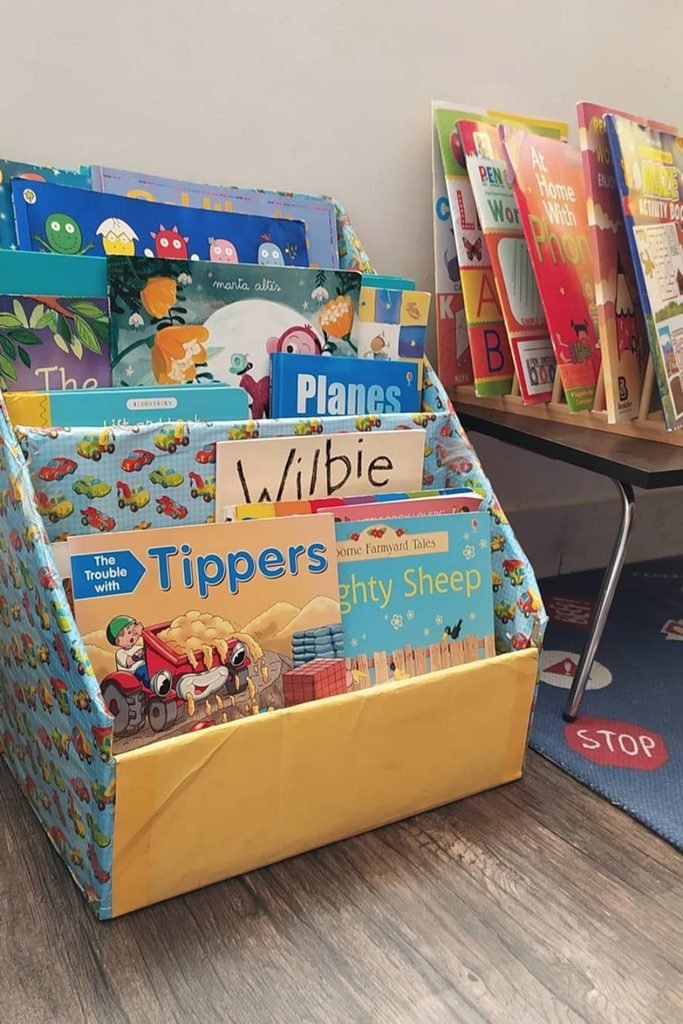
Front-facing storage is a smart pick for younger kids because colorful covers are easier to recognize than tightly packed book spines.
Build several stepped pockets so short board books stay visible in front while taller picture books can sit comfortably behind them.
Fabric-wrapped panels can soften the look, but make the base sturdy enough that excited little readers cannot tip it forward easily.
Wall-Mounted Book Display
Wall-mounted shelves can give children plenty of book access while keeping precious floor space open for play, baskets, or a small chair.
Use shallow rails across each row so covers stay visible, and position the lowest shelves where your child can browse independently.
A top ledge can hold a few lightweight toys or dolls, turning the whole piece into personalized storage rather than plain shelving.
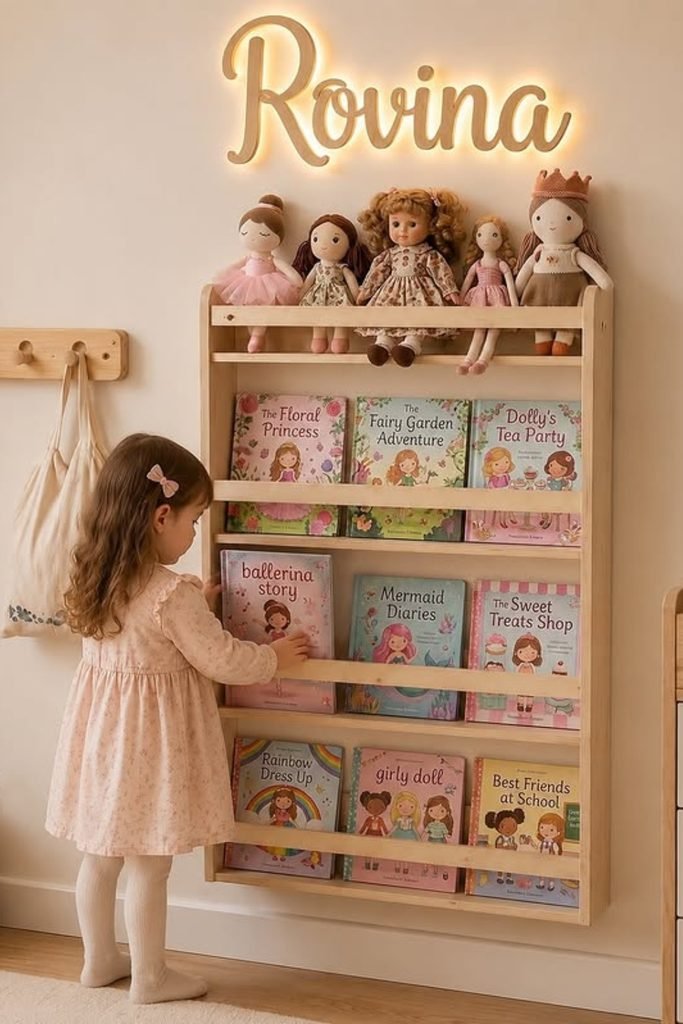
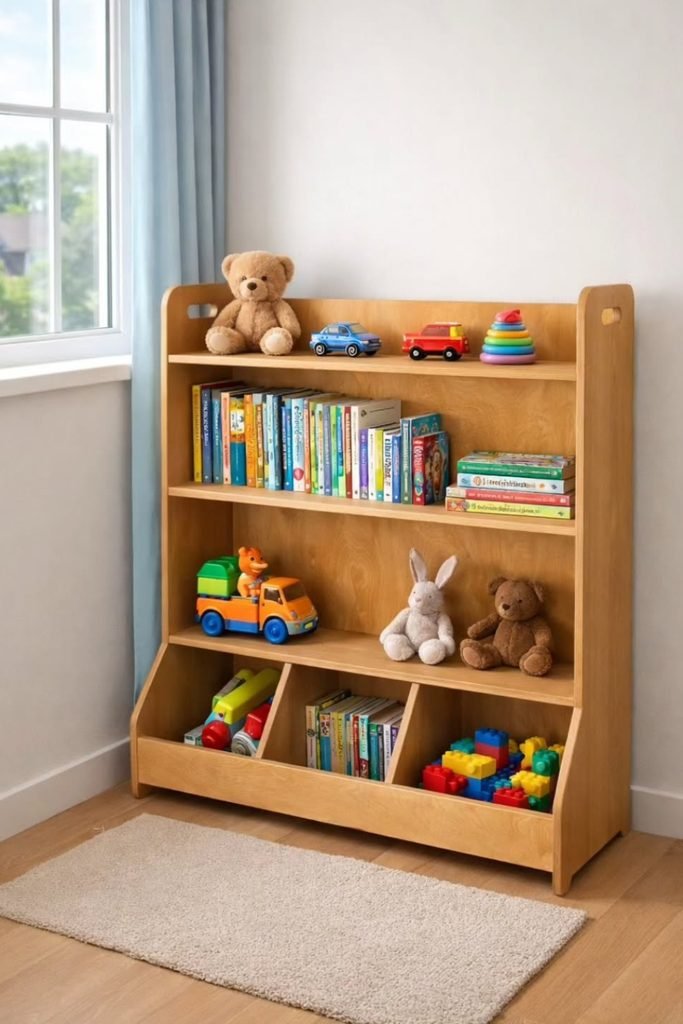
Bookshelf With Toy Bins
Combine regular shelves with open bins when books and toys constantly compete for the same storage space in a busy playroom.
Keep books on the middle shelves where titles stay easy to scan, then reserve the lower compartments for blocks, vehicles, and puzzles.
This setup grows nicely with kids because those bottom bins can later hold larger books, craft supplies, or baskets as interests change.
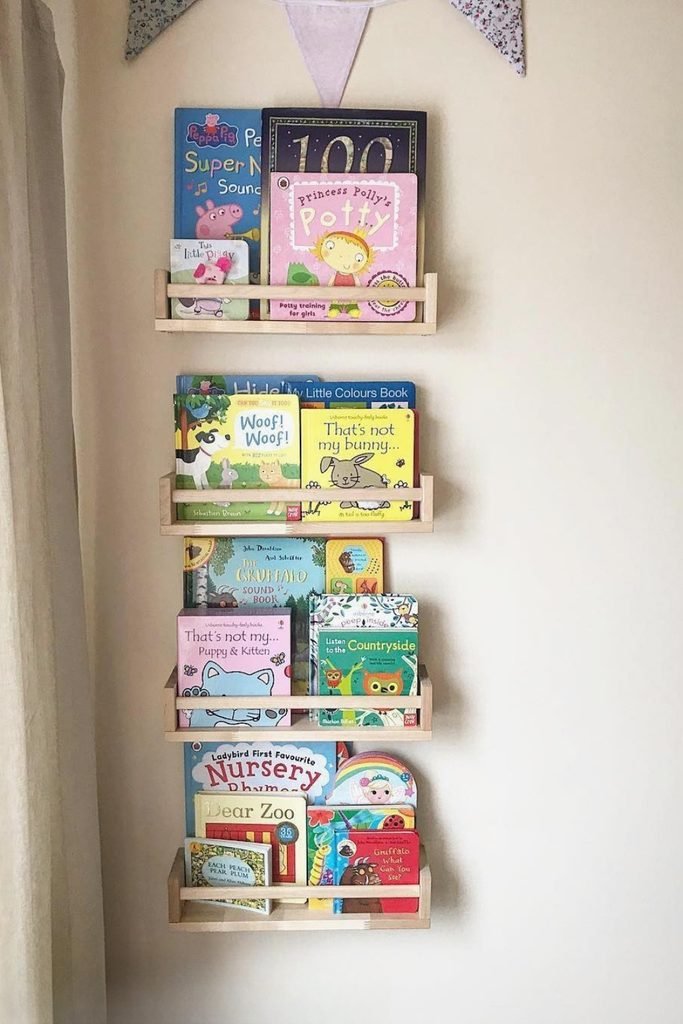
Narrow Wall Shelves
When floor space is tight, stack several shallow book ledges vertically and turn one slim wall strip into useful storage.
Keep the lowest ledges for current favorites, then rotate books on upper shelves so the display stays fresh without overcrowding.
This layout is especially handy beside a bed or reading nook, where kids can browse covers without needing a full bookcase.
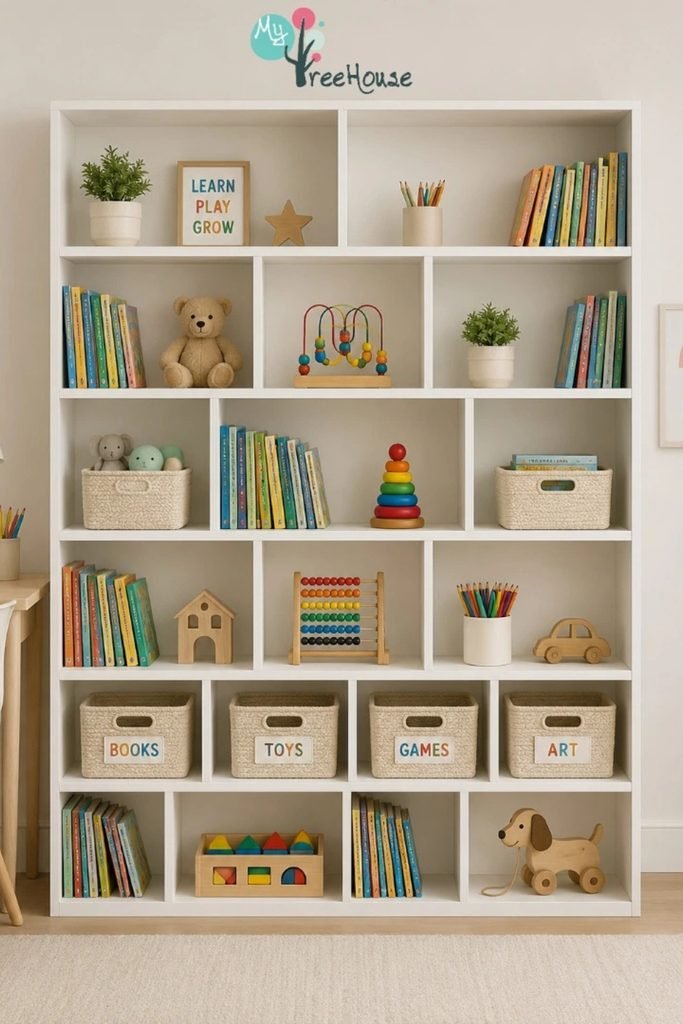
Modular Cubby Bookcase
A large cubby unit earns its footprint when every compartment has a job, instead of becoming one giant mixed-up storage zone.
Mix books with labeled baskets for toys, games, and art supplies, while leaving a few open cubes for easy-grab favorites.
For a DIY version, build repeated square sections from plywood and keep heavier items low so the whole piece feels balanced.
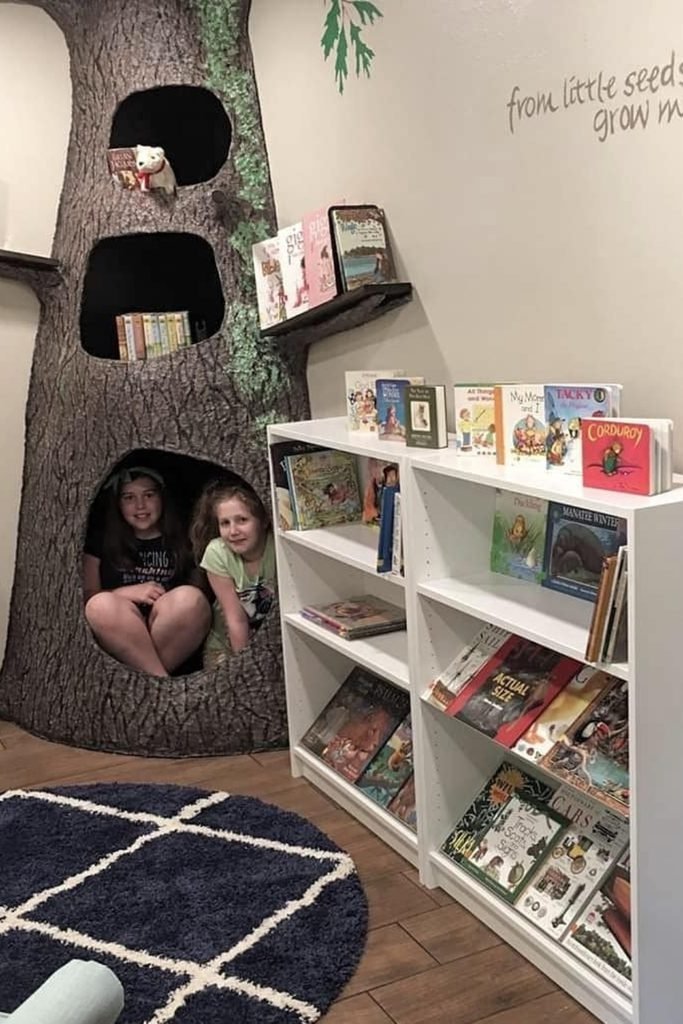
Treehouse Reading Shelves
If you are building a themed reading corner, let the bookshelves follow the story instead of treating them as separate furniture.
Shallow face-out shelves around a tree or play structure keep covers visible and make the whole nook feel intentionally designed.
Use sturdy anchors and rounded edges, especially near climbing or seating areas, so the playful setup still works safely every day.
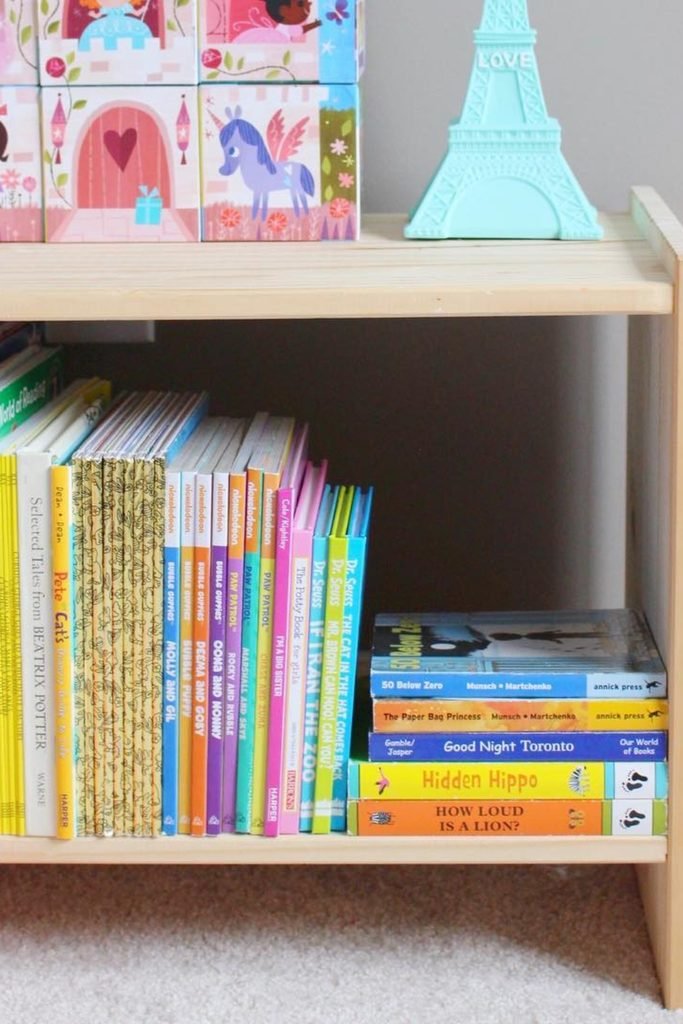
Low Open Bookcase
A low bookcase is easier for younger readers to manage, and the simple shape makes it one of the friendliest DIY builds.
Size the shelf around your tallest picture books, then keep shorter titles upright with bookends instead of wasting height between fixed shelves.
Leaving the top clear gives you bonus display space for puzzles or decor, while children can still reach every book below.
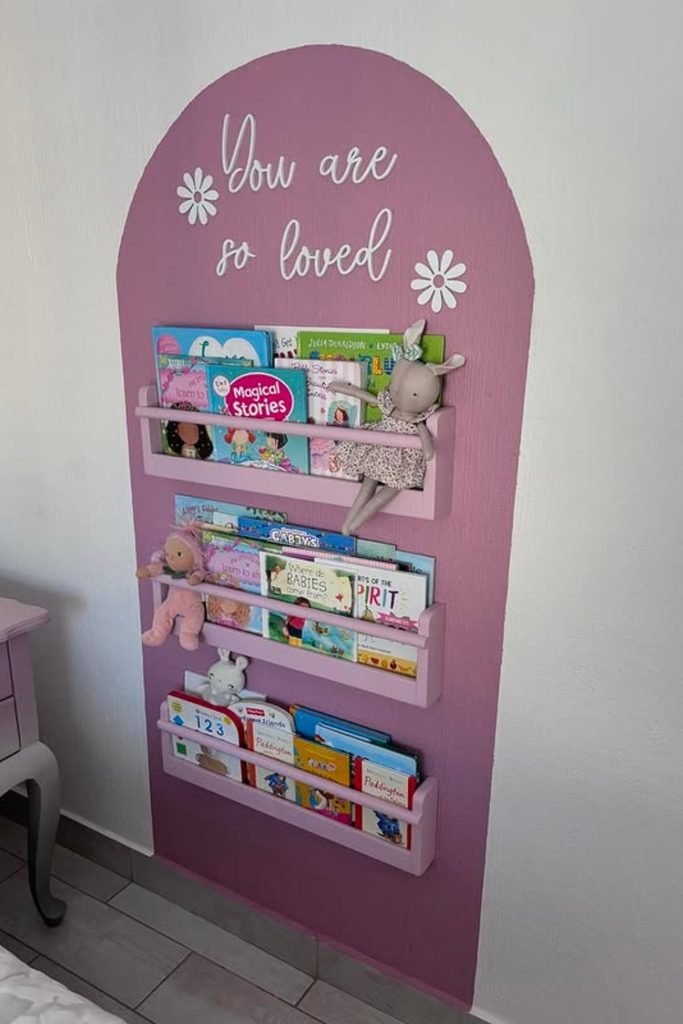
Painted Arch Ledges
Turn a blank wall into a reading feature by painting a bold arch behind three simple front-facing wooden book ledges.
Keep the shelves evenly spaced and low enough for little hands, then rotate favorite titles instead of cramming every book together.
The painted backdrop gives basic lumber more personality, making this an easy DIY when you want storage that also feels decorative.
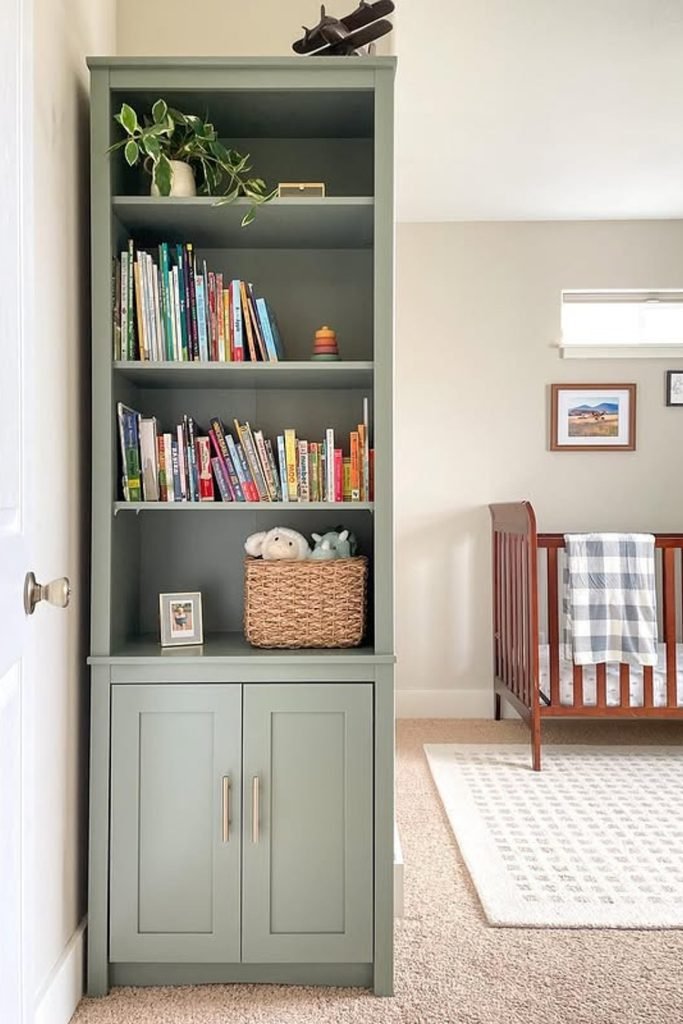
Tall Nursery Bookcase
A tall bookshelf works hard in a nursery when you combine open book storage above with closed cabinets for less-attractive clutter below.
Use the middle shelves for everyday books, baskets, and soft toys, while keeping rarely used supplies tucked behind the lower doors.
If you build one yourself, anchor the tall frame securely and size the shelves around picture books so vertical space never gets wasted.
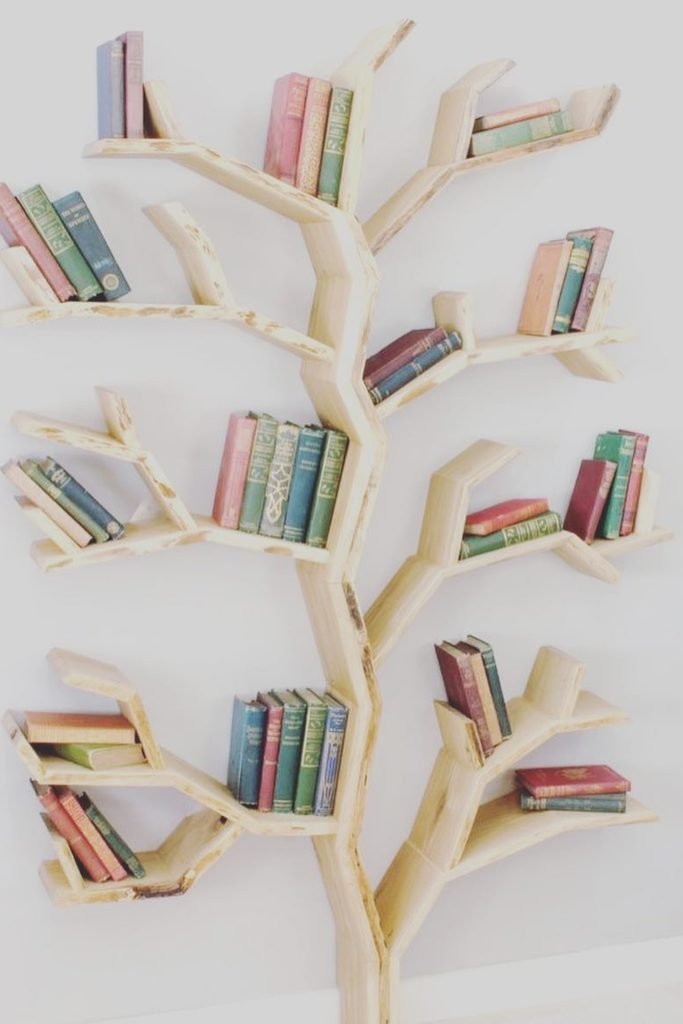
Branching Tree Shelf
Skip the standard rectangle and build the shelves as branching limbs when you want the bookshelf itself to become wall art.
Angle each branch carefully so books sit securely, and add small end stops where needed to keep lighter titles from slipping.
This design suits a statement wall best, especially when natural wood or pale stain lets the tree shape stay visually playful.
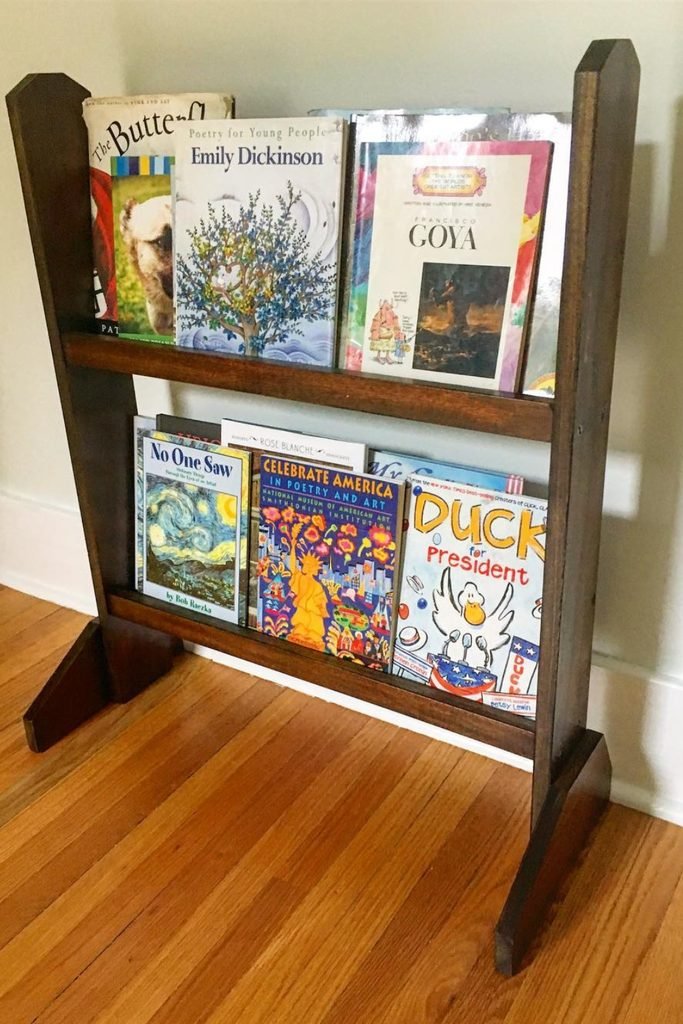
Freestanding Book Rack
A slim freestanding rack keeps book covers facing outward without claiming much floor space, which makes browsing easier for younger children.
Build two or three shallow tiers with front rails, then leave enough depth behind each row for several books to overlap.
Because the unit can move more easily than wall shelving, it is handy for switching reading corners as your child’s room changes.
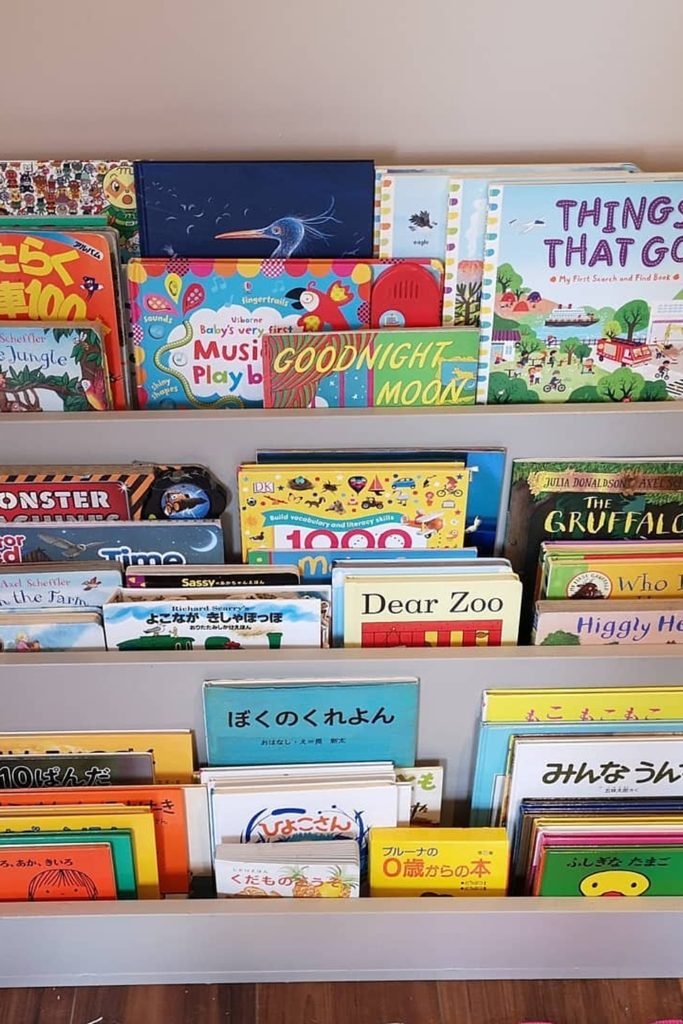
Tiered Book Display
Give a large picture-book collection room to breathe by using deep, staggered rows that keep covers visible without piling books together.
Sort each tier loosely by size or reading level, so children can spot favorites quickly and return them without much help.
A wider base adds stability, while the graduated layout makes this style practical when you need serious storage at child-friendly height.
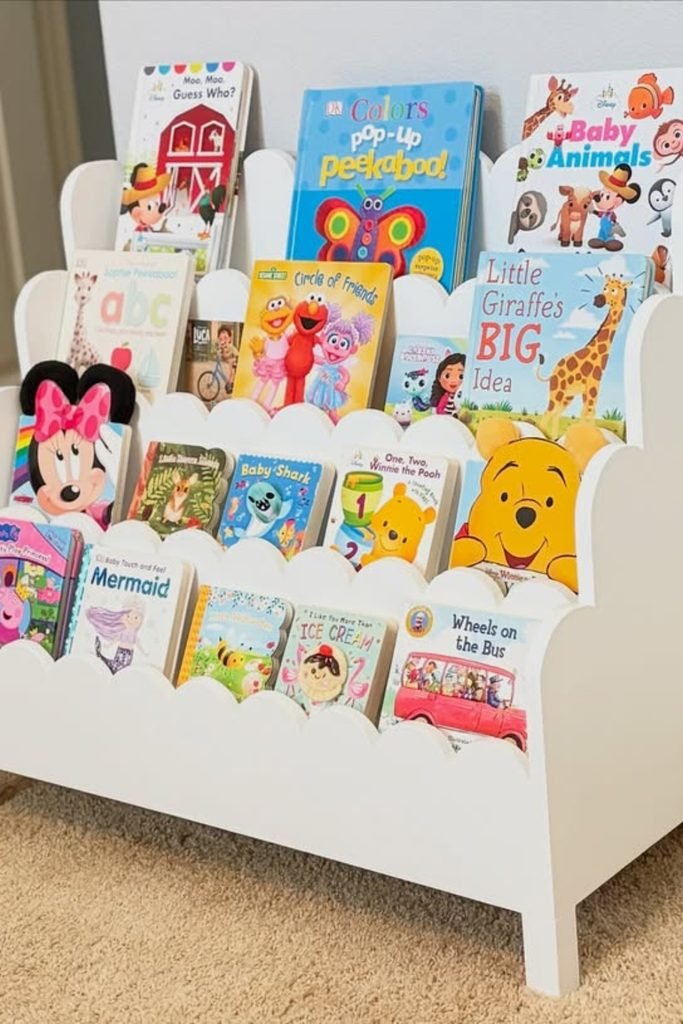
Scalloped Book Rack
Make front-facing storage feel softer by cutting gentle scallops along each tier instead of leaving every edge perfectly straight and boxy.
Those curved dividers separate books naturally, giving smaller board books their own pockets while taller picture books still stand clearly behind them.
Paint the whole rack one light color if you want the covers to provide the personality without making the room feel busy.
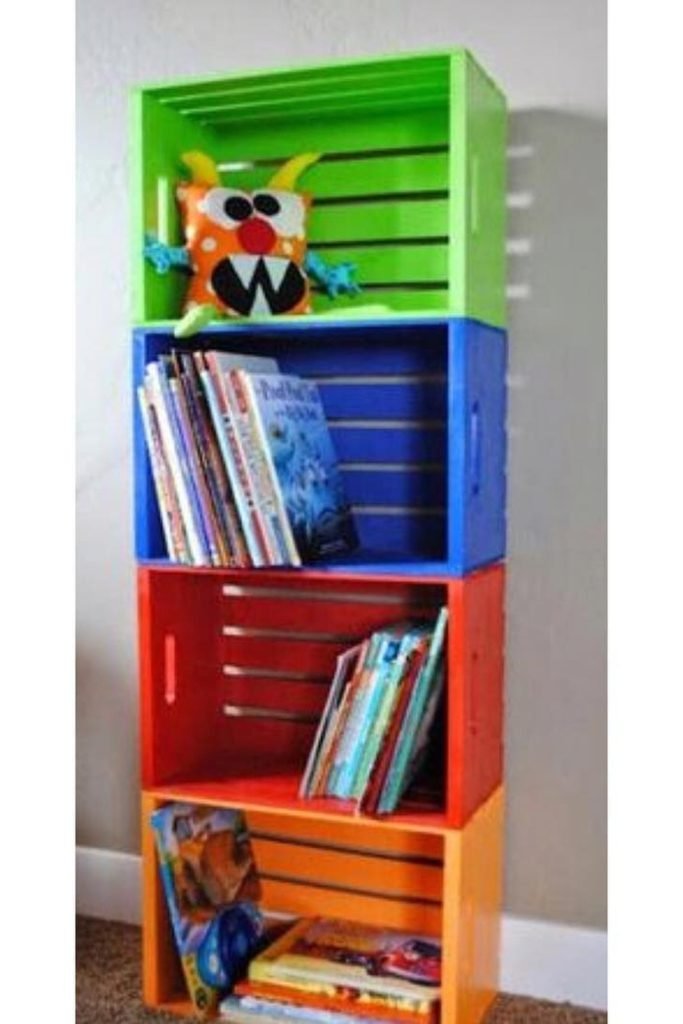
Stacked Crate Shelf
Old wooden crates become surprisingly useful shelving when you stack them vertically, especially if you want a project with almost no complicated cuts.
Paint each box a different bold color, then alternate book direction from shelf to shelf to keep the narrow tower visually lively.
Secure every crate together and anchor the finished stack, because lightweight boxes can shift once children start pulling books from different levels.
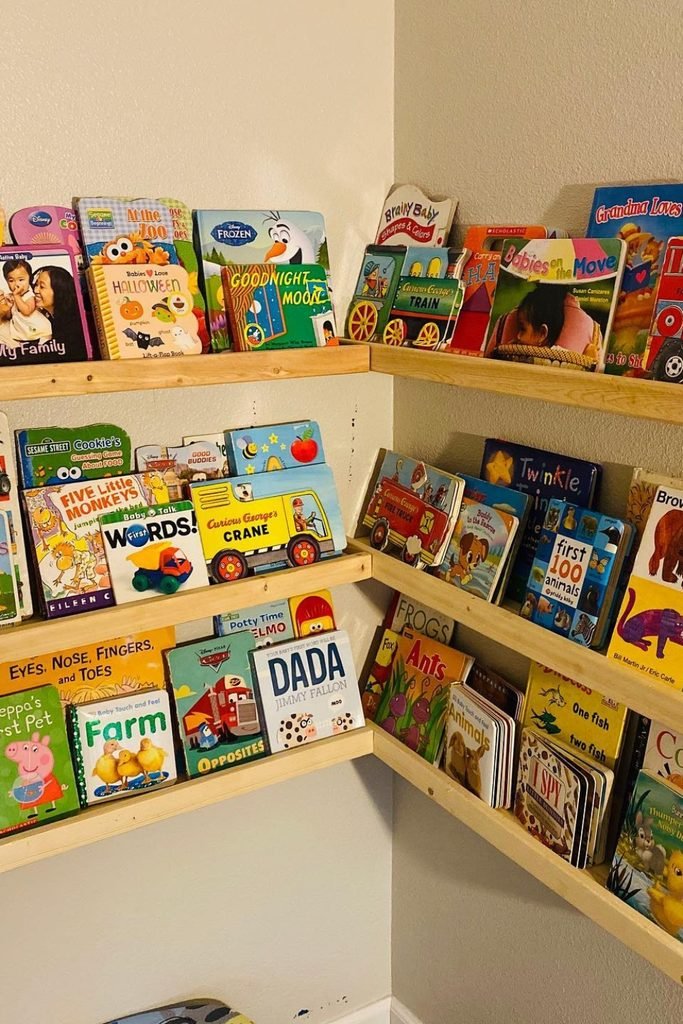
Corner Book Ledges
Unused corners can hold far more books than they seem to, especially when simple ledges wrap continuously across both adjoining walls.
Mount the rows at different heights and keep covers facing forward, turning an awkward corner into an easy browsing zone for kids.
Leave enough vertical space for oversized picture books, and use the lower ledges for favorites children reach for again and again.
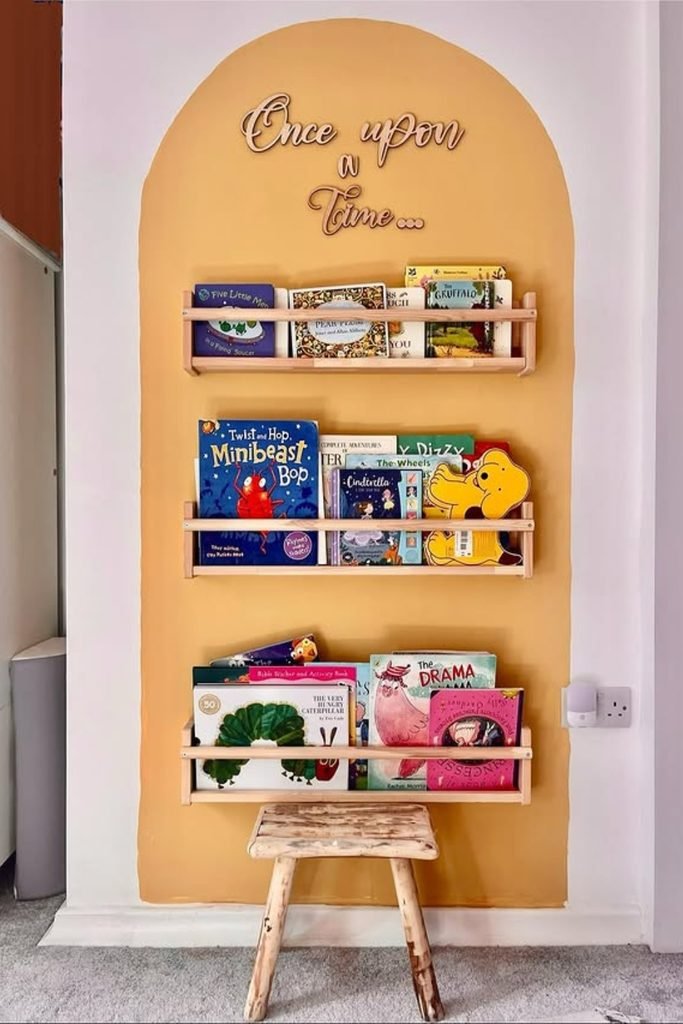
Storybook Arch Shelves
A painted arch instantly gives basic book ledges a finished look, so even a simple DIY can feel like a dedicated reading corner.
Mount three shallow rails at comfortable heights, keeping favorite picture books face-out where children can spot and return them without help.
Add a small stool only if your child needs it, and leave enough spacing above each shelf for taller oversized books.
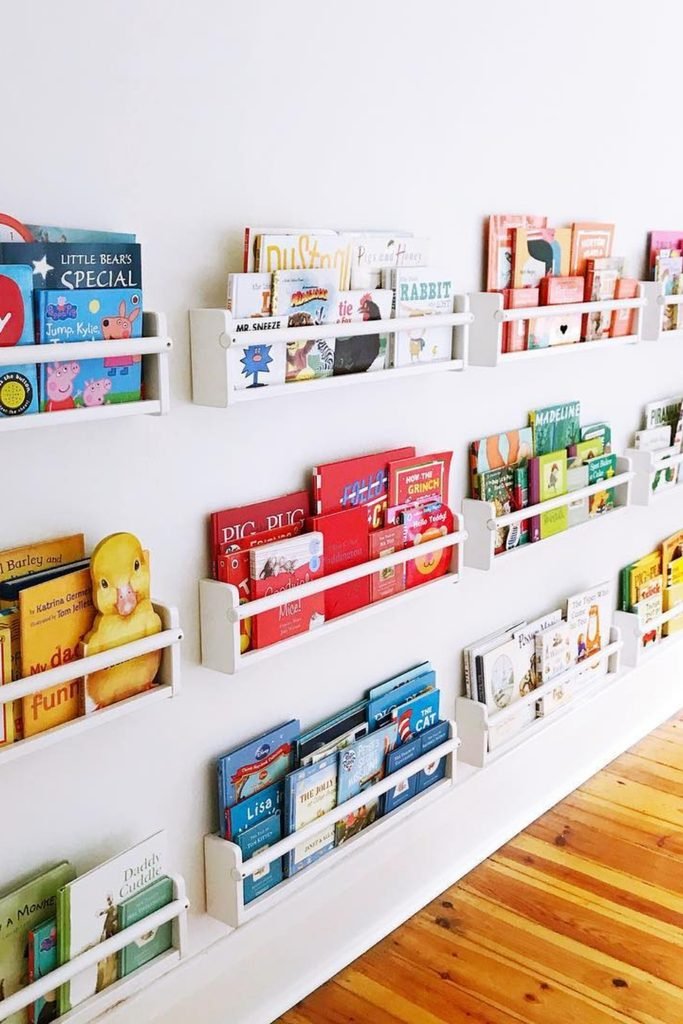
Color-Coded Wall Library
When the collection is big, spreading narrow ledges across one wall keeps hundreds of covers visible without using bulky floor furniture.
Grouping books loosely by cover color adds order at a glance, while kids can still browse titles without digging through deep shelves.
Build each ledge shallow with a front rail, then vary spacing so board books, picture books, and taller favorites all fit.
Playful Display Rack
For kids who choose books by the cover, a wide tiered rack makes browsing feel more like visiting their own little library.
Keep every row slightly tilted or secured with rails, so books stay upright even when younger children pull one out quickly.
A cheerful paint color and simple decorative cutouts can make the unit playful without changing the basic plywood construction underneath.
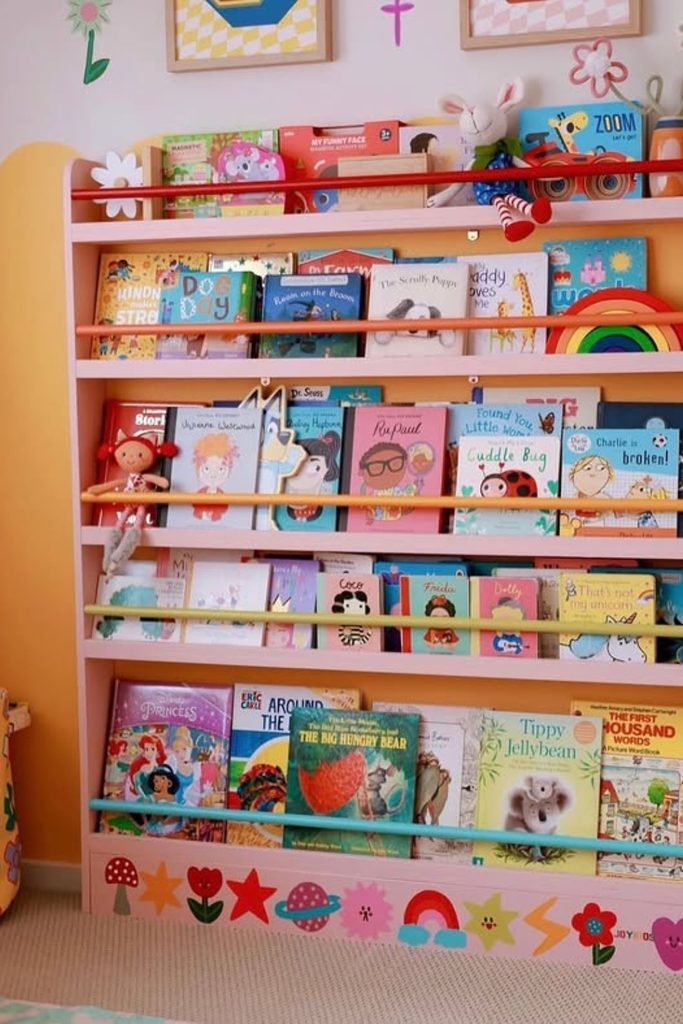
Personalized Bedside Ledges
A few slim ledges beside the bed can handle bedtime favorites beautifully, especially when you do not have room for furniture.
Paint a soft arch behind them and add your child’s name above, turning practical book storage into something that feels personal.
Space the lowest shelf within easy reach, then reserve higher rows for rotating stories, seasonal books, or titles read together.
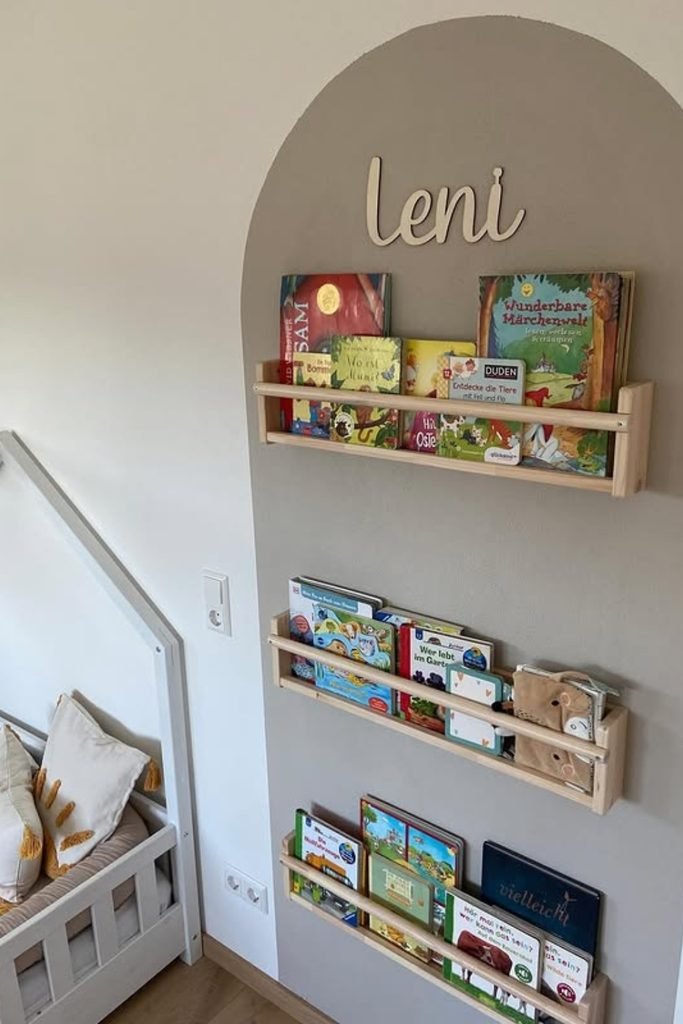
Rainbow Wall Shelves
A narrow strip between doors can become useful book storage when you pair slim ledges with a bold painted rainbow.
Keep each shelf shallow and evenly spaced, so picture books stay face-out without making the walkway feel crowded or heavy.
This is a fun option for awkward wall sections, and the color treatment lets simple white shelves feel completely custom.
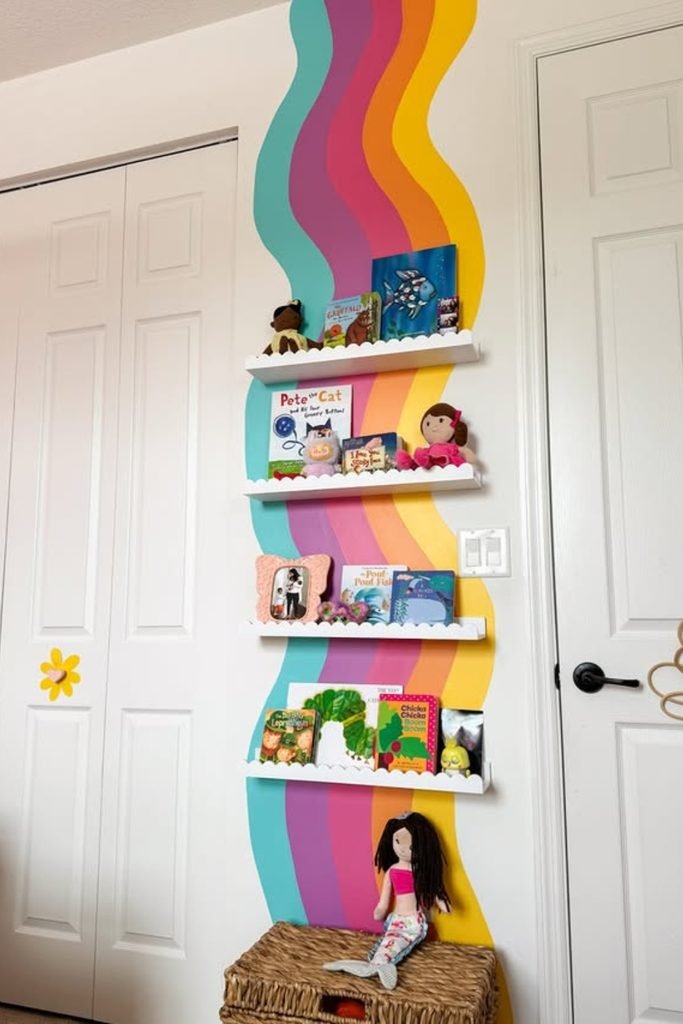
Compact Wall Boxes
Three compact wall boxes are enough for a smaller collection, especially when you want books accessible without sacrificing floor space.
Mix board books with one soft toy per shelf, which keeps the display playful while stopping the ledges from looking cluttered.
Mount them at staggered heights rather than perfectly stacked if the wall is narrow and you want a looser, more relaxed arrangement.
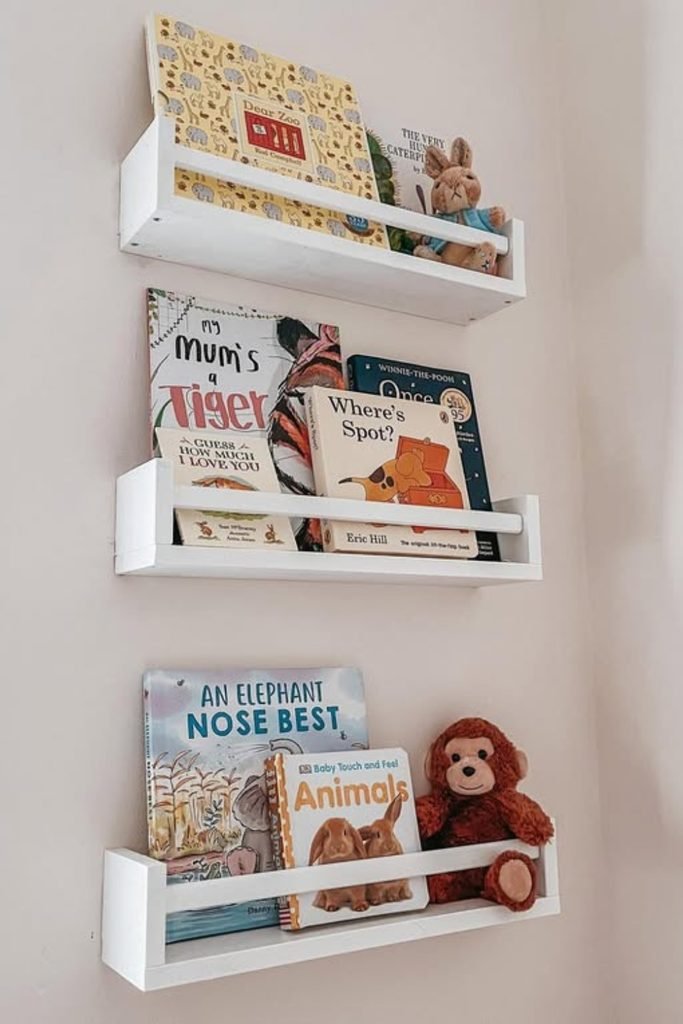
Wave-Front Bookcase
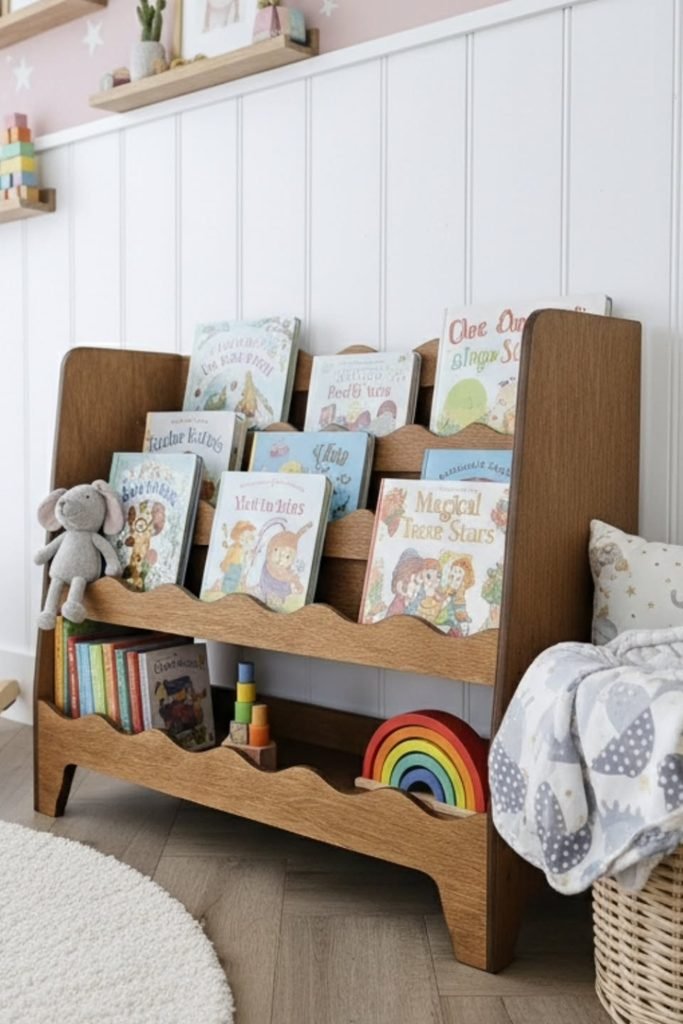
A low wooden rack with wavy front rails gives toddlers clear book choices while keeping every row comfortably within reach.
Use the deeper bottom section for board books, blocks, or puzzles, then reserve the upper tiers for favorite picture books.
Rounded cutouts soften the design visually, so this style works nicely in nurseries where you want storage to feel warm and furniture-like.
Full-Wall Reading Rack
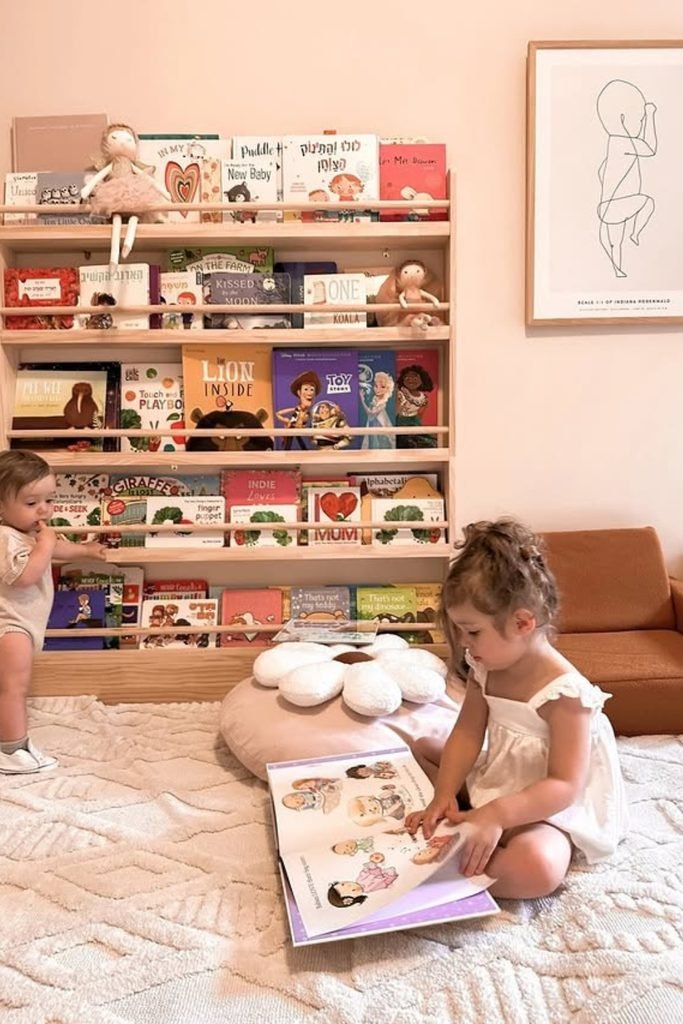
When books multiply fast, one wide wall-mounted rack can hold a serious collection without scattering smaller shelves around the room.
Keep the lowest rows packed with everyday favorites and board books, while taller shelves handle larger stories and less-used titles.
Mounting it near a rug or floor cushions creates an instant reading zone, making cleanup feel like part of the routine.
Slatted Wall Bookshelf
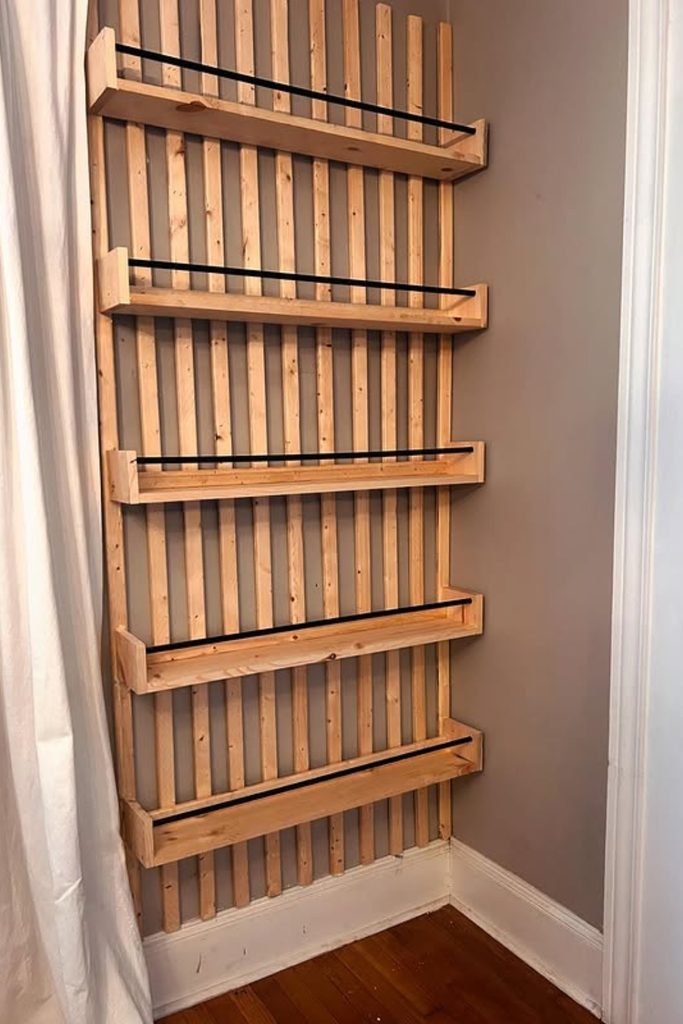
Use vertical wood slats behind simple book ledges when you want storage that feels built-in without constructing a full bookcase.
Add slim front rails to every shelf so books stay secure, especially if the unit sits beside a bed or curtain.
Spacing the ledges unevenly lets you fit different book heights while the slatted backing turns ordinary lumber into a stronger feature.
FAQs
How Do You Make a DIY Kids Bookshelf Safe for Toddlers?
Keep the bookshelf low and stable, smooth rough edges, and avoid shelves that encourage climbing.
Taller or freestanding units should be securely anchored to the wall, while heavier books are best stored near the bottom.
Also make sure every shelf and front rail is firmly attached before children start using it.
Is It Better to Display Kids’ Books Facing Forward?
Front-facing shelves work especially well for toddlers because children can recognize book covers before they can easily read titles on spines.
Keep current favorites facing outward and store extra books traditionally, then rotate them regularly to keep choices interesting.

Hi, my name is Ali Mehmood! I’m a passionate writer and DIY enthusiast who loves turning creative ideas into practical, hands-on projects.
I created this website to share inspiring, budget-friendly ideas that you can do yourself – whether it’s organizing your home, crafting something unique, or creating fun projects for kids and pets.
I believe DIY isn’t just a hobby – it’s a smart way to save money, reduce waste, and enjoy the satisfaction of making things with your own hands.
I’m excited to have you as part of this growing community, and I’ll continue bringing you helpful, realistic, and fun DIY ideas you can actually use.