This post may contain affiliate links: read full affiliate disclosure.
Building a garden arch sounds simple until you start wondering which material will actually hold up, how deep the supports should go.
Buying a ready-made arbor can quickly become expensive, while complicated woodworking may feel unnecessary for a small garden project.
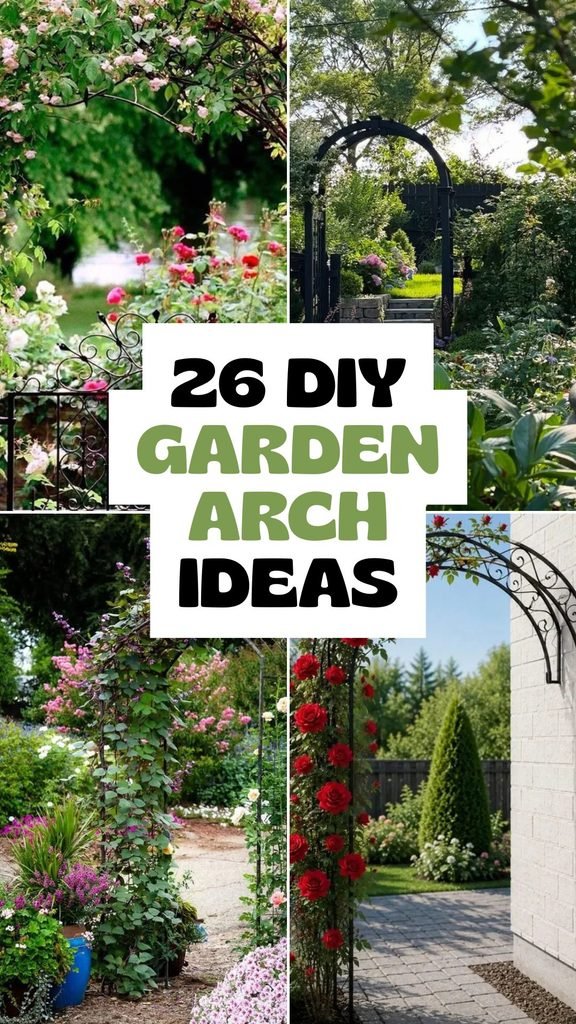
From cattle panels and timber to branches, bamboo, and wire mesh, these DIY garden arch ideas will help you find a design that fits your space, budget and plants.
Rose Canopy
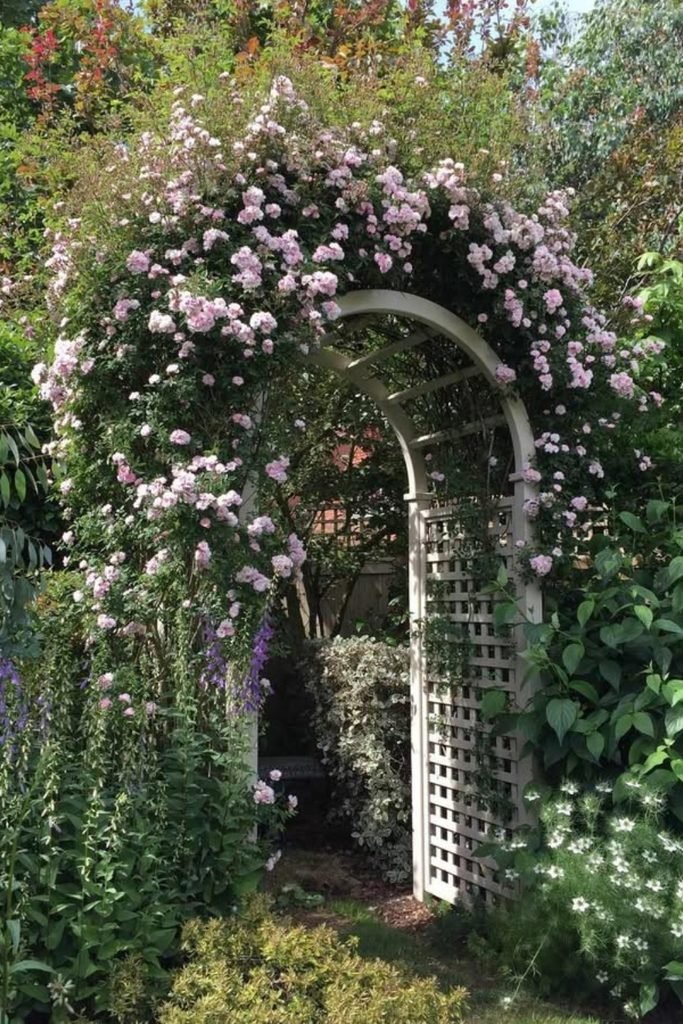
Let climbing roses do more than decorate the entrance by training them across a sturdy lattice arch from both sides.
Choose rot-resistant wood and anchor the posts firmly because mature rose canes become surprisingly heavy after several growing seasons.
Position it between dense borders or along a garden path where the flowering canopy can naturally frame the transition ahead.
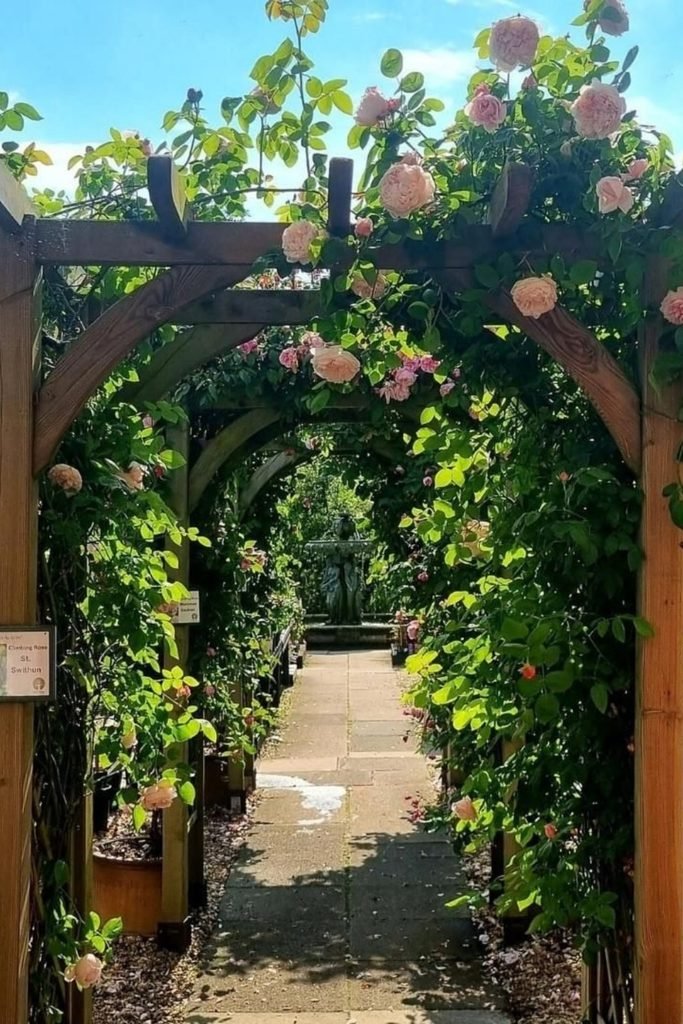
Timber Arbor
Build extra strength into a rose arch by using thick timber posts, overhead beams, and corner braces instead of lightweight framing.
Train young rose stems around the outer posts first, allowing future growth to spread across the top without crowding the walkway.
Use this wider structure over a main garden path where mature climbers need plenty of room without narrowing comfortable passage underneath.
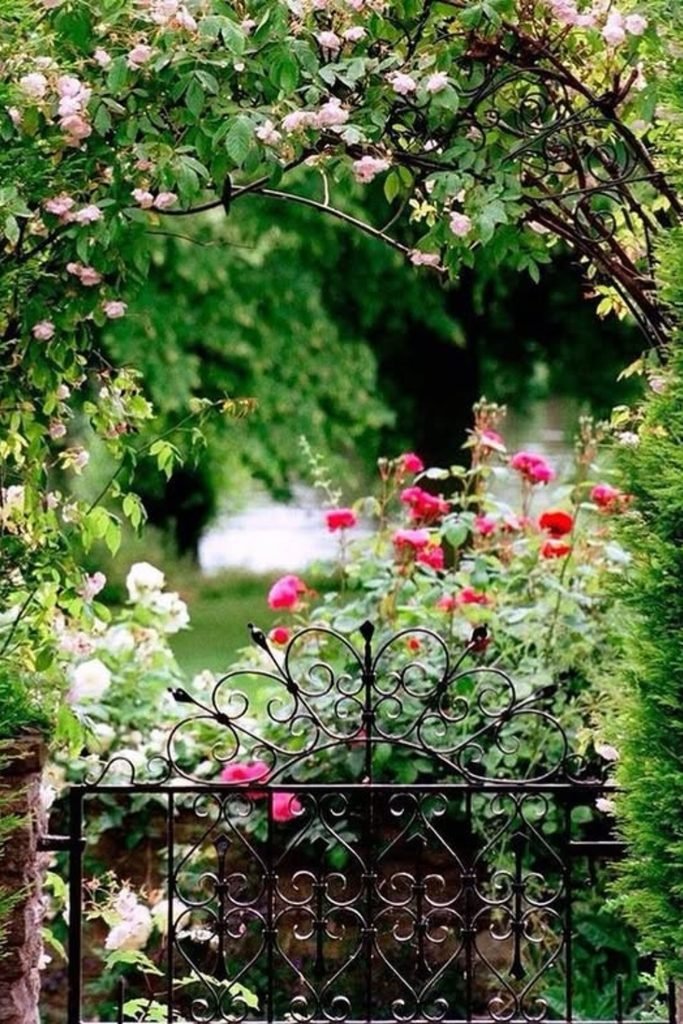
Iron Gateway
Turn a narrow garden entrance into something memorable by pairing a decorative iron gate with an arch strong enough for flowering climbers.
Let the metal framework remain partly visible between branches, so plants have reliable support without completely hiding the decorative scrollwork underneath.
Place this combination between hedges or enclosed borders where the gate marks an entrance while the flowering arch softens surrounding greenery.
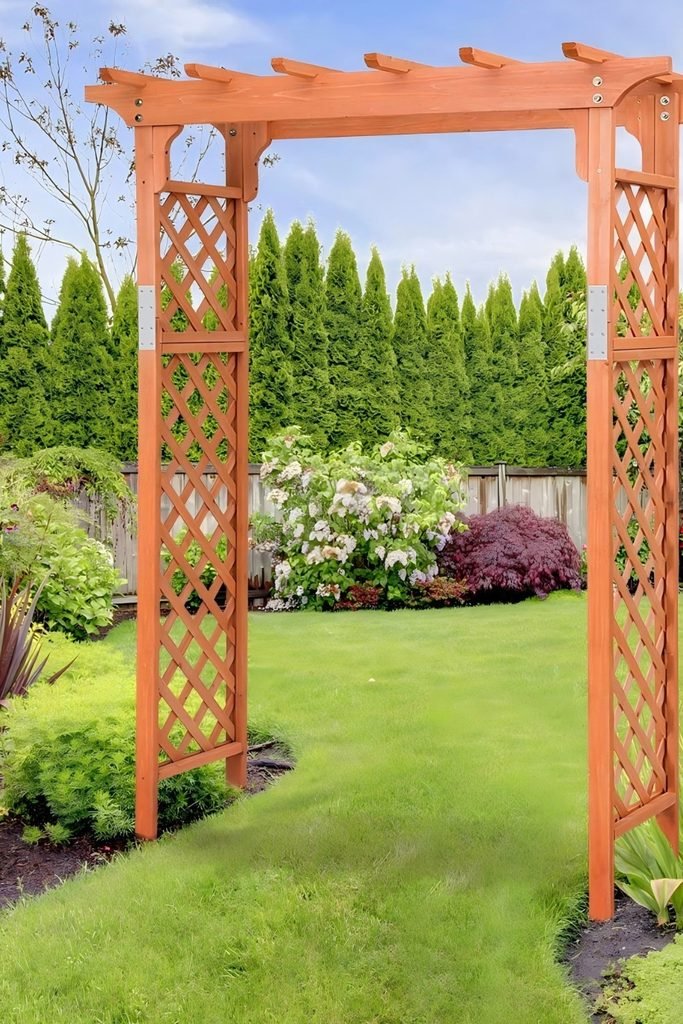
Lattice Frame
Start with an open wooden frame when you want a DIY arch that looks finished before climbing plants have covered it.
Add lattice panels along both sides to provide plenty of gripping points, then secure each post deeply before introducing heavier perennial climbers.
Set it across an open lawn path or border entrance where its clean rectangular shape can create structure without overwhelming nearby planting.
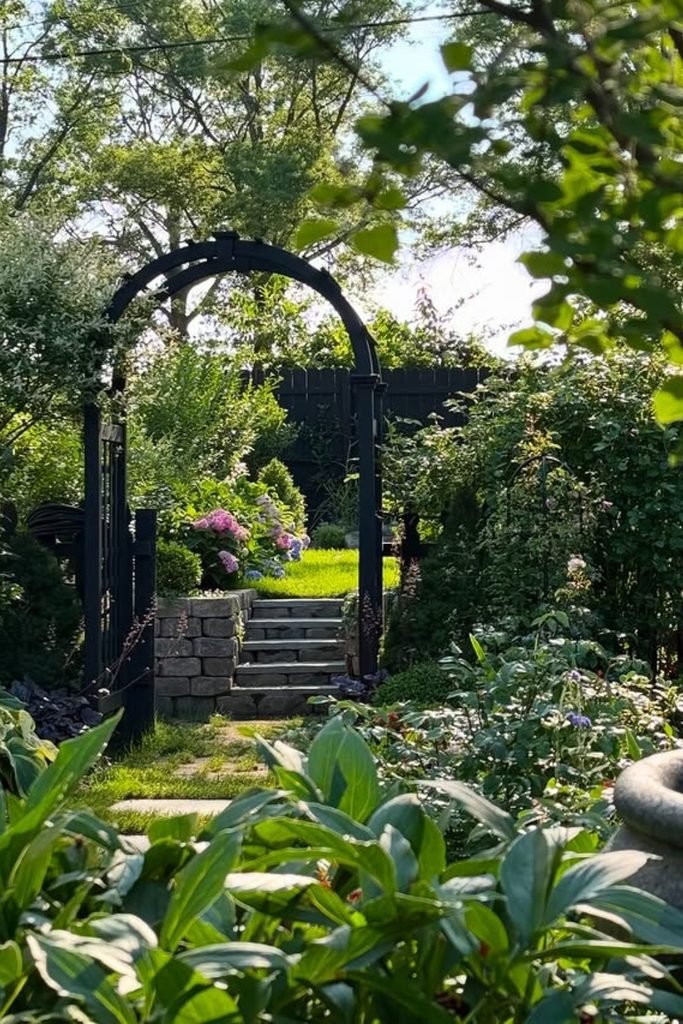
Framed Pathway
Use a freestanding black arch to mark where one garden area ends and another begins, especially when steps already create separation.
Anchor both sides beside the path rather than inside it, leaving enough clearance for comfortable walking as surrounding plants mature.
Dark metal works especially well among dense greenery because the frame stays noticeable without competing with colorful flowers or textured foliage.
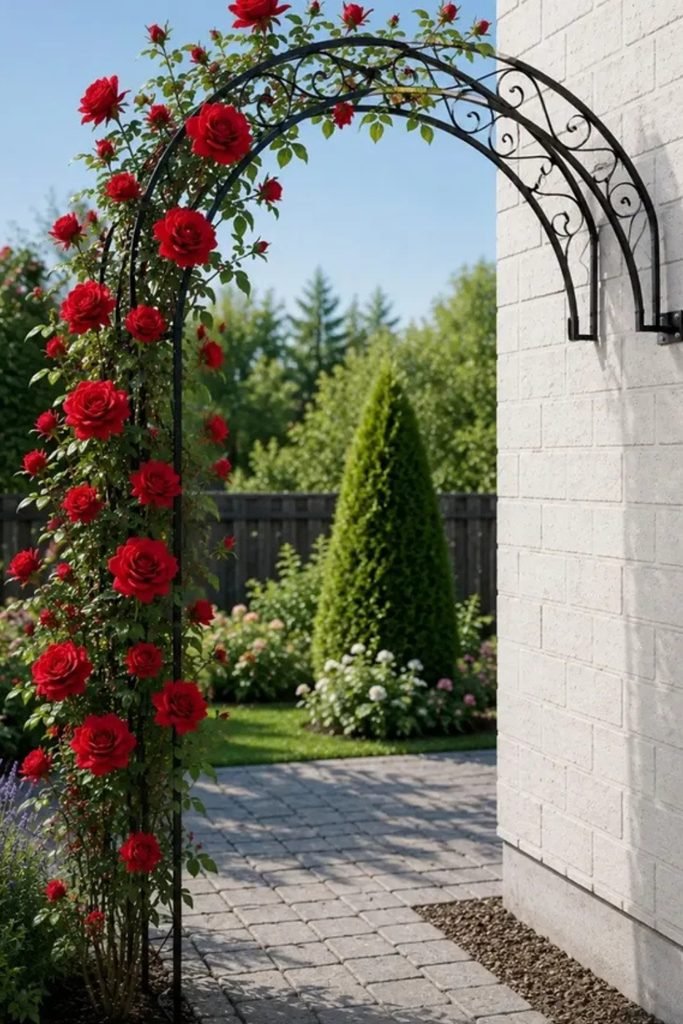
Wall Arch
Solve a tight side-yard problem by fixing one end of the arch directly to a solid wall instead of adding another post.
Train roses from the freestanding side across the curved top, tying young canes loosely until they begin following the framework naturally.
Check the wall fixings carefully before planting because mature climbing roses add considerable weight and wind pressure as their canopy expands.
Wire Trellis
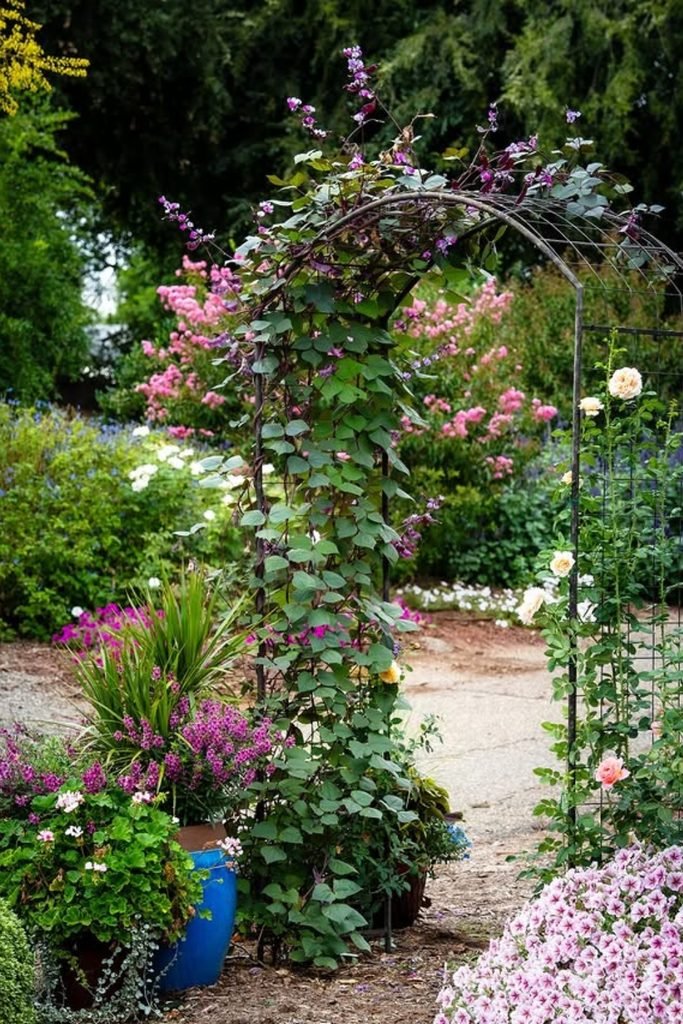
Choose an open wire arch when climbing plants are the real feature, since the narrow framework almost disappears beneath established foliage.
Plant climbers close to each upright and guide new stems through the grid instead of letting vigorous growth collect around one side.
This lightweight approach fits flower borders especially well, but secure the feet properly before vines create extra weight across the top.
Pergola Walkway
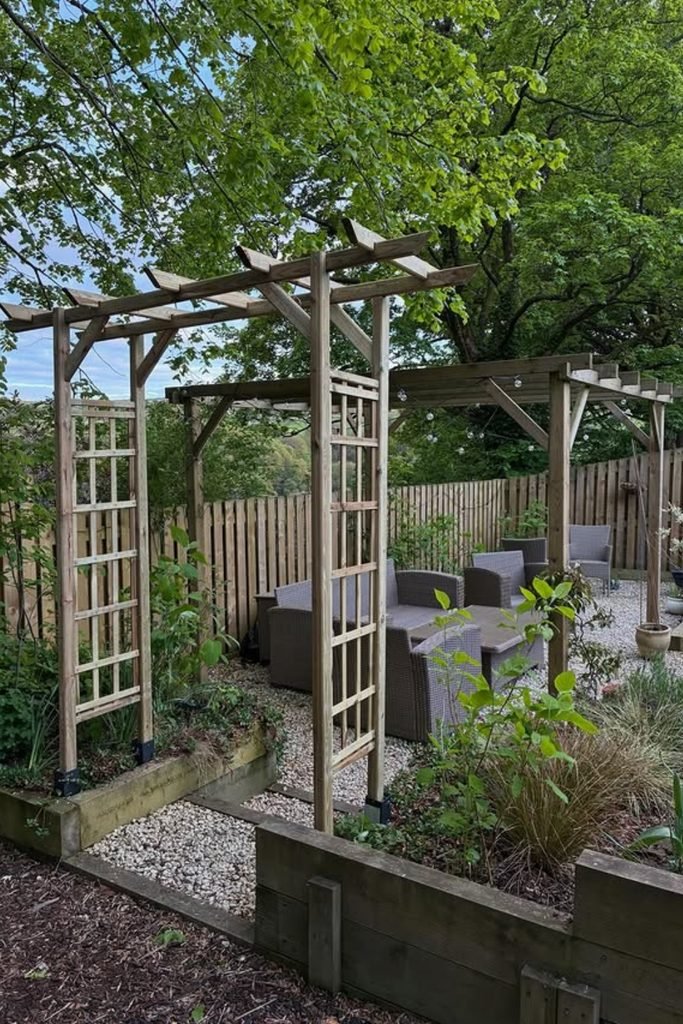
Stretch the usual garden arch into a short pergola when you want the entrance to create more than one moment overhead.
Connect sturdy timber posts with crossbeams and side lattice, giving future climbers multiple surfaces while strengthening the entire structure against movement.
Use this approach between raised borders and seating areas where the longer framework can visually connect separate parts of your garden.
Grape Entrance
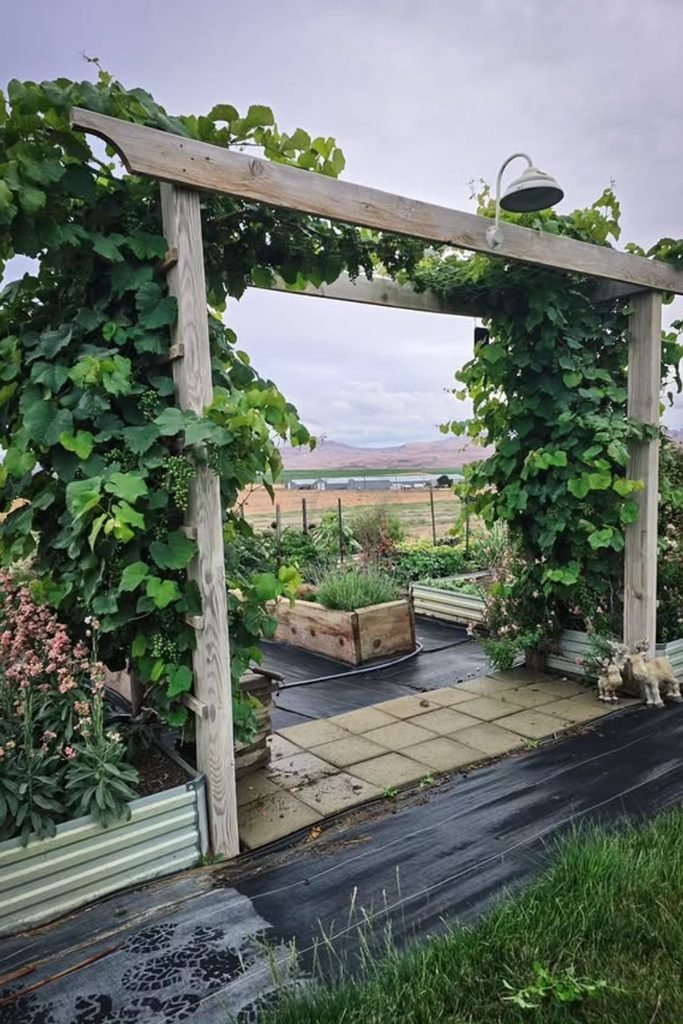
Make productive vines part of the structure by running grape growth across a simple timber frame positioned between vegetable beds.
Use thick posts and a strong horizontal beam because established grapevines become woody, heavy, and harder to support over time.
Prune growth regularly around the opening so the arch stays easy to walk through while still creating useful overhead shade.
Curved Arbor
Add a curved top to a timber arbor when a basic square frame feels too rigid for a flower-filled garden.
Side lattice gives climbing plants easy attachment points, while diagonal braces beneath the roof help prevent the tall structure from shifting.
Set the posts on secure bases before planting, especially in open areas where wind can put extra pressure on mature vines.
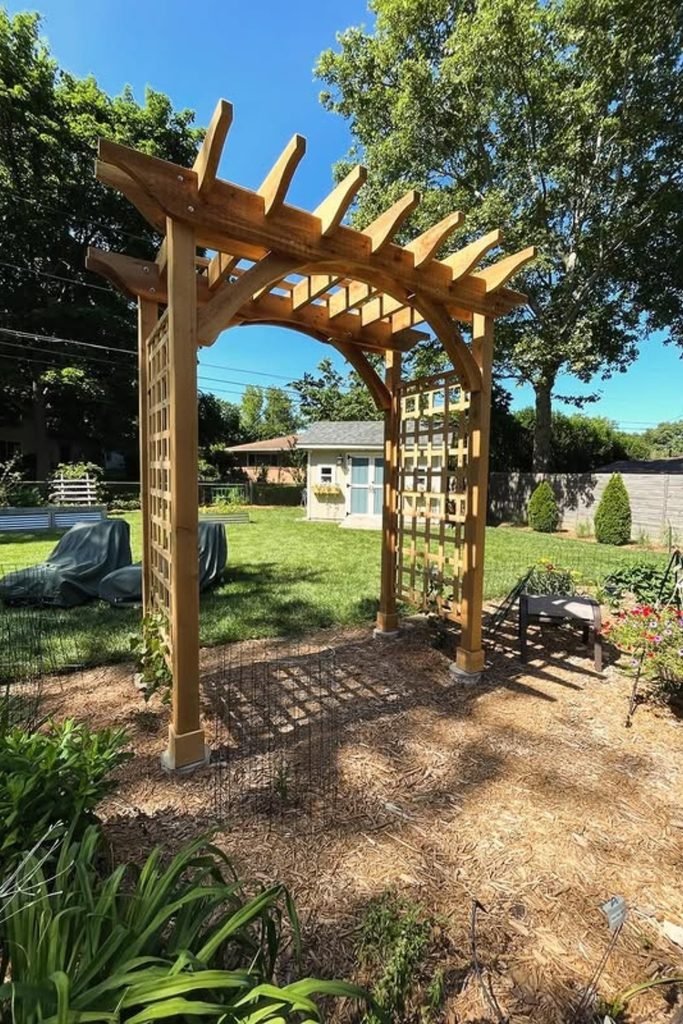
Rose Pergola
Let a substantial wooden pergola handle heavier roses instead of relying on a thin decorative trellis that may struggle later.
Space the overhead slats generously so rose canes can be trained across them without creating one dense, tangled mass above.
Use lattice sides to guide early growth upward, leaving the central opening clear enough to remain an inviting garden entrance.
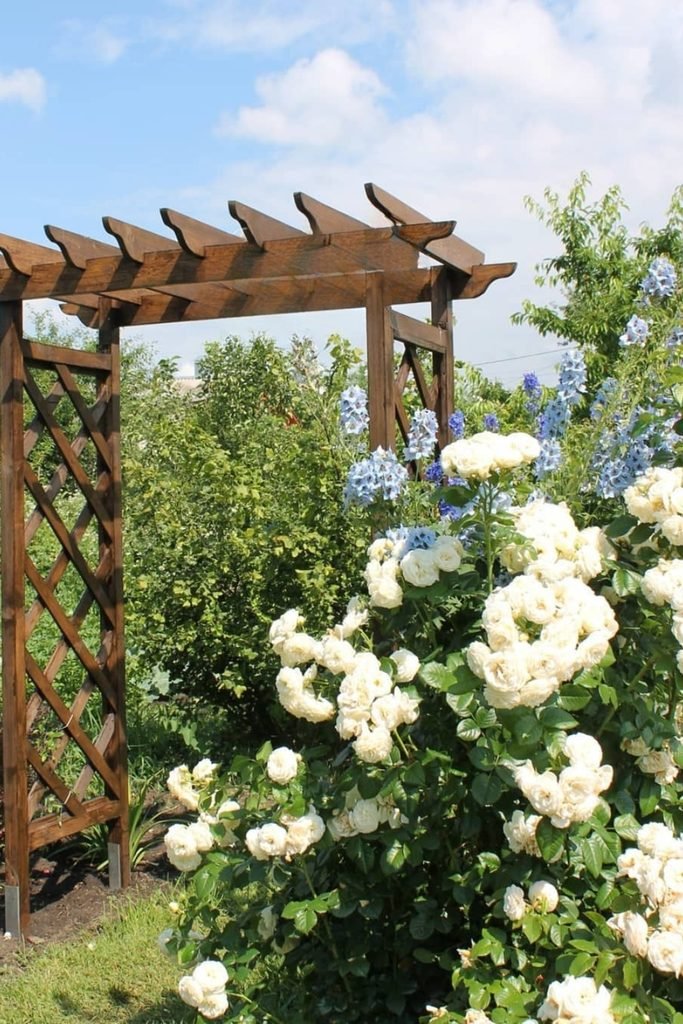
Bean Tunnel
Turn vegetable rows into vertical growing space by bending sturdy metal panels overhead and planting climbing beans along both sides.
Guide young runners onto the mesh early, and they will climb upward while developing pods that hang within easier harvesting reach.
Leave a generous walkway through the middle because vigorous summer growth can quickly narrow the opening from both sides.
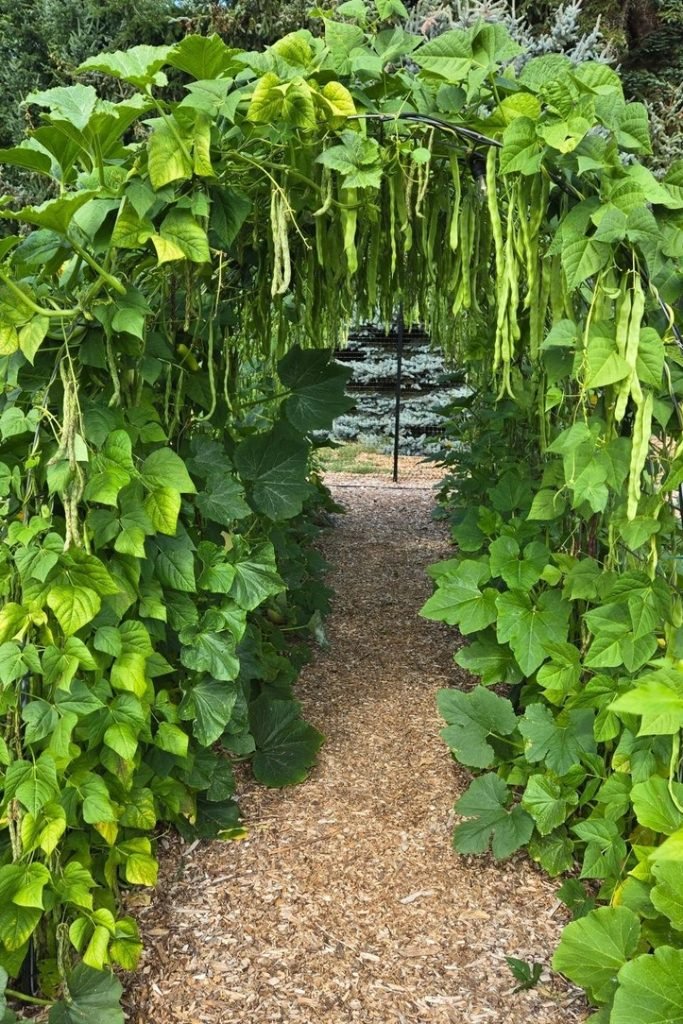
Clematis Arch
Turn a plain pathway into a seasonal focal point by letting vigorous clematis spread across a strong, open metal frame.
Guide fresh stems toward bare sections each spring, rather than allowing all the growth to gather heavily around one upright.
Regular pruning also helps preserve the arch shape, preventing dense flowering growth from hanging too low across the walking space.
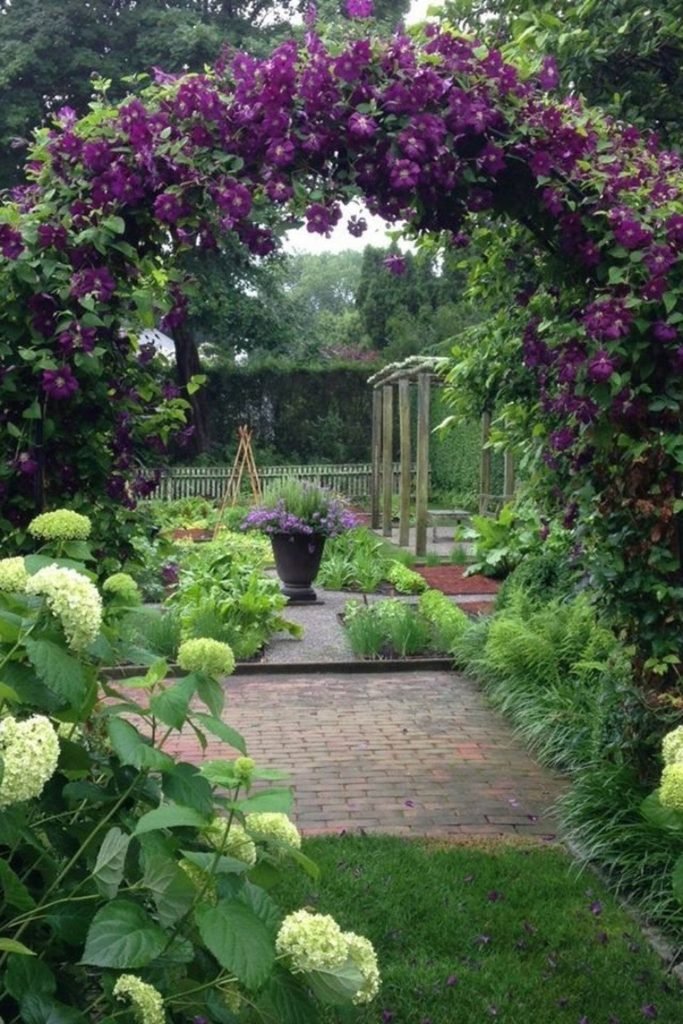
Lighted Arch
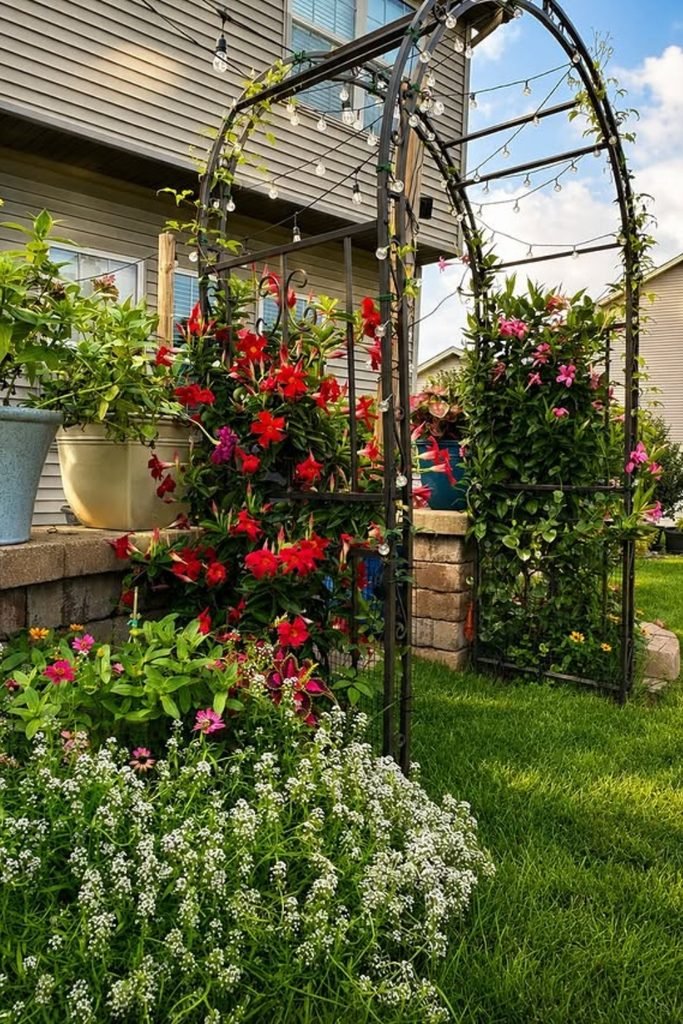
Work simple outdoor string lights through a metal arch when the same garden feature needs to stay useful after sunset.
Thread the cable along existing bars and secure it neatly, leaving the central framework available for flowering vines to climb freely.
Choose weather-rated lights and outdoor connections, especially when the arch sits beside irrigated beds where regular watering can reach electrical fittings.
Dome Arbor
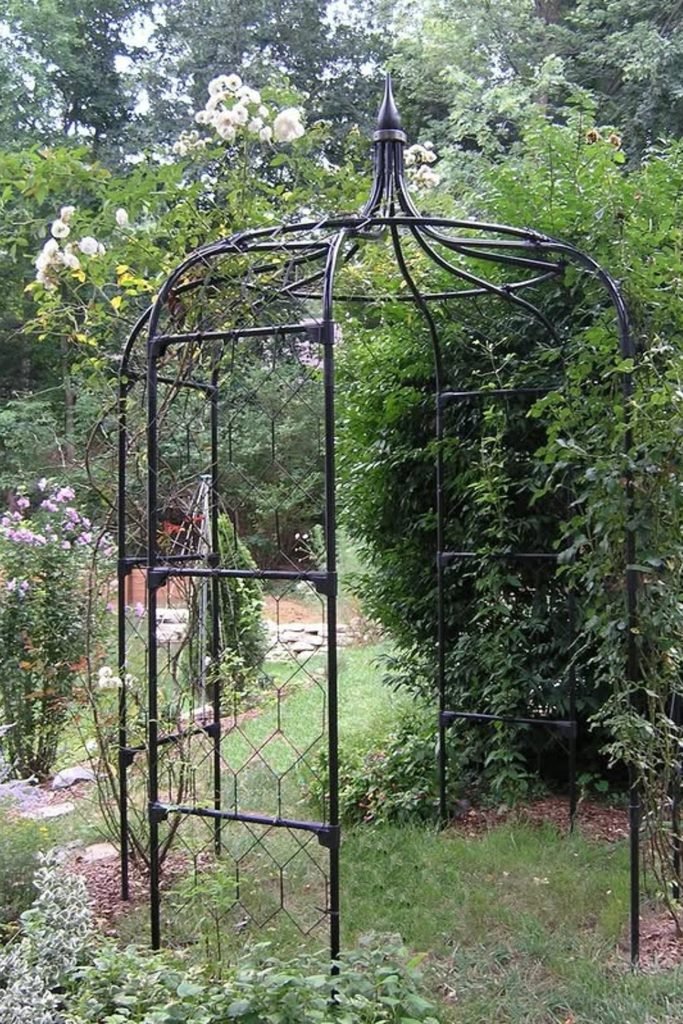
Go taller with a domed metal arbor when vigorous climbers need generous overhead room without eventually closing off the walkway beneath.
Use the side grids to spread stems vertically before directing them around the curved roof, creating more balanced coverage over time.
A pointed finial adds structure before plants mature, making this style useful where the arch also needs to serve as ornament.
Braced Arbor
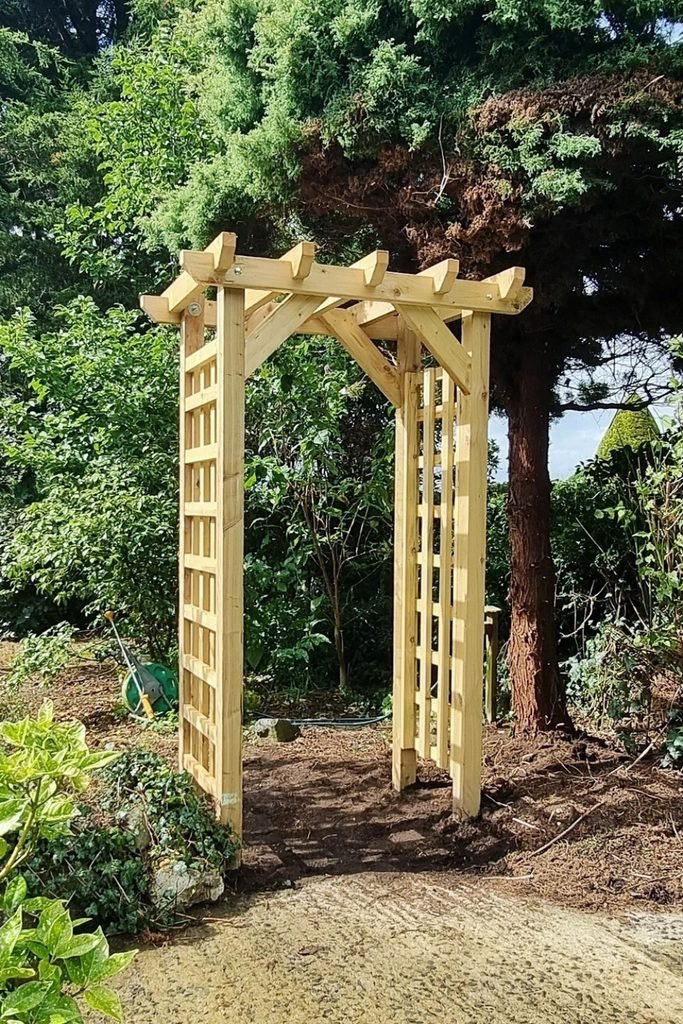
Strengthen a narrow timber arch with diagonal braces when the posts feel too tall or exposed to rely on top beams alone.
Add simple side lattice for future climbers, but leave enough open space so pruning and tying stems remains easy from either side.
This straightforward build works well between established borders where you need a defined entrance without constructing a bulky full-size pergola.
Net Tunnel
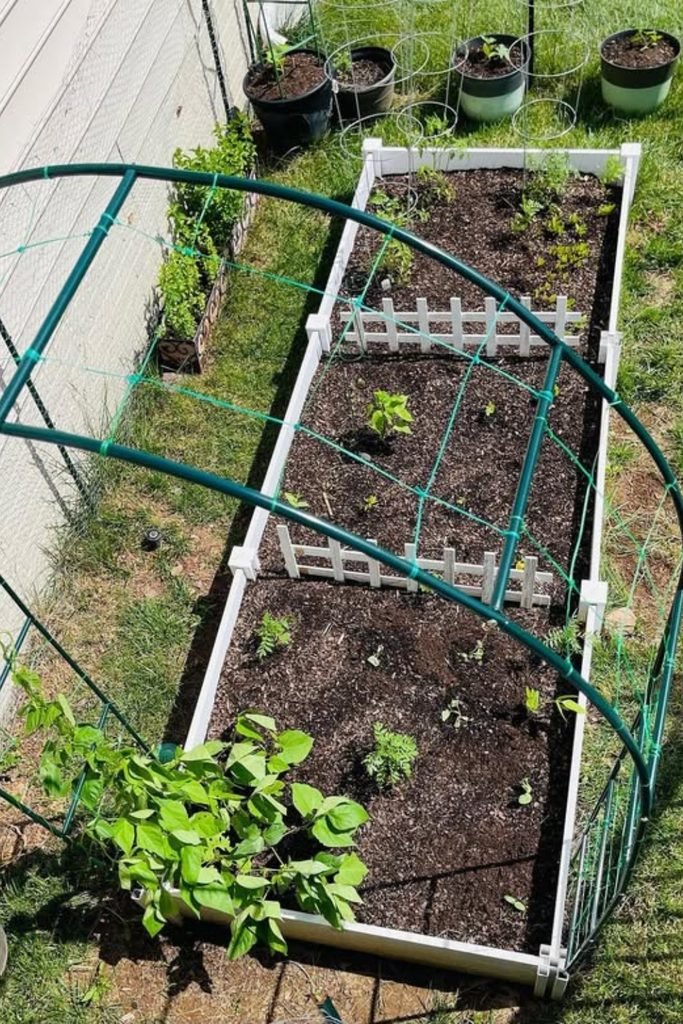
Save growing space in a compact vegetable bed by stretching climbing netting across a lightweight curved frame instead of adding trellis panels.
Secure the net tightly at several points so beans, cucumbers, or other light climbers can spread without pulling sections downward.
Place plants along the outer edges, leaving the center accessible for watering, harvesting, and checking growth throughout the productive season.
Arched Timber
Soften a boxy wooden arbor by adding curved inner braces, creating an arch shape without needing to bend the main structural beams.
Train climbing roses along the side lattice first, then guide longer canes over the top as the plants gain height.
Set it beside a gate or garden boundary where the timber frame can define the entrance even before flowers fully cover it.
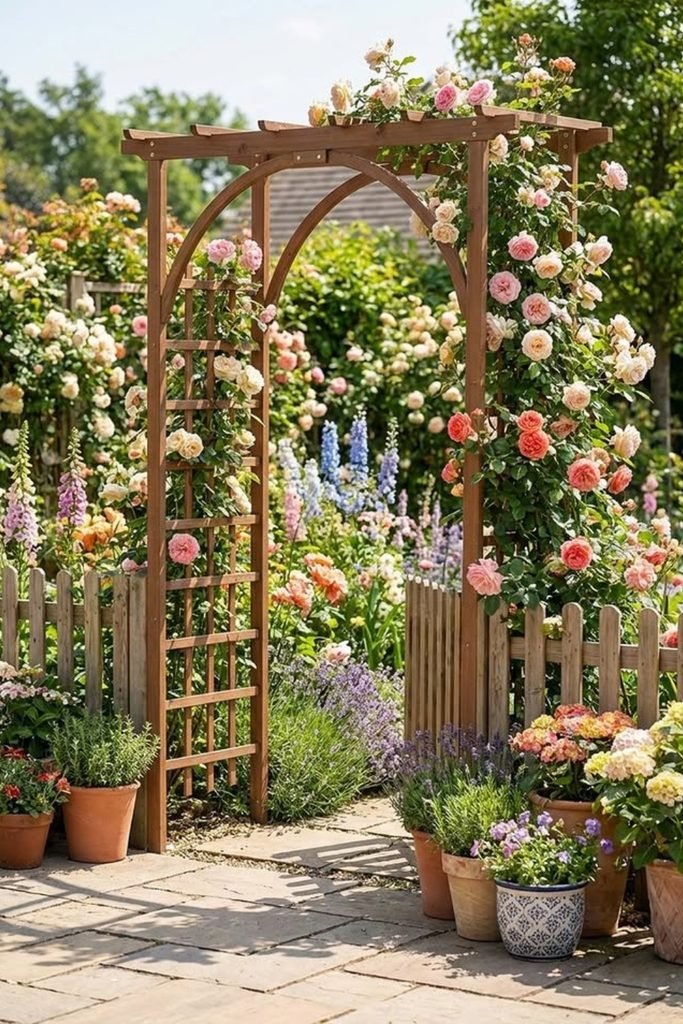
Panel Arches
Create a productive walkway by bending cattle panels between raised beds, turning otherwise unused overhead space into support for climbing vegetables.
Fasten each panel firmly to sturdy posts so developing vines, fruit, and summer winds cannot gradually pull the arches sideways.
Repeat the arches along separate beds when you want vertical growing areas without sacrificing the clear gravel paths needed for garden access.
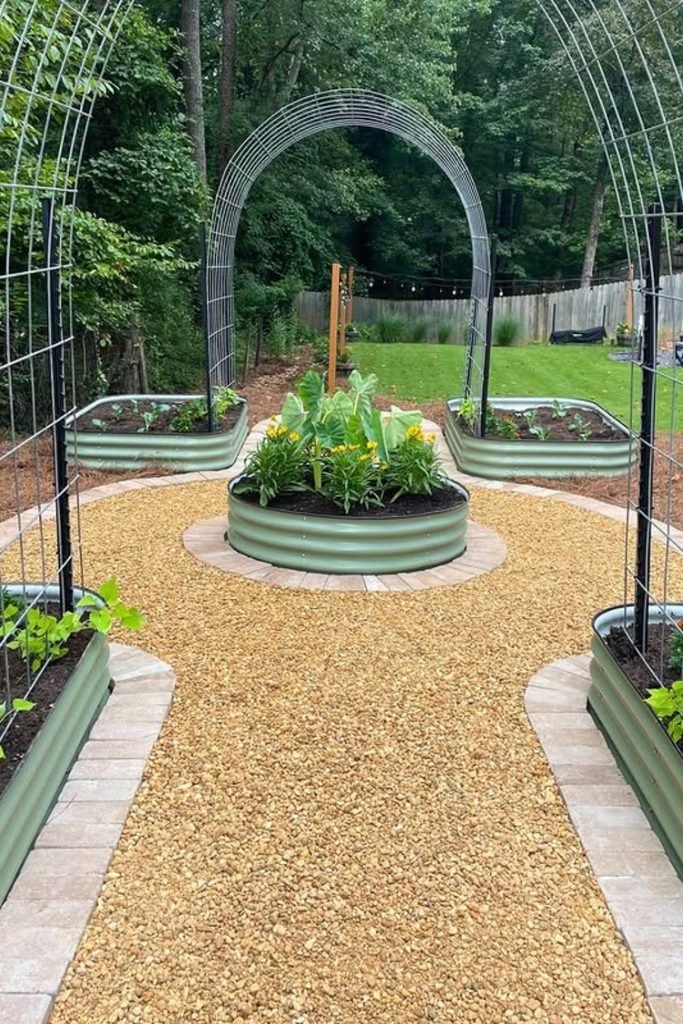
Rustic Arch
Let weathered timber bring character to a formal pathway by building the curved top from layered wooden sections rather than straight beams.
Leave portions of the frame visible while training climbers upward, allowing the aged wood to remain part of the finished garden feature.
This heavier construction suits a permanent entrance where stone paving and established borders need an arch with enough visual weight to belong.
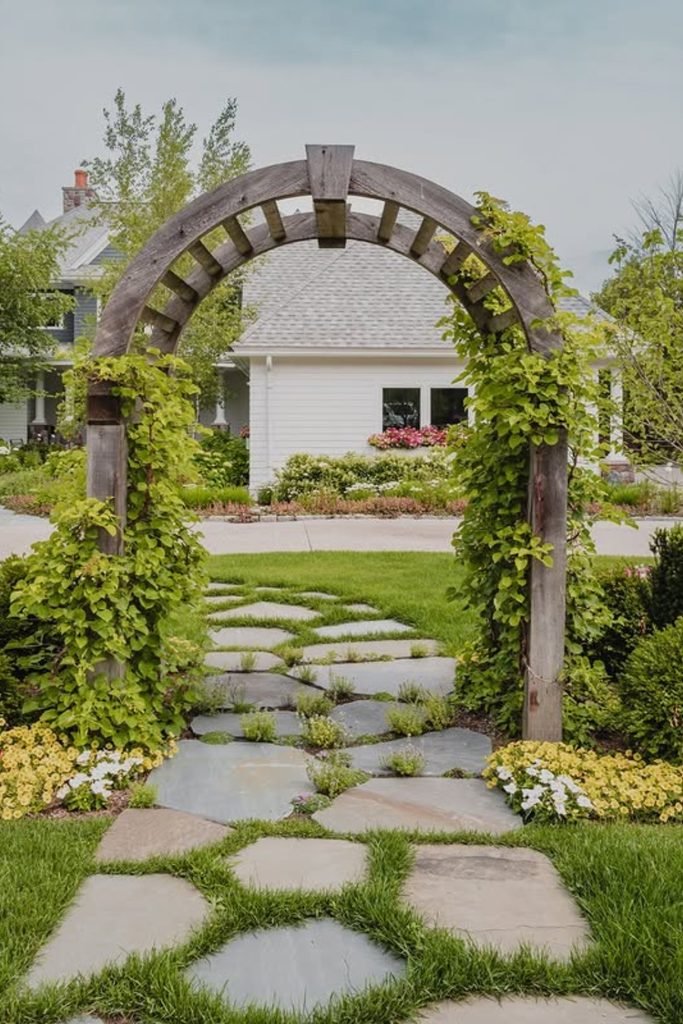
Container Arch
Skip digging permanent post holes when your pathway may change by supporting a lightweight metal arch from large, stable garden containers.
Choose broad, heavy pots and secure the uprights carefully, since top-heavy climbing growth can make a freestanding setup easier to tip.
This flexible approach works beside gates or gravel paths where you want vertical flowers without committing the arch permanently to one location.
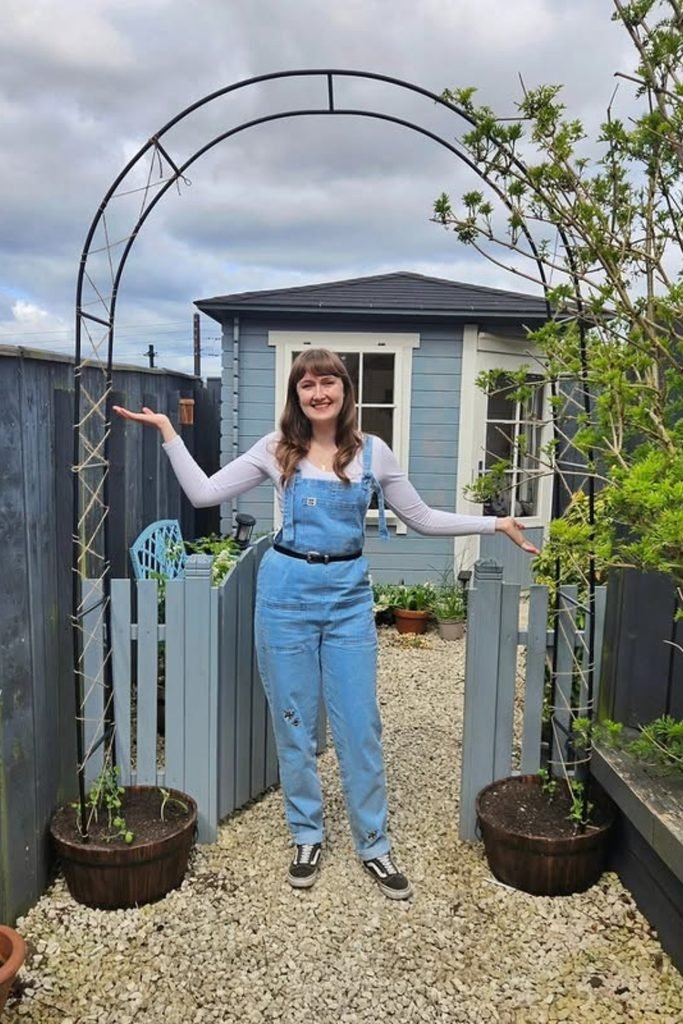
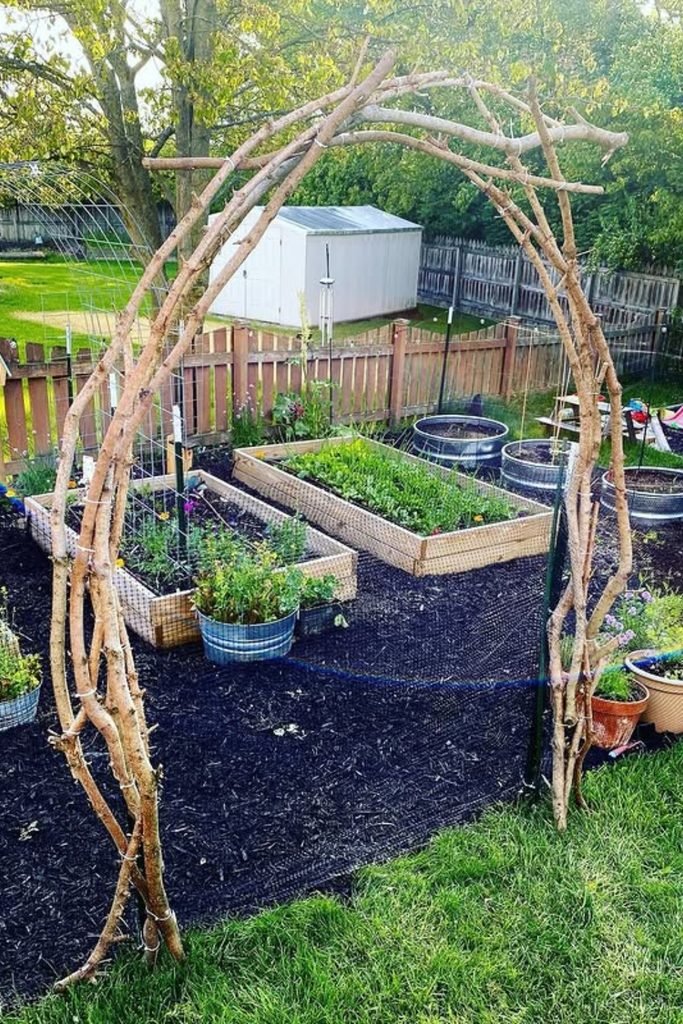
Branch Arch
Put fallen or pruned branches back to work by bundling several sturdy pieces together and bending slimmer lengths across the opening.
Tie crossing points securely with outdoor wire or strong cord, since irregular branches need several connections to hold their curved shape.
Use this low-cost arch around vegetable plots or informal gardens where natural wood feels more appropriate than perfectly finished timber.
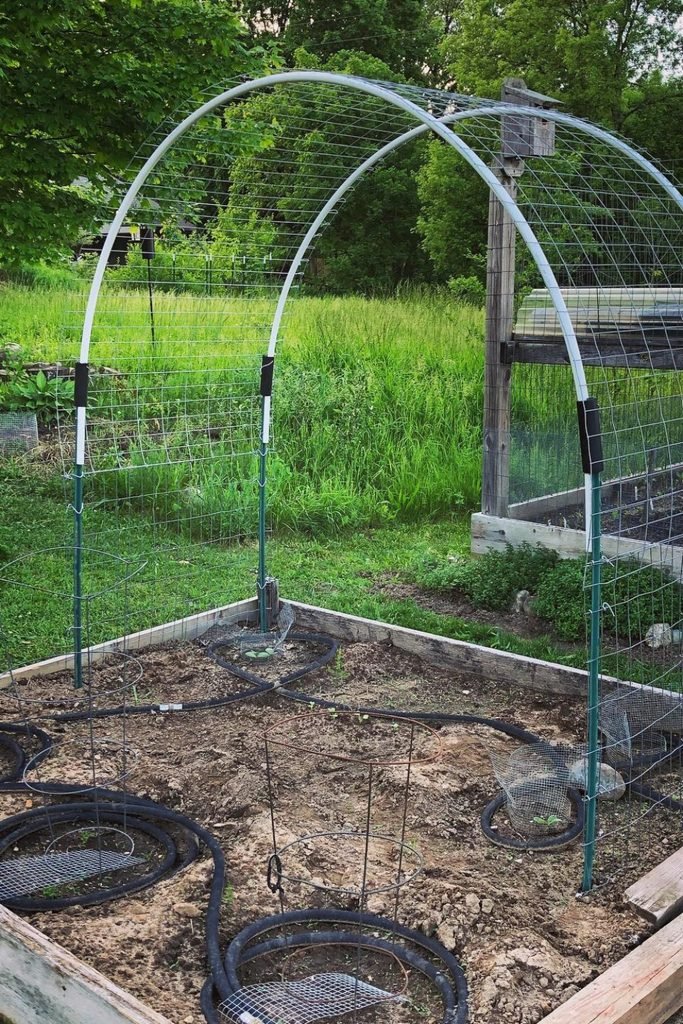
Panel Tunnel
Combine rigid side posts with curved tubing and welded wire when you need a roomy trellis for heavier vegetable growth overhead.
Fasten the wire grid at frequent intervals so developing cucumbers, beans, or squash cannot pull sections away from the curved supports.
Build it across a wide growing bed where vines can climb from both sides while leaving enough access underneath for harvesting.
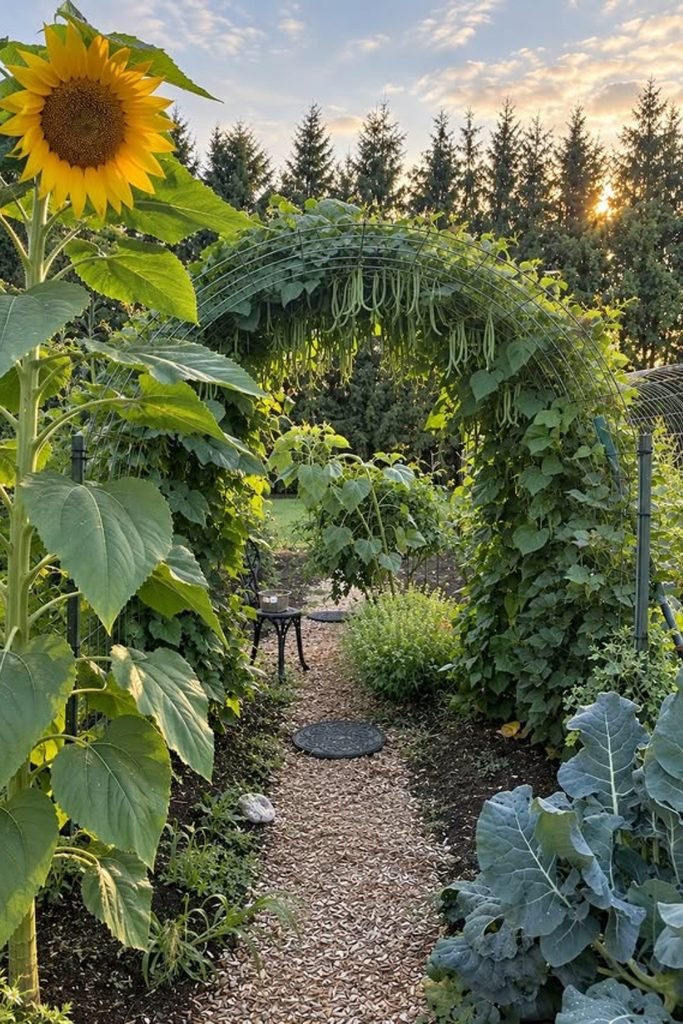
Harvest Arch
Mix beauty with productivity by growing climbing beans over a cattle-panel arch while taller flowers fill nearby beds with seasonal color.
Train young vines evenly across both sides so pods hang overhead for easier picking instead of forming one heavy tangled section.
Leave the path wide and prune stray growth regularly, especially during peak summer when vigorous foliage can quickly reduce comfortable walking space.
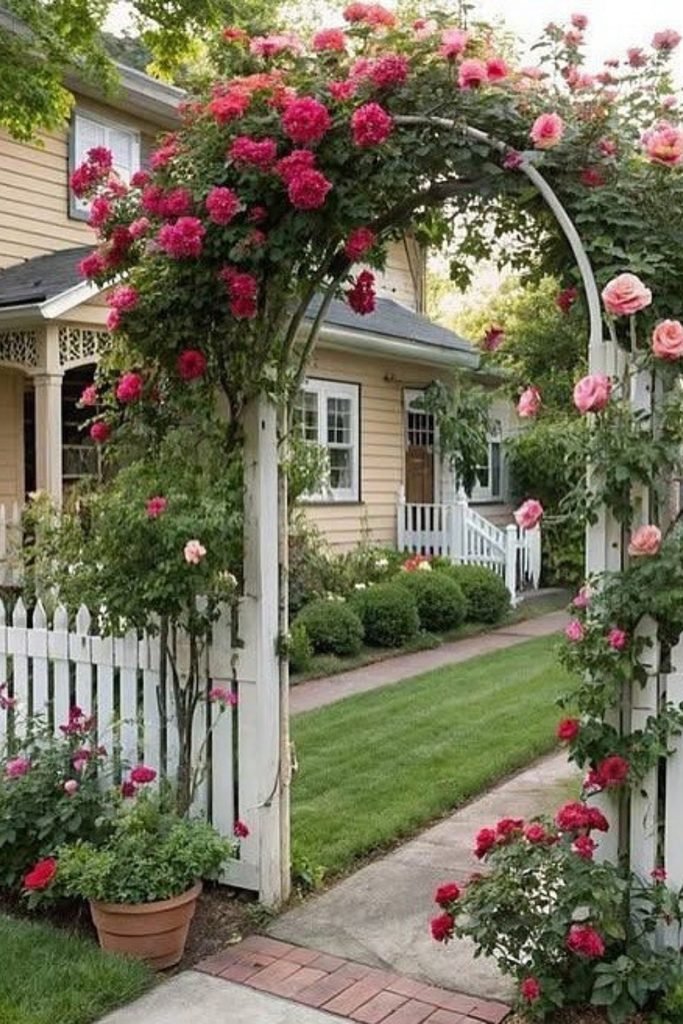
Rose Gateway
Make an ordinary fence opening feel intentional by extending a simple metal arch above it and training roses from both sides.
Tie flexible young canes outward along the curve rather than straight upward, encouraging flowers to spread across more of the overhead frame.
Leave generous headroom beneath mature growth so drooping stems and blooms do not gradually turn the entrance into an awkward passage.
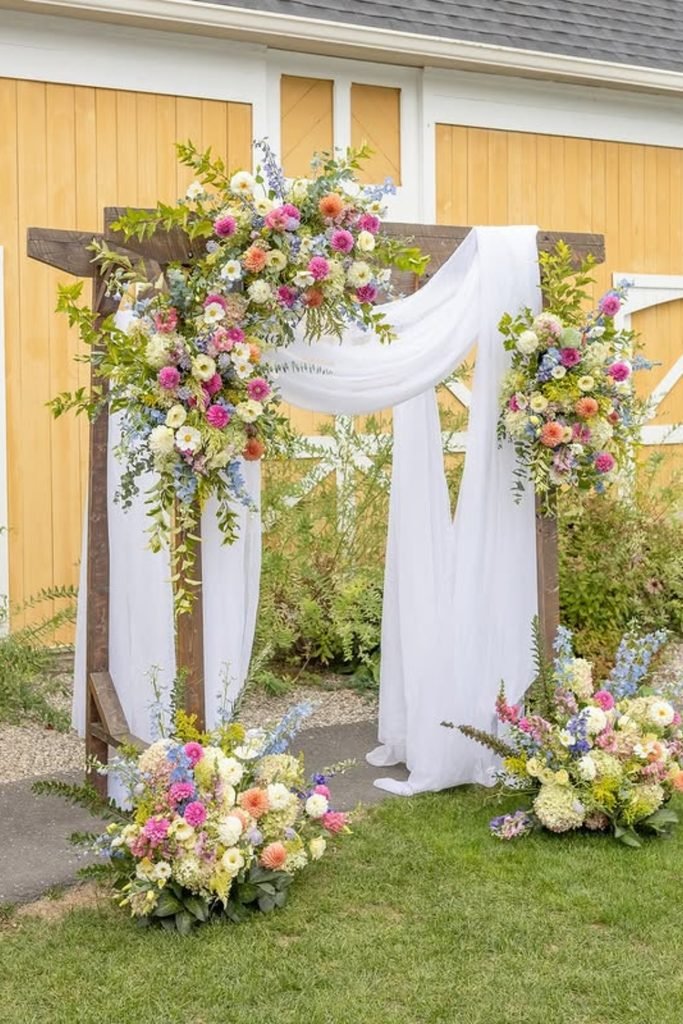
Floral Frame
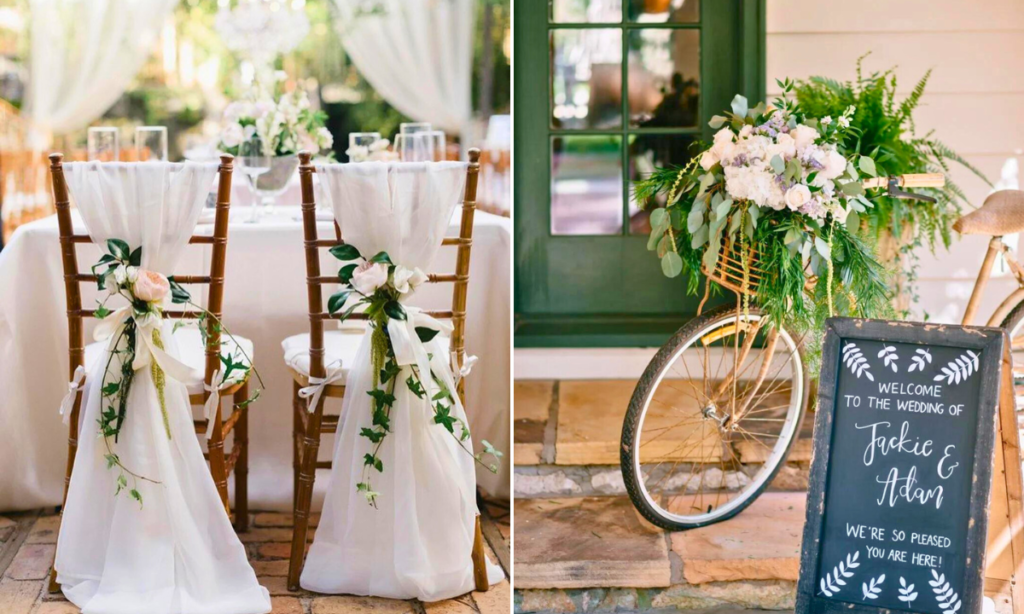
Turn a basic timber frame into a temporary garden focal point when you need an arch for celebrations rather than permanent climbers.
Secure floral arrangements around the corners and base instead of covering every beam, letting the simple DIY structure remain clearly visible.
Use lightweight fabric sparingly across the top, and anchor the frame well because both flowers and draping can catch unexpected outdoor wind.
FAQs
How Deep Should Garden Arch Posts Go?
For a permanent wooden arch, aim for enough depth to stop the posts shifting once wind and climbing plants add pressure.
Around 18–24 inches can work for many garden projects, but taller or heavier arches may need deeper footings.
Which Plants Work Best on a DIY Garden Arch?
Sweet peas and other lightweight annual climbers can suit simpler frames, while climbing roses, grapes, squash, and other vigorous plants need sturdier support.
Also consider mature growth, because a comfortable walkway can become surprisingly narrow once foliage fills both sides.

Hi, my name is Ali Mehmood! I’m a passionate writer and DIY enthusiast who loves turning creative ideas into practical, hands-on projects.
I created this website to share inspiring, budget-friendly ideas that you can do yourself – whether it’s organizing your home, crafting something unique, or creating fun projects for kids and pets.
I believe DIY isn’t just a hobby – it’s a smart way to save money, reduce waste, and enjoy the satisfaction of making things with your own hands.
I’m excited to have you as part of this growing community, and I’ll continue bringing you helpful, realistic, and fun DIY ideas you can actually use.