This post may contain affiliate links: read full affiliate disclosure.
Buying a headboard sounds simple until you find one you love and see the price, or realize the size just doesn’t work with your bed.
Making one yourself solves both problems, but choosing a design that looks polished without requiring advanced woodworking can feel tricky.
These DIY headboard ideas cover everything from upholstered panels and simple wood designs to painted, renter-friendly, and low-tool options.
You’ll find inspiration for different budgets, bedroom sizes, and skill levels, along with practical tips to help you recreate it.
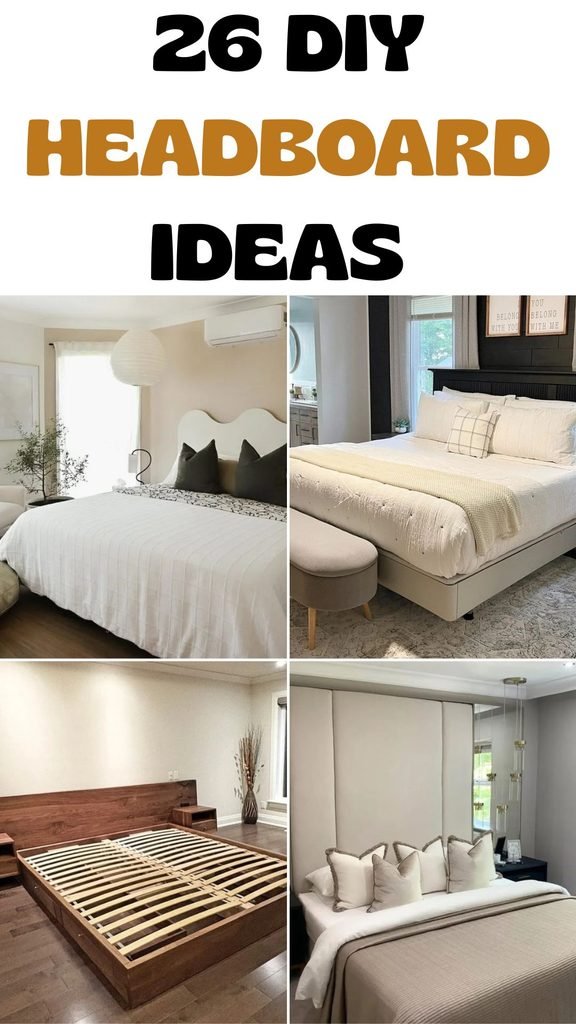
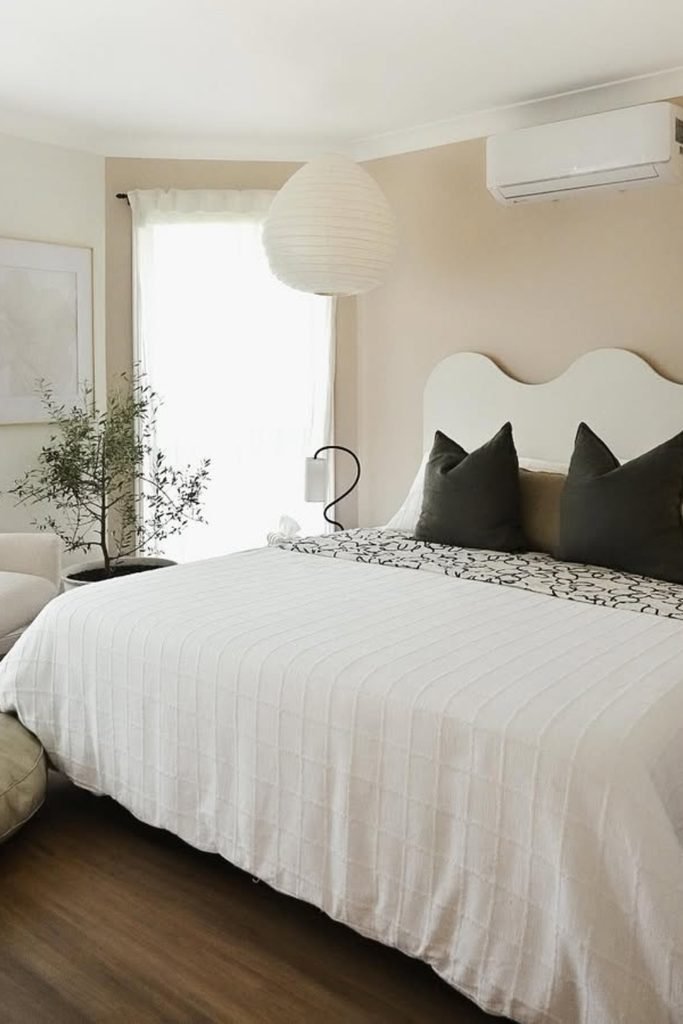
Wavy Panel
Curves can make a basic plywood headboard feel custom, so sketch the wave pattern carefully before making your first cut.
Use a jigsaw for the rounded top, then sand every curve thoroughly because rough edges become especially noticeable after painting.
Mount the finished panel slightly above the mattress, letting enough of those playful curves remain visible once your pillows are arranged.
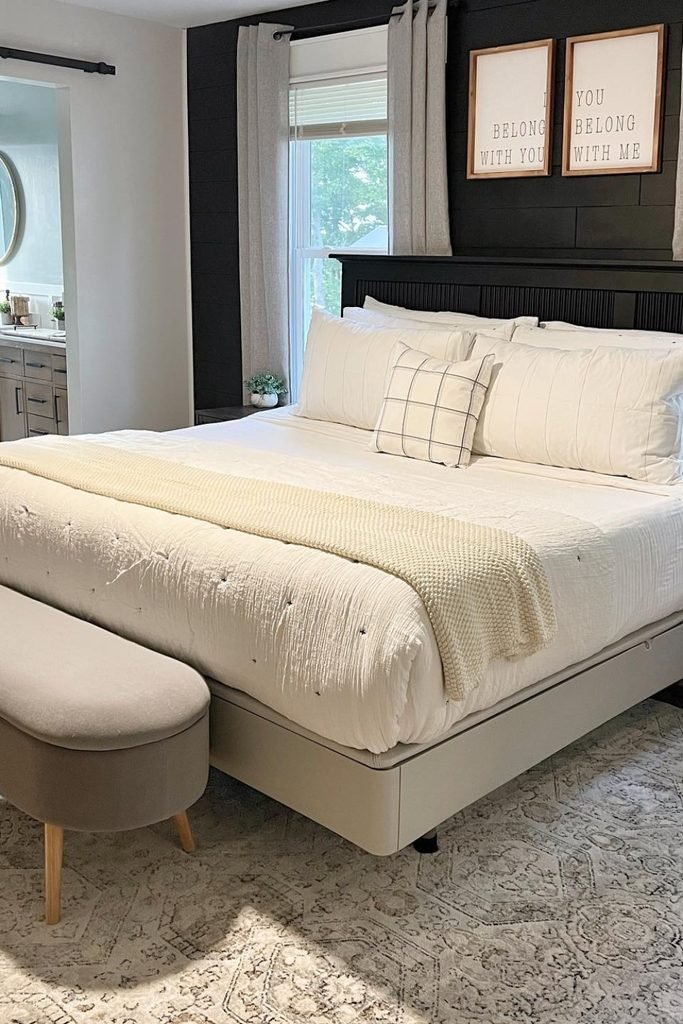
Framed Headboard
Dark paint works especially well when simple lumber construction needs more presence, without spending heavily on expensive hardwood.
Build the outer frame first, then add narrow vertical detailing inside, checking your spacing before permanently attaching each individual piece.
A wider top ledge gives the headboard a furniture-like finish, while matching paint helps inexpensive boards read as one substantial piece.
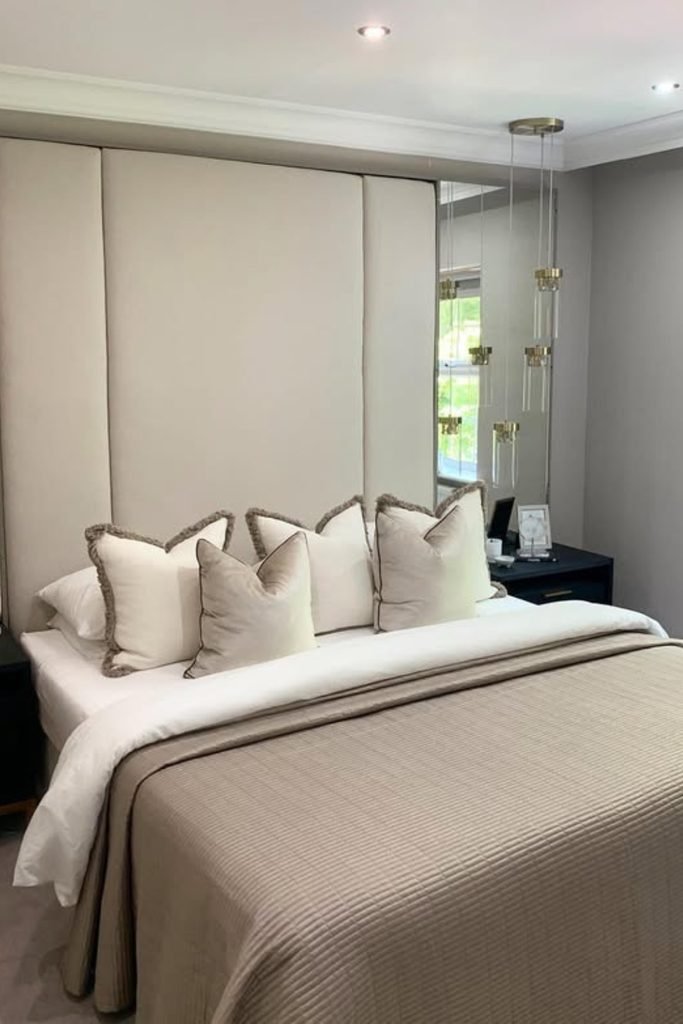
Padded Panels
Going floor-to-ceiling turns an upholstered headboard into the main wall treatment, which works beautifully when your bedroom lacks architectural character.
Wrap separate plywood panels with foam, batting, and fabric, pulling each layer evenly around the back before securing your staples.
Install the panels tightly together and check every vertical edge with a level, since uneven seams quickly expose a homemade finish.
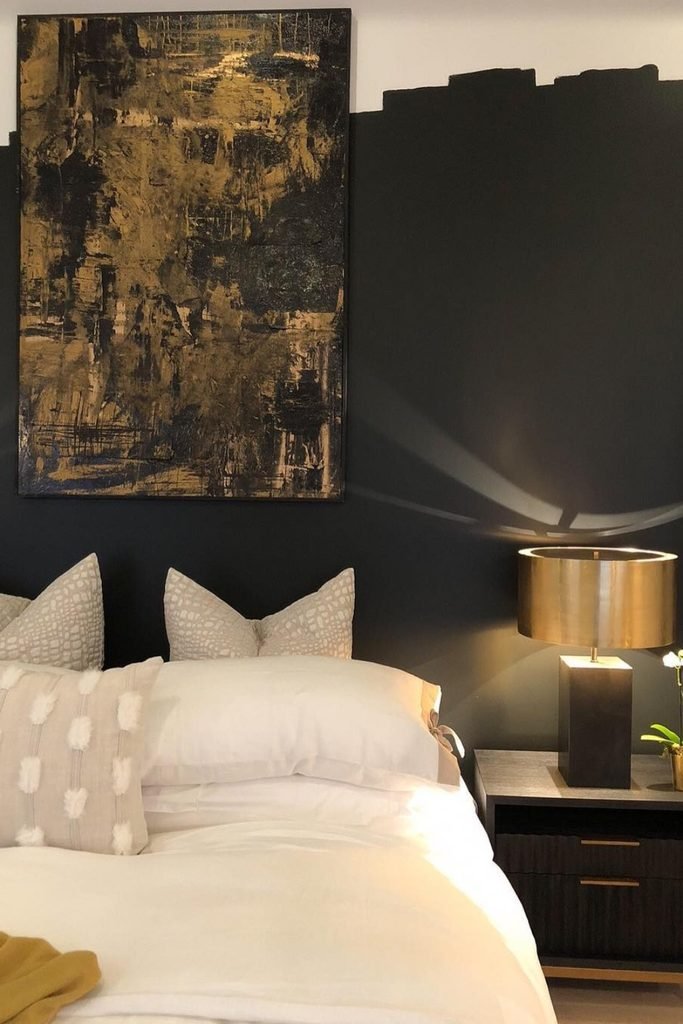
Painted Skyline
Paint can replace lumber completely when you mainly want visual height behind the bed rather than padding, storage, or structural support.
Mark different rectangular heights with painter’s tape, then fill the lower wall using one dark shade for a skyline-inspired silhouette.
Try this approach when your budget is tight, but plan the outline beforehand so the stepped top looks deliberate rather than random.
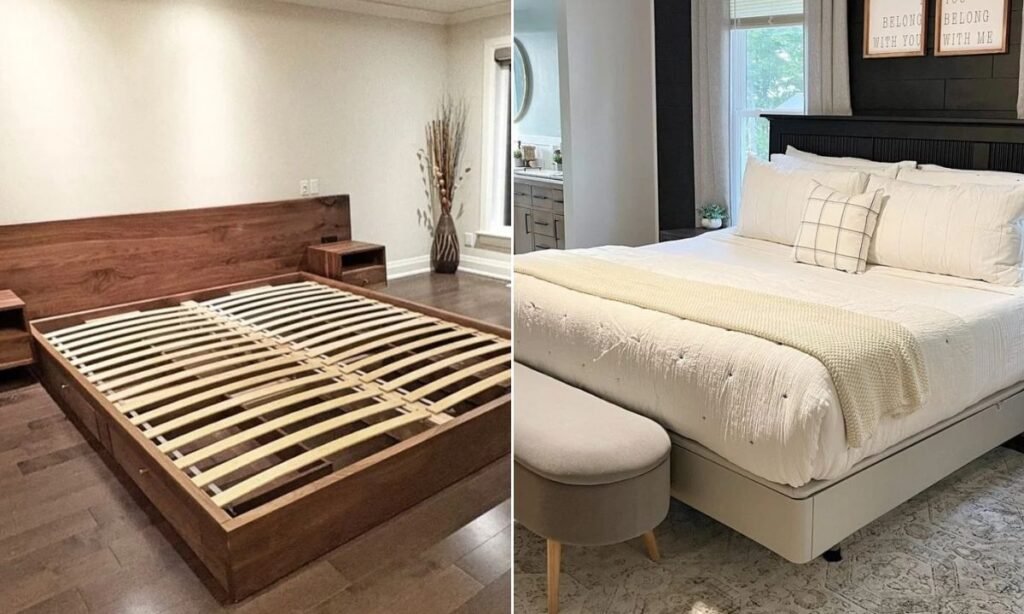
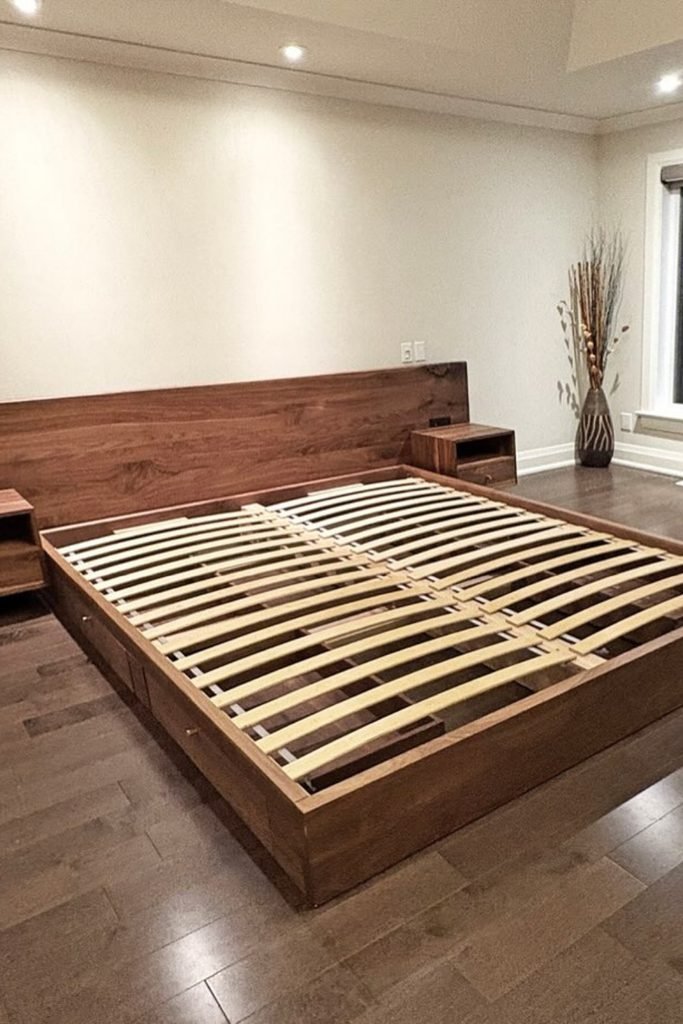
Storage Headboard
Building beyond the mattress width creates room for bedside storage, letting one DIY project replace separate headboard and nightstand purchases.
Plan those side compartments before assembling the platform, making sure shelves remain reachable once your mattress.
Using the same stain across every section ties everything together, especially when affordable boards vary slightly in grain and natural color.
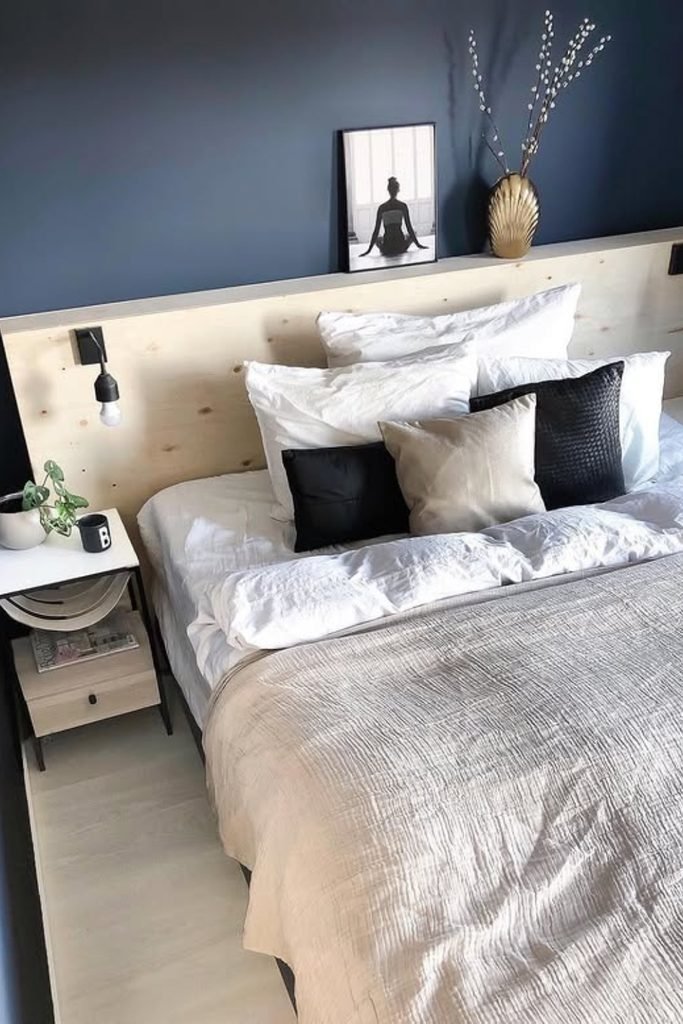
Plywood Ledge
One wide plywood sheet can handle several jobs at once, especially when you want a beginner-friendly project with minimal complicated joinery.
Extend the panel beyond both bedside tables, then add a shallow top ledge for artwork without crowding the sleeping area below.
Wall-mounted reading lights make this design more functional, but route cords carefully before installation so they do not become distracting later.
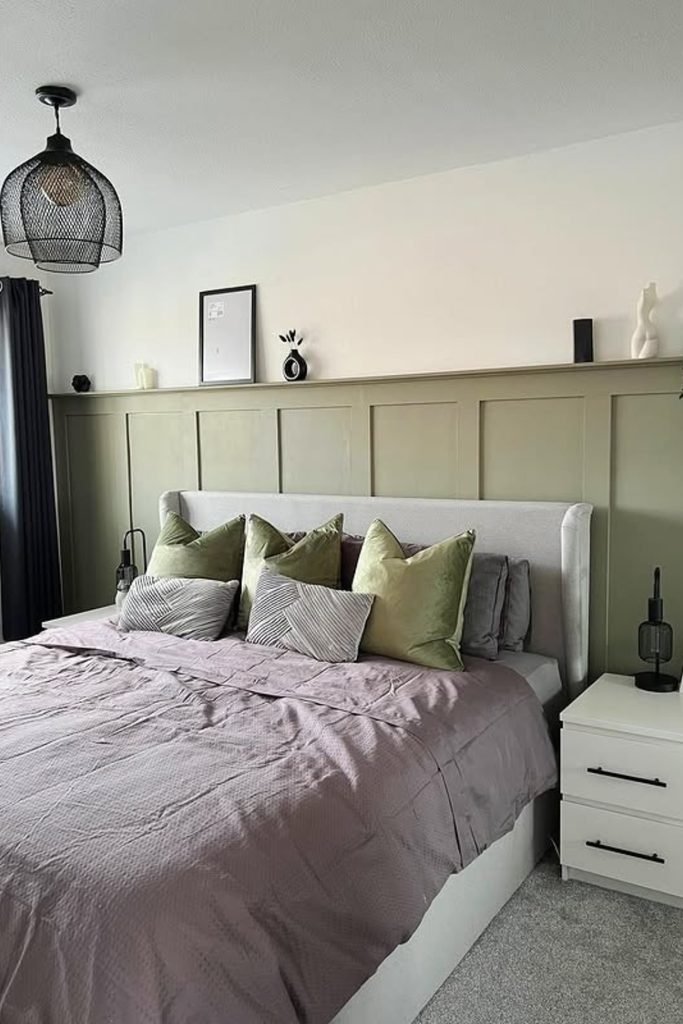
Paneled Wall
Instead of building separate furniture, use simple battens and paint to turn the entire lower wall into an oversized headboard feature.
Measure every vertical section before fixing the trim, because consistent spacing matters more than expensive materials for achieving a convincing finish.
Carry the treatment beyond the bed width when you want the sleeping zone to feel broader and more intentionally anchored visually.
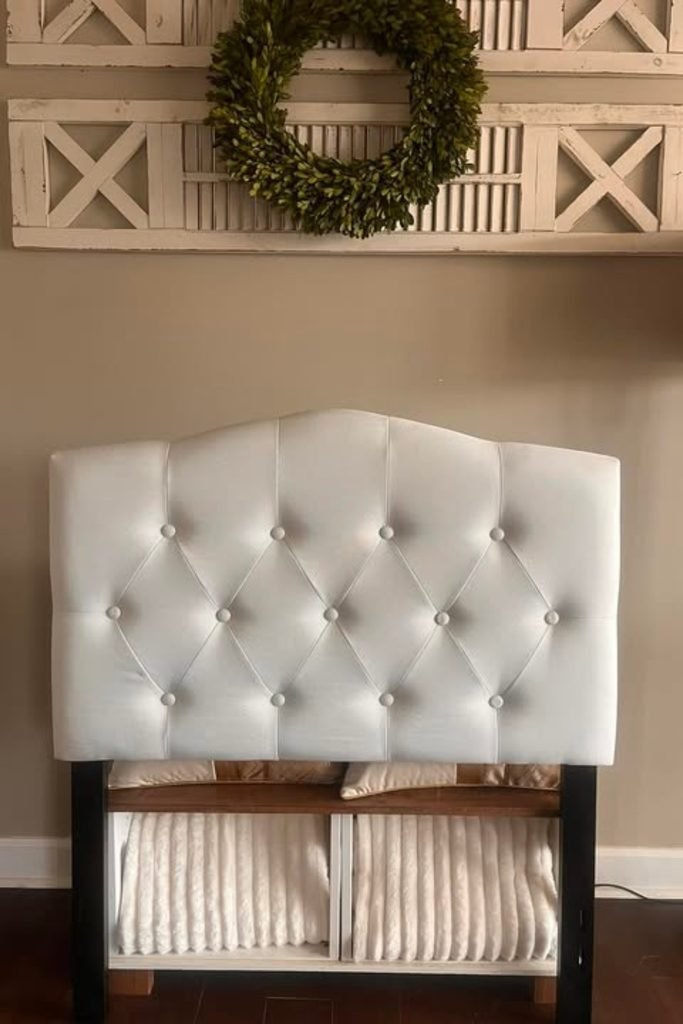
Tufted Cushion
Tufting is worth the extra patience when you want inexpensive foam and fabric to resemble a much more costly upholstered headboard.
Mark every button position before adding fabric, then work outward gradually so the diamond pattern stays balanced instead of pulling unevenly.
Add generous padding if you regularly sit against the headboard, since thin foam may look finished but offers limited everyday comfort.
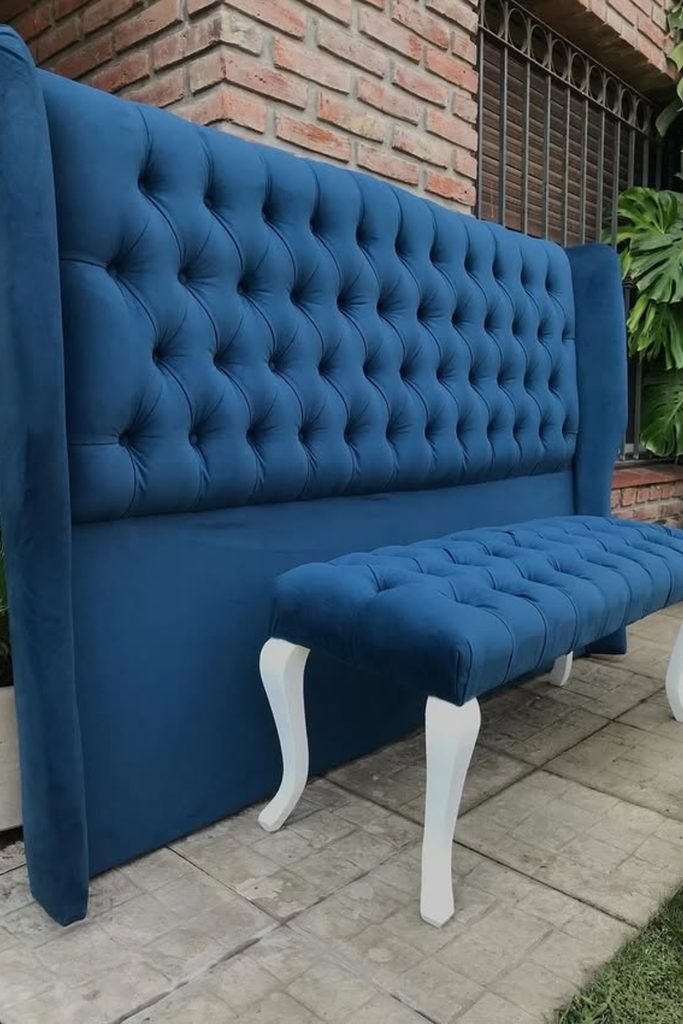
Wingback Tufting
Deep button tufting needs careful planning, so mark the entire diamond grid before foam and fabric cover your backing board.
Build padded side wings separately, then attach them squarely to the main panel so both edges project forward by equal amounts.
Velvet highlights every fold and indentation, making even button tension especially important if you want that expensive upholstered furniture finish.
Curved Upholstery
A shaped top can make simple upholstery feel custom without adding tufting, but symmetry matters once curves become the main detail.
Draw half the profile on paper first, flip the template for the opposite side, then transfer both halves onto plywood.
Choose substantial foam around the upper edge so fabric follows each curve smoothly rather than exposing hard corners underneath the padding.
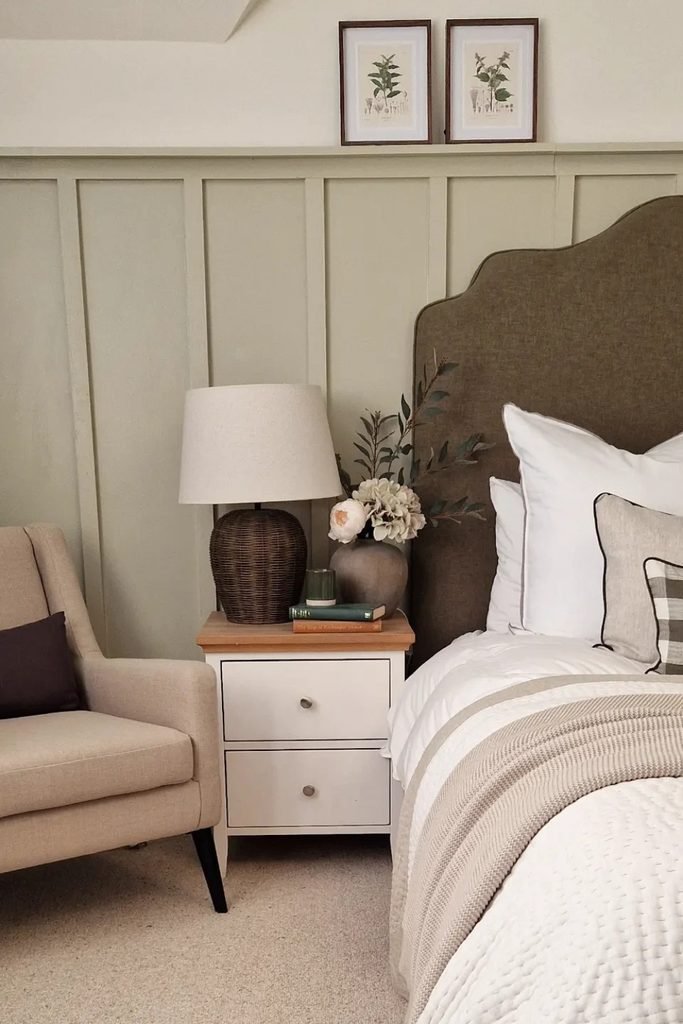
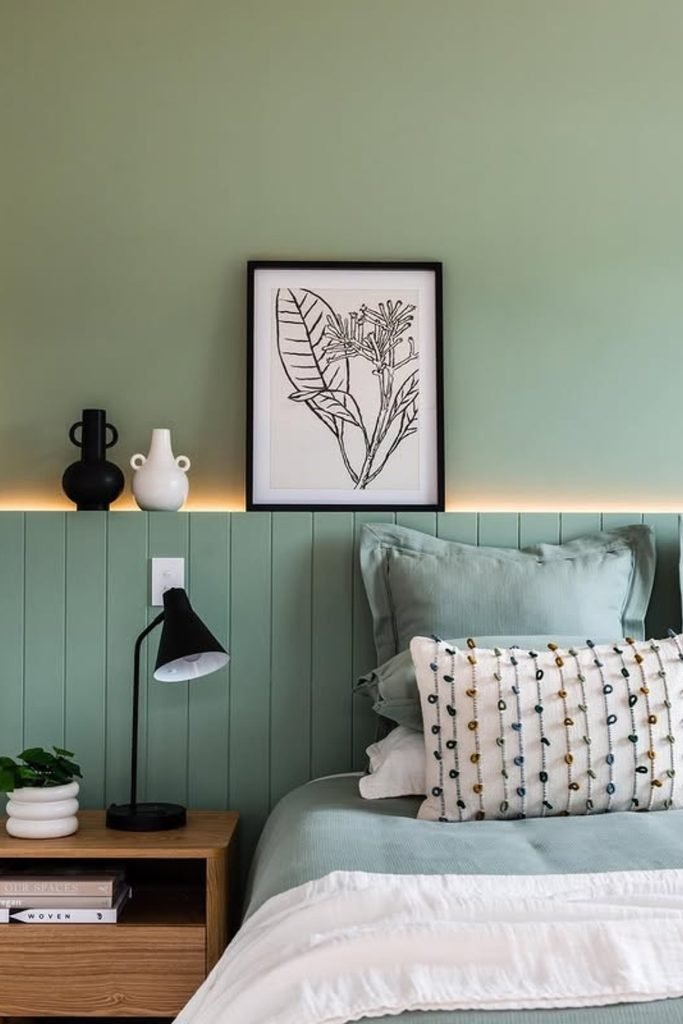
Slatted Feature
Vertical timber strips offer an easy route to architectural detail when building a separate traditional headboard feels unnecessary for your room.
Cut every strip to equal length and use a spacer during installation, preventing small gaps from gradually becoming noticeably uneven.
A narrow ledge above the slats can hold lightweight artwork, while concealed lighting adds useful evening glow without occupying bedside space.
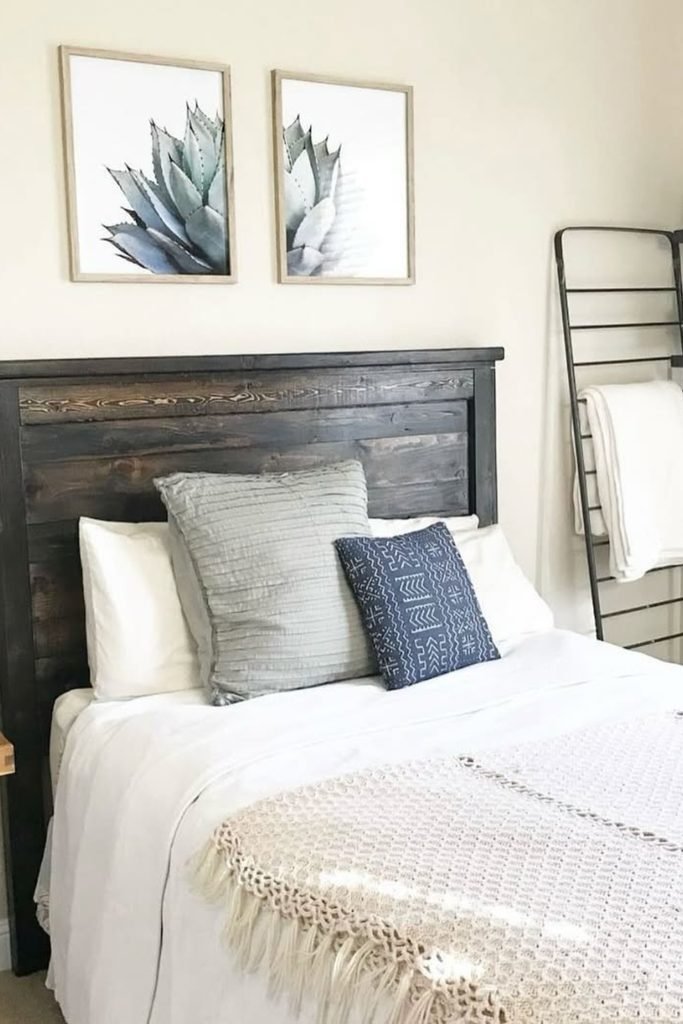
Rustic Frame
Weathered boards become much cleaner visually when surrounded by a simple frame, especially if reclaimed timber has mismatched edges or lengths.
Arrange your boards before fastening anything, mixing grain and darker sections until the variation looks balanced across the entire headboard.
Finish with sturdy outer rails and a top cap, which hides rough board ends while making inexpensive timber feel intentionally constructed.
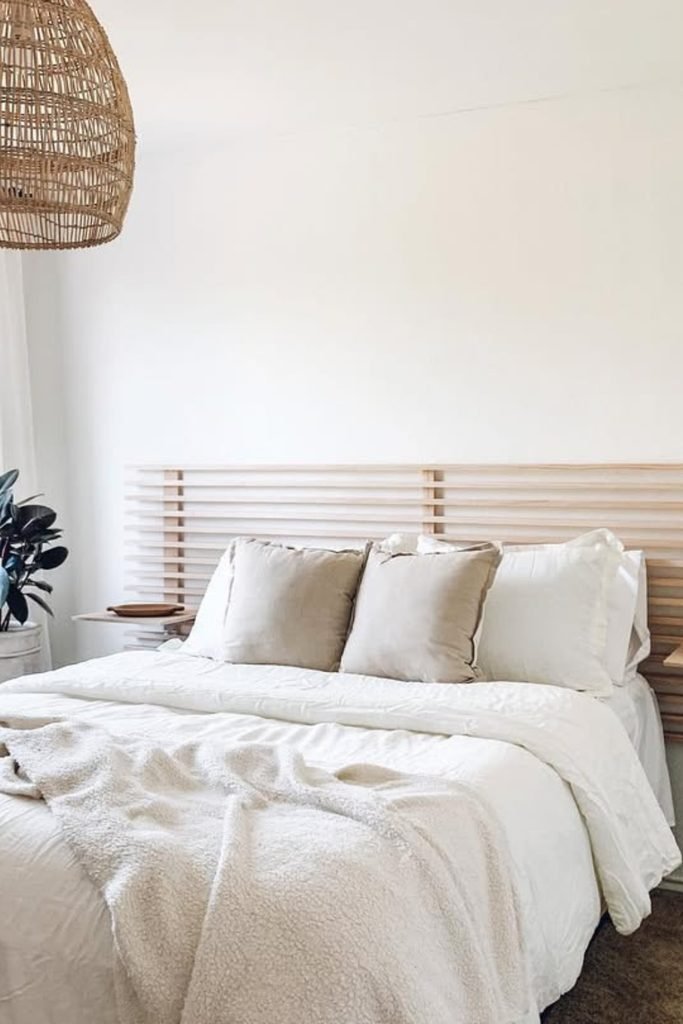
Floating Slats
Horizontal slats can stretch a small bed wall visually, especially when the headboard extends beyond the mattress toward both nightstands.
Use identical spacers between each board and secure them onto vertical supports behind, leaving the front free from obvious hardware.
Lightly finished timber works nicely here because visible grain adds warmth while the open gaps prevent the wide structure feeling overly heavy.
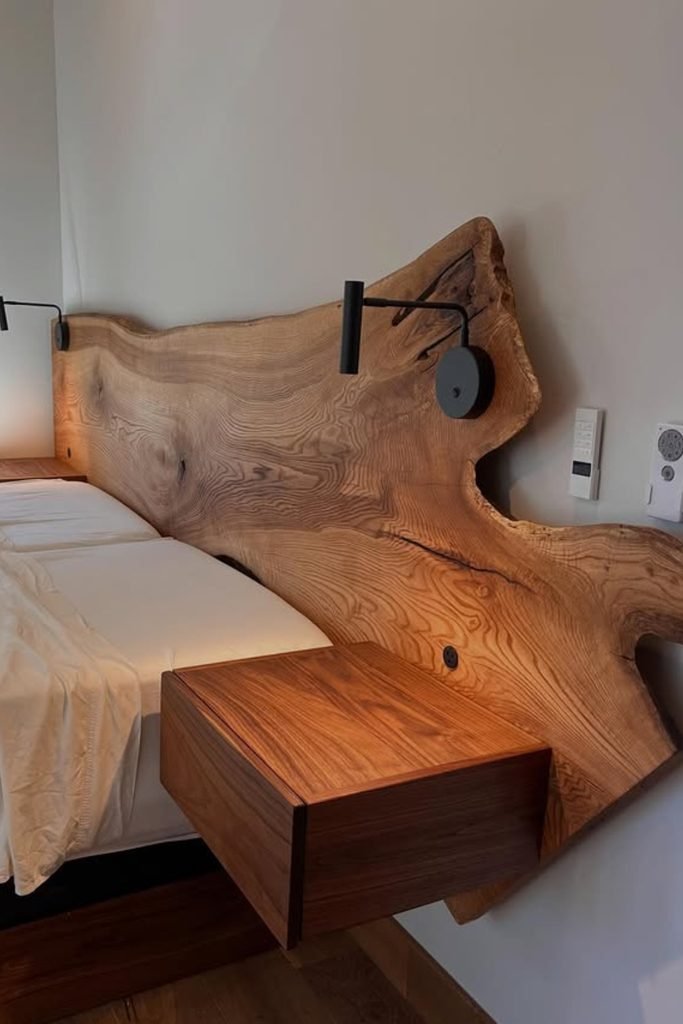
Live Edge
One dramatic slab removes the need for complicated joinery, but its natural outline deserves careful positioning before anything reaches the wall.
Sand the surface and irregular edges thoroughly, then apply a clear protective finish that lets the grain remain the strongest feature.
Wall-mounting bedside shelves and reading lights directly around the slab saves floor space while turning one headboard into a functional zone.
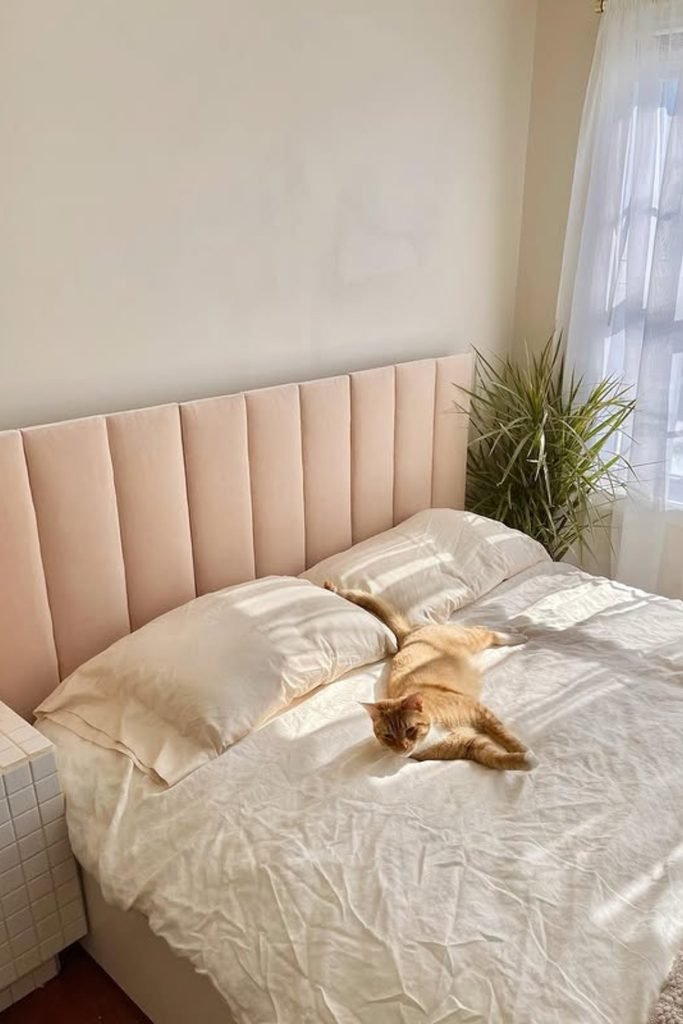
Channel Panels
Individual padded channels are easier to control than one oversized upholstered board when you want clean vertical lines behind your bed.
Cut matching backing strips, wrap each with foam and fabric separately, then line them up tightly before securing the finished arrangement.
Consistent padding depth matters here, since one thinner channel can interrupt the smooth rhythm even when your fabric matches perfectly.
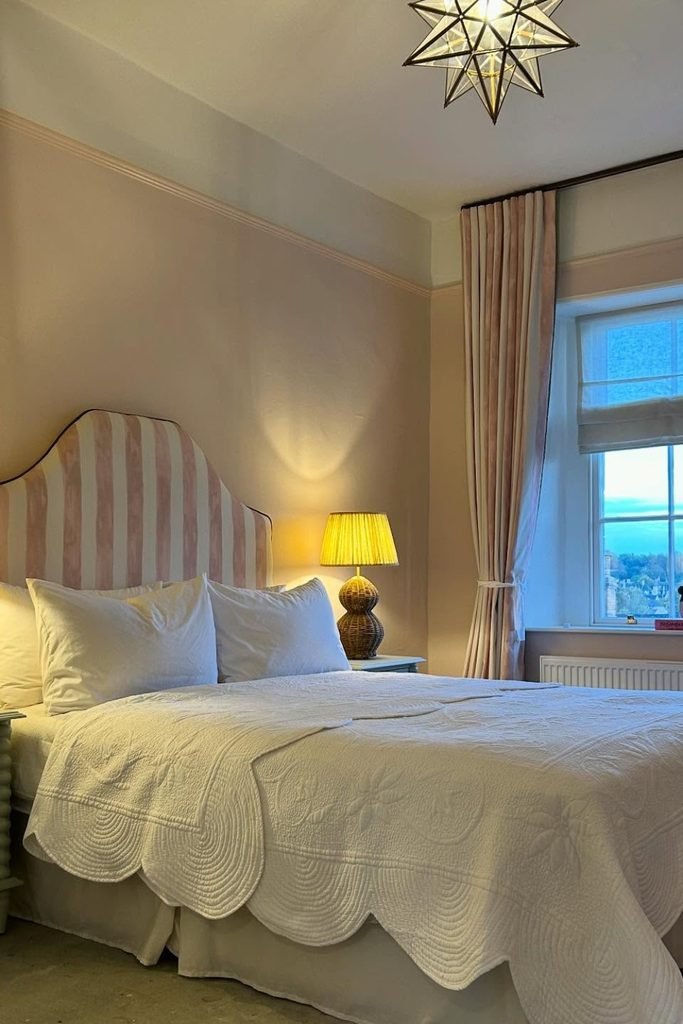
Striped Upholstery
Patterned fabric can carry most of the design work, making a shaped plywood headboard feel detailed without buttons, trim, or complicated woodworking.
Center the stripe before stapling anything, then pull fabric evenly from opposite sides so those vertical lines stay straight across curves.
A paper template helps perfect the arched profile first, saving expensive upholstery fabric from mistakes while you adjust the proportions.
Fluted Wall
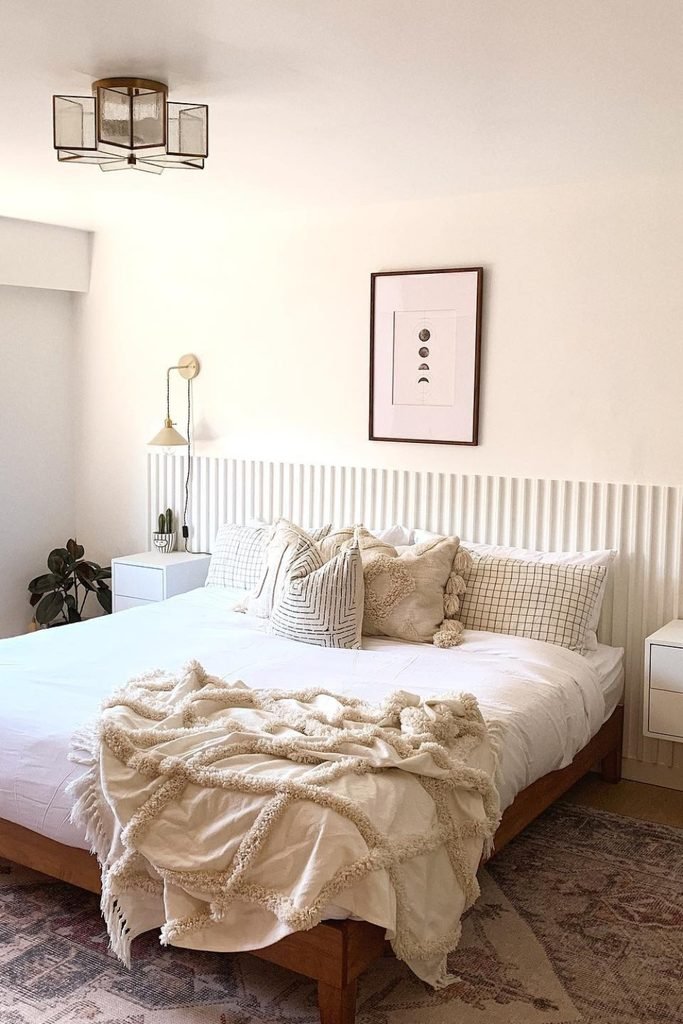
Fluted trim works well when you want texture without bulky upholstery, and painting everything white prevents the wall from feeling busy.
Run the treatment wider than the mattress, using evenly spaced vertical pieces so the bed feels properly anchored between both nightstands.
Before attaching each strip, mark one level top line across the wall because inconsistent heights will immediately interrupt the clean finish.
Rounded Channels
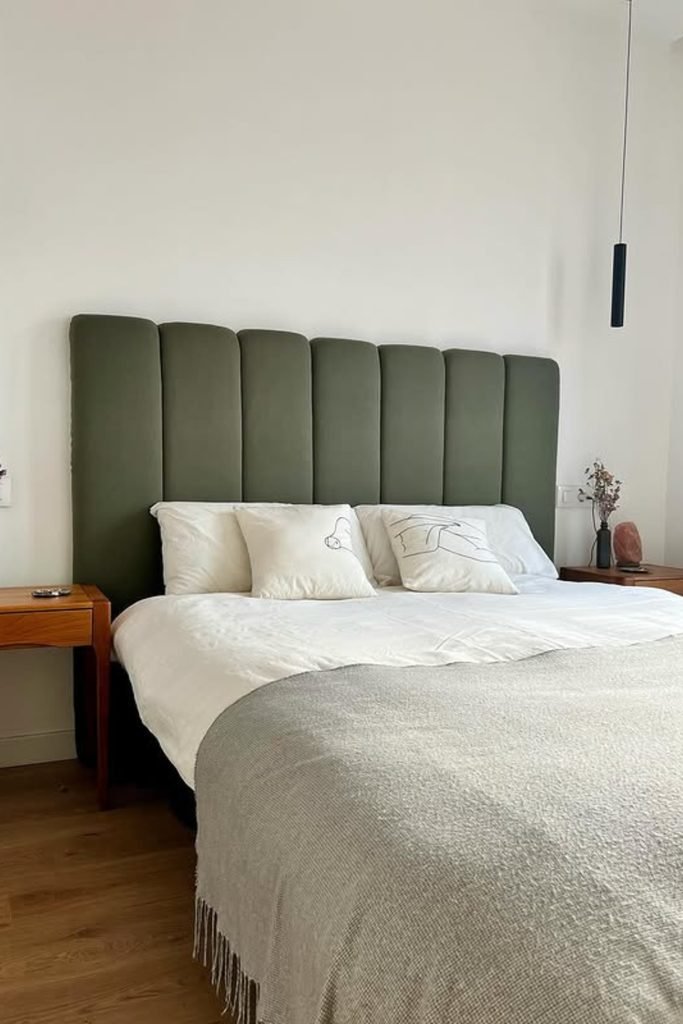
Softly rounded channels bring comfort without complicated tufting, making them useful when you regularly sit upright to read in bed.
Build each padded section separately with matching foam thickness, then position them side by side before fixing everything securely together.
Rounding the upper corners softens the tall silhouette, while equal panel widths prevent the finished headboard from looking unnecessarily heavy.
Frame Molding
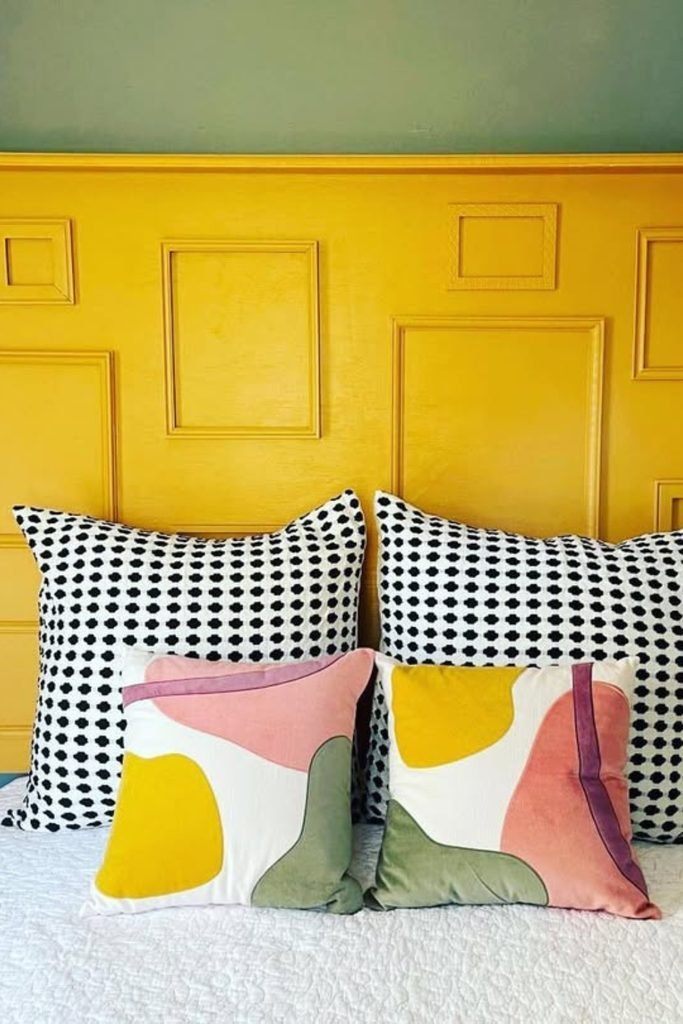
Leftover picture-frame molding can turn plain plywood into something far more interesting without requiring upholstery, foam.
Arrange different frame sizes across the board first, checking the balance before gluing them down and painting everything one bold shade.
Using one continuous color hides material differences and small imperfections, letting inexpensive trim read as intentional raised detailing instead of additions.
Velvet Channels
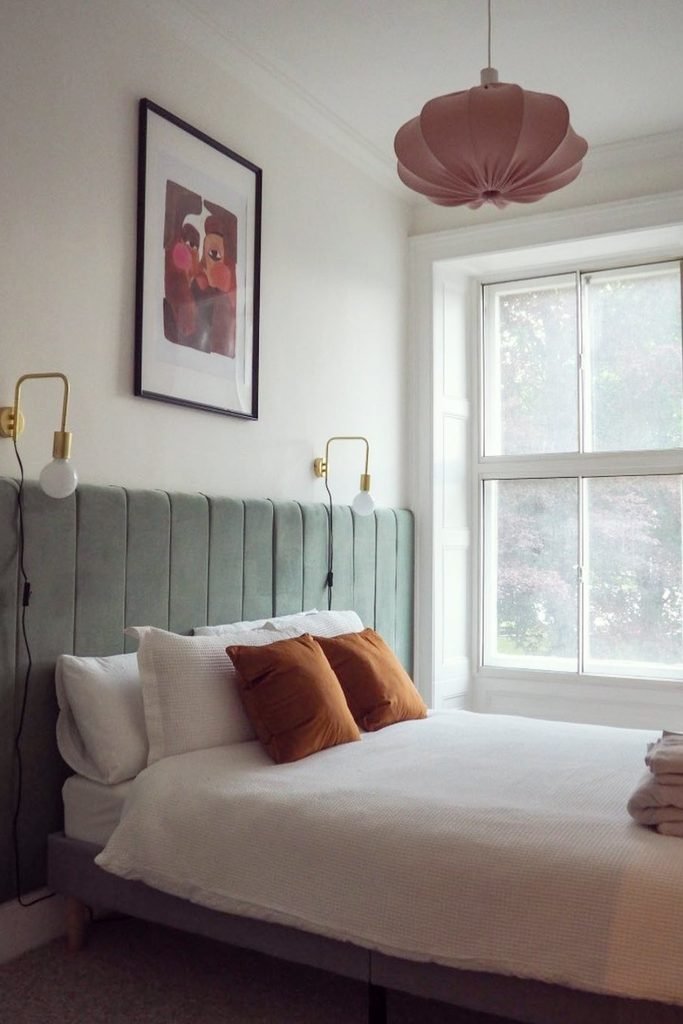
Low channel panels are useful when tall ceilings already provide plenty of height and you want the bed wall feeling grounded instead.
Wrap narrow boards individually with foam and velvet, making sure the fabric direction stays consistent before lining the finished pieces together.
Extend the headboard beyond the mattress when space allows, creating a broader backdrop that can visually connect your bedside lighting and furniture.
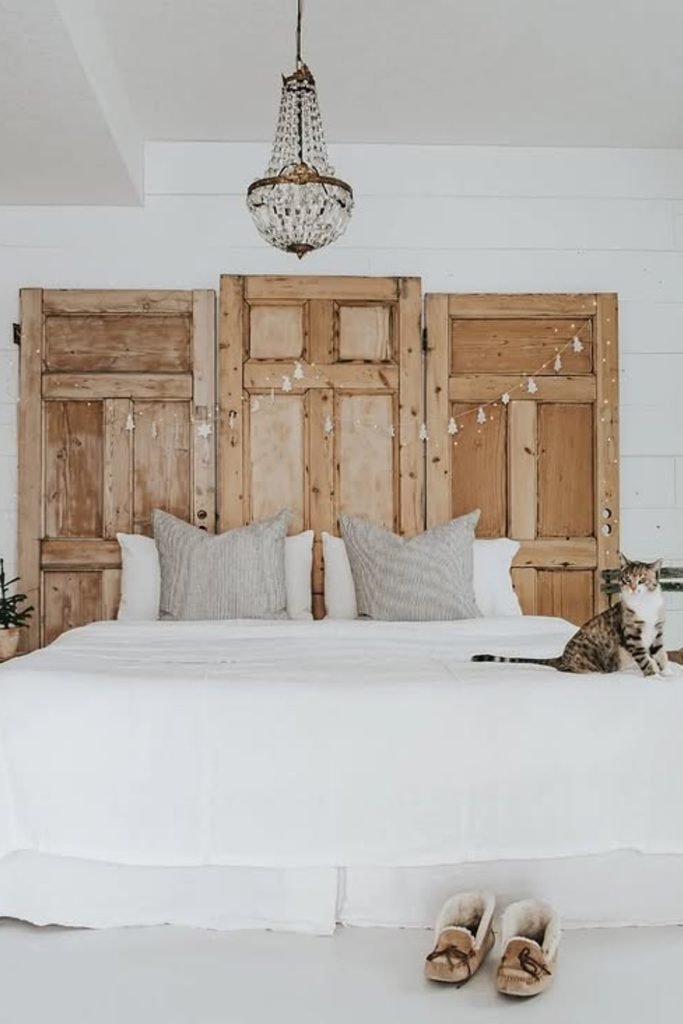
Salvaged Doors
Old wooden doors can become a headboard with almost no new lumber, especially when you want character from naturally worn surfaces.
Line several doors behind the mattress and secure them properly, checking that heavy panels cannot shift or tip toward the bed.
Leave aged timber mostly untouched for rustic texture, but sand splintered areas and seal peeling surfaces before bringing them indoors.
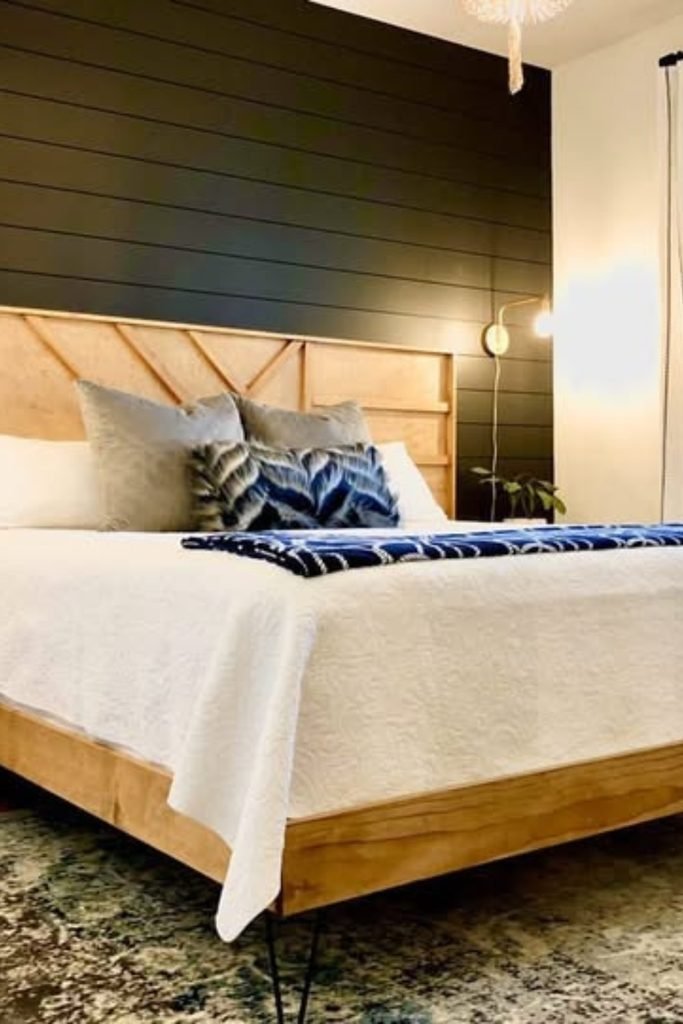
Chevron Frame
Diagonal boards turn an ordinary rectangular frame into a stronger focal point, though accurate cuts matter once angles meet near center.
Lay the full pattern on a backing panel before fastening, adjusting each piece until the diagonal lines connect without awkward gaps.
A natural stain lets grain variation remain visible, while the surrounding frame hides cut ends and makes the pattern feel professionally finished.
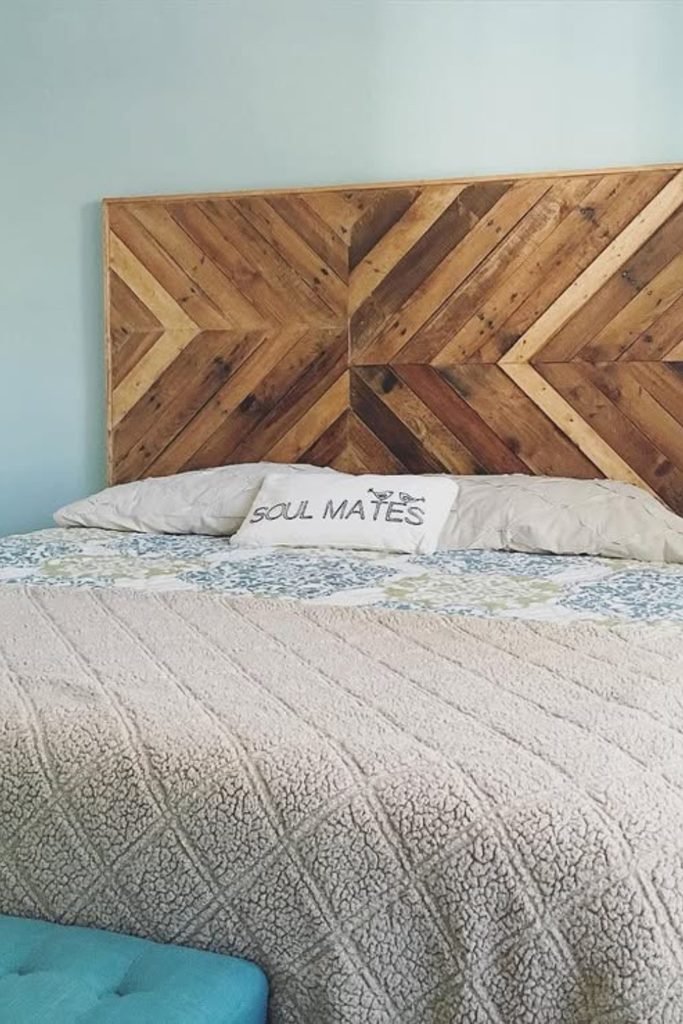
Reclaimed Chevron
Mixed reclaimed boards work especially well in geometric patterns because changing wood tones make every angled section easier to distinguish visually.
Start from a clear centerline and build outward in matching directions, trimming overhanging pieces only after the panel is completely covered.
Use a slim perimeter frame to straighten the finished outline, especially when reclaimed boards have irregular ends that refuse perfect alignment.
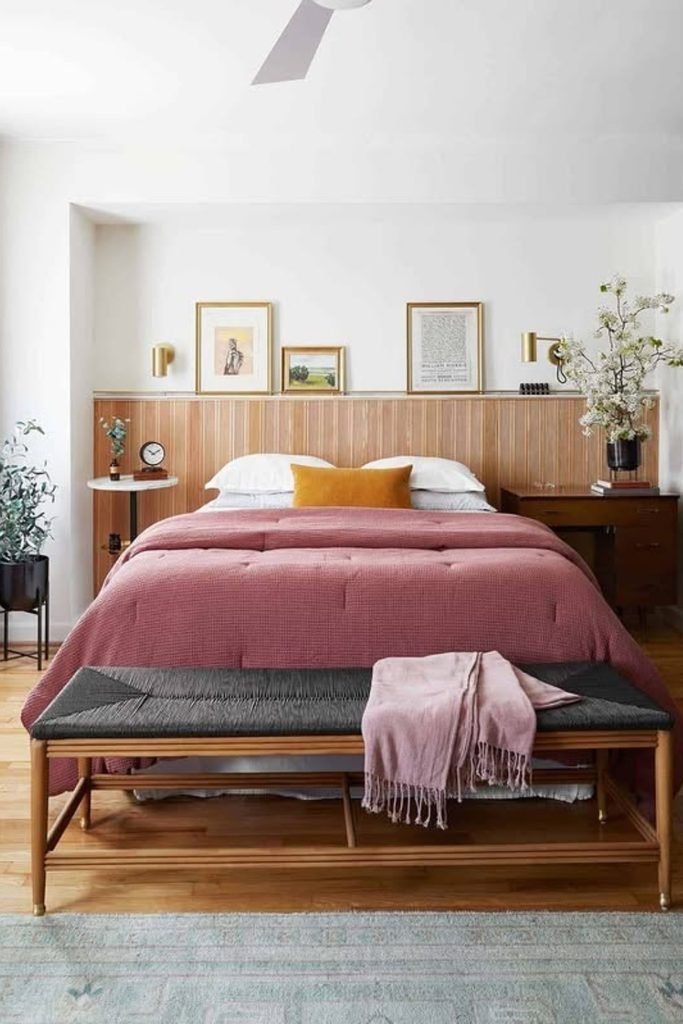
Integrated Ledge
Extending a timber headboard across the whole bed wall creates useful space for lighting, artwork, and bedside surfaces without extra clutter.
Build the vertical paneling first, then add a continuous top ledge deep enough for small frames without becoming unnecessarily bulky.
Matching floating bedside shelves can connect directly into the structure, making a narrow bedroom feel organized while freeing valuable floor space.
Plank Frame
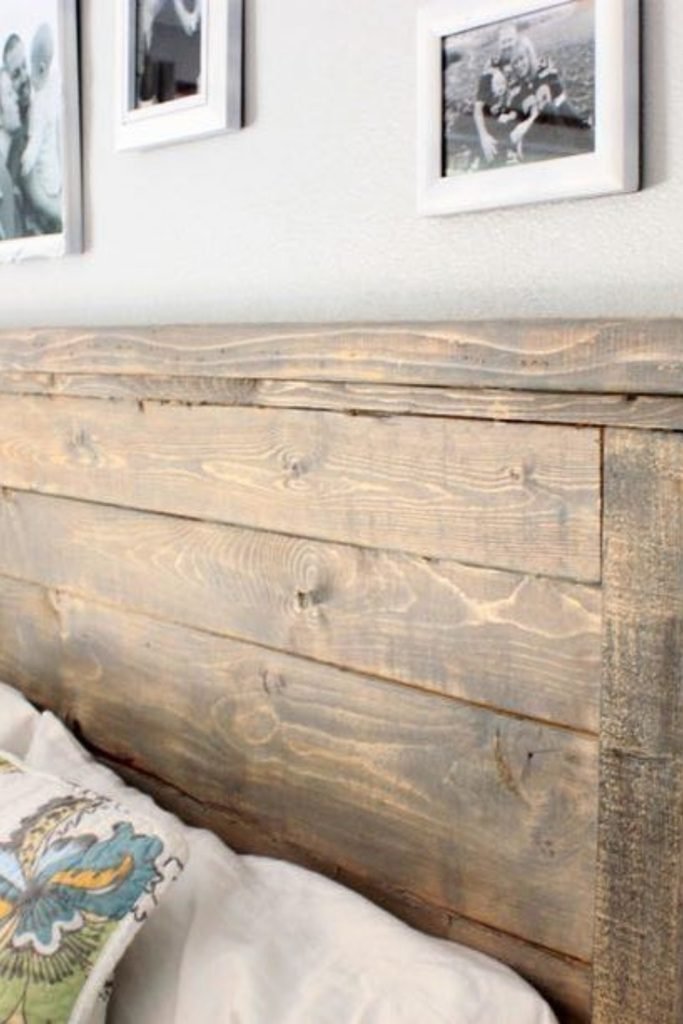
Wide horizontal boards are forgiving for beginner builds because fewer pieces mean less cutting, spacing, and alignment to manage overall.
Choose boards with visible grain, sand them thoroughly, then fasten everything to rear supports before adding the surrounding outer frame.
A slightly projecting top cap hides uneven board ends and gives basic construction a substantial furniture finish without requiring complicated joinery.
Narrow Slats
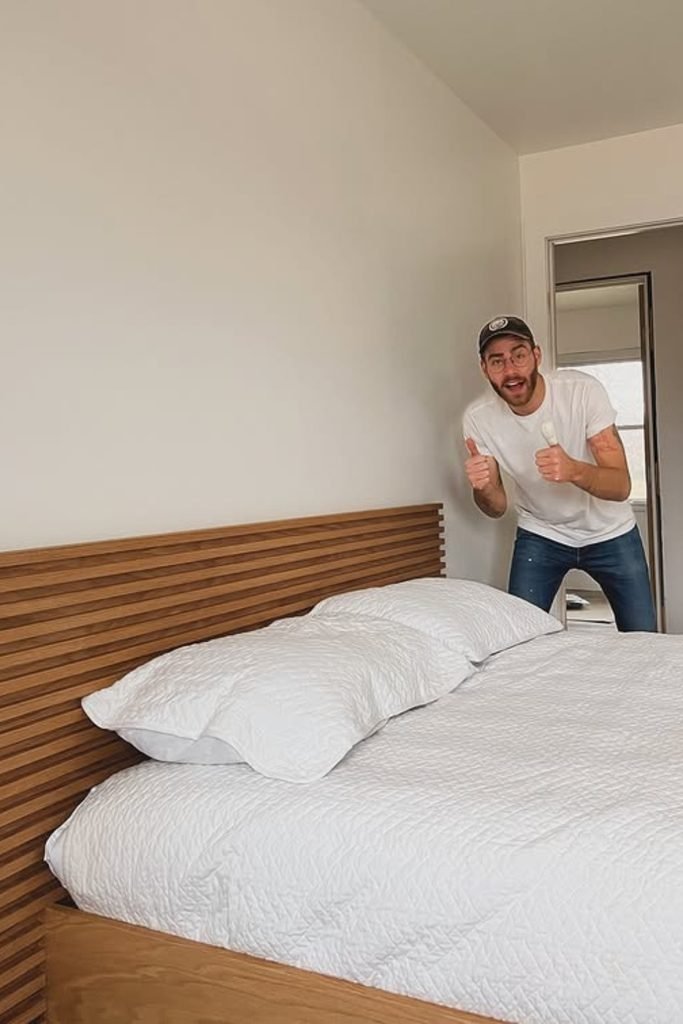
Closely spaced slats create plenty of texture without making the headboard bulky, which helps when your bedroom has limited floor space.
Cut every strip together when possible, then use one spacer repeatedly during assembly so the horizontal gaps remain consistently aligned.
Match the slat stain with the bed frame for a built-in appearance, and secure the completed panel firmly behind your mattress.
FAQs
Can I Make a DIY Headboard Without Power Tools?
Yes. Start with pre-cut plywood, fabric panels, painted wall designs, or lightweight slats that need minimal assembly.
Focus on accurate measurements and simple construction rather than choosing a complicated design that requires tools you rarely use.
How Can I Make a DIY Headboard Look More Professional?
Sand visible wood edges, maintain equal slat spacing, pull upholstery fabric evenly, and hide staples or mounting hardware.
Measure the headboard against your actual mattress before building, since good proportions can make even inexpensive plywood, lumberl.

Hi, my name is Ali Mehmood! I’m a passionate writer and DIY enthusiast who loves turning creative ideas into practical, hands-on projects.
I created this website to share inspiring, budget-friendly ideas that you can do yourself – whether it’s organizing your home, crafting something unique, or creating fun projects for kids and pets.
I believe DIY isn’t just a hobby – it’s a smart way to save money, reduce waste, and enjoy the satisfaction of making things with your own hands.
I’m excited to have you as part of this growing community, and I’ll continue bringing you helpful, realistic, and fun DIY ideas you can actually use.