This post may contain affiliate links: read full affiliate disclosure.
A blank wall can make your whole room feel unfinished, but finding artwork in the right size, colors, and budget gets frustrating fast.
Making your own canvas solves that problem, even if painting is not something you normally feel confident doing.
Simple textures, abstract shapes, layered colors, and easy techniques can turn an inexpensive canvas into something that actually belongs with your decor.
In this article, you’ll find practical DIY canvas wall art ideas and useful guidance to help you create a finished look at home.
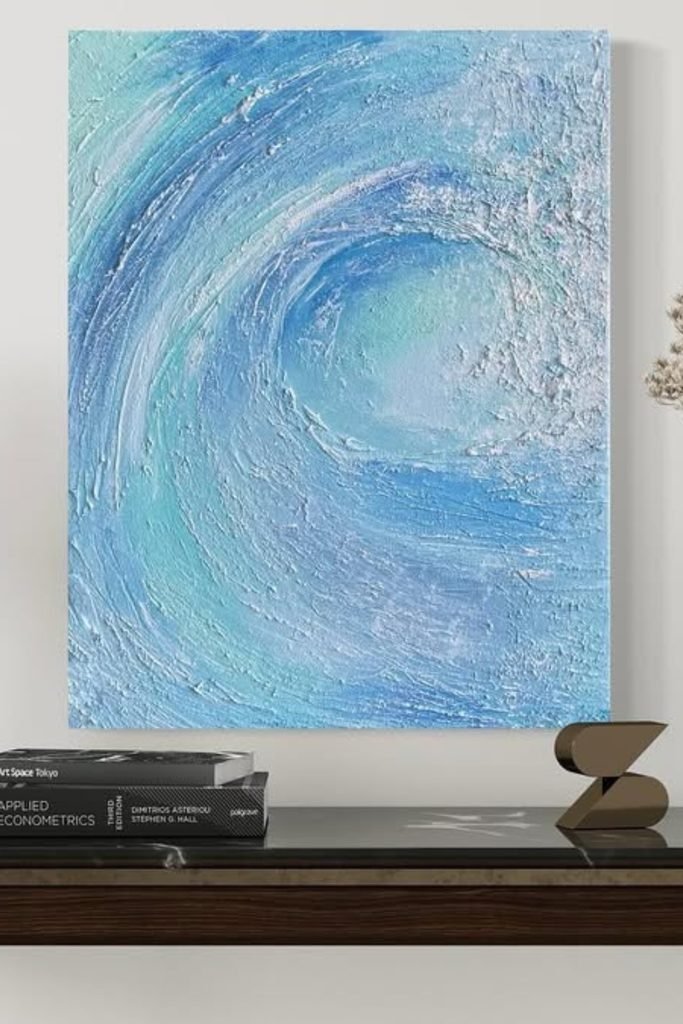
Ocean Swirl
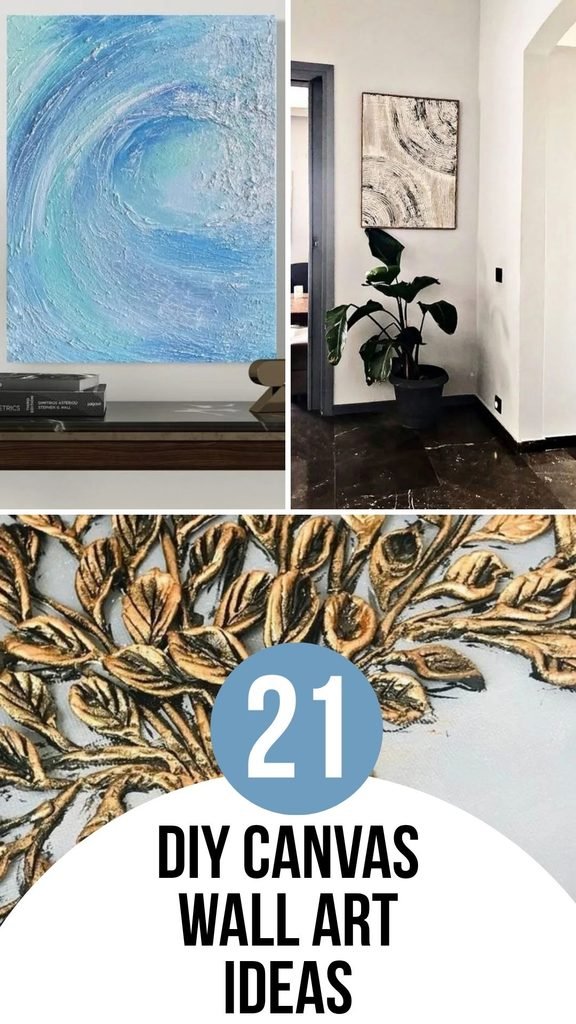
Bring movement into a quiet room by sweeping several blue tones around one loose center instead of chasing perfect curves.
Build the surface with a palette knife or thick brush, letting white highlights break through wherever the strokes naturally overlap.
Try this above a dark console or dresser, where the cool canvas can soften heavier furniture without adding extra decor.
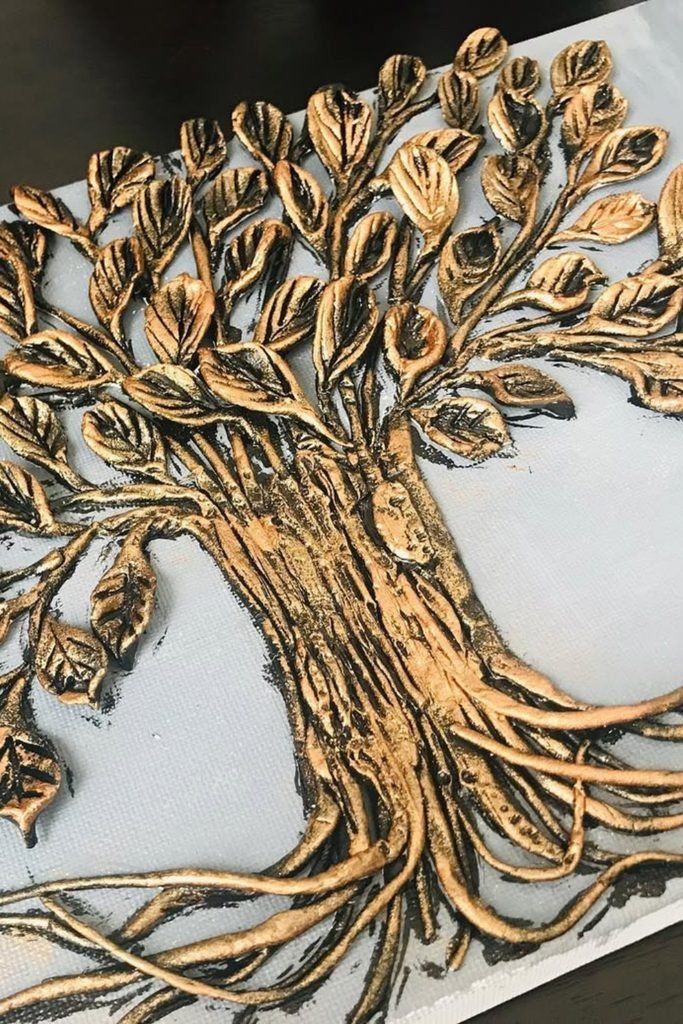
Golden Tree
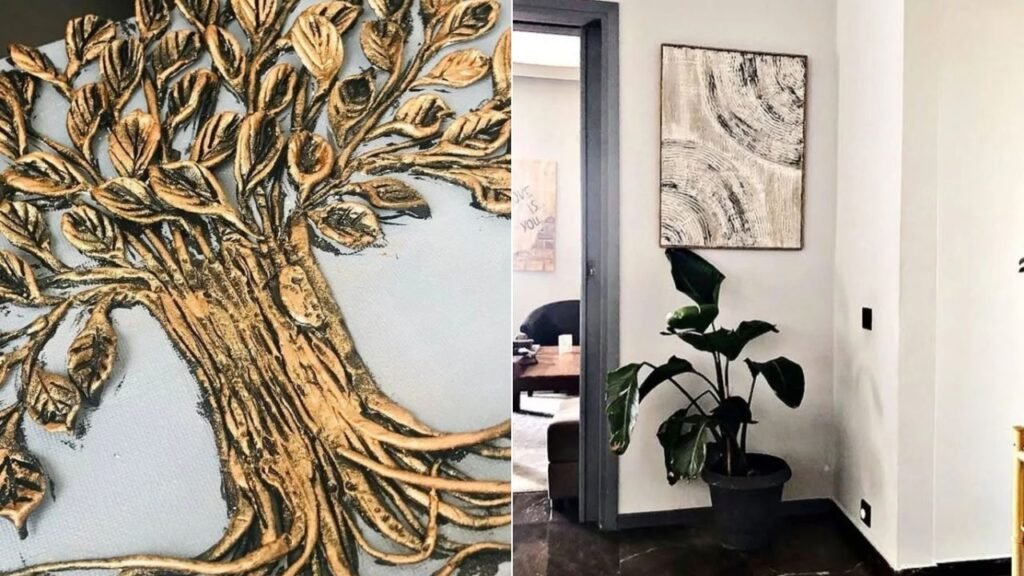
Give botanical wall art more character by building raised branches and leaves first, then letting metallic paint emphasize their texture.
Keep darker paint inside the grooves and around leaf edges so the gold catches raised areas without flattening every detail.
This technique works beautifully where natural decor already appears, especially entryways, reading corners, or rooms with warm wood finishes.
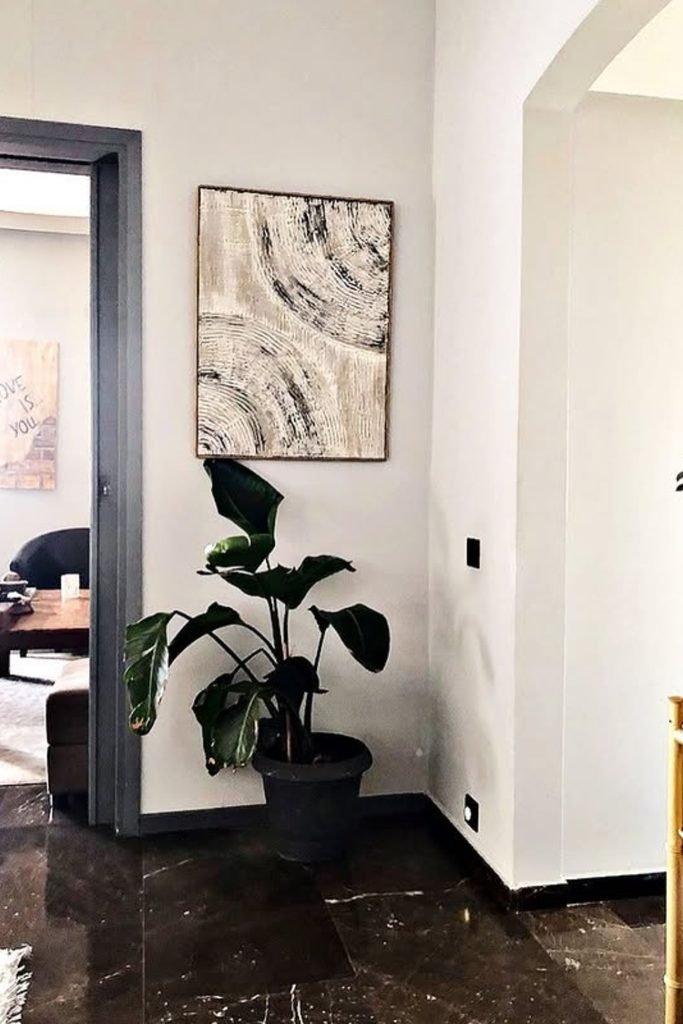
Neutral Circles
When a narrow wall feels awkward, simple sweeping marks can fill it without making the surrounding walkway visually crowded.
Layer warm white texture over a darker base, then drag curved strokes loosely so portions underneath remain visible for contrast.
A slim frame gives those imperfect marks a cleaner finish, making this approach especially useful between doorways or architectural openings.
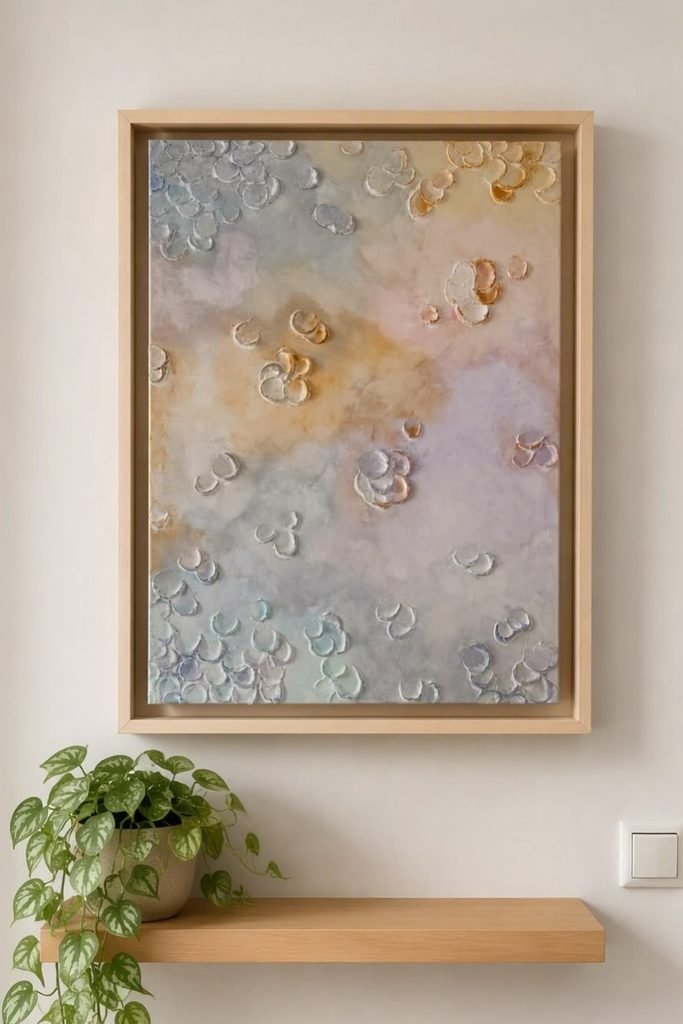
Soft Petals
Skip strong contrast when your room already has enough visual weight, and build interest through soft color changes and raised details.
Blend muted blue, blush, cream, and ochre loosely, then add small petal-like marks after the background has partially settled.
Leave generous open areas between textured clusters so the finished canvas stays calming enough for bedrooms, hallways, or quiet corners.
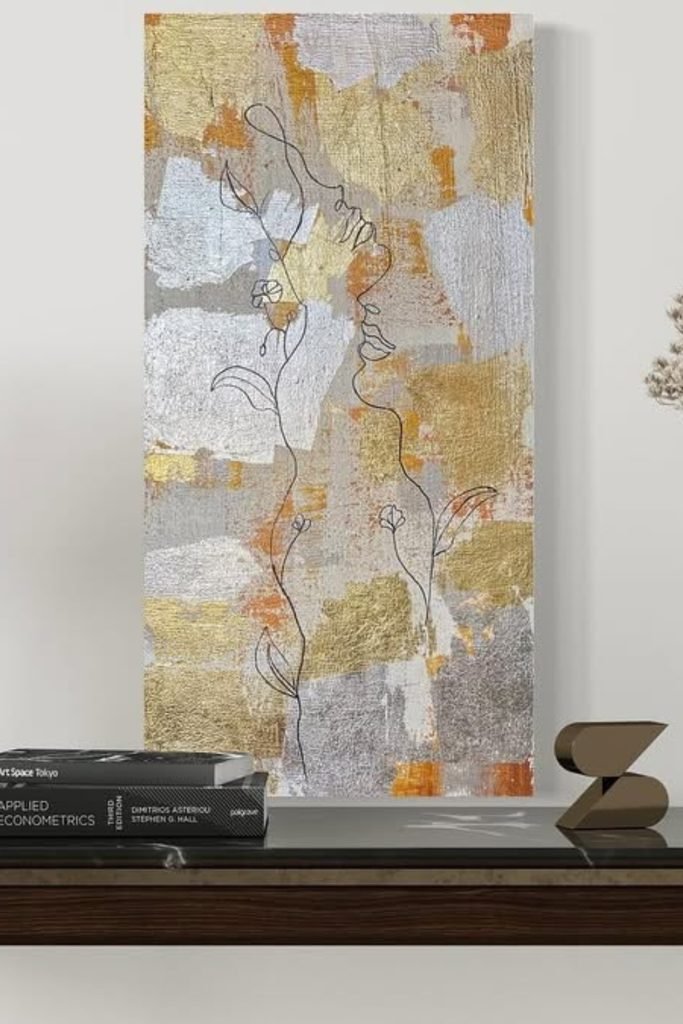
Metallic Linework
Mix loose line art with rough metallic blocks when you want a canvas that feels detailed without requiring realistic drawing skills.
Build overlapping gold, silver, cream, and rust patches first, then sketch one continuous botanical form after everything has dried completely.
A tall canvas works especially well above consoles, where its narrow shape adds height without competing with lamps or decorative objects.
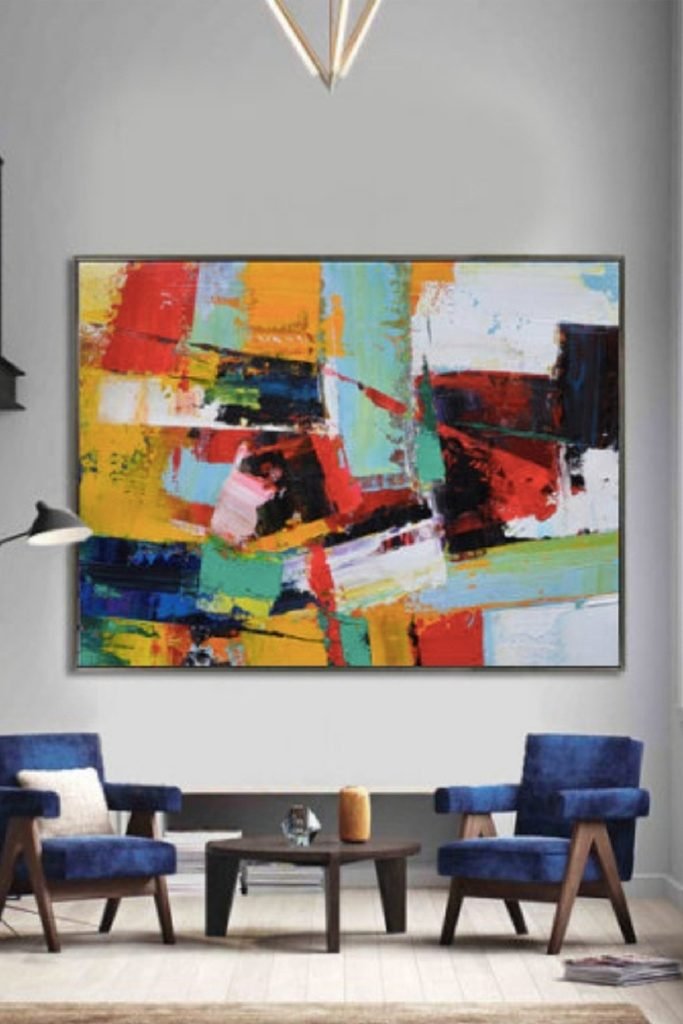
Bold Color Blocks
Go bigger with color when a spacious wall needs enough visual weight to keep furniture from looking lost underneath it.
Drag wide strokes of red, turquoise, yellow, black, and white across the canvas, allowing rough overlaps instead of precise edges.
Pull one or two colors from nearby furniture to connect such a busy abstract piece with the rest of your room.
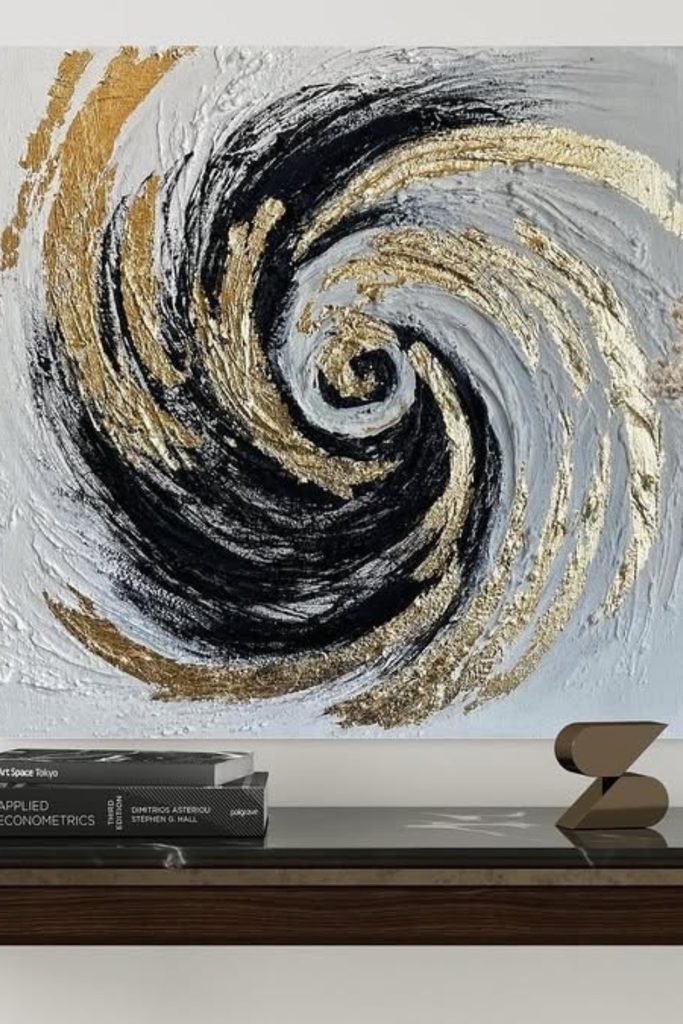
Black Gold Swirl
Turn a simple circular motion into statement art by pairing dramatic black strokes with broken touches of metallic gold.
Start near the center and sweep outward with a palette knife, varying pressure so thick texture alternates with thinner exposed areas.
Keep the surrounding background pale, since that breathing room prevents the swirling pattern from becoming too heavy above dark furniture.
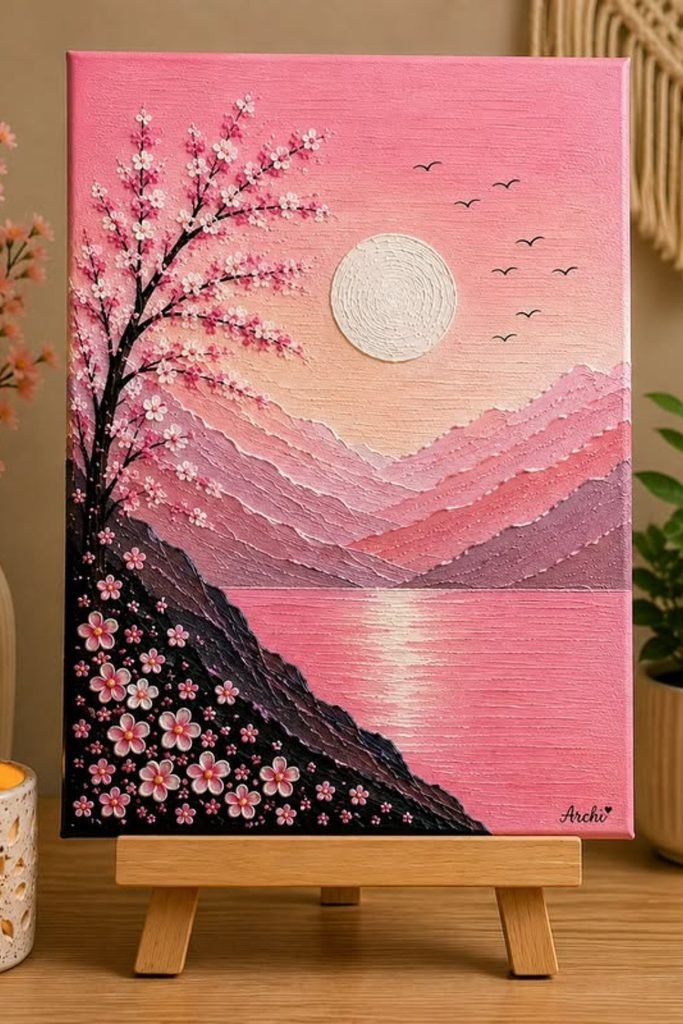
Blossom Landscape
Try a layered landscape when you enjoy detailed canvas projects but still want techniques that stay manageable without realistic painting skills.
Shape the mountains with palette-knife strokes, then dot small blossoms along dark branches to create depth without painting every petal precisely.
Soft pink variations keep the scene connected, making it an inviting choice for bedrooms, craft rooms, or a cozy reading corner.
Layered Terrain
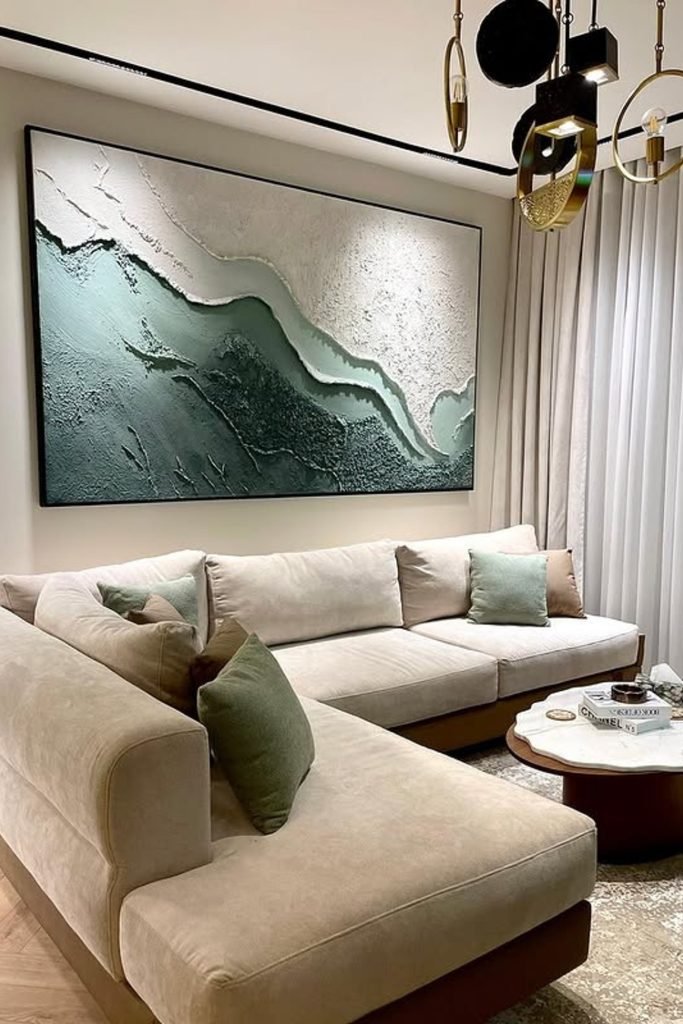
For a large living room wall, let broad layers of sage, white, and charcoal create depth without relying on complicated shapes.
Spread texture unevenly before painting, then overlap each sweeping section so the transitions resemble natural stone, water, or rolling terrain.
Keep nearby furnishings within the same muted palette, allowing the oversized canvas to feel connected rather than becoming an isolated statement.
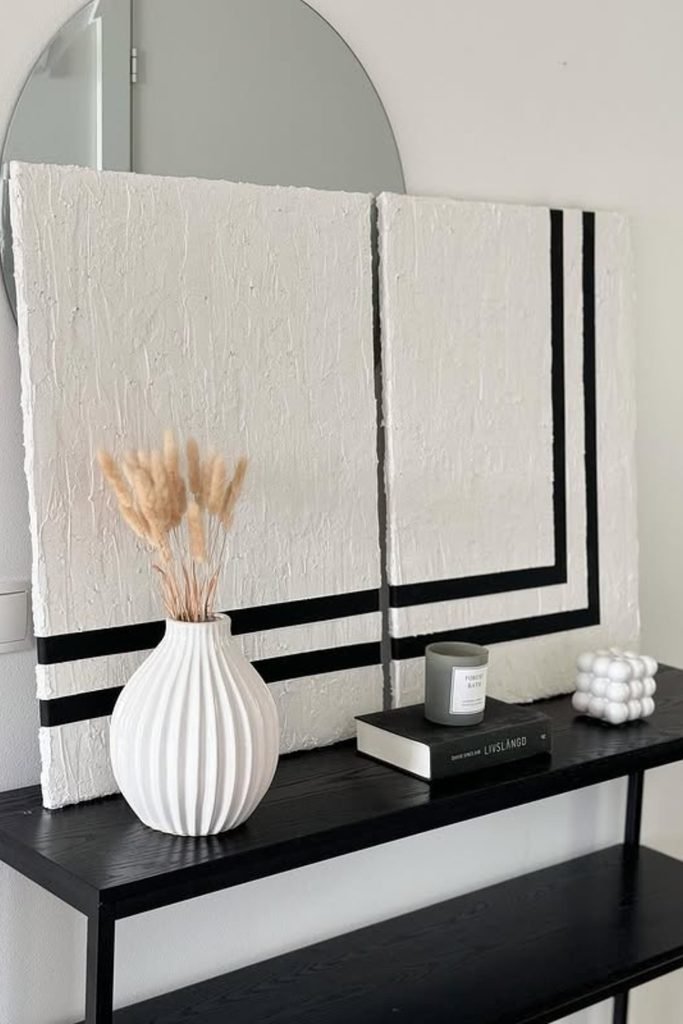
Graphic Pair
Two canvases can solve a wider blank space while giving you an easier project than designing one complicated oversized piece.
Cover both surfaces with rough white texture, then continue simple black lines across them so the pair reads as one composition.
Lean them above a console for a relaxed display, or hang them evenly when you want the arrangement to feel more structured.
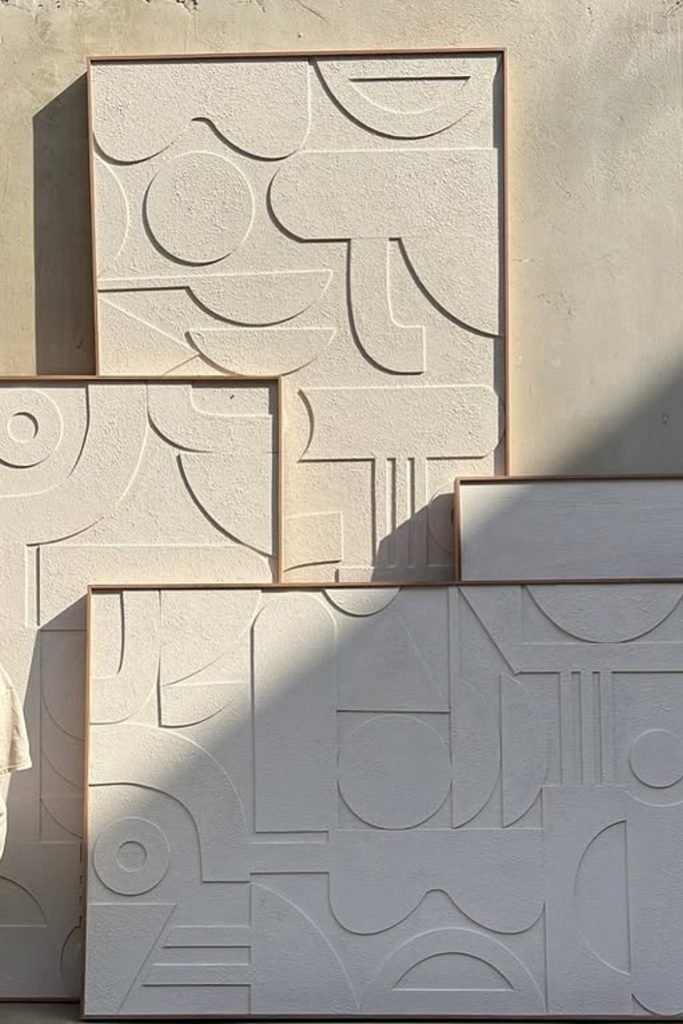
Sculpted Geometry
Instead of relying on contrasting paint, build circles, arches, and straight lines into the surface for subtle dimension and shadow.
Plan the geometric layout lightly first, then create raised sections before coating everything in one warm neutral shade for consistency.
Natural side light makes this style especially effective because shadows reveal the pattern while the monochrome finish keeps everything visually calm.
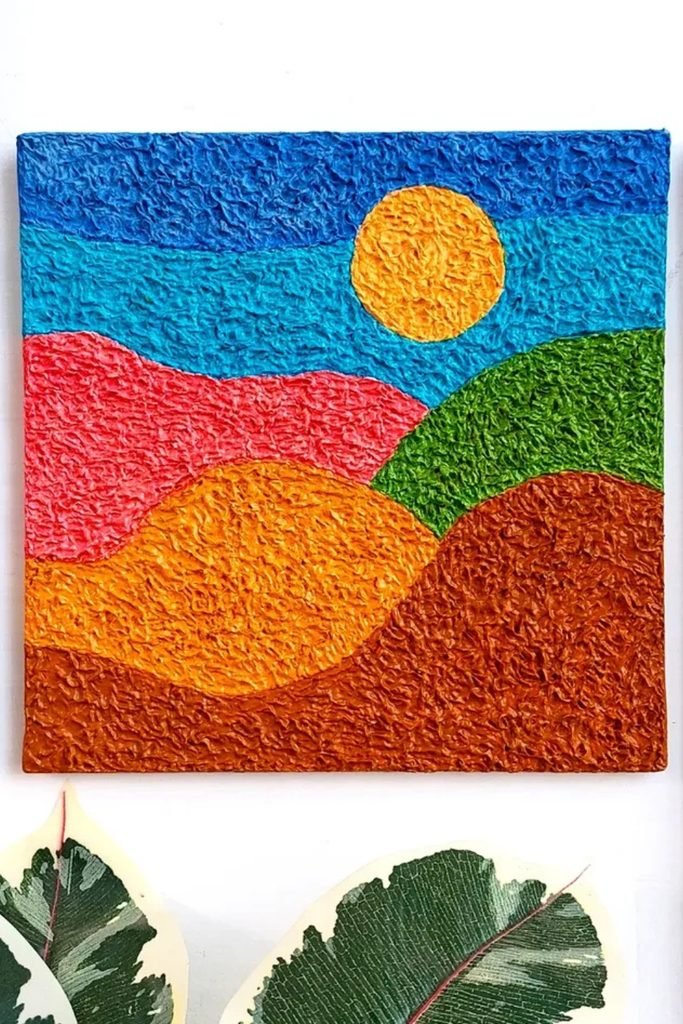
Colorful Hills
Use simple rolling shapes when you want cheerful wall art but feel uncomfortable painting detailed scenery or realistic landscapes.
Divide the canvas into overlapping hills, sky, and sun, then give every section raised texture before adding saturated contrasting colors.
Because the shapes stay uncomplicated, you can adjust the palette for a playroom, creative workspace, hallway.
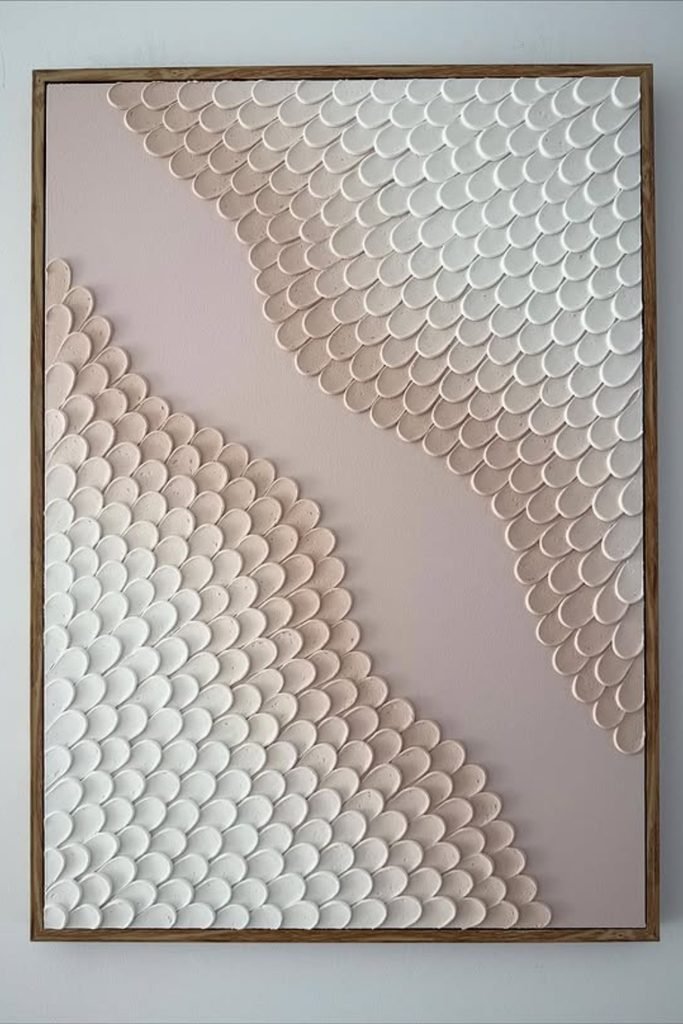
Scalloped Texture
Repetition does the decorating here, so you can create impressive texture without needing complicated drawing or advanced painting techniques.
Form small overlapping scallops from opposite corners, keeping the center open so the detailed surface still has enough breathing room.
A soft blush base and creamy raised pattern suit calm bedrooms or living spaces where stronger colors could feel unnecessarily busy.
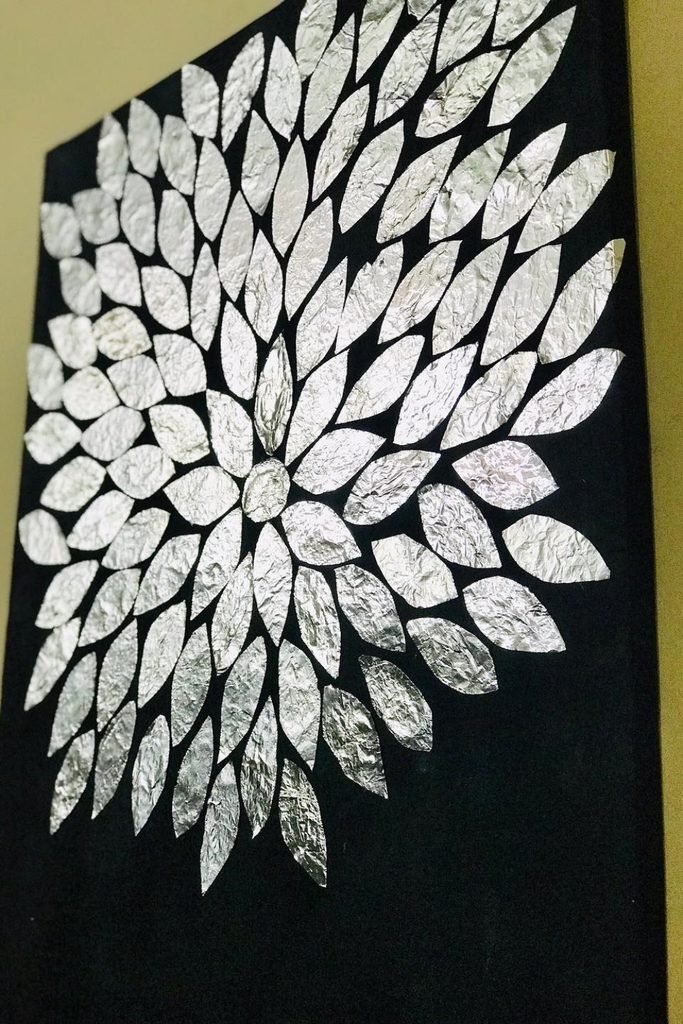
Metallic Leaves
If plain painted botanicals feel flat, metallic leaf shapes can bring reflective detail against a dark canvas without complicated brushwork.
Arrange repeated leaves outward from one center, varying their direction slightly so the finished pattern feels organic rather than overly measured.
Black underneath makes silver details stand forward, giving you a striking option for entryways or rooms with metallic decorative accents.
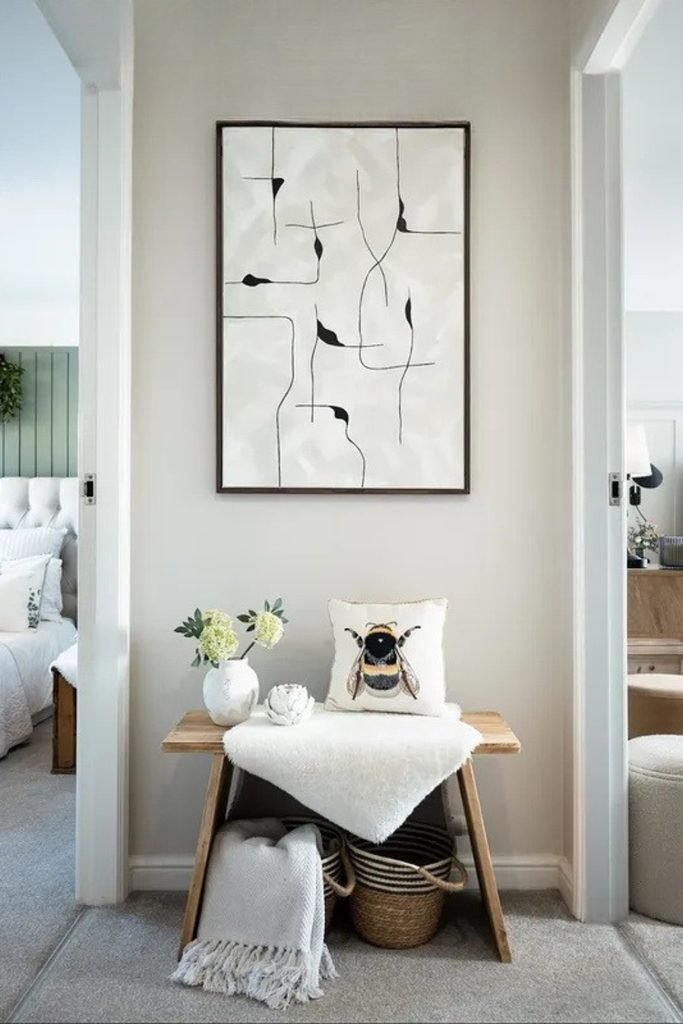
Minimal Linework
Sometimes an awkward wall between two doorways needs something quiet, and thin abstract lines can fill it without adding visual clutter.
Start with a warm white background, then draw loose intersecting lines and occasional black shapes rather than planning perfect symmetry.
Finish with a slim dark frame to sharpen the simple design and connect it naturally with nearby doorframes or darker furnishings.
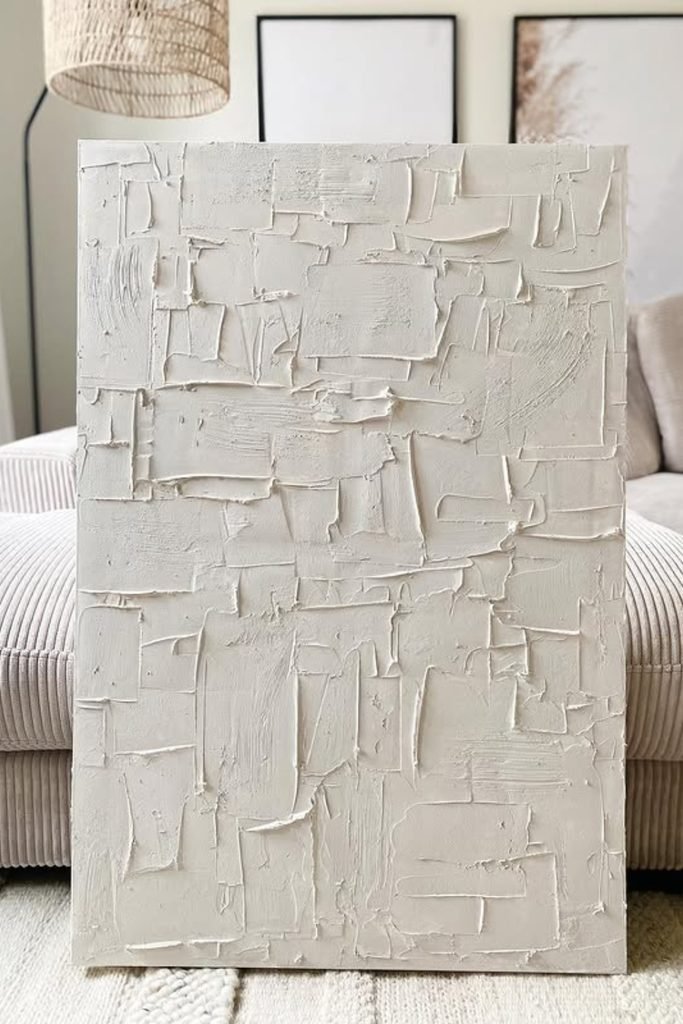
Plaster Patches
Don’t smooth every mark when working with texture, because uneven palette-knife patches are exactly what give monochrome canvas its depth.
Spread flexible texture medium in overlapping rectangular strokes, changing direction as you work so light catches each raised edge differently.
Keeping everything one warm white shade makes this technique easy to pair with neutral sofas, rugs, and softly layered living rooms.
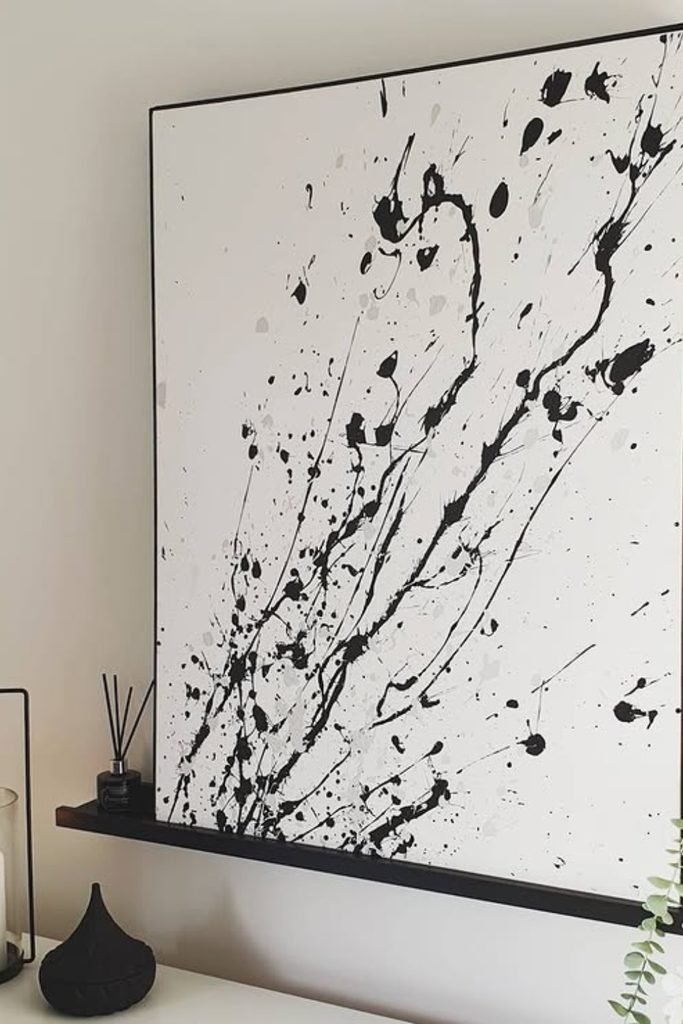
Ink Splatter
Give a plain white canvas energy without careful drawing by flicking and dragging black paint in loose, unpredictable directions.
Concentrate heavier splashes toward one area, then let thinner marks travel outward so the composition feels spontaneous but still visually balanced.
A slim black frame sharpens those messy strokes, making this project especially effective in modern entryways or monochrome living spaces.
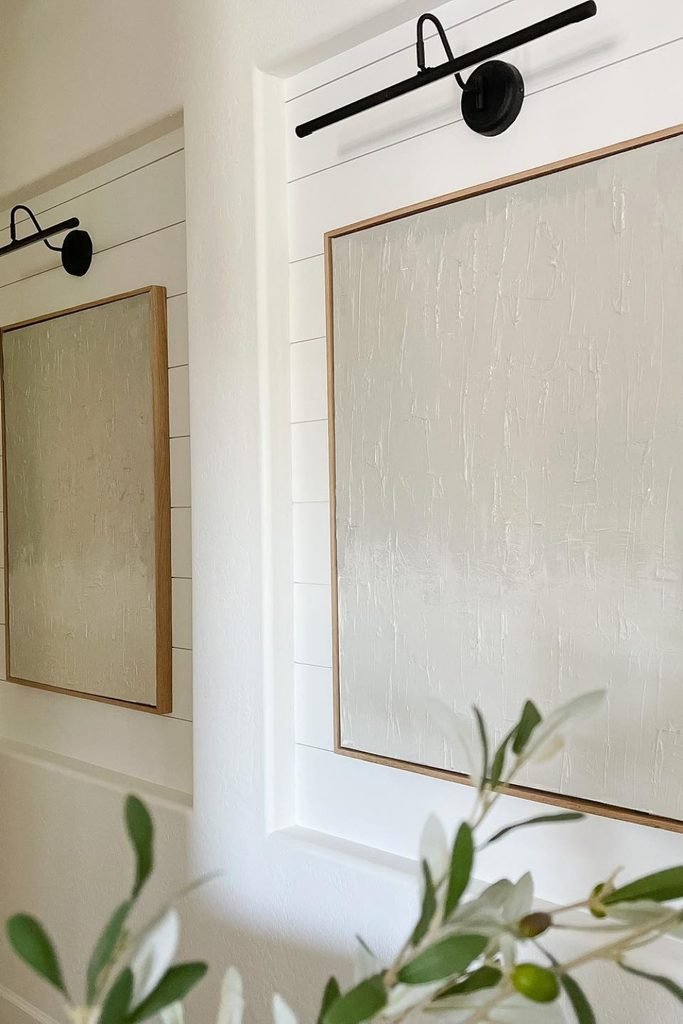
Quiet Texture
When your wall already has architectural detail, a barely textured canvas can add softness without introducing another competing pattern.
Spread a thin flexible texture medium vertically and irregularly, keeping the marks shallow enough for nearby lighting to reveal them gently.
Finish with a light wood frame, which warms the simple white surface and keeps hallways or dining spaces feeling relaxed.
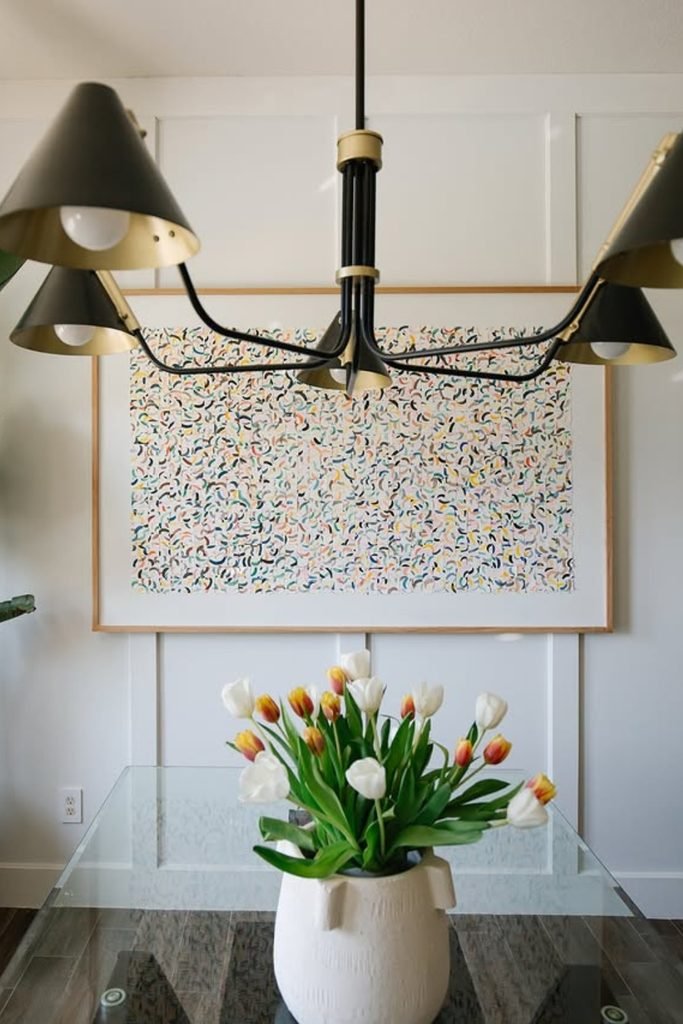
Confetti Marks
Tiny repeated brush marks are useful when you want colorful artwork without committing to large blocks of strong, saturated paint.
Scatter short curved strokes in several muted colors, changing their direction and spacing so the pattern stays playful instead of rigid.
Surrounding the painted area with generous white space gives this busy technique enough breathing room for a dining room or creative corner.
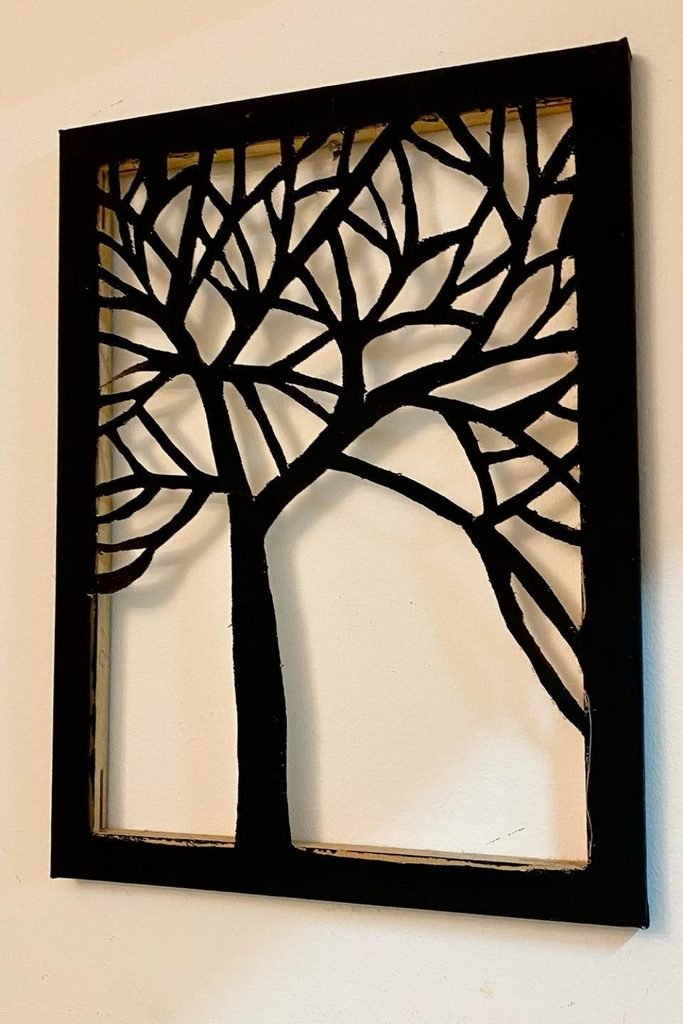
Cutout Tree
Try working with negative space when ordinary painted trees feel too predictable, letting the wall itself become part of your artwork.
Create a bold branching silhouette across an open canvas frame, keeping wider limbs connected so the delicate cutout structure remains visually grounded.
Strong contrast makes this piece work on pale walls, especially where nearby decor is simple enough to let its silhouette stand out.
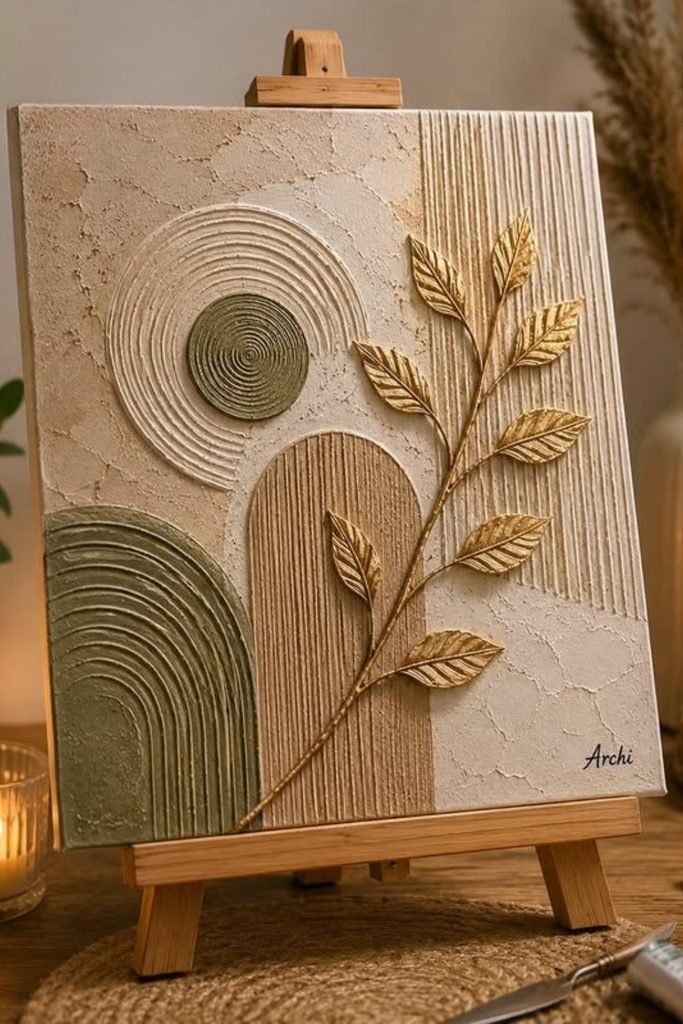
Botanical Relief
Combine several texture techniques on one canvas when you want a smaller piece to carry more detail without depending on bright colors.
Carve grooves into arches and circles, vary their earthy tones, then add raised metallic leaves diagonally to break up rigid geometry.
Warm lighting brings out every ridge and gold accent, making this layered design especially inviting on consoles, shelves.
FAQs
Can I Make DIY Canvas Wall Art Without Being Good at Painting?
Yes. Start with techniques that depend more on movement than drawing, such as textured strokes, simple arches, color blocks, or loose abstract lines.
Working with two or three coordinated colors also makes mistakes easier to blend into the design.
How Can I Fix DIY Canvas Art If I Don’t Like the Finished Look?
Once the surface is fully dry, simplify busy areas with another paint layer, soften colors that feel too strong.
If one section bothers you, change that area first instead of covering the entire canvas.

Hi, my name is Ali Mehmood! I’m a passionate writer and DIY enthusiast who loves turning creative ideas into practical, hands-on projects.
I created this website to share inspiring, budget-friendly ideas that you can do yourself – whether it’s organizing your home, crafting something unique, or creating fun projects for kids and pets.
I believe DIY isn’t just a hobby – it’s a smart way to save money, reduce waste, and enjoy the satisfaction of making things with your own hands.
I’m excited to have you as part of this growing community, and I’ll continue bringing you helpful, realistic, and fun DIY ideas you can actually use.