This post may contain affiliate links: read full affiliate disclosure.
You save an adorable kawaii craft, gather your supplies, and somehow your version never looks quite as cute or polished.
Tiny faces feel tricky, colors look mismatched, and some projects require materials or skills you simply do not have.
Simple shapes, playful details, the right colors, and beginner-friendly materials can turn everyday DIY projects into something genuinely cute.
In this article, you’ll discover kawaii DIY crafts you can recreate, personalize, display, gift, or actually use.
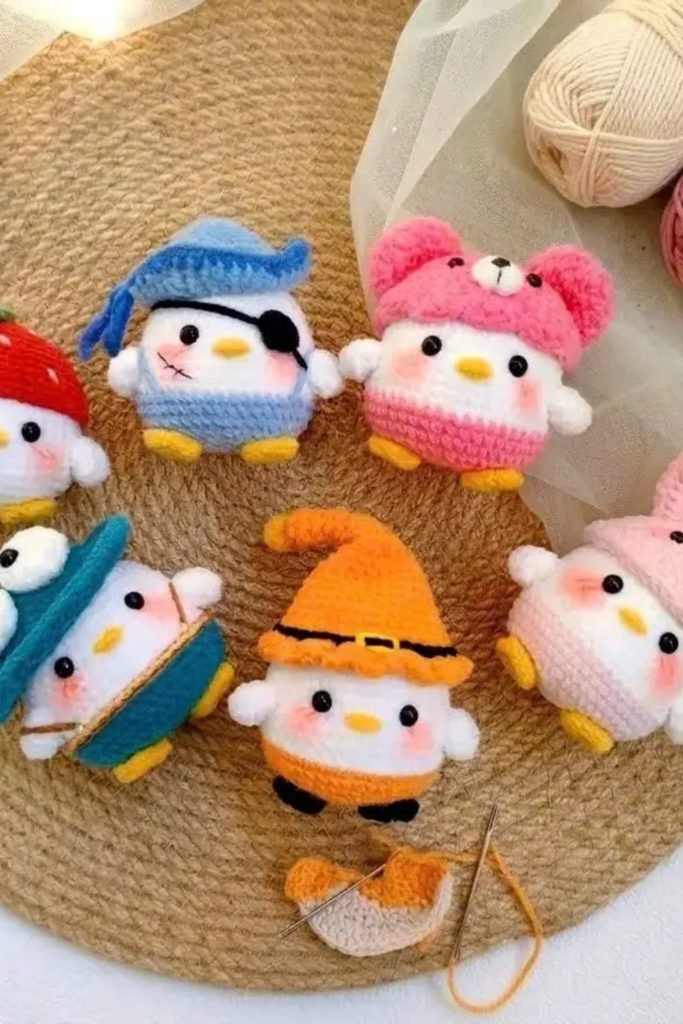
Crochet Characters
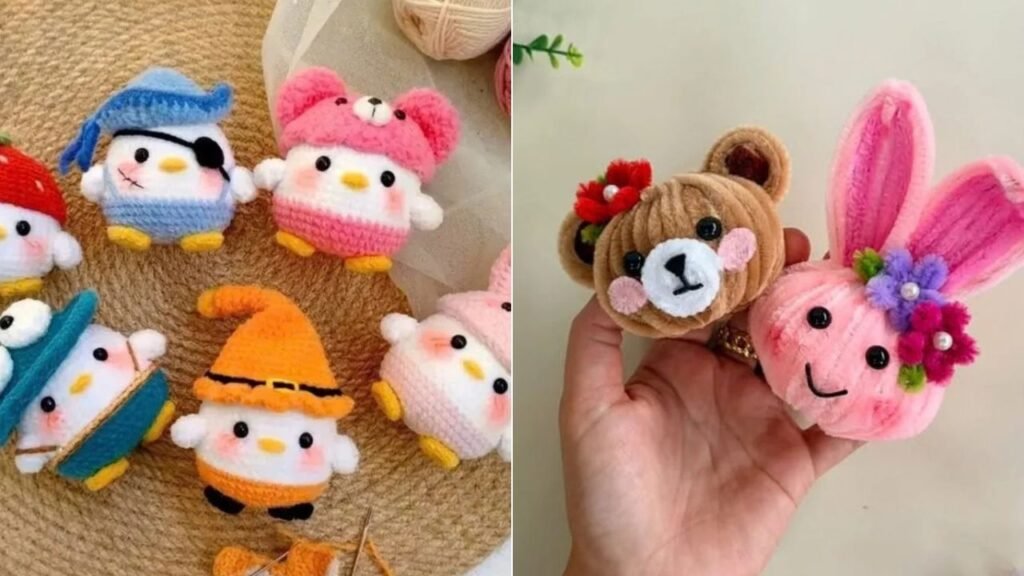
Small crochet characters become much cuter when you keep their bodies rounded and use simple stitched faces instead of complicated features.
Try changing the hats with strawberries, animals, or seasonal details while keeping the same basic character pattern underneath for easier crafting.
Soft yarn colors work especially well for shelf decorations, bag charms, or handmade gifts when you want something playful but useful.
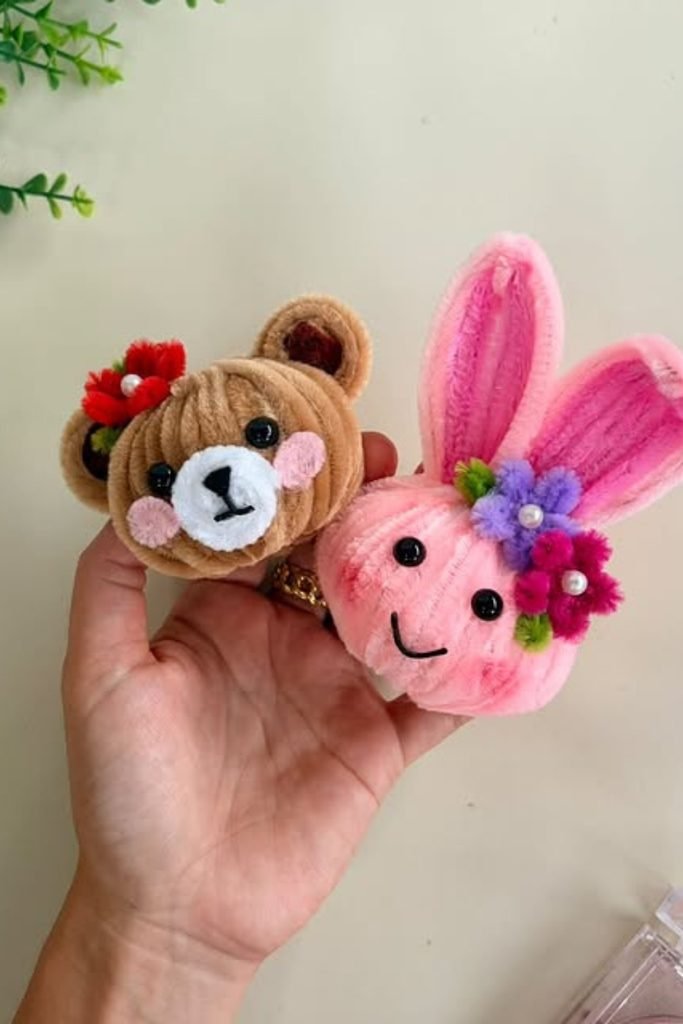
Yarn Animal Faces
Skip complicated sewing by wrapping yarn around simple animal forms, then build personality with felt ears, tiny eyes, and stitched mouths.
A bear and bunny are easy starting points because their recognizable ear shapes do most of the character work for you.
Finish with miniature flowers, rosy cheeks, or contrasting inner ears when the basic face needs a little more kawaii personality.
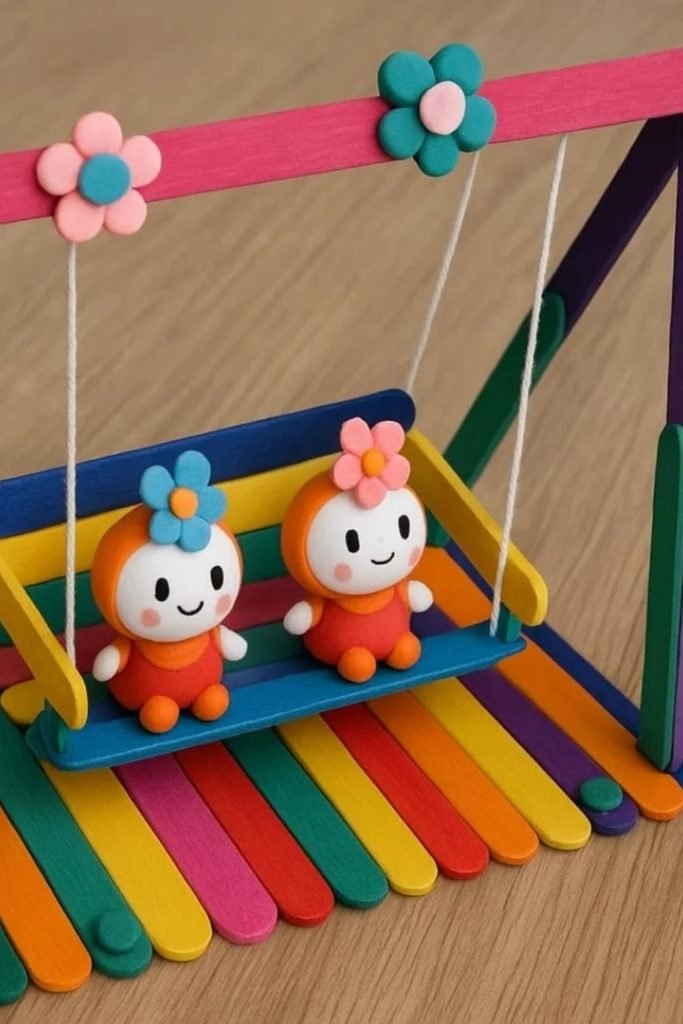
Popsicle Swing
Turn colorful craft sticks into a miniature swing by building the floor and frame separately before joining everything with strong glue.
Thin string keeps the suspended seat believable, while tiny clay characters give you an easy way to personalize the finished scene.
Use contrasting stick colors rather than complicated decorations, letting small flowers and smiling faces provide the kawaii details without overcrowding it.
Felt Shaker Pouches
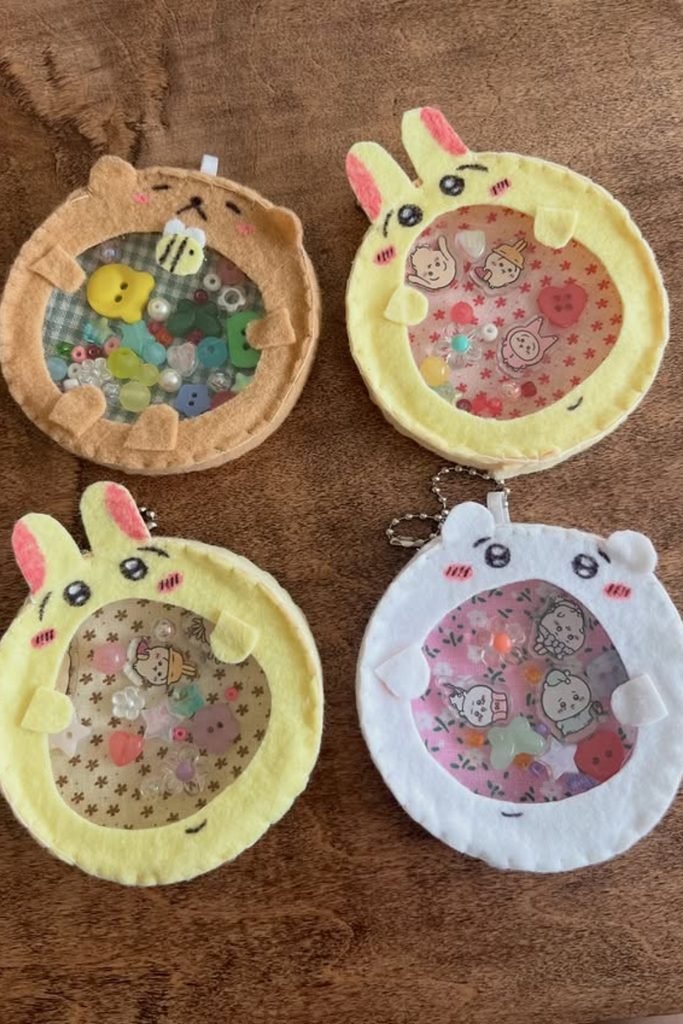
The leftover felt a more playful purpose by turning simple animal outlines into small shaker pouches filled with beads and buttons.
A clear center lets colorful fillers become part of the design, so you need fewer decorations around the outside edges.
Stitch the layers securely before adding ears and facial details, especially if you plan to use them as keychains or bag charms.
Clay Octopus
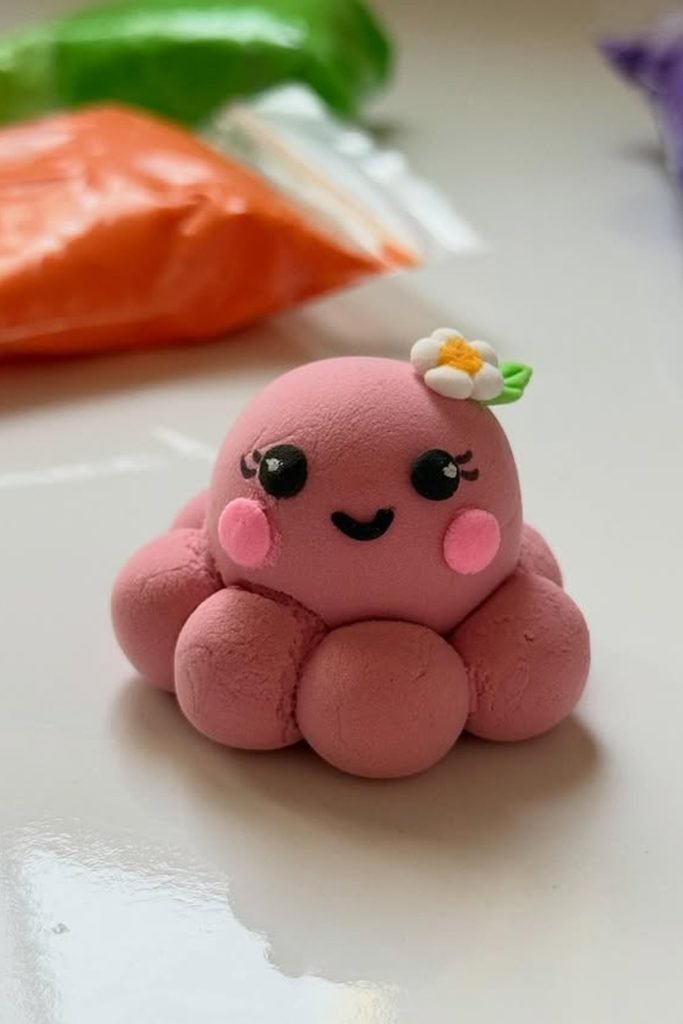
Start with one smooth clay ball for the body, then surround it with smaller rounded pieces instead of shaping complicated tentacles.
Tiny lashes, rosy cheeks, and a miniature flower bring the kawaii personality forward without covering the clean handmade shape.
Keep your clay palette limited to one main color and a few accents, so the finished character stays soft and polished.
Cat Organizer
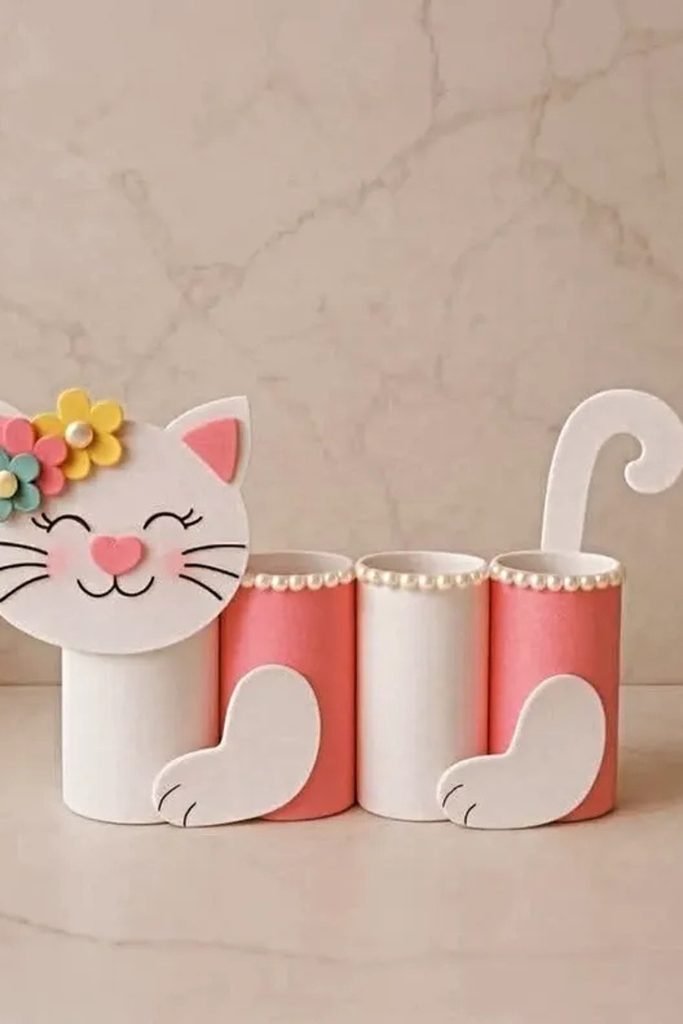
Save a few sturdy cardboard tubes and group them together to create useful compartments before turning the whole organizer into a cat.
Paint alternating sections pink and white, then add simple paws, a curled tail, and an oversized face for instant character.
Pearl trim and tiny flowers can finish the edges neatly, making this especially cute for pencils, brushes, or craft tools.
Felt Monster
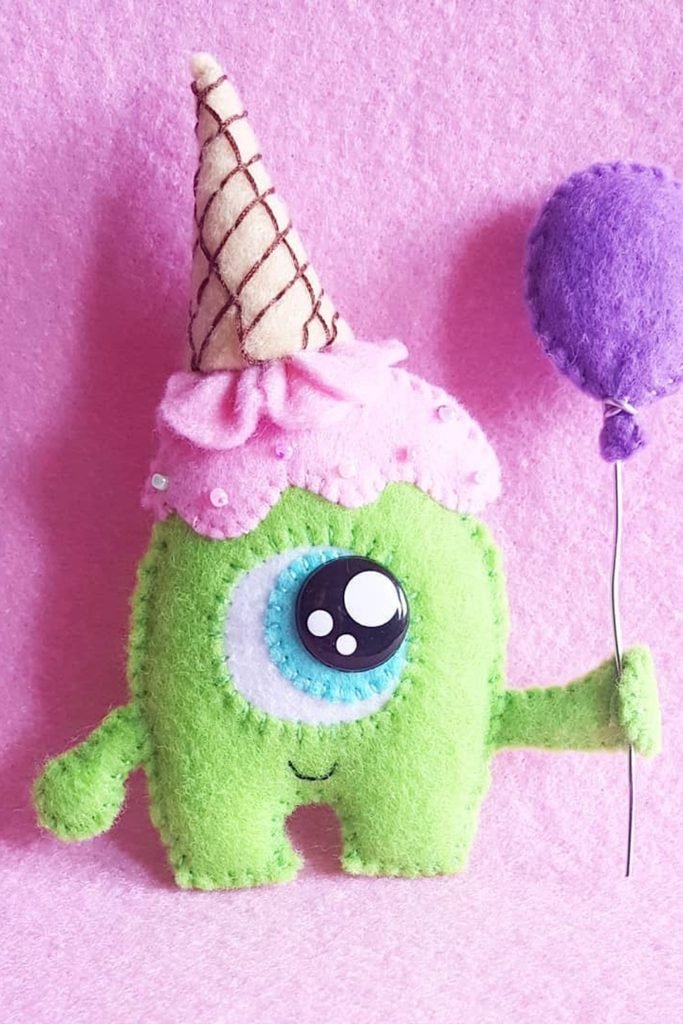
Lean into exaggerated proportions when sewing a kawaii monster, because one oversized eye can create more personality than lots of complicated details.
Cut matching felt pieces, stitch around the edges, and lightly stuff the body before attaching the arms, legs, and eye.
A tiny party hat and balloon add playful character, turning the finished plush into a fun shelf decoration or handmade gift.
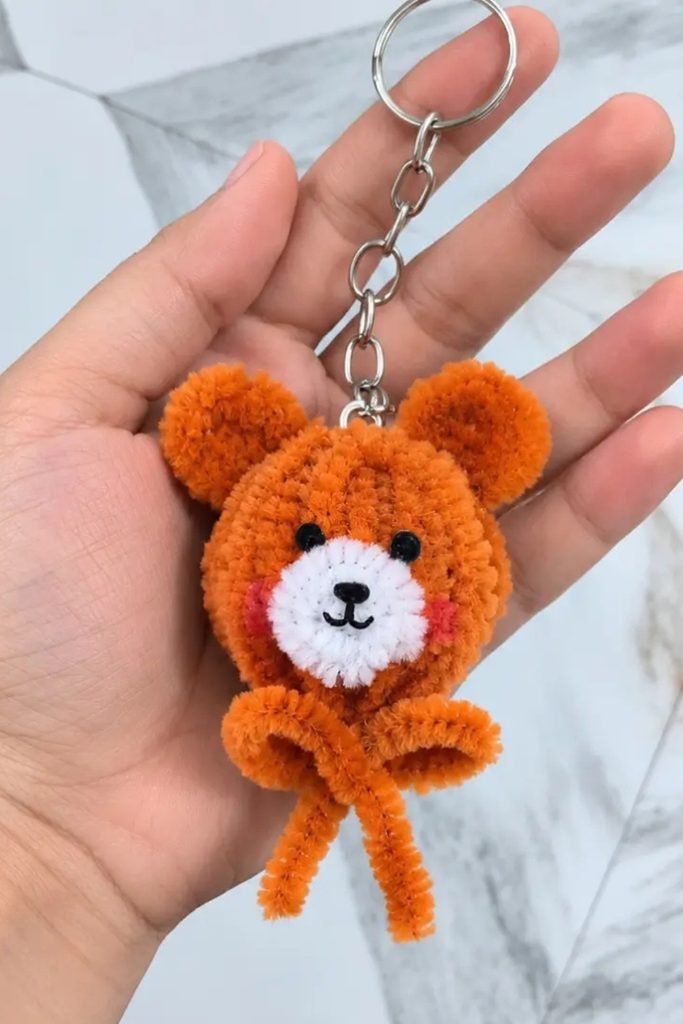
Pipe Cleaner Bear
Give basic pipe cleaners a useful upgrade by twisting them into a tiny bear that can travel easily as a keychain.
Build the head and ears from tight coils, then shape the lower pieces loosely so the little body stays soft-looking.
A contrasting muzzle, bead eyes, rosy cheeks, and simple bow finish the face without requiring paint, fabric, or complicated stitching.
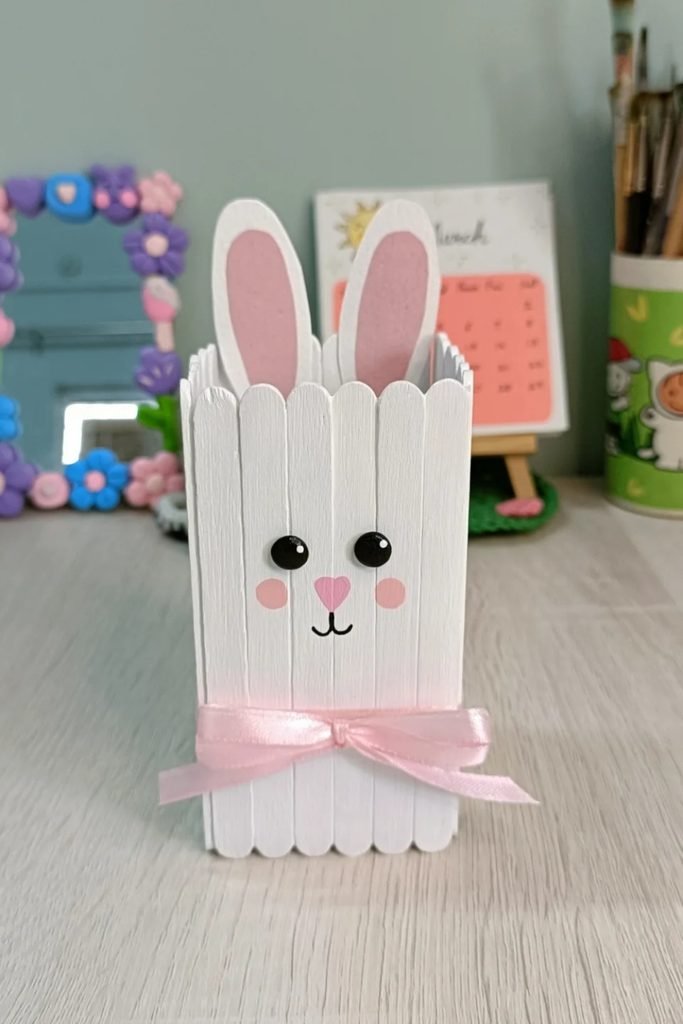
Bunny Pencil Holder
Bring a plain craft-stick container to life by painting it white, then letting tall bunny ears extend above the rim.
Keep the face minimal with glossy eyes, pink cheeks, and a tiny nose, so the wooden texture still feels clean.
Tie a soft ribbon around the base for an easy finishing touch, then use it for pencils, markers, or brushes.
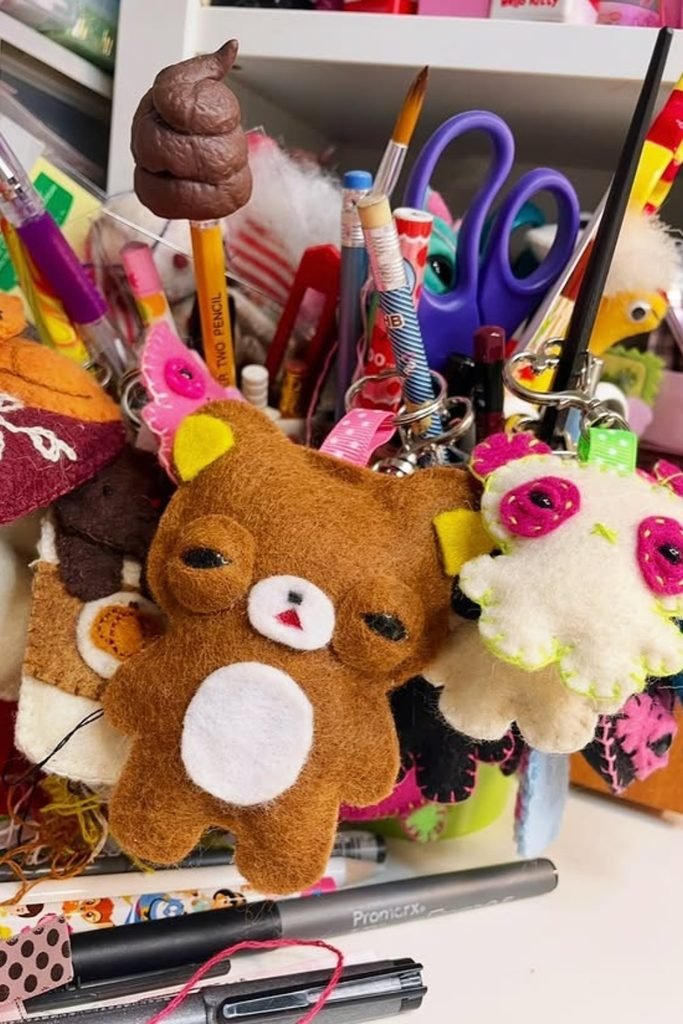
Felt Bear Charm
Small felt scraps are perfect for building pocket-sized animal charms, especially when you layer simple shapes instead of chasing perfect stitching.
Give the bear a contrasting muzzle and belly, then use dark thread for tiny facial details that stay readable from afar.
Attach a loop before closing the seams, so your finished character can easily become a keychain, zipper pull, or bag charm.
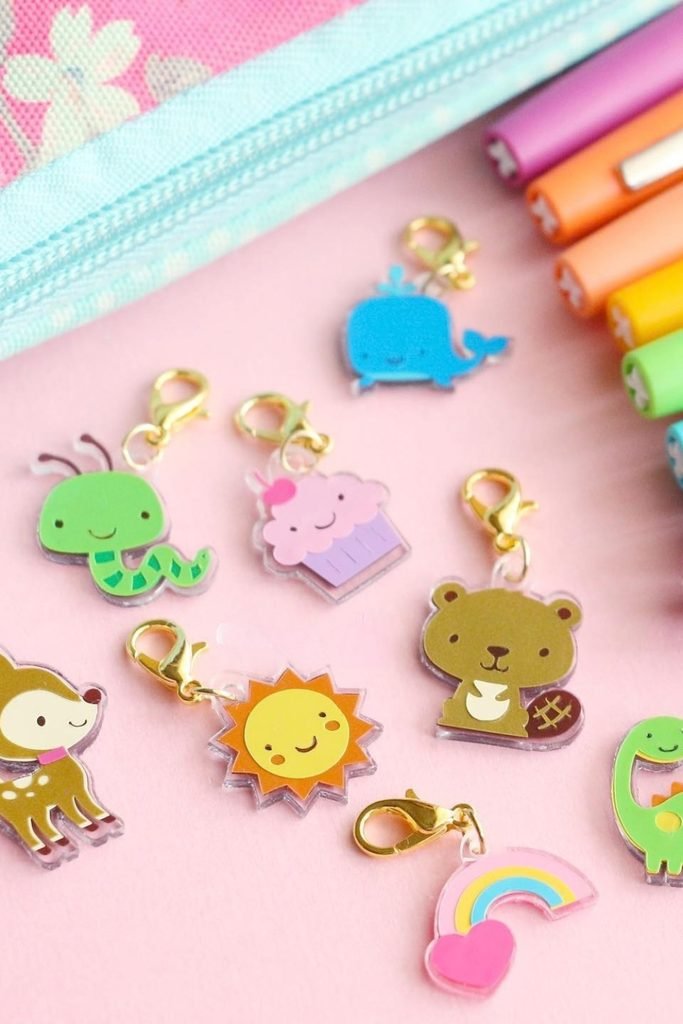
Kawaii Zipper Charms
Personalize pencil cases without sewing anything by turning tiny illustrated characters into lightweight charms fitted with small lobster clasps.
Choose simple animals, rainbows, suns, or treats with cheerful faces, keeping each design bold enough to remain clear at miniature scale.
Mix several characters across different zippers, or make matching sets for backpacks and pouches when you want an easy handmade gift.
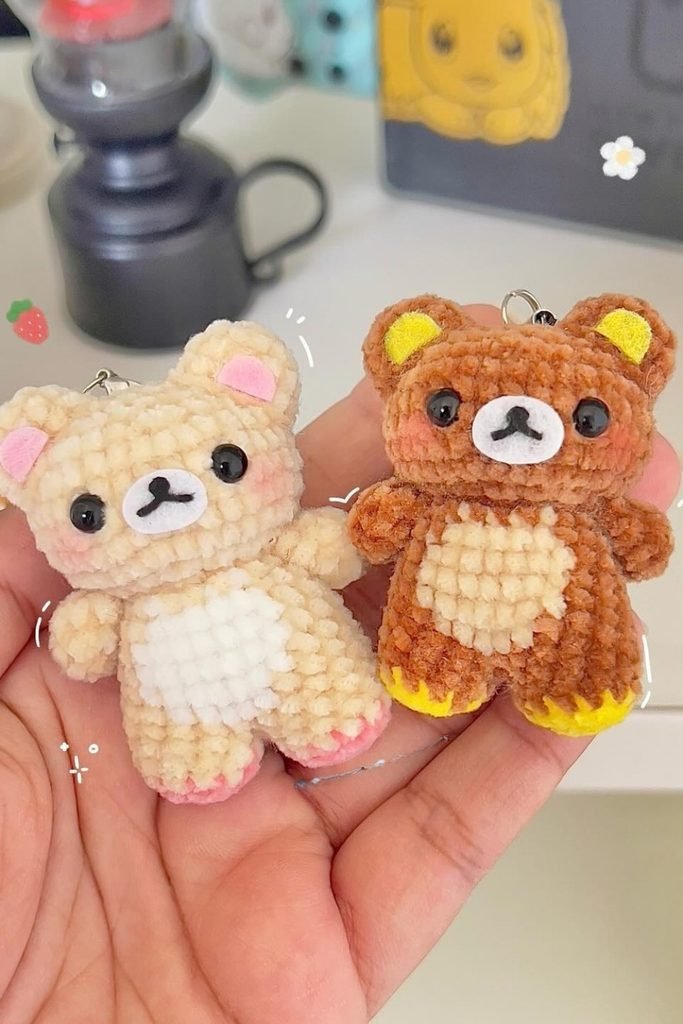
Crochet Bear Charms
Chunky yarn makes tiny bears feel extra soft, so keep the body compact and let the plush texture create most of the cuteness.
Use contrasting yarn for the belly and muzzle, then add small felt details where crocheting tiny features would become frustrating.
Sew a secure loop into the top before finishing, giving your bear enough strength for keys, bags, or pencil cases.
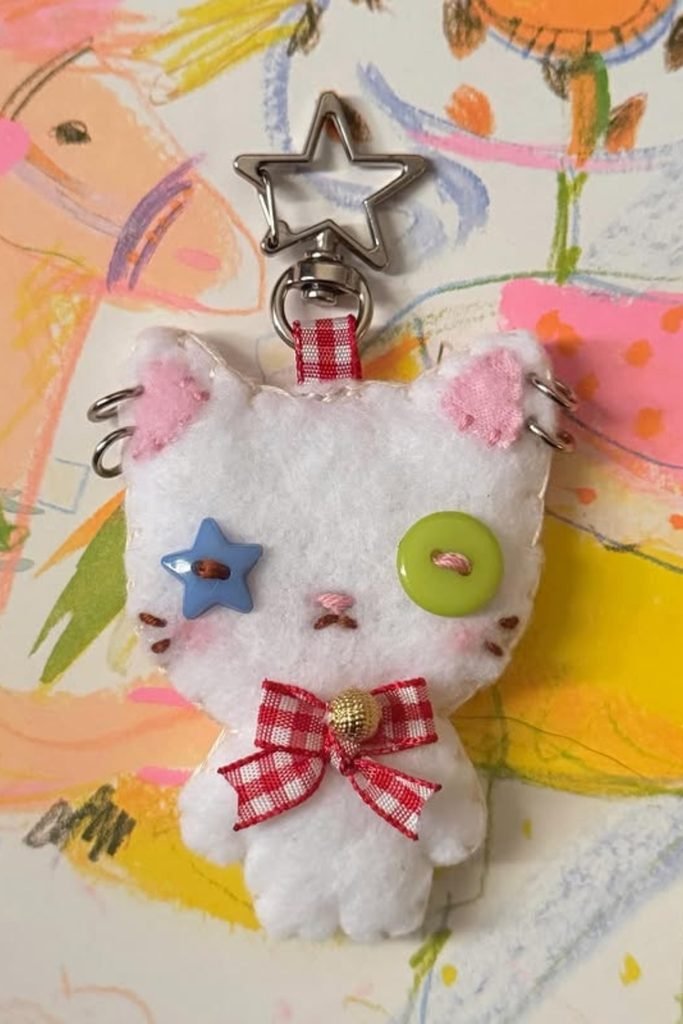
Button Eye Cat
Let mismatched buttons become part of the personality by using them as oversized eyes on a softly stuffed felt cat charm.
Keep your stitching slightly visible around the edges, then add tiny embroidered features and pink ears for a handmade kawaii finish.
A gingham bow and star-shaped clip bring extra character, making the finished piece perfect for backpacks, keys, or craft bags.
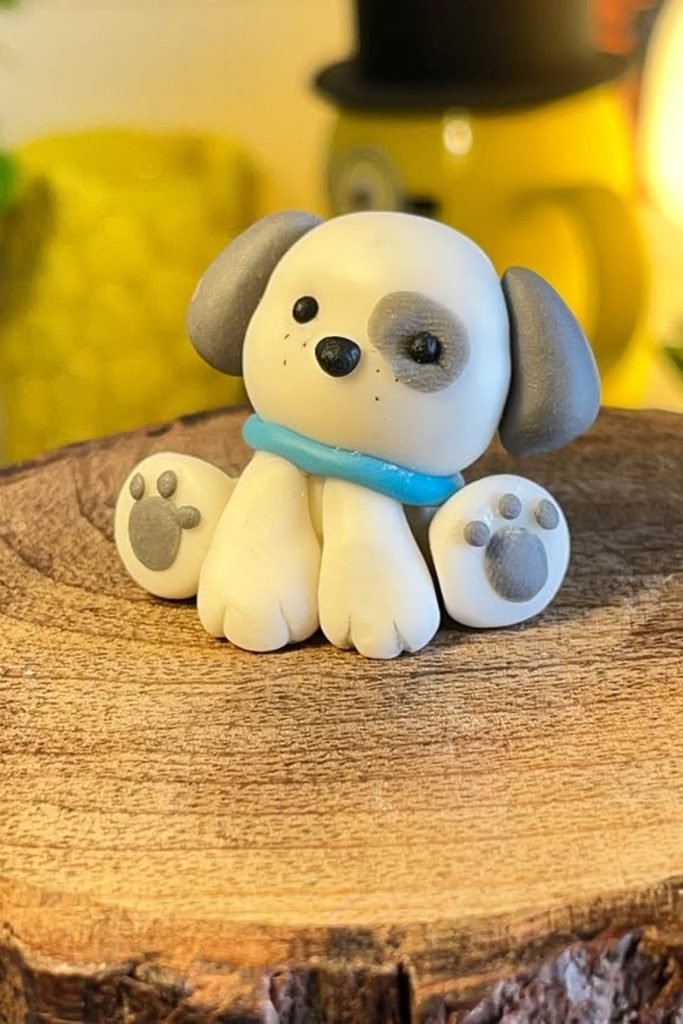
Clay Puppy
Working with clay feels easier when you build a puppy from separate rounded pieces instead of sculpting the whole body together.
Flatten the paws slightly before adding tiny pad details, then position floppy ears and an eye patch to strengthen its expression.
Finish with a contrasting collar and minimal facial marks, letting the oversized head and chunky paws create most of the cuteness.
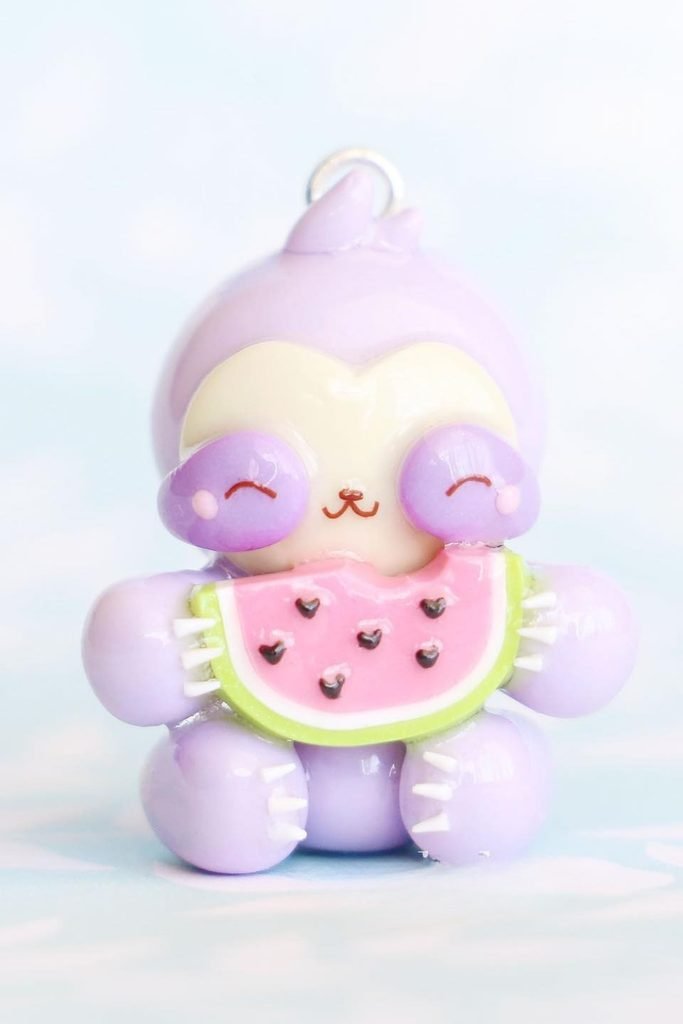
Watermelon Charm
Pairing a tiny character with oversized food creates instant kawaii appeal, especially when the colors stay soft rather than overly bright.
Shape the body from smooth clay, then place a watermelon slice across the front so it becomes the main playful detail.
Glossy finishing works beautifully here because it sharpens the miniature features and makes the finished charm feel polished enough for gifting.
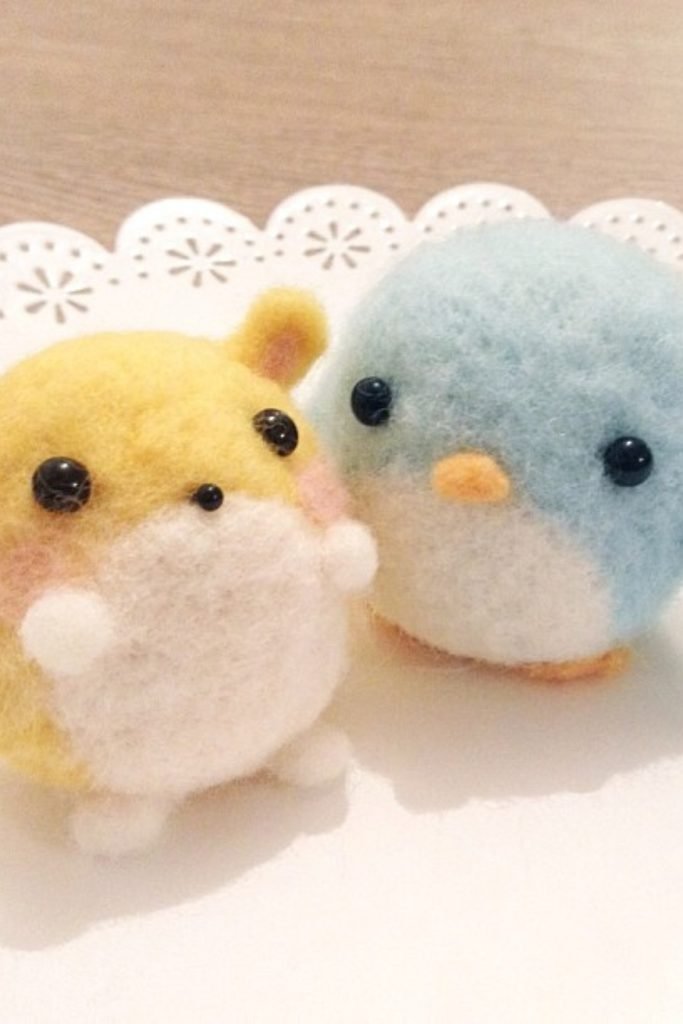
Needle Felt Friends
Try needle felting when you want tiny animals to look naturally soft, because fuzzy fibers already create that rounded kawaii appearance.
Build each body from a compact wool ball, gradually adding contrasting bellies, ears, wings, or paws without making shapes too detailed.
Small bead eyes and lightly blushed cheeks finish the expressions, while different animal shapes let you create an adorable matching collection.
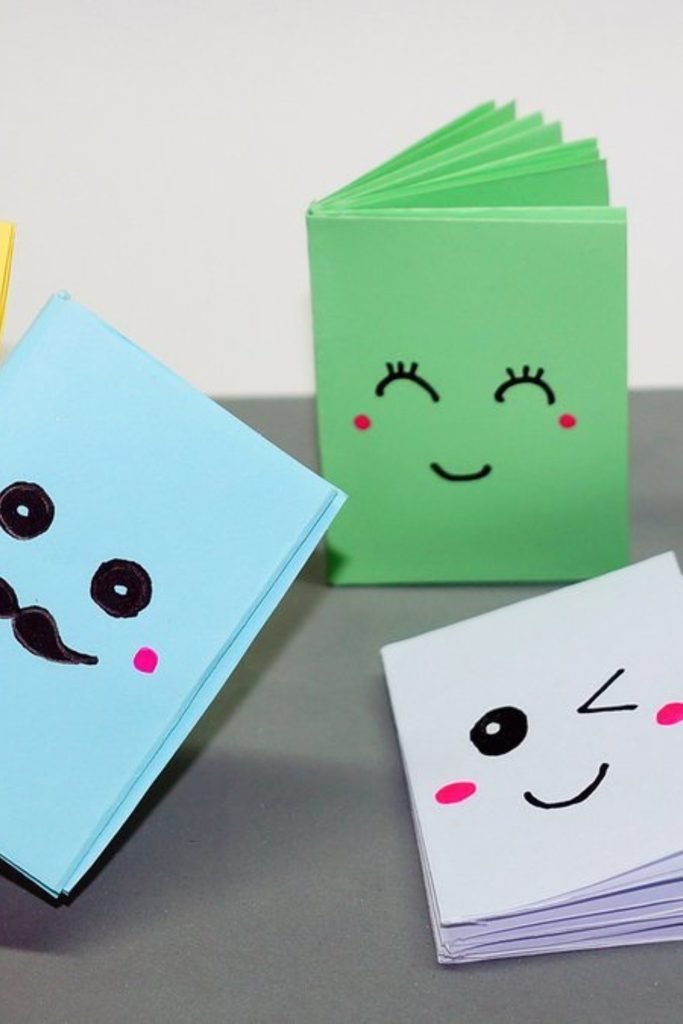
Kawaii Mini Notebooks
Turn small folded paper stacks into cheerful mini notebooks by choosing different cover colors and giving each one its own expression.
Simple marker faces work better than detailed drawings here, especially when tiny blush marks add personality without making the covers busy.
Make several together for quick notes, tiny sketches, or handmade gifts, changing expressions so every little notebook feels completely different.
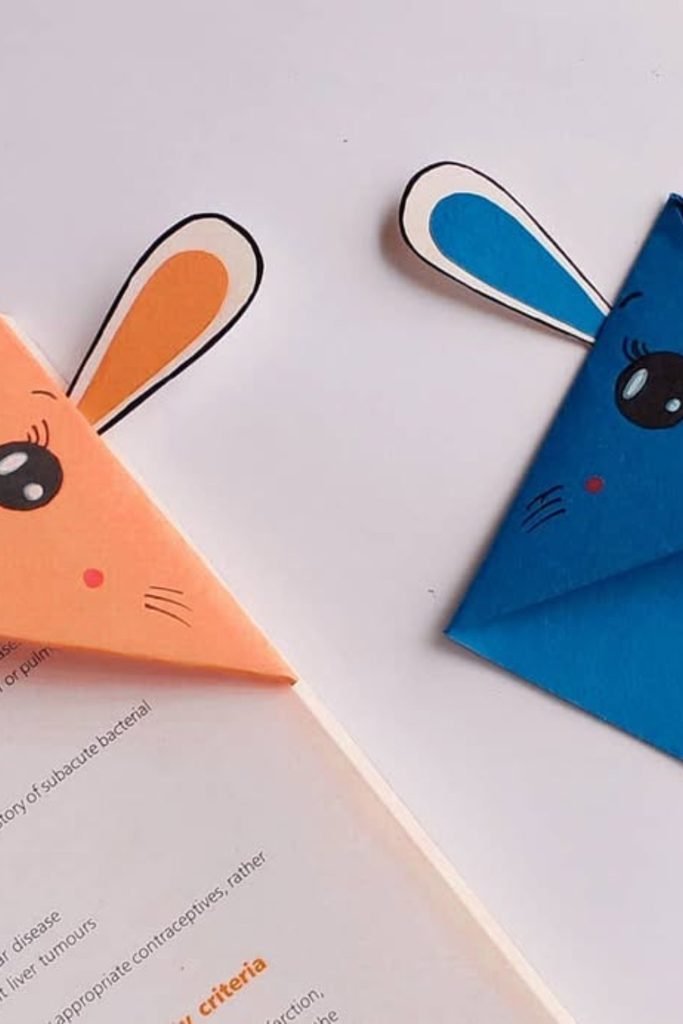
Bunny Bookmarks
Give ordinary reading pages some personality with folded corner bookmarks shaped into bunnies using bright paper and long contrasting ears.
Position the face near the folded point, where oversized eyes, whiskers, and tiny cheeks remain visible whenever the book is closed.
Try different paper colors for a matching set, making this an easy kawaii project when you want something useful without special supplies.
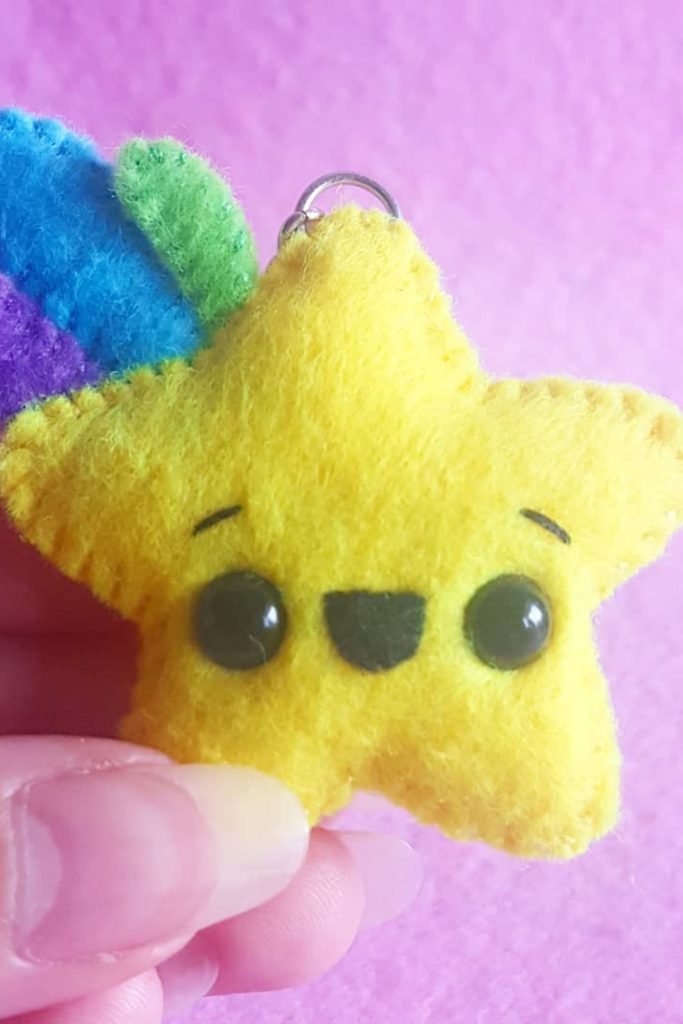
Felt Star Charm
Small felt projects are easier to finish neatly when you choose a bold silhouette, and a rounded star works especially well.
Stitch two matching pieces together with light stuffing inside, then add bead eyes and a tiny nose before closing the edge.
Colorful felt accents behind one corner bring playful contrast, while a top loop turns your soft star into a portable charm.
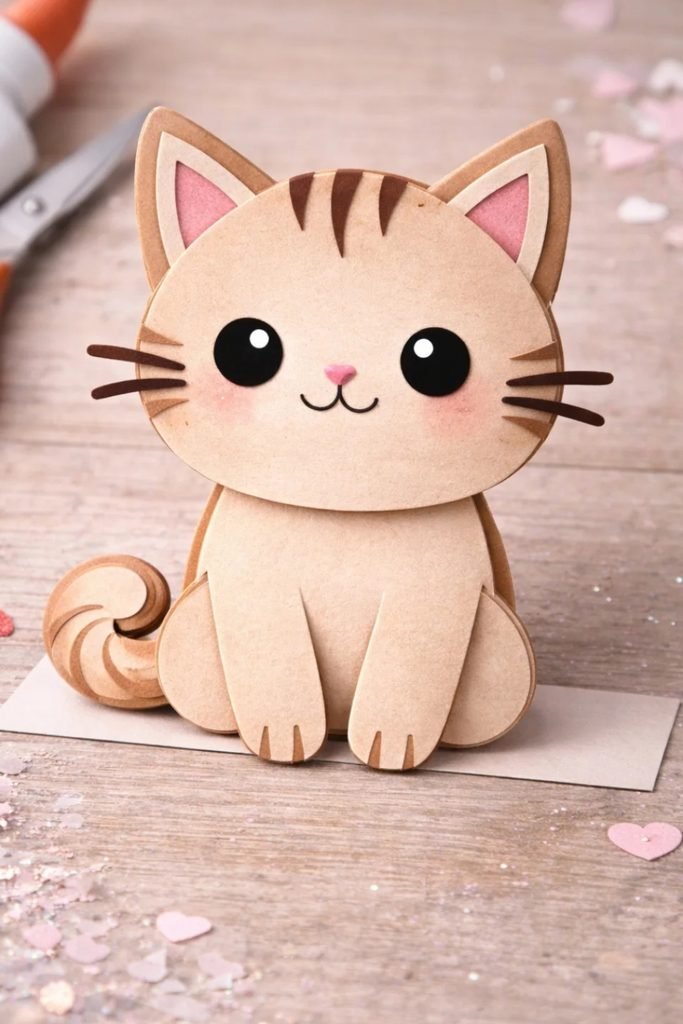
Layered Paper Cat
Build your cat from overlapping paper or cardstock pieces instead of drawing the entire character, giving the finished craft more dimension.
Rounded paws, a curled tail, oversized eyes, and soft pink cheeks create the kawaii effect while keeping every shape beginner-friendly.
Choose warm neutral cardstock for the body, then layer darker stripes and whiskers sparingly so the sweet expression remains the focus.
FAQs
What Are the Easiest Kawaii DIY Crafts to Try as a Beginner?
Mini notebooks, corner bookmarks, felt charms, painted organizers, and craft-stick projects are manageable starting points.
Once those details feel comfortable, you can move into clay characters, crochet pieces, or more detailed felt crafts.
How Can I Make My DIY Crafts Look More Kawaii?
Rounded shapes, oversized eyes, tiny mouths, rosy cheeks, and soft color combinations usually create a stronger kawaii look.
Before attaching anything permanently, arrange your facial features first because even small changes in their placement can completely change the expression.

Hi, my name is Ali Mehmood! I’m a passionate writer and DIY enthusiast who loves turning creative ideas into practical, hands-on projects.
I created this website to share inspiring, budget-friendly ideas that you can do yourself – whether it’s organizing your home, crafting something unique, or creating fun projects for kids and pets.
I believe DIY isn’t just a hobby – it’s a smart way to save money, reduce waste, and enjoy the satisfaction of making things with your own hands.
I’m excited to have you as part of this growing community, and I’ll continue bringing you helpful, realistic, and fun DIY ideas you can actually use.