This post may contain affiliate links: read full affiliate disclosure.
Plain picture frames can feel a little boring, especially when they don’t match your room decor, but buying new ones isn’t always worth the money.
Fabric picture frames are an easy way to give old frames a fresh look using floral prints, linen, velvet, or even small fabric scraps.
I’ve gathered 24 fabric picture frame ideas to help you turn ordinary frames into something you’ll actually want to display.
Vintage Floral Embroidery
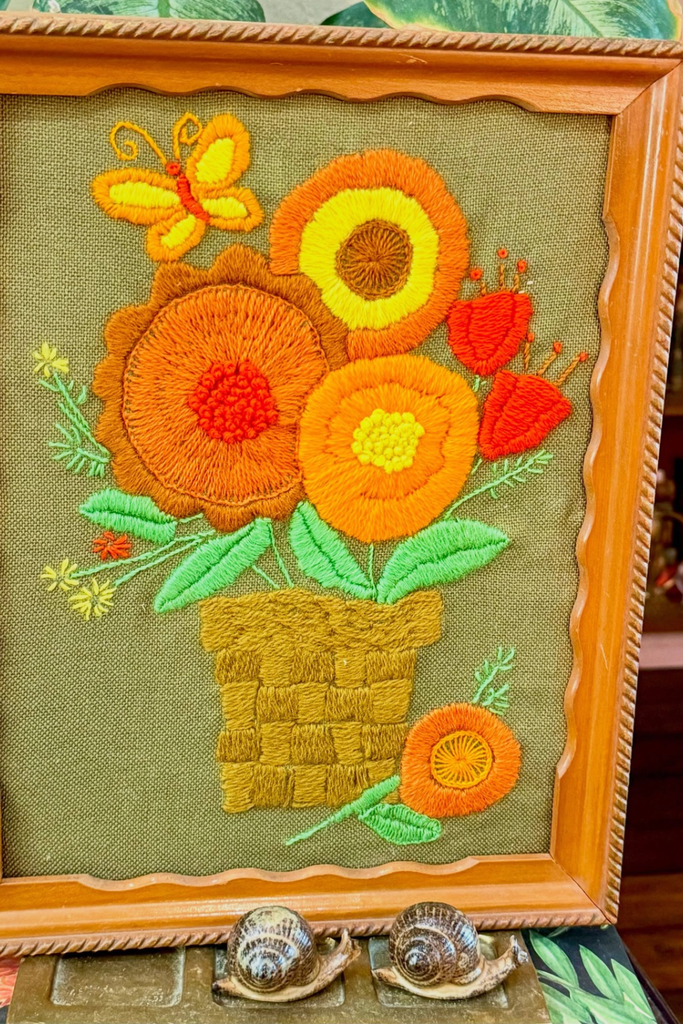
Give old embroidery a second life by placing colorful stitched flowers inside a carved wooden frame from a thrift store.
Choose a frame with warm wood tones that complement the thread colors without distracting from the detailed floral stitching.
Stretch the embroidered fabric over a backing board before framing, so the design stays smooth on a vintage shelf.
Abstract Fabric Art
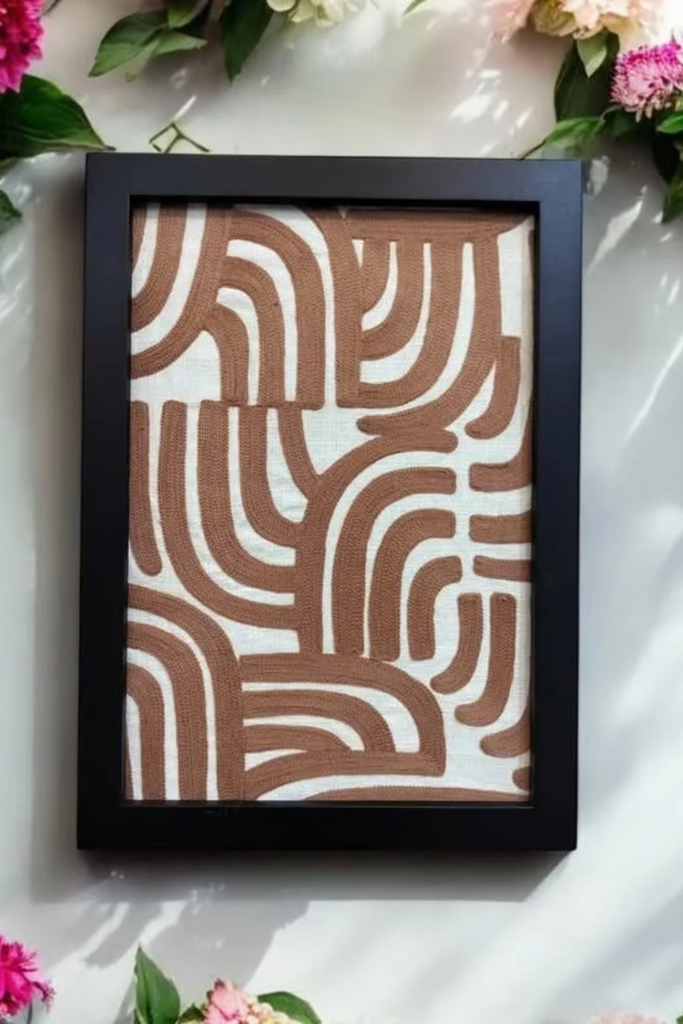
Not every fabric picture frame needs a photograph, especially when you have leftover material with an interesting pattern.
Stretch geometric printed fabric over a sturdy backing board, then place it inside a simple black wooden picture frame.
Try hanging your finished piece in a modern living room where the bold pattern can stand out naturally.
Scalloped Fabric Frame
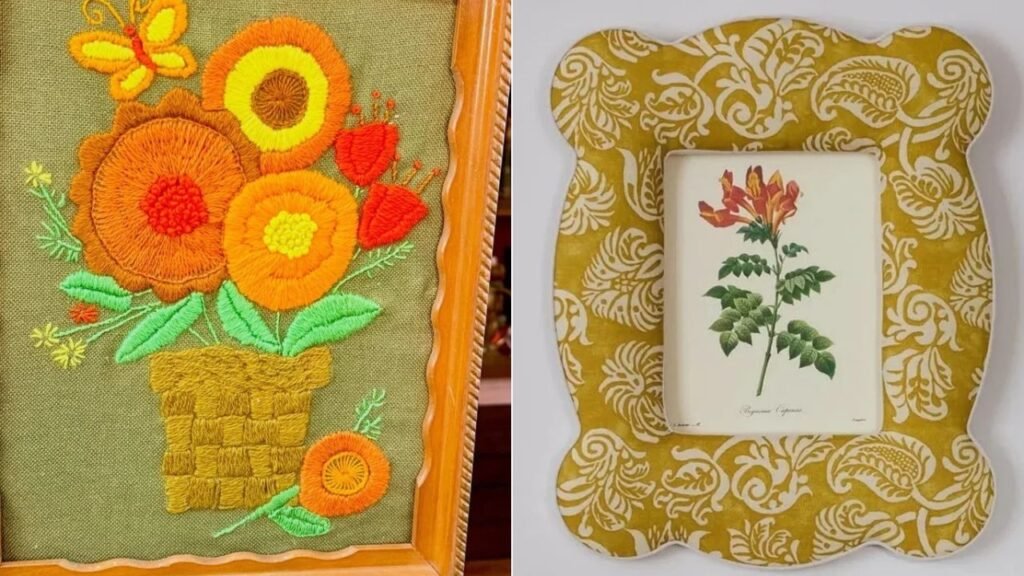
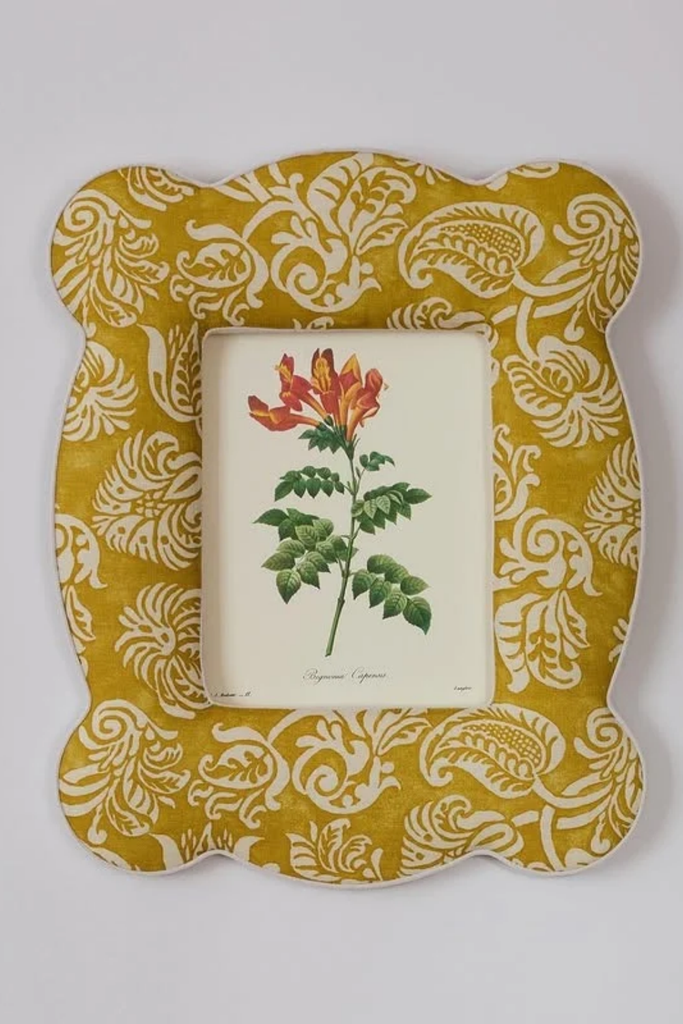
Curved frame edges can make ordinary botanical prints feel more decorative without adding extra ribbons, bows, or other embellishments.
Cut a scalloped frame shape from sturdy cardboard or wood, then wrap it carefully with mustard patterned cotton fabric.
Use small relief cuts around each curve to prevent bunching, and pair the finished frame with vintage botanical artwork.
Block Print Frame
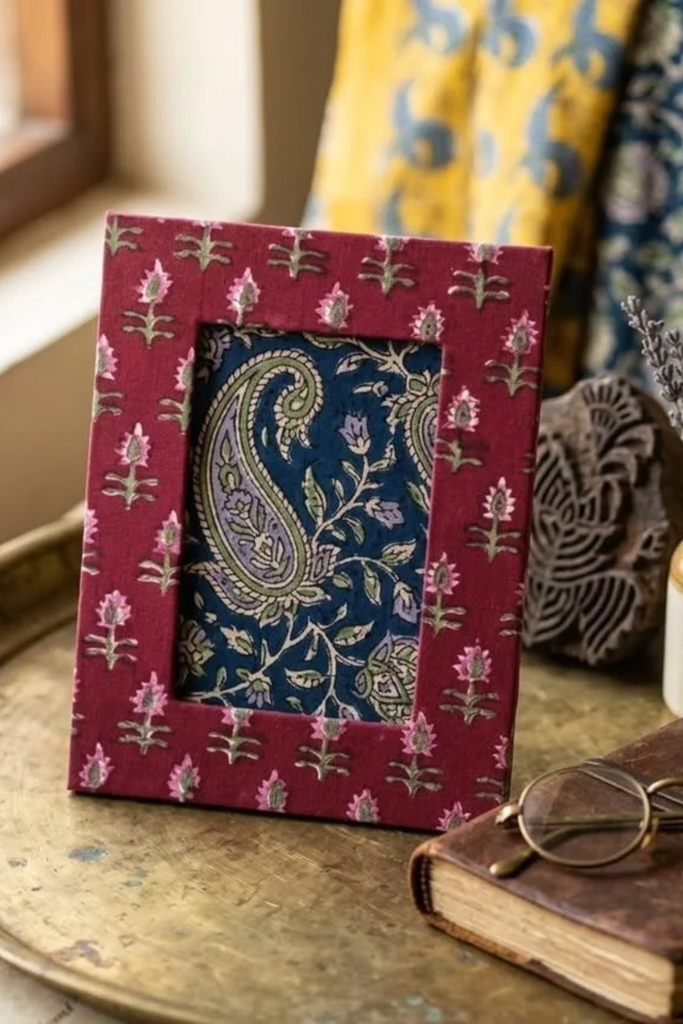
Mixing two traditional fabric prints can create an interesting decorative piece without needing complicated sewing or expensive materials.
Cover a rectangular frame with burgundy floral block print cotton, folding the fabric neatly around its inner opening.
Add contrasting blue paisley fabric behind the opening for a layered look that suits a vintage bedroom or reading corner.
Ruffled Floral Frame
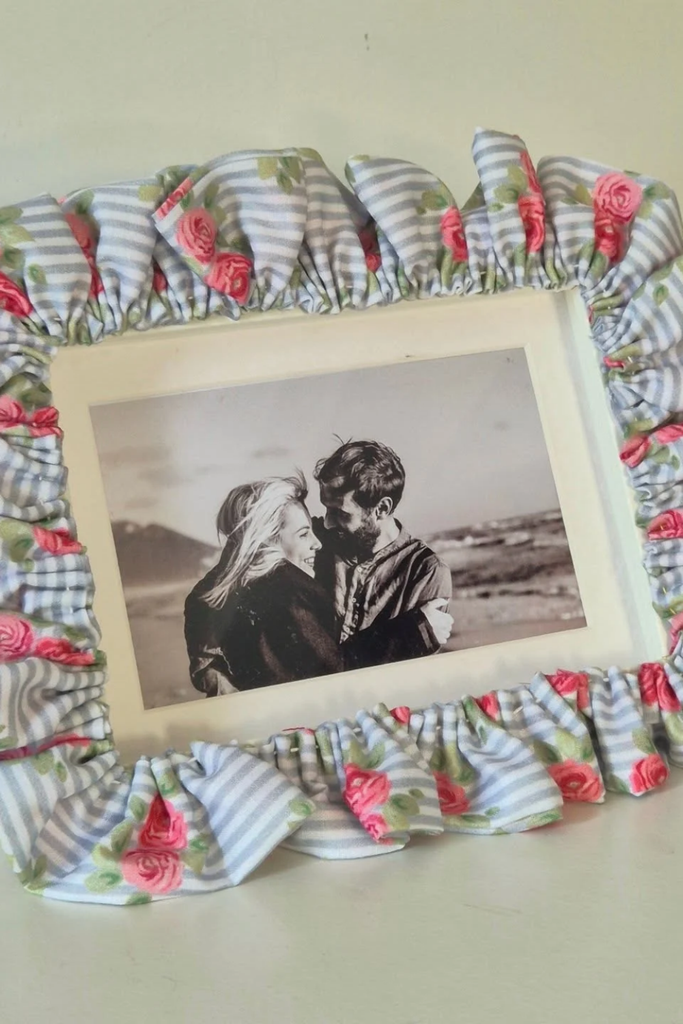
Want to soften a plain white frame? Gather blue striped cotton with pink rose prints into loose, evenly spaced ruffles.
Sew a simple gathering stitch along one edge, then attach the fabric around the frame without covering the photograph.
Try displaying a black and white family picture inside, allowing the colorful ruffled border to add a personal touch.
Scalloped Linen Art
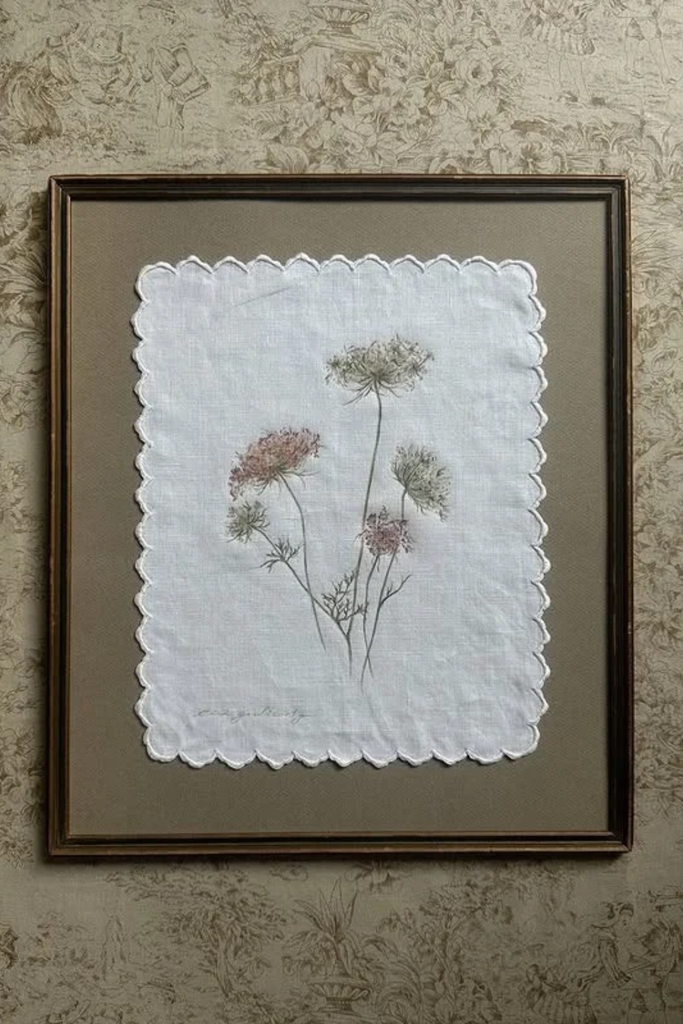
Old embroidered napkins deserve more than sitting inside a drawer, particularly when their delicate stitching still looks beautiful.
Mount a scalloped linen piece onto a contrasting neutral backing board, securing the edges gently without flattening the embroidery.
Choose a thin antique wooden frame for your finished artwork, which can complement floral wallpaper in a vintage bedroom.
Blue Floral Frame
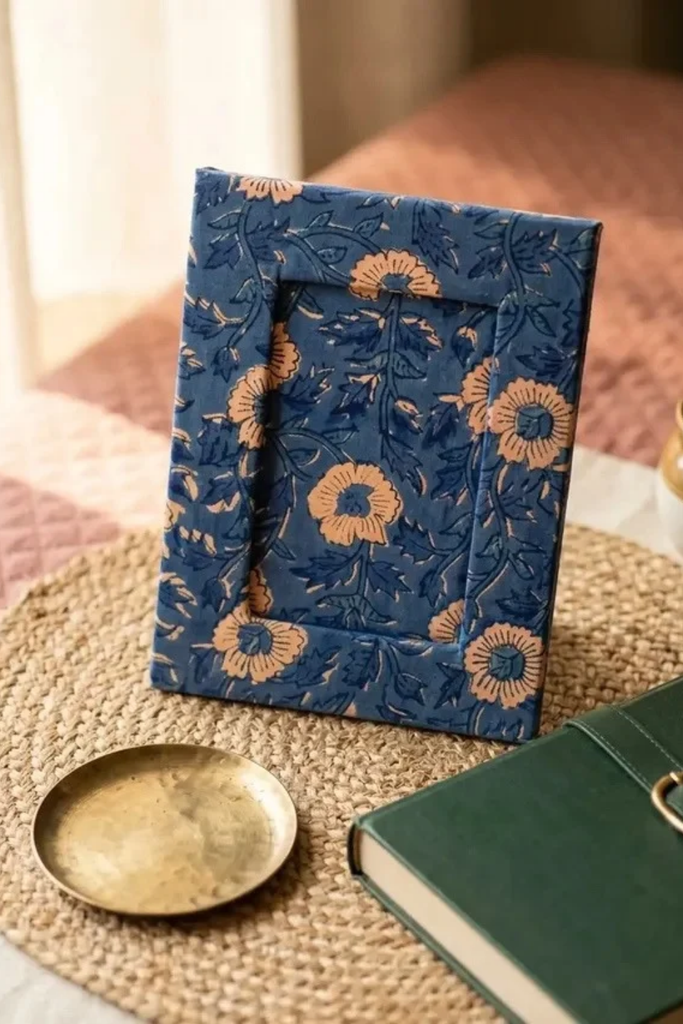
Dark blue fabric with warm floral prints can make an inexpensive cardboard frame feel more decorative and thoughtfully finished.
Wrap the printed cotton around a sturdy rectangular frame, carefully folding the corners before securing everything with fabric glue.
Use matching fabric across the center for decorative artwork, or leave the opening available for a favorite personal photograph.
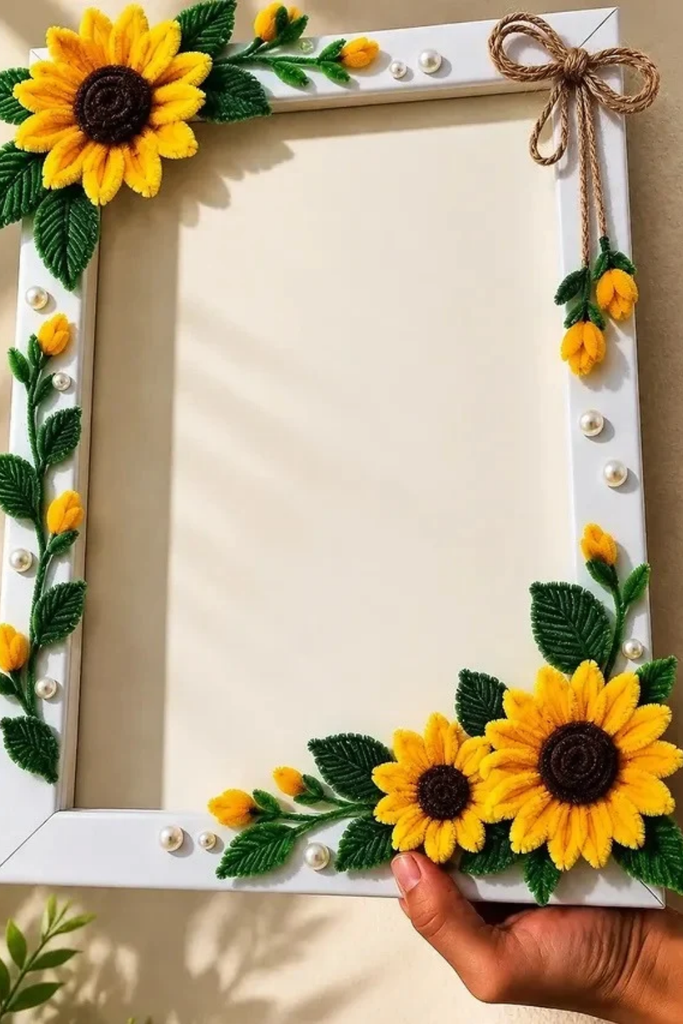
Sunflower Decor Frame
Sunflower decorations can turn a basic white picture frame into a cheerful handmade piece without covering its entire surface.
Attach crocheted or fabric sunflowers at opposite corners, then arrange green leaves and smaller buds along the outer edges.
Finish with a jute bow and a few pearl accents, making it suitable for a spring mantel or bedroom shelf.
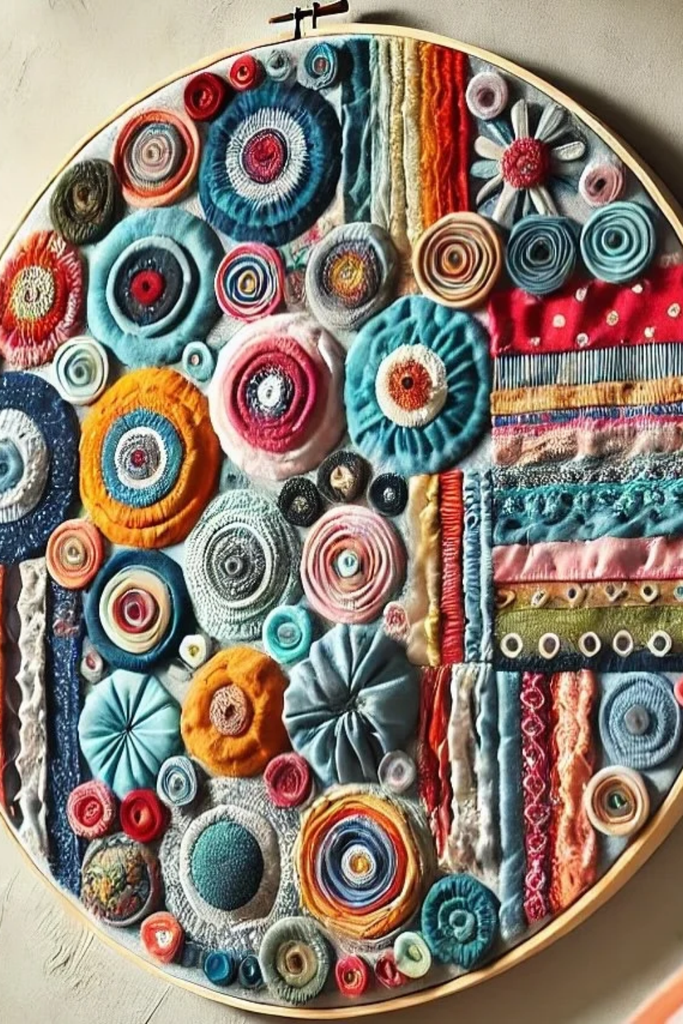
Fabric Rosette Art
Turn leftover fabric circles into a colorful wall piece by rolling, folding, and stitching them into different sized rosettes.
Arrange the rosettes inside a large embroidery hoop, mixing bright colors with textured strips and smaller decorative fabric pieces.
Fill empty spaces with gathered fabric flowers, creating a playful display for a craft room or creative bedroom wall.
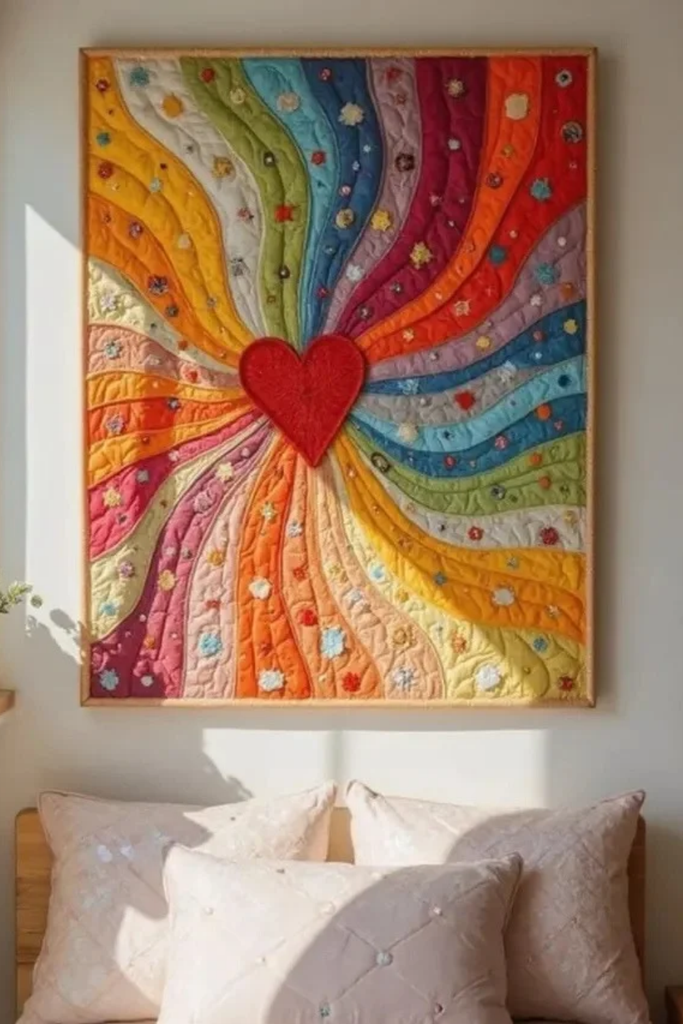
Rainbow Quilt Art
A large fabric artwork above your bed can introduce plenty of color without needing to repaint the entire bedroom.
Sew curved strips of colorful cotton into flowing rainbow sections, adding small embroidered flowers and a raised red heart.
Mount the finished quilted panel inside a simple wooden frame, allowing the detailed stitching to become the main attraction.
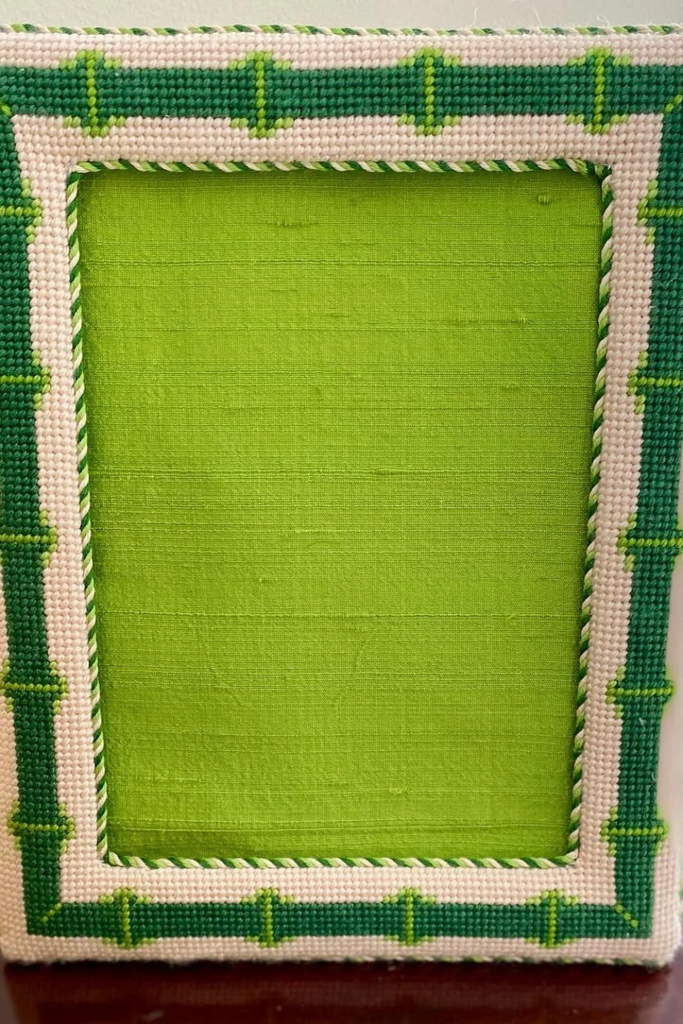
Needlepoint Bamboo Frame
Needlepoint is worth trying when you want a picture frame with texture rather than another flat printed fabric covering.
Stitch a green bamboo inspired border onto cream needlepoint canvas, using straight lines and darker thread for definition.
Wrap the finished needlepoint around a sturdy frame, then add twisted green cord along the opening for neat edges.
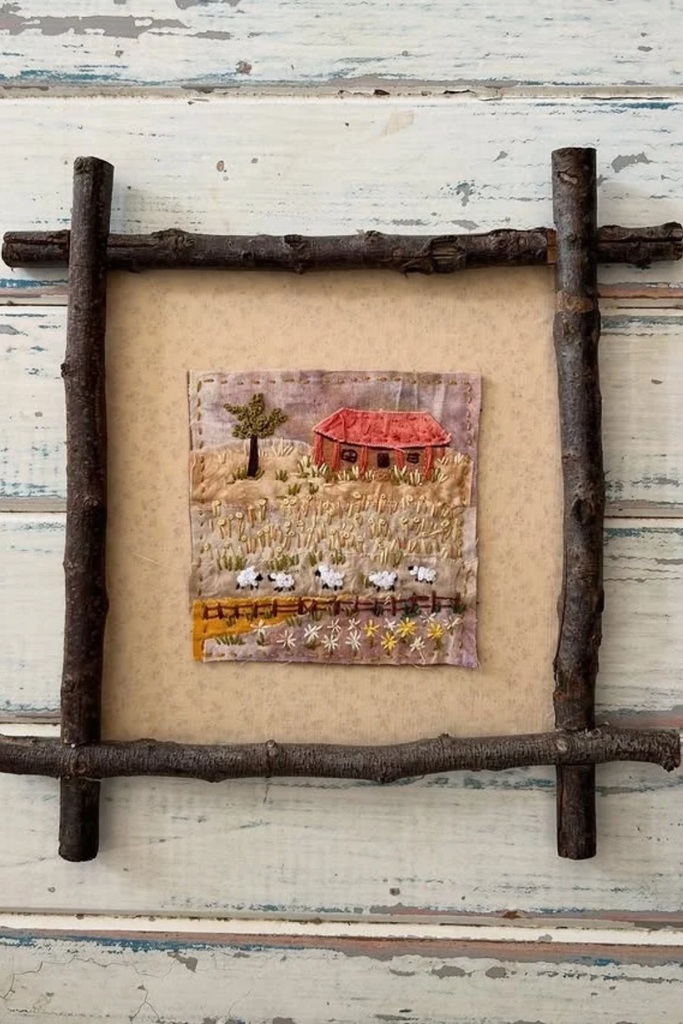
Rustic Twig Frame
For a farmhouse wall, natural branches can make a handmade fabric picture frame feel more rustic than polished wood.
Join four sturdy twigs into a square frame, securing their overlapping ends with strong twine or small hidden fasteners.
Mount a miniature embroidered countryside scene onto neutral fabric backing, leaving enough empty space to highlight its delicate details.
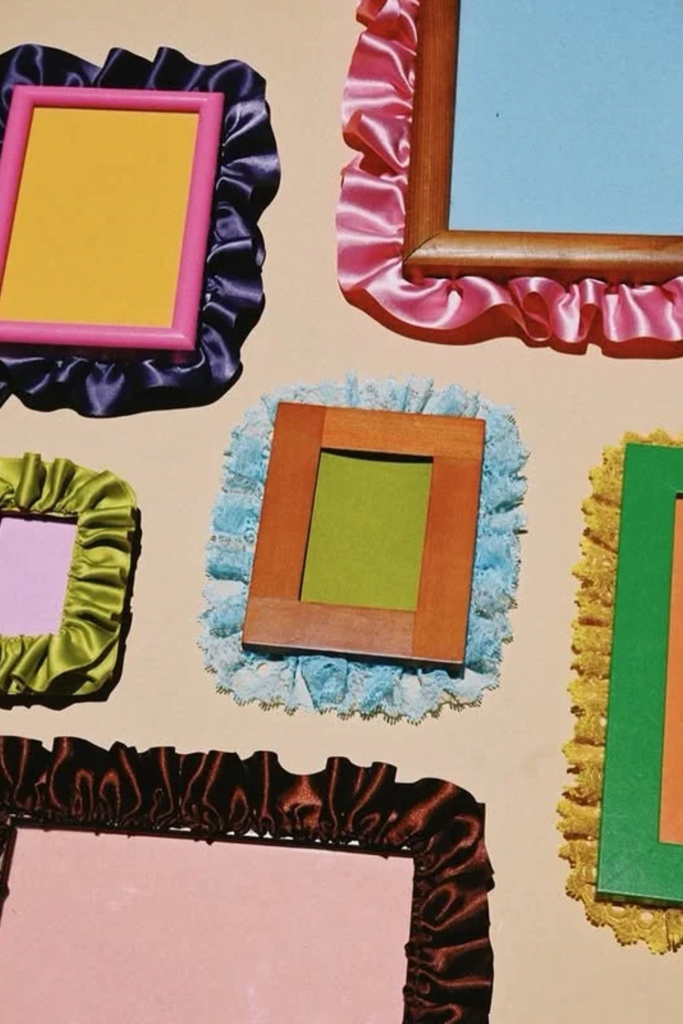
Satin Ruffle Frames
Who says every picture frame needs a plain border when colorful satin ruffles can make even thrifted frames interesting?
Gather satin ribbon into soft folds, then attach it around wooden frames using fabric glue or careful hand stitching.
Mix pink, navy, olive, and brown ruffles across different frames for a playful gallery wall in your bedroom.
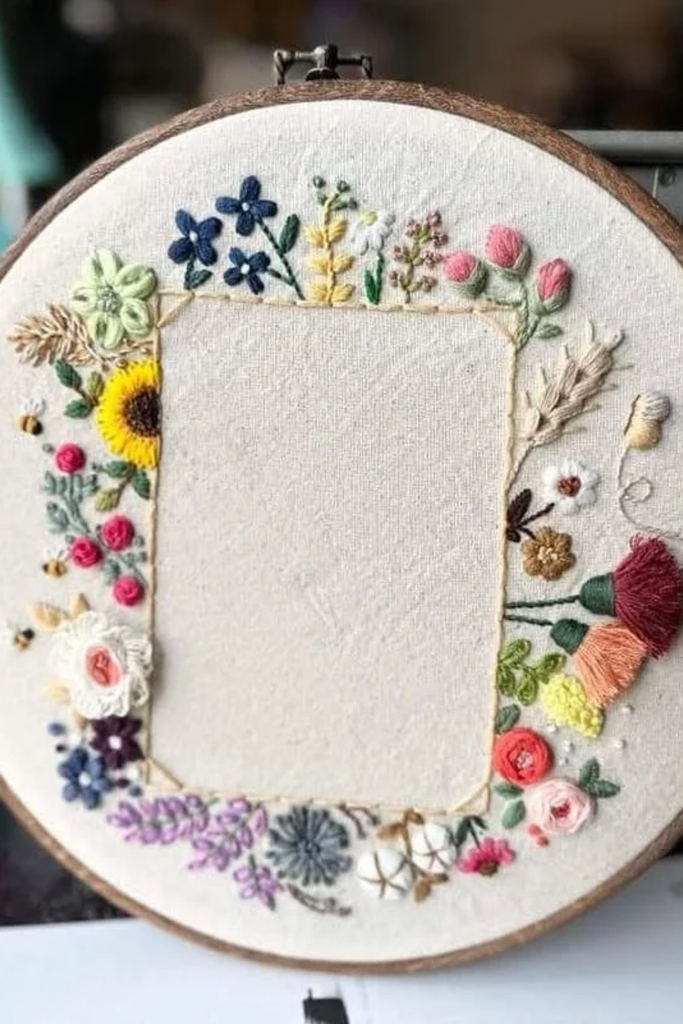
Embroidered Hoop Frame
Instead of buying another decorative frame, try turning an ordinary embroidery hoop into a handmade floral photo display.
Stretch cream linen tightly inside the hoop, then stitch colorful flowers around a rectangular opening reserved for your photograph.
Use raised floral stitches for extra texture, leaving the center accessible so you can insert a favorite printed picture.
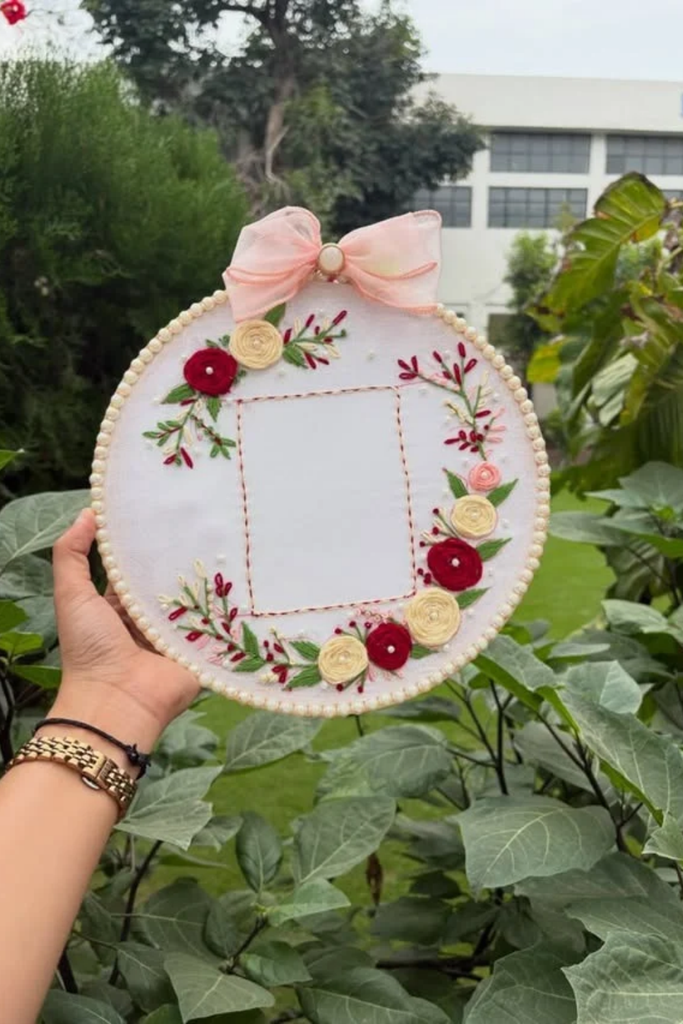
Pearl Floral Hoop
Small pearl details can make a handmade embroidery frame feel special enough for displaying engagement or wedding photographs.
Start with white cotton stretched inside a round hoop, then embroider red and cream flowers around the central opening.
Attach pearl beads along the outer edge and finish with a soft pink bow for a romantic decorative touch.
Block Print Photo
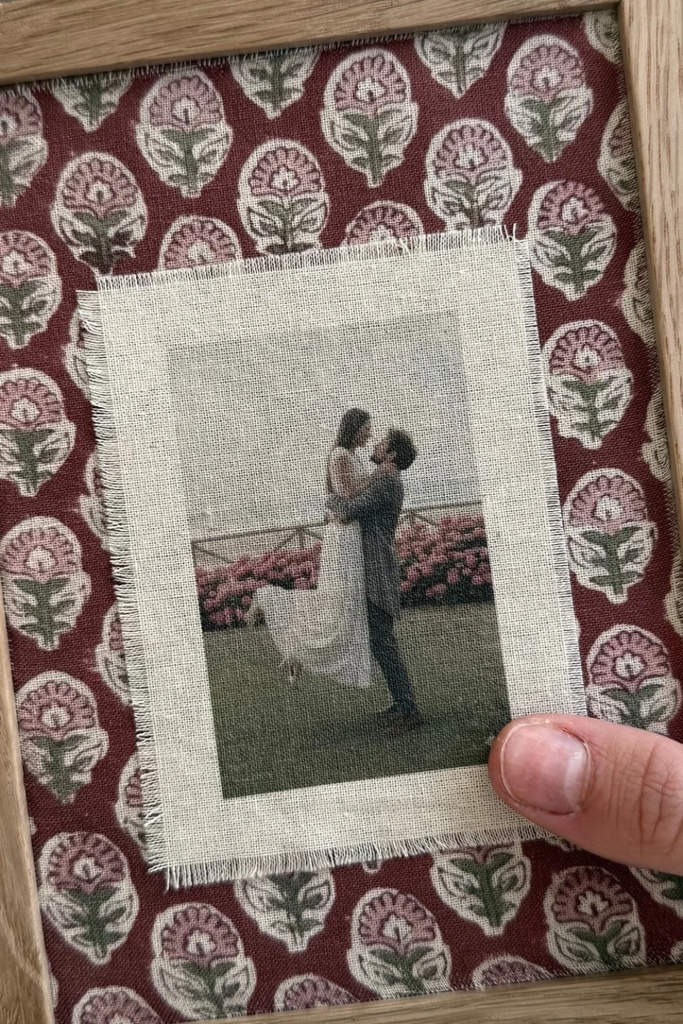
Your favorite printed fabric can become a beautiful photo background without needing to cover the wooden frame itself.
Stretch burgundy floral cotton over a backing board, then center a smaller cream linen square with gently frayed edges.
Attach a printed photograph onto the linen, creating a layered display that works nicely for wedding memories or anniversaries.
Vintage Lace Frames
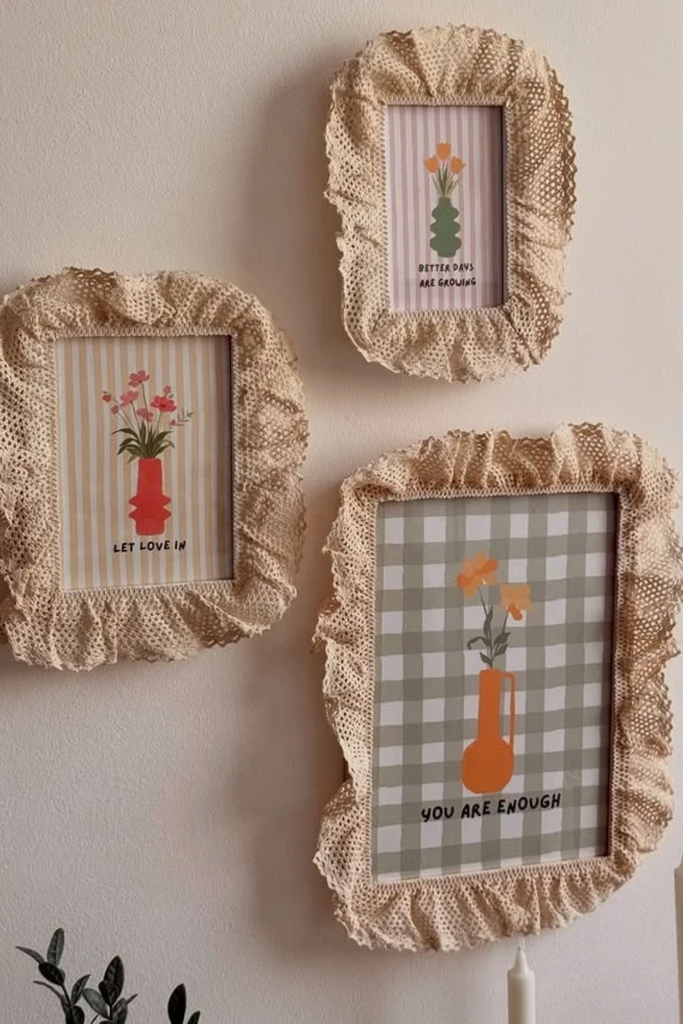
Give your gallery wall a softer vintage feel by decorating ordinary rectangular picture frames with gathered beige crochet lace.
Cut lace strips slightly longer than each frame edge, then gather and attach them using small hidden stitches.
Arrange three different sized frames together, adding simple floral prints that complement the lace without making the display overly busy.
Floral Gallery Frames
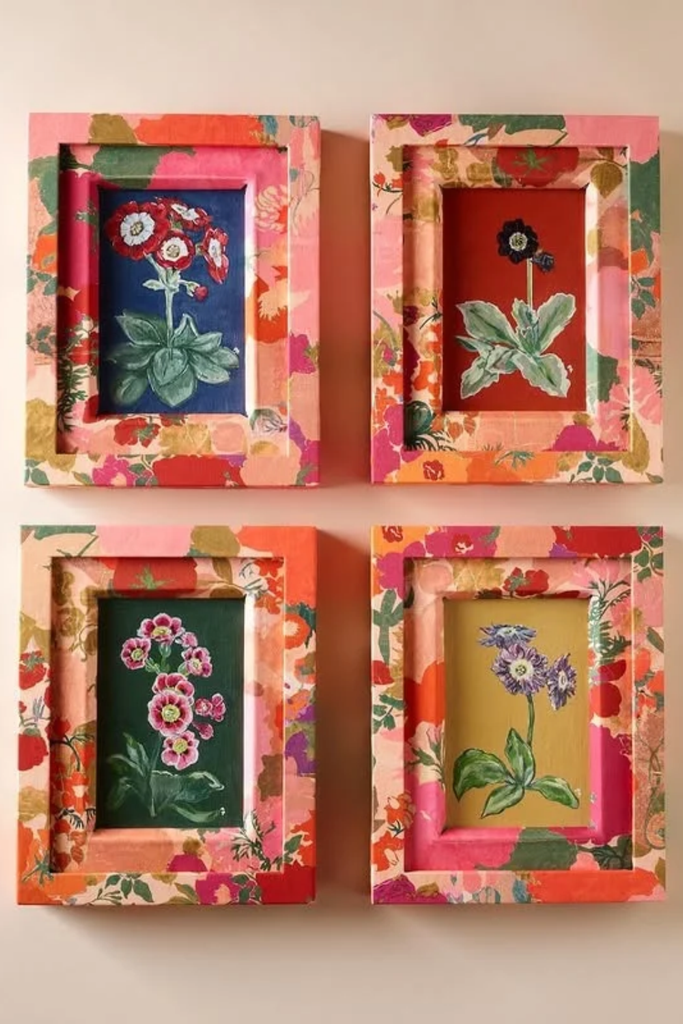
Matching picture frames don’t have to look identical when you use the same colorful floral fabric across different sizes.
Wrap four deep wooden frames with bright botanical cotton, carefully pressing fabric into the recessed edges for a smooth finish.
Pair them with small flower paintings on contrasting backgrounds, creating a cheerful gallery wall for your living room.
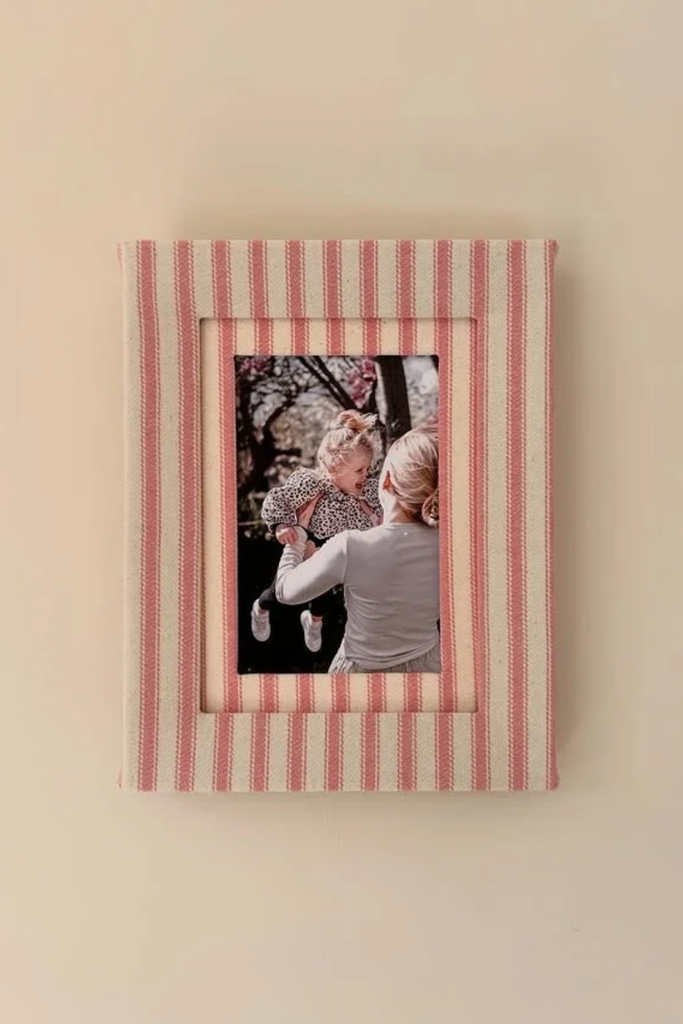
Pink Striped Frame
Thin pink stripes are a lovely choice when you want a fabric picture frame that feels simple but interesting.
Cover both the outer frame and inner mat with striped cotton, aligning the lines carefully before securing the fabric.
Place a favorite family photograph in the center, making a sweet handmade gift for Mother’s Day or birthdays.
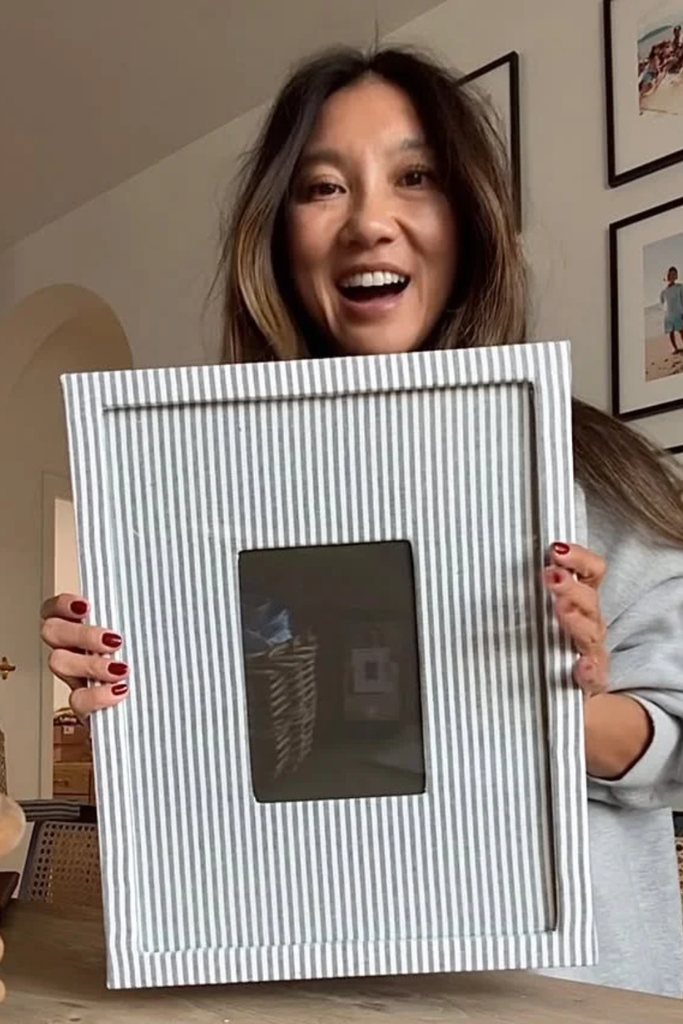
Gray Striped Frame
Oversized picture frames can overwhelm smaller photographs, but a wide fabric covered mat gives them more breathing room.
Choose gray and white striped cotton, wrapping it around both the broad mat and outer frame with straight edges.
Center a smaller photograph inside the opening, then hang your finished piece alongside simple black frames for visual balance.
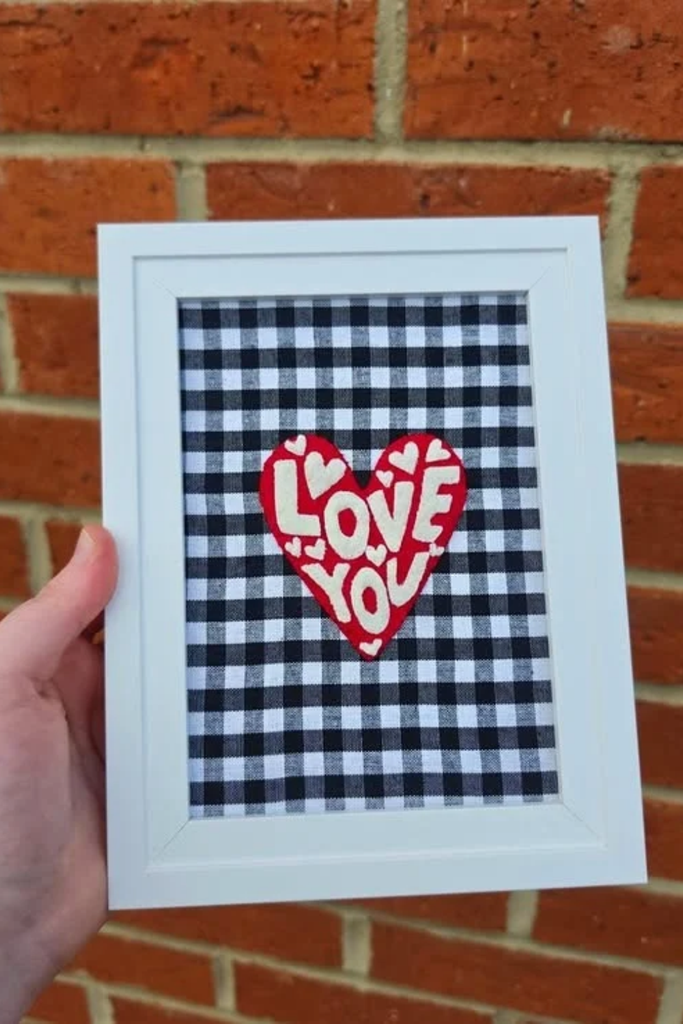
Gingham Heart Art
Want a small handmade gift for someone special? Black and white gingham makes a lovely background for colorful fabric lettering.
Stretch checked cotton over a backing board, then cut a red fabric heart and add white felt letters.
Place everything inside a simple white frame, creating an affordable Valentine’s Day gift that also works for anniversary decorations.
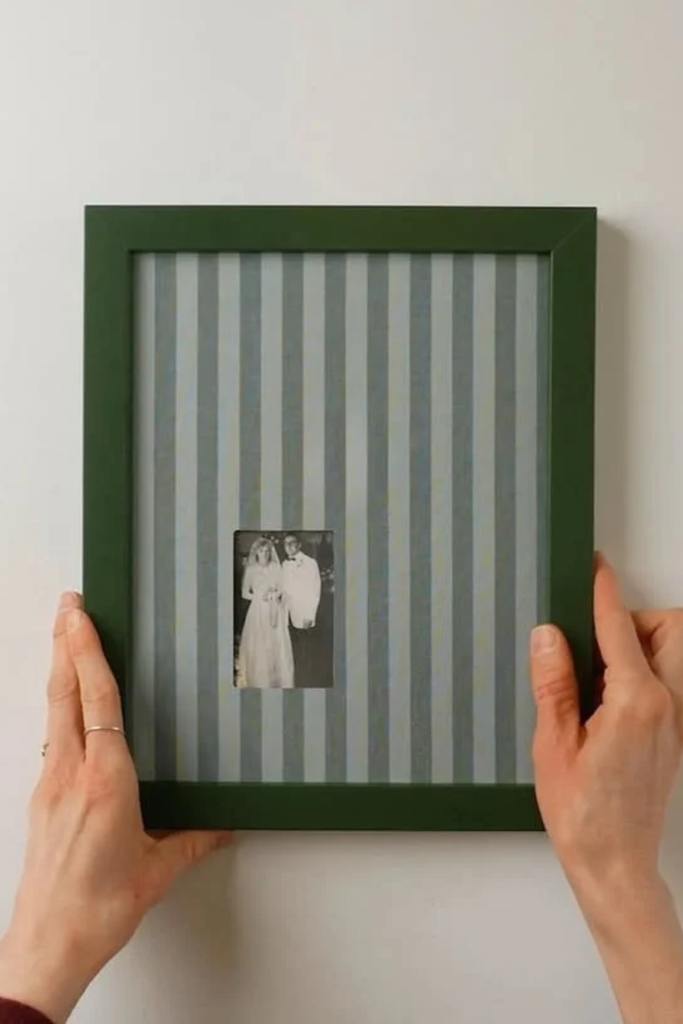
Green Striped Mat
Sometimes a tiny photograph looks more interesting when surrounded by a wide fabric mat instead of a narrow border.
Cover a large backing board with muted blue and gray striped fabric, then position your photograph near the center.
Choose a dark green wooden frame to complement the stripes, making this arrangement suitable for displaying old family photographs.
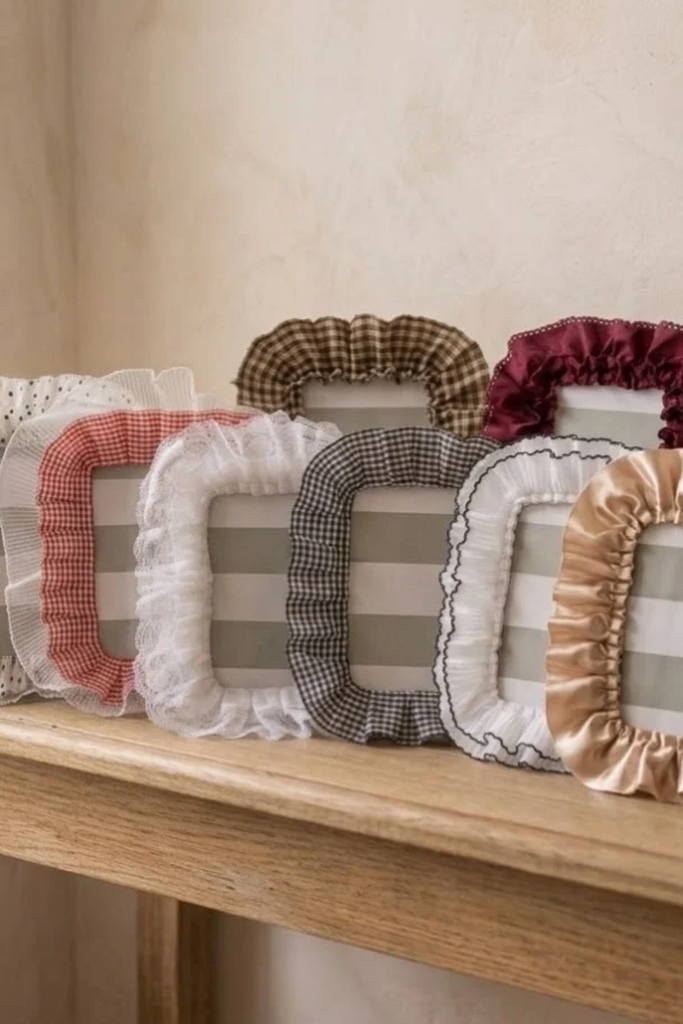
Mixed Ruffle Frames
Try combining different fabric textures when you want several picture frames that coordinate without looking exactly the same.
Gather gingham, polka dot cotton, delicate lace, and satin into soft borders around small rectangular wooden picture frames.
Arrange them together on a wooden console, mixing cream, burgundy, and beige tones for a cozy vintage inspired display.
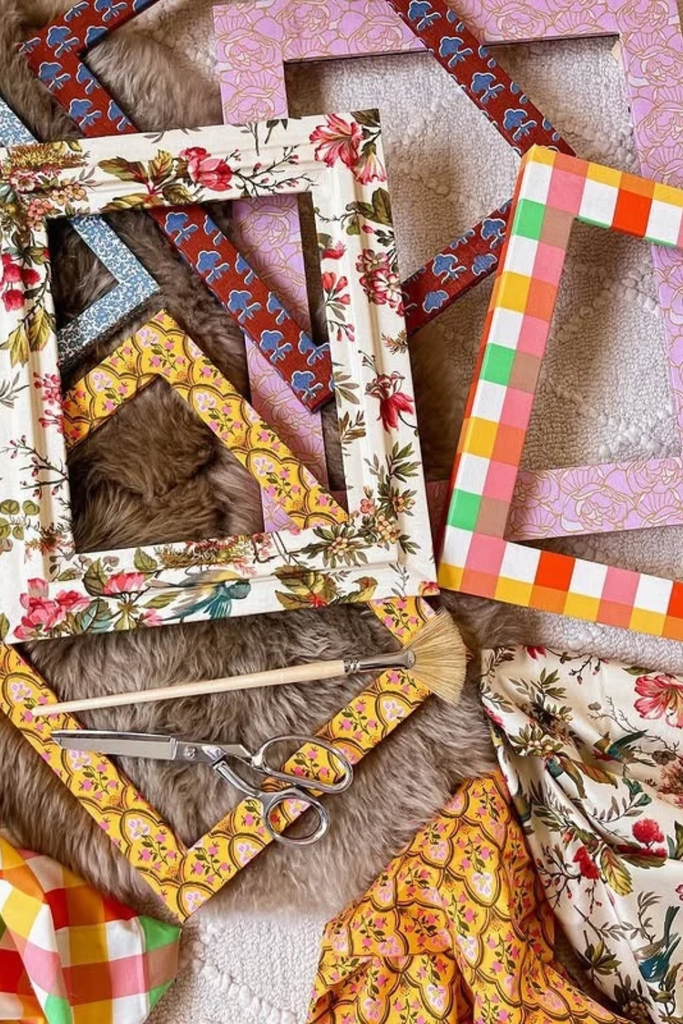
Colorful Fabric Frames
Leftover patterned cotton from sewing projects can easily become a collection of picture frames without buying matching fabric.
Wrap inexpensive wooden frames with floral, geometric, and checkered prints, folding the corners neatly before securing the backing.
Choose different patterns within a similar color palette, then arrange the finished frames across a cheerful bedroom gallery wall.
FAQs
Can You Make Fabric Picture Frames Without Sewing?
Yes, you can easily make fabric picture frames without touching a sewing machine. Start with a plain wooden or cardboard frame, lightweight cotton fabric, and fabric glue.
Cut the fabric slightly larger than the frame, then wrap it around the edges and secure it at the back.
How Do You Clean Fabric Picture Frames Without Damaging Them?
Fabric picture frames can collect dust over time, especially when you use velvet, lace, or ruffled materials.
A soft brush or lint roller works well for removing loose dust without pulling at the fabric. For delicate embroidery, gently brush around the stitches instead of rubbing them.

Hi, my name is Ali Mehmood! I’m a passionate writer and DIY enthusiast who loves turning creative ideas into practical, hands-on projects.
I created this website to share inspiring, budget-friendly ideas that you can do yourself – whether it’s organizing your home, crafting something unique, or creating fun projects for kids and pets.
I believe DIY isn’t just a hobby – it’s a smart way to save money, reduce waste, and enjoy the satisfaction of making things with your own hands.
I’m excited to have you as part of this growing community, and I’ll continue bringing you helpful, realistic, and fun DIY ideas you can actually use.