This post may contain affiliate links: read full affiliate disclosure.
Making an upholstered headboard yourself sounds simple until you start choosing foam, fabric, batting, and the right way to finish those tricky corners.
Add curves, tufting, or channel details, and getting that clean, polished look can feel even harder. But you don’t need advanced upholstery skills to create something that looks well finished.
In this article, you’ll find DIY upholstered headboard ideas that show different shapes, fabrics, and construction styles.
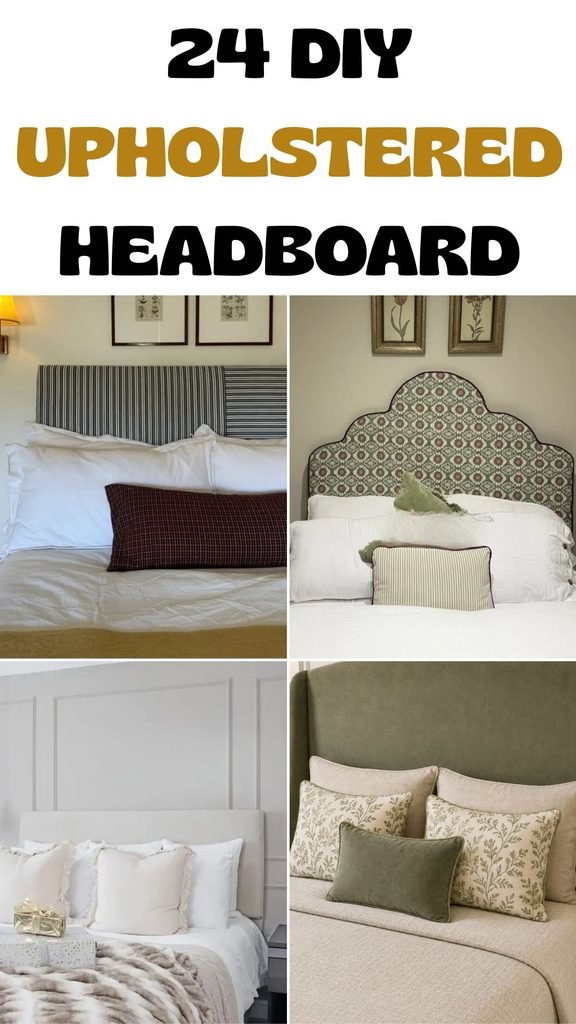
Striped Upholstery
A narrow striped fabric makes a simple rectangular headboard feel more tailored without adding tufting, curves, or complicated upholstery work.
Keep the stripes perfectly vertical while stapling, because uneven tension can pull the pattern sideways and make small mistakes immediately noticeable.
Start securing fabric near each center point, then work toward the corners gradually so the stripe spacing stays straight and balanced.
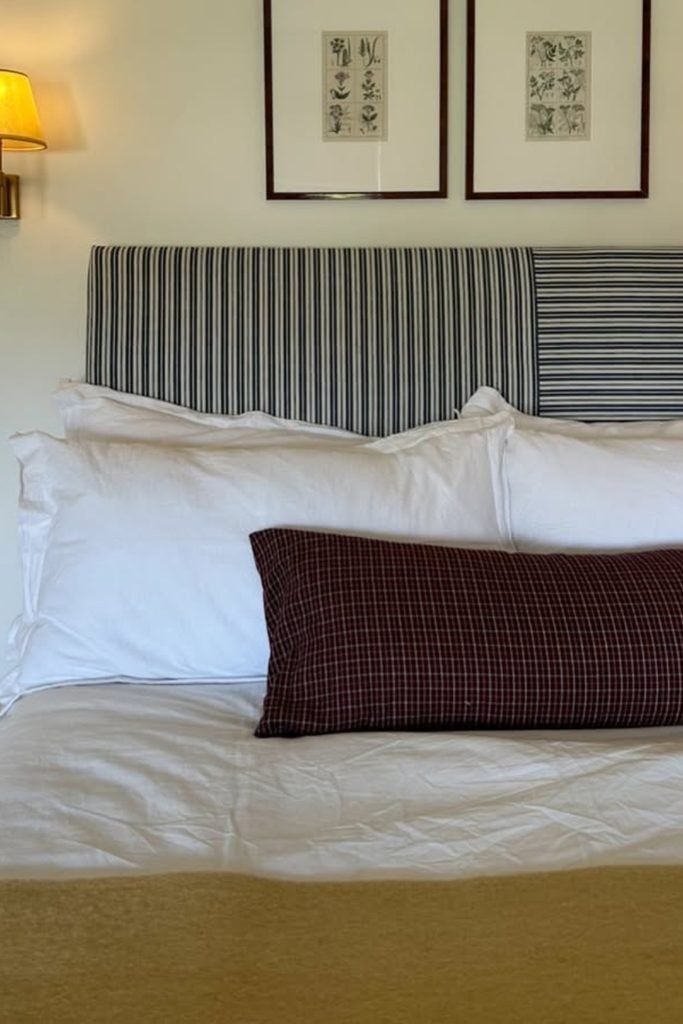
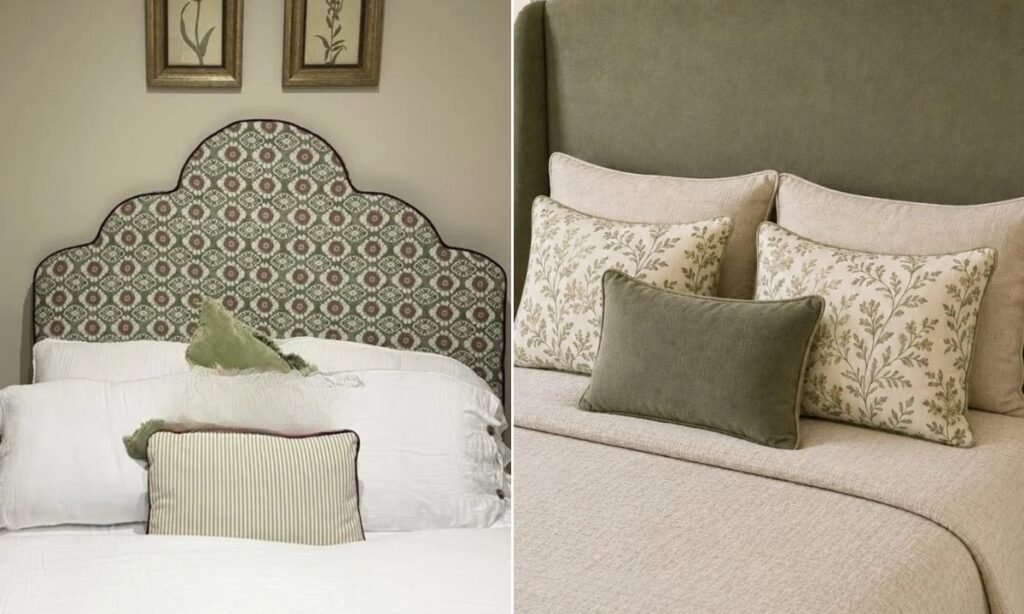
Curved Pattern
For a shaped headboard, trace and cut the full silhouette before adding foam so every curve stays symmetrical beneath the upholstery.
Patterned fabric already brings plenty of character, so a thin contrasting welt around the edge can sharpen the outline without extra decoration.
Center the repeating motif before stapling anything, then check it again from across the room before permanently securing the remaining edges.
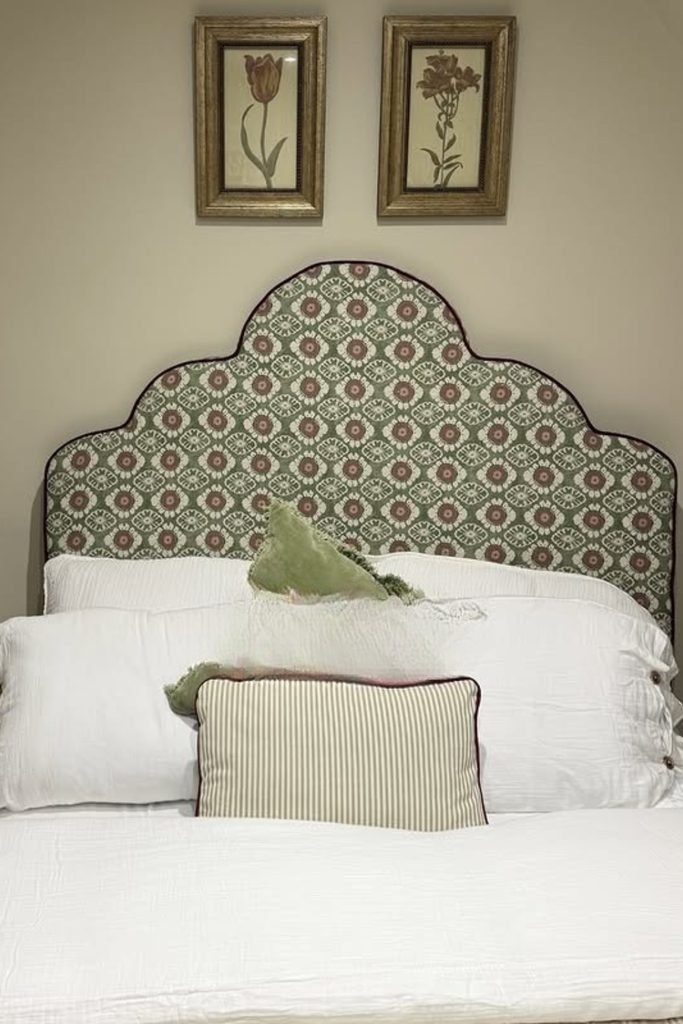
Simple Rectangle
If you want the easiest starting point, a straight rectangular headboard removes tricky curves, tufting, and detailed corner shaping from the project.
Choose medium-density foam for comfortable padding, then wrap batting beyond every edge to soften the squared profile before adding your fabric.
Neutral upholstery keeps this beginner-friendly shape versatile, especially when you want bedding, wall molding, or lighting to carry more visual detail.
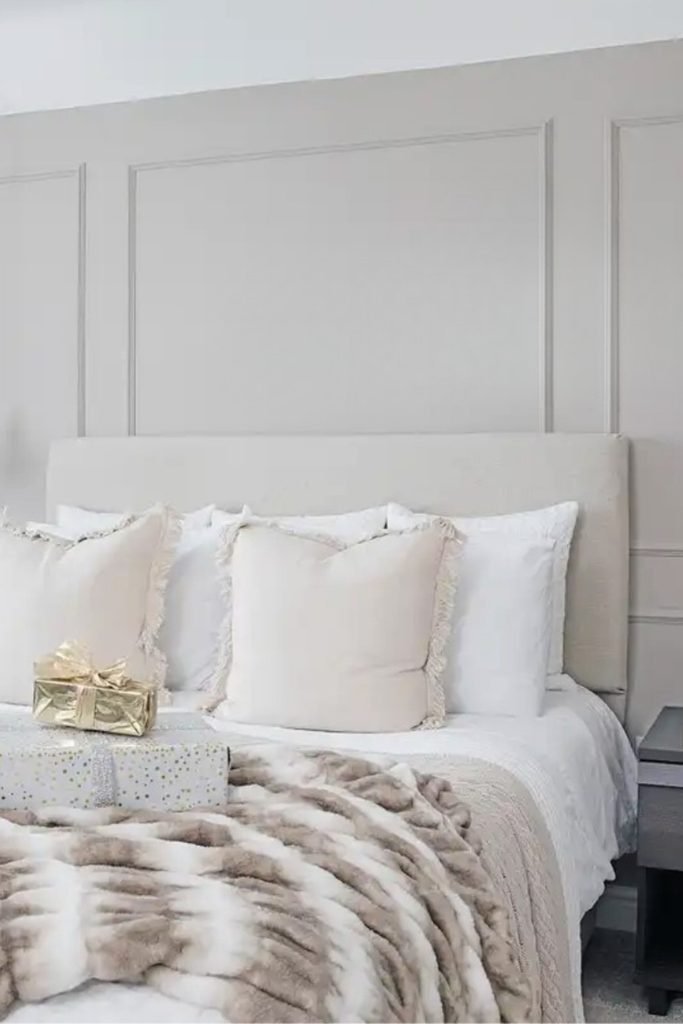
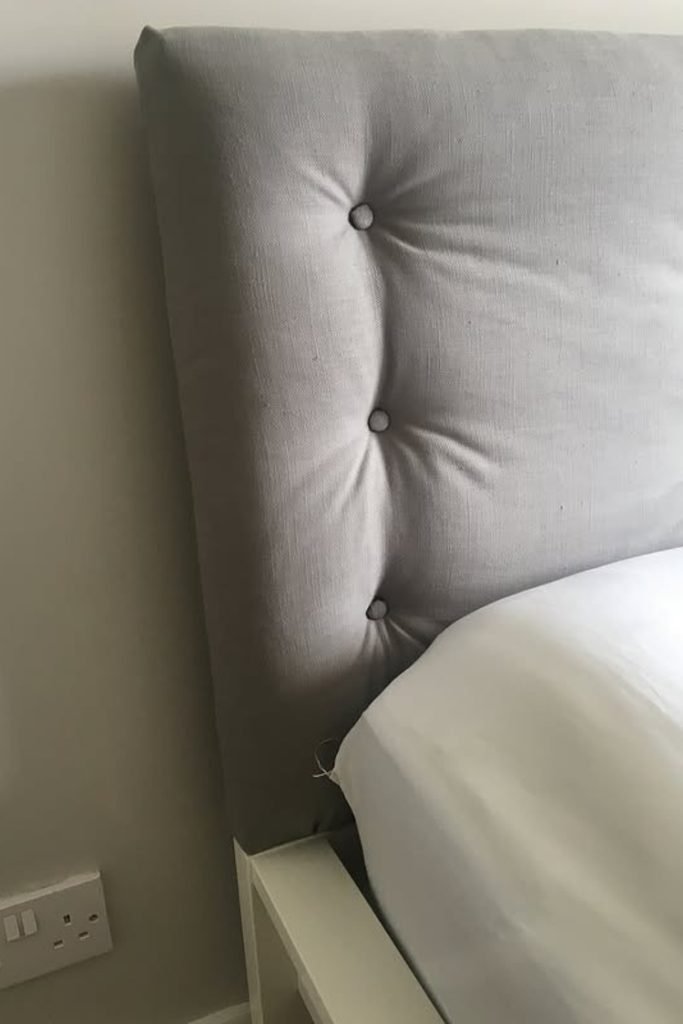
Button Tufting
Button tufting works best when you map every button position on the board first instead of trying to judge spacing after upholstering.
Drill the complete grid before attaching foam, then transfer those positions carefully so each button pulls into an evenly placed depression.
Pull each button to a similar depth and check surrounding fabric as you go, preventing one tuft from becoming noticeably tighter.
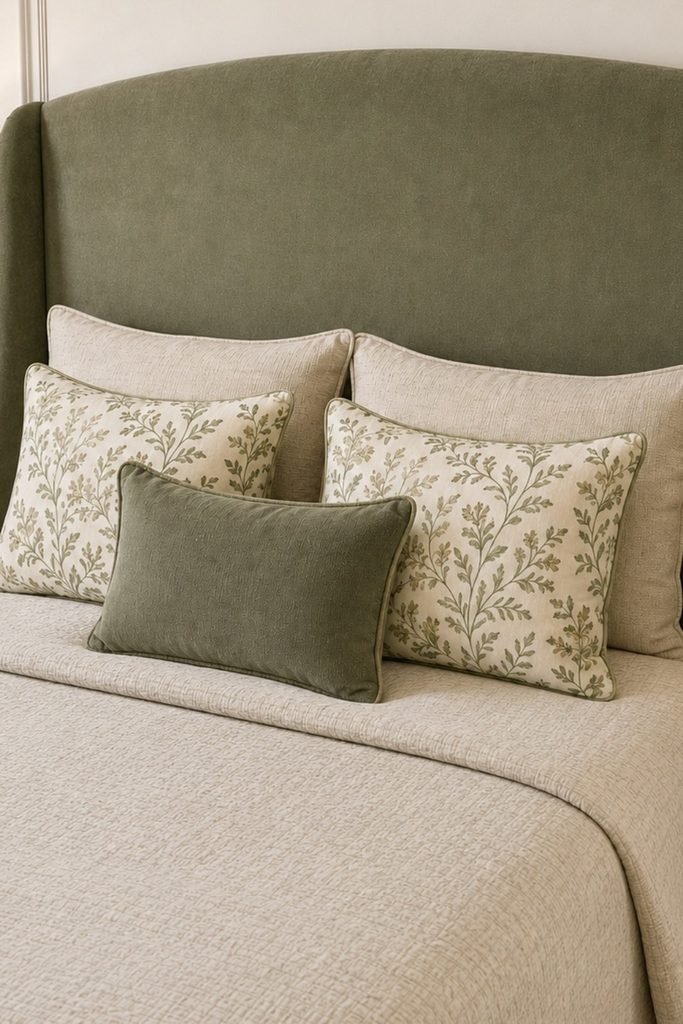
Wingback Curve
For a taller statement headboard, extending padded side wings forward gives you a more enclosed shape without adding busy decorative details.
Build the curved center first, then attach narrow side sections securely so the upholstery can wrap continuously around each outer edge.
Choose a sturdy upholstery fabric for this structure, since smooth broad surfaces make uneven padding, loose fabric, or lumpy edges easier to spot.
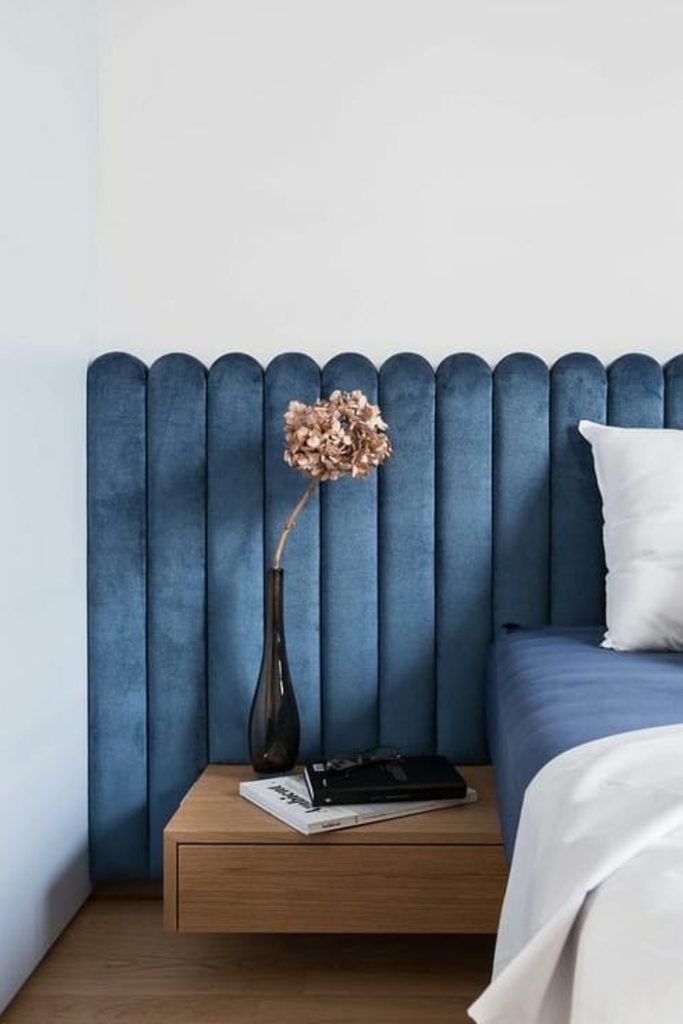
Rounded Channels
Individual padded channels make an oversized headboard easier to build in sections while giving you better control over spacing and fabric tension.
Round each panel at the top before adding foam, then keep every finished width consistent so the repeated arches align neatly.
Extending the channels beyond the mattress can visually connect the bedside area, but measure furniture placement before deciding the overall headboard width.
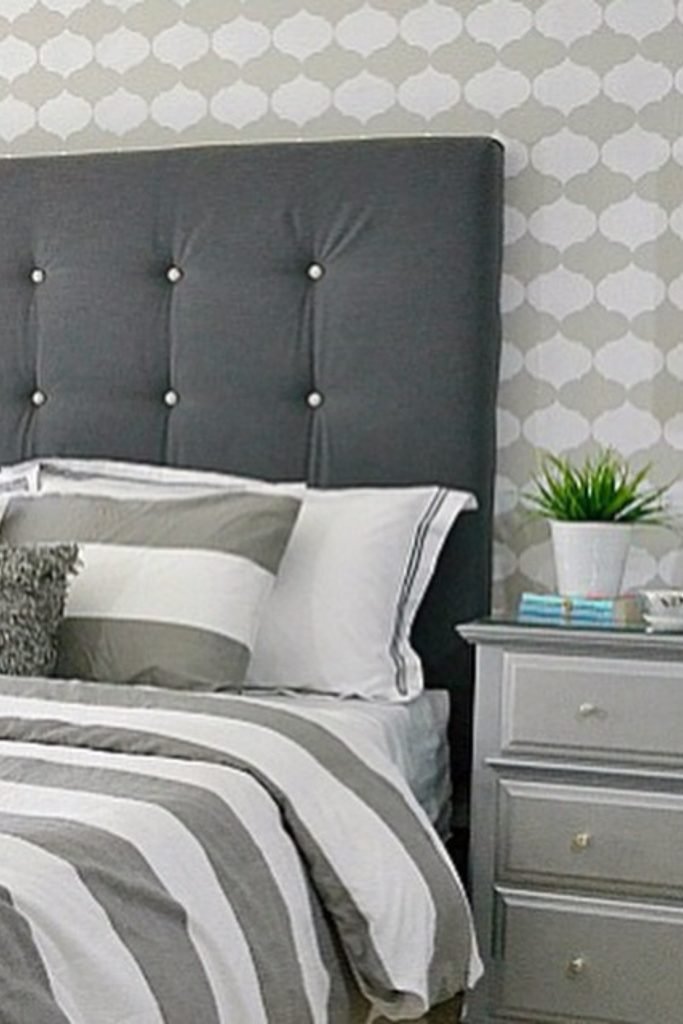
Crystal Tufting
Small crystal-style buttons can dress up a basic padded rectangle without requiring the deeper folds associated with traditional diamond tufting techniques.
Mark your button rows before covering the board, keeping horizontal and vertical spacing consistent so slight measuring errors do not become obvious.
Use moderate tension when securing each button because pulling too firmly can create deep puckers that interrupt the otherwise smooth upholstered surface.
Soft Tufting
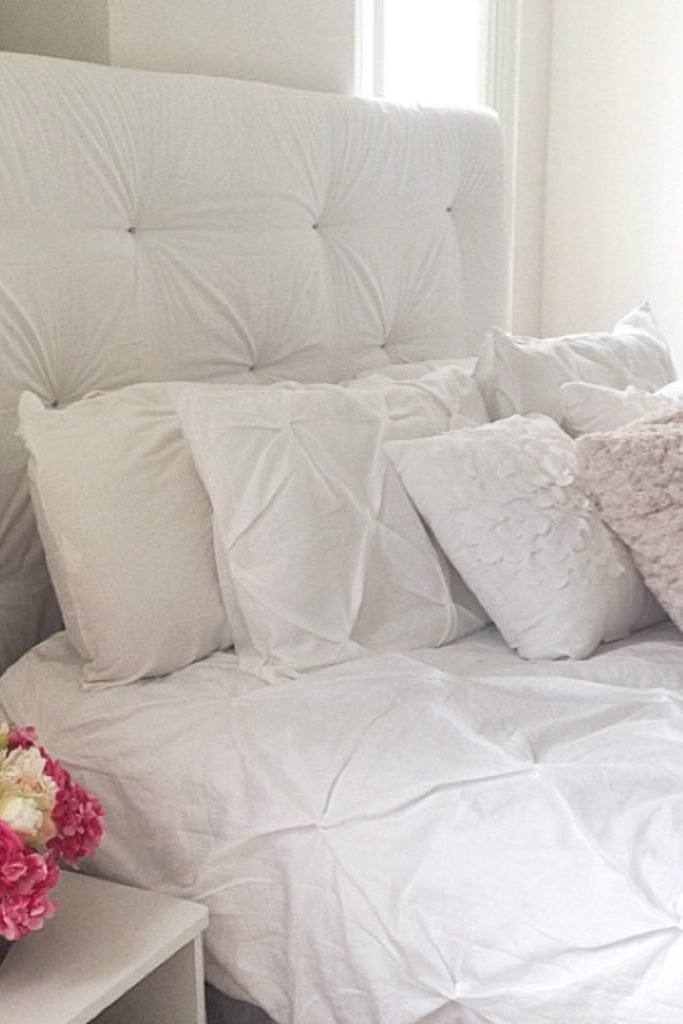
For a softer tufted finish, thicker padding lets each button sink gently while leaving fuller sections of fabric between the anchor points.
Lay out the tuft positions symmetrically before drilling, especially on a tall headboard where uneven spacing becomes noticeable above the pillows.
Work across the surface gradually, adjusting fabric around each new tuft before securing the next one to prevent wrinkles from building up.
Statement Shape
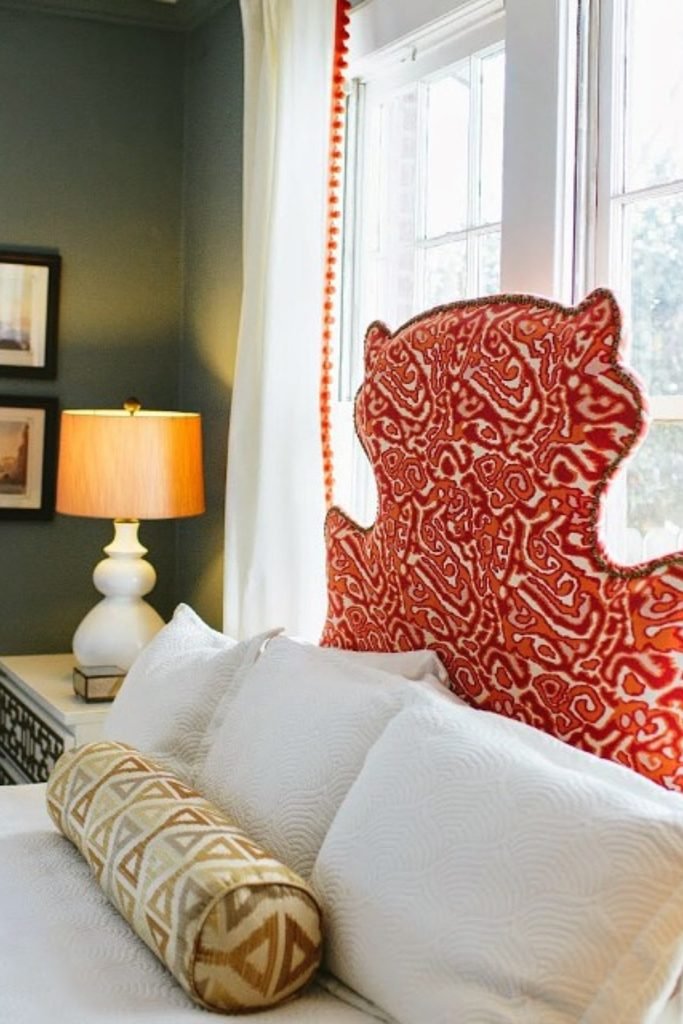
When you want the headboard itself to carry the design, an exaggerated silhouette can create impact without adding tufting or separate panels.
Sketch the outline on paper first, transfer it symmetrically onto plywood, and smooth every cut edge before foam goes over it.
Bold patterned fabric works especially well here, but position the print carefully so the strongest motifs sit naturally across the unusual shape.
Dark Linen
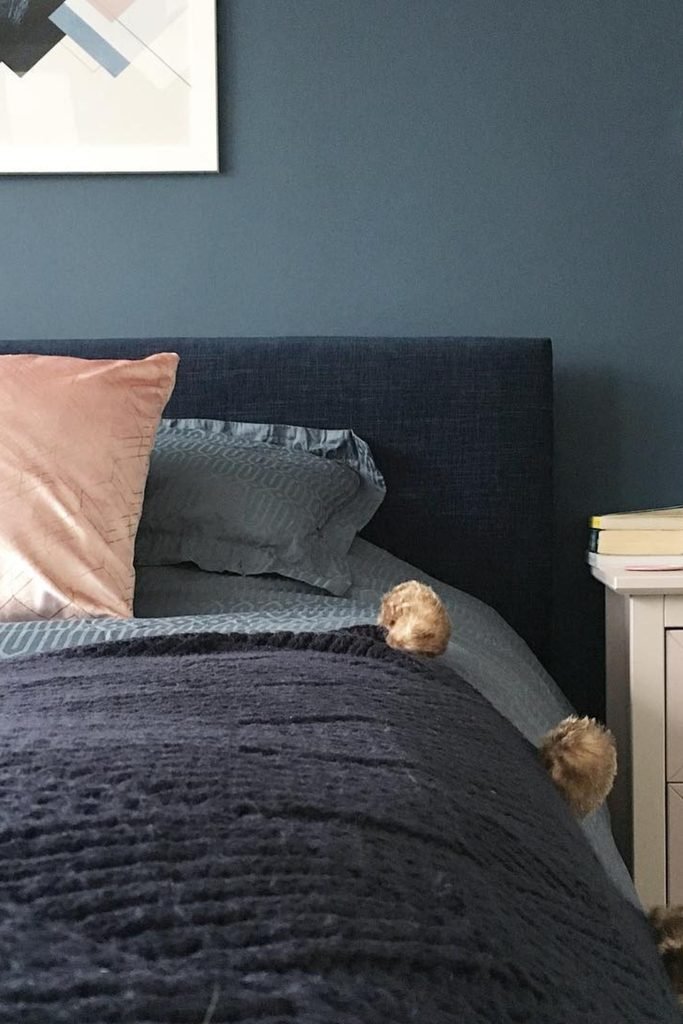
Dark upholstery can hide minor marks better than pale fabric, making a straightforward padded rectangle practical for an everyday bedroom setup.
Keep the construction uncomplicated with an evenly padded board, then pull the linen firmly enough to smooth wrinkles without compressing the foam.
Wrapping fabric neatly around the outer edges gives you a finished profile, so decorative trim or tufting becomes completely optional here.
Framed Panel
If you already have a wooden headboard frame, adding one upholstered center panel can refresh it without rebuilding the entire structure.
Cut foam to fit inside the opening, leaving enough clearance for batting and fabric so the finished panel does not become oversized.
A lively botanical print can turn this smaller upholstered section into the focal point while keeping material costs lower than full upholstery.
Wood Border
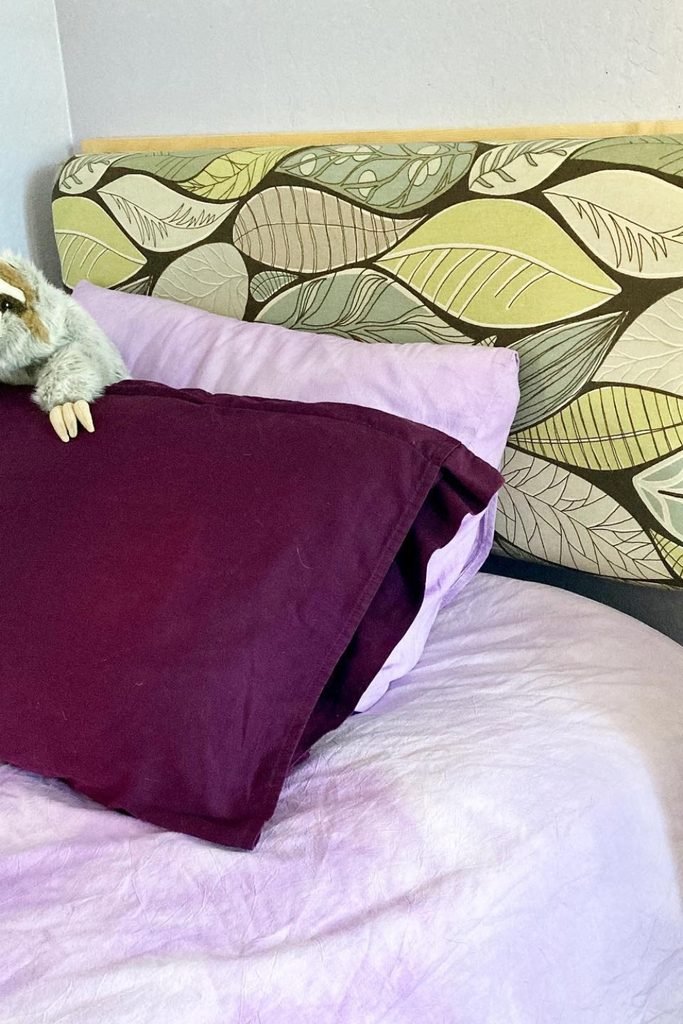
Leaving part of the wooden frame exposed gives your upholstered headboard sharper definition and saves you from wrapping fabric around bulky outer corners.
Build the padded insert separately, keeping its edges crisp so it fits neatly inside the surrounding wood without awkward gaps or bunching.
Using fabric close to the wall color keeps the larger headboard calm, while the visible frame adds just enough structural contrast.
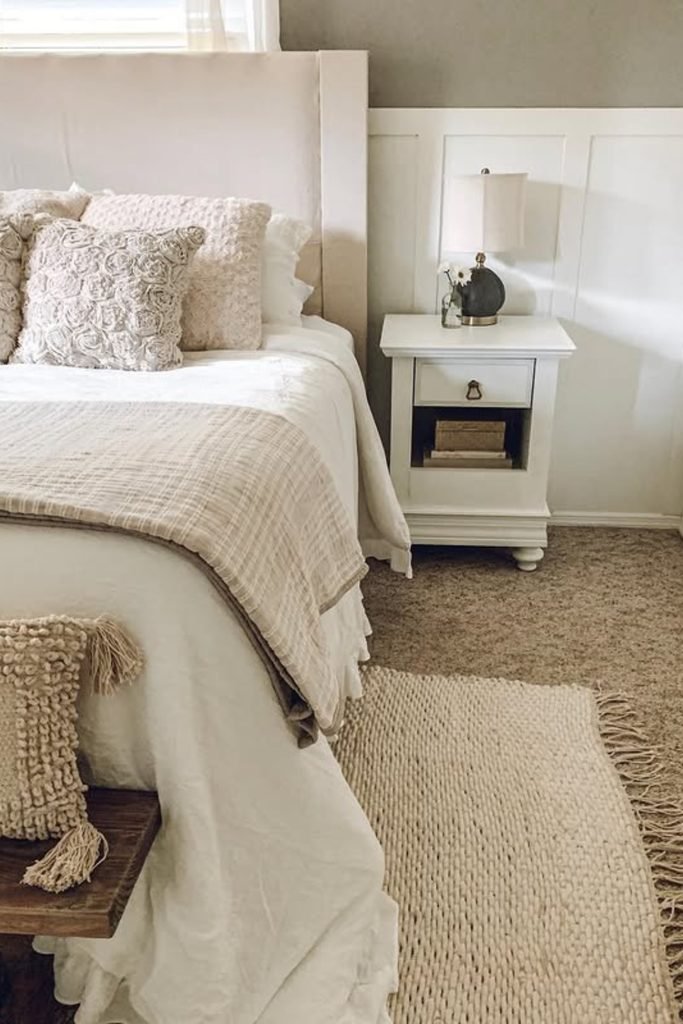
Marbled Fabric
A dramatic fabric can do most of the design work, letting you keep the actual headboard construction simple, rectangular, and beginner friendly.
Before cutting, position the strongest part of the pattern across the center so interesting lines remain visible above your pillows and bedding.
Smooth the fabric carefully before stapling because flowing prints can exaggerate accidental ripples when tension changes from one edge to another.
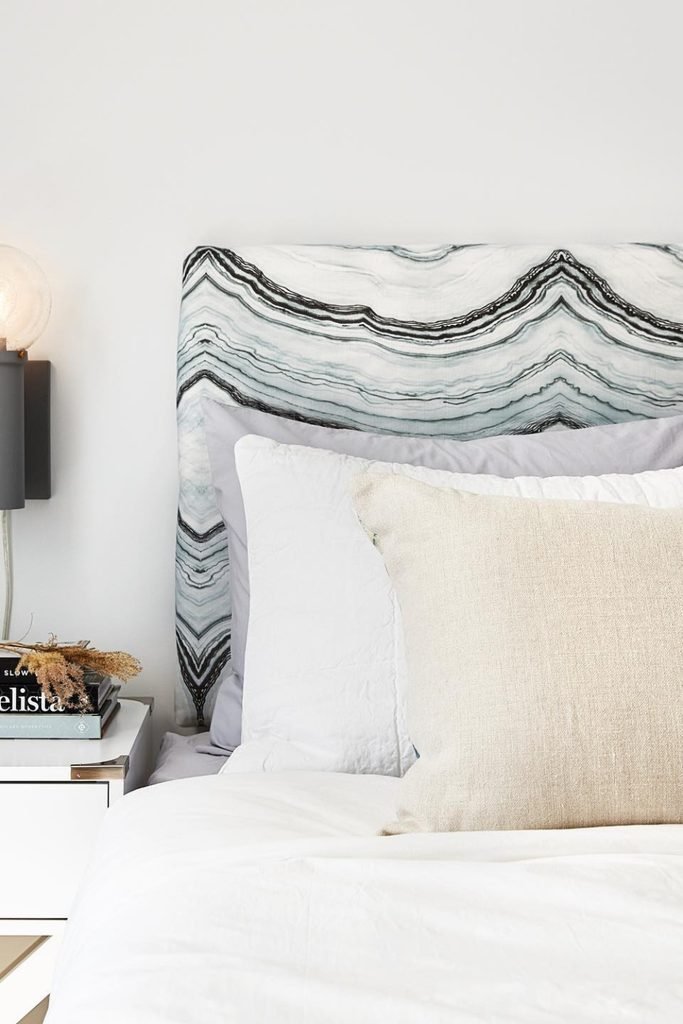
Textile Insert
Old rugs or sturdy decorative textiles can become an upholstered insert, giving you another way to reuse fabric with interesting woven character.
Rather than covering the whole structure, frame the textile between exposed wood sections so you need less material and avoid difficult wrapped corners.
Check thickness before stapling a vintage textile, since heavier woven pieces may require stronger staples and a solid backing to stay securely attached.
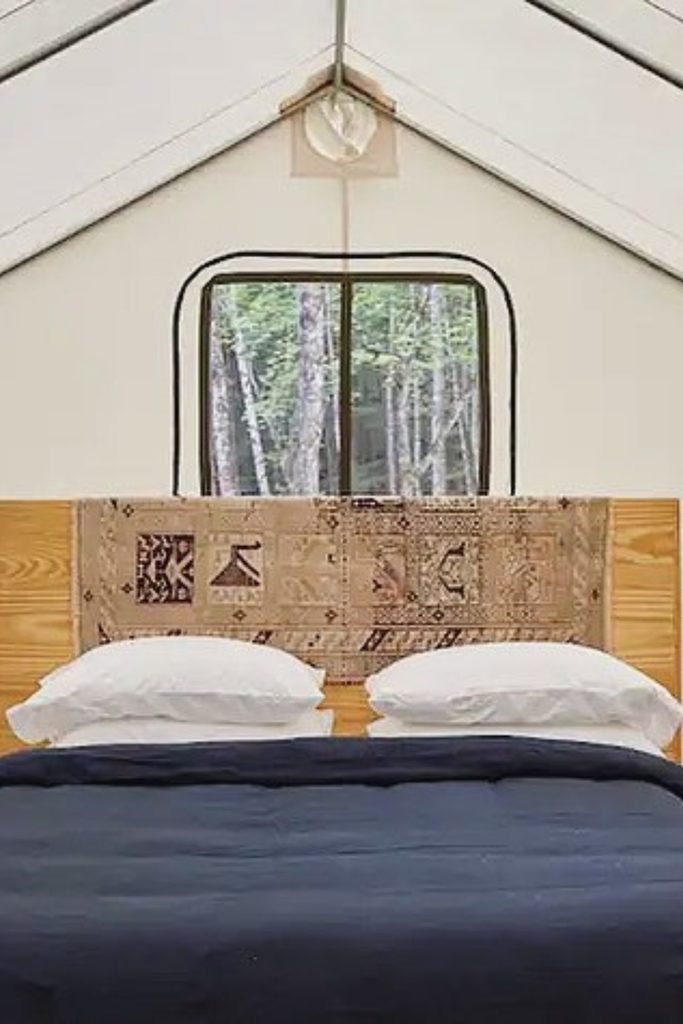
Striped Arch
Striped fabric becomes much easier to judge when the headboard has a clean silhouette, so alignment deserves attention before you start stapling.
Trace the gentle arch symmetrically, then position the center stripe directly over your midpoint to keep both sides visually balanced after wrapping.
Secure opposite edges in stages instead of finishing one side first, checking frequently that your vertical stripes have not started leaning sideways.
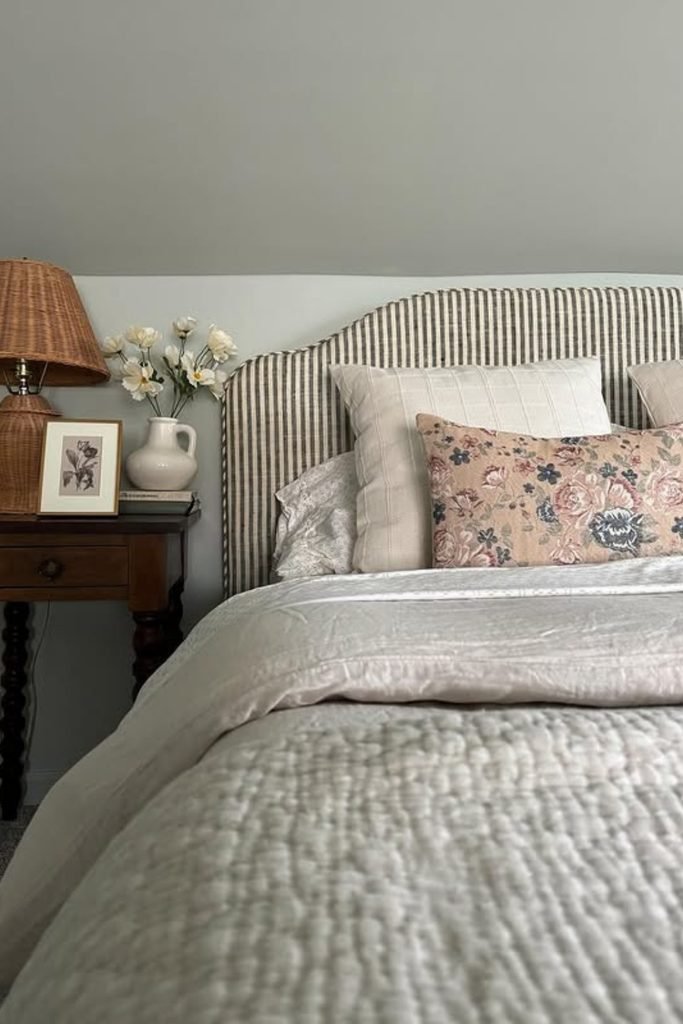
Geometric Print
If precise tufting feels too ambitious, a colorful geometric fabric can create plenty of detail across a straightforward padded headboard instead.
Keep repeating diamonds centered from the beginning, since even a small shift becomes noticeable when strong geometric lines reach the outer edges.
Clip excess fabric carefully around shaped shoulders, leaving enough allowance to fold behind without creating bulky gathers along those inward curves.
Clean Padding
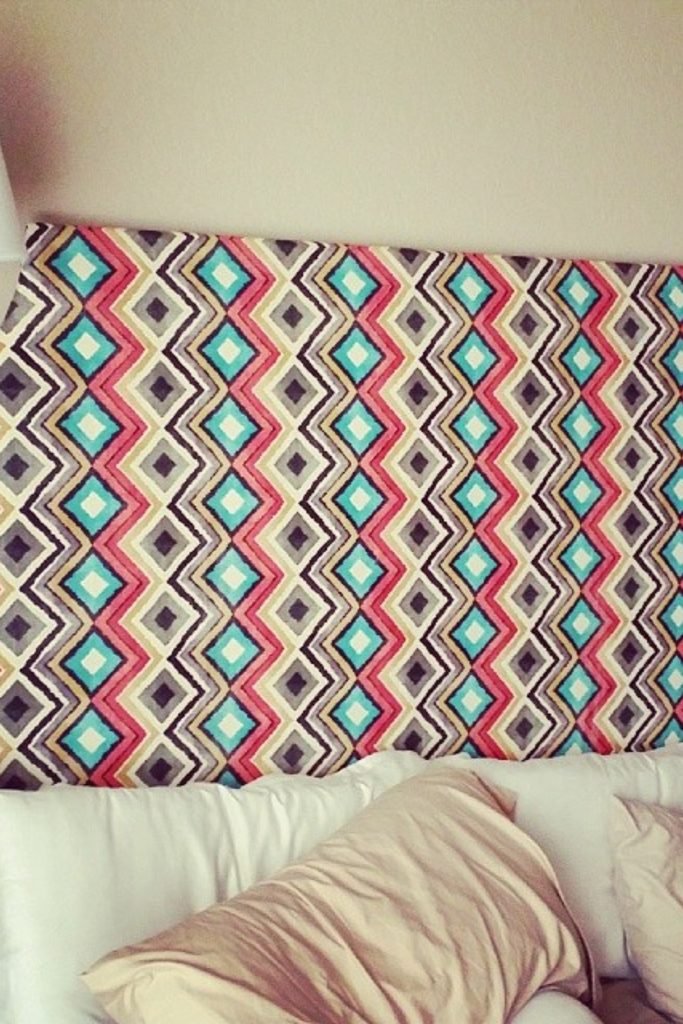
When you want a headboard that feels finished without extra decoration, smooth padding and carefully wrapped edges can carry the entire design.
Cut your foam flush with the board, then use batting to soften each edge before stretching the final fabric across the surface.
Check both top corners before adding your final staples, since uneven folding can make an otherwise simple rectangular headboard look slightly crooked.
Velvet Panels
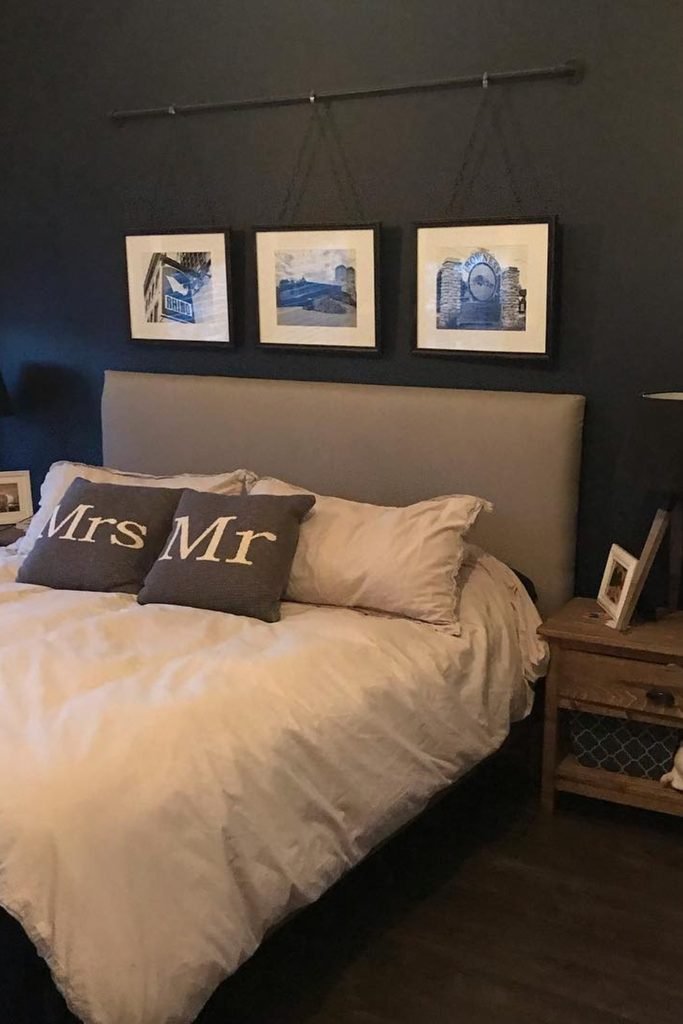
Separate tall panels are worth considering when one oversized upholstered board feels difficult to cut, wrap, transport, or mount by yourself.
Give every panel the same rounded top, then upholster them individually so you can correct wrinkles without disturbing the neighboring sections.
Velvet adds depth to repeated shapes, but keep its pile running consistently across every piece so the finished panels match under light.
Scenic Print
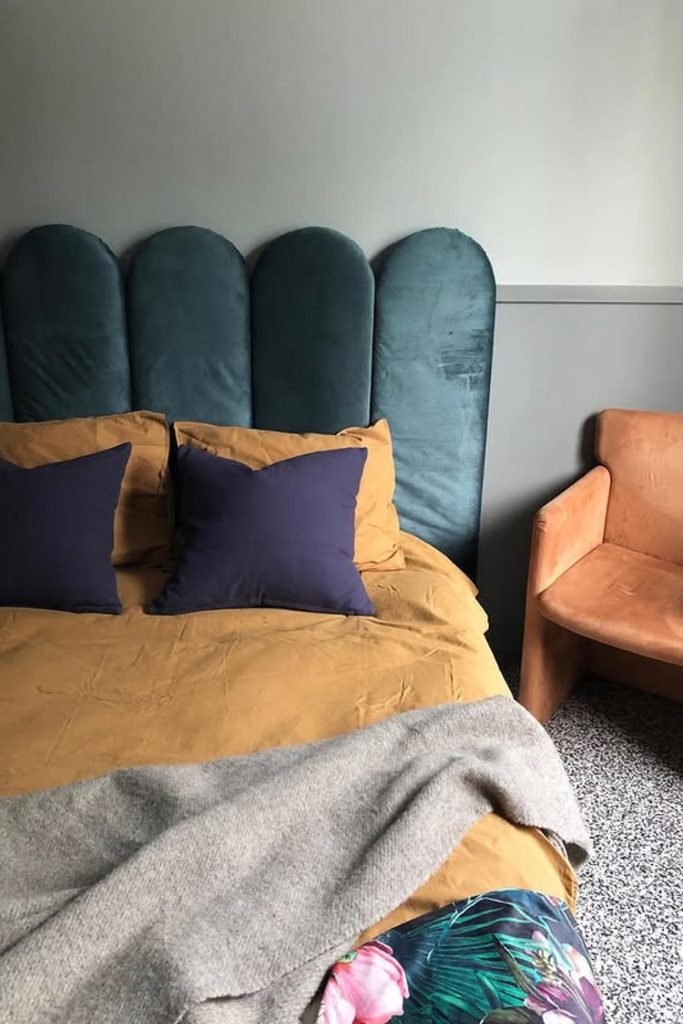
Large scenic prints deserve careful placement, so decide which part of the artwork should remain visible before cutting your upholstery fabric.
A stepped silhouette can echo the decorative fabric without needing buttons, while contrasting piping gives those changing curves a cleaner finished outline.
Keep busy motifs away from awkward seams whenever possible, because uninterrupted fabric lets the headboard read more like artwork than patchwork upholstery.
Bold Pattern
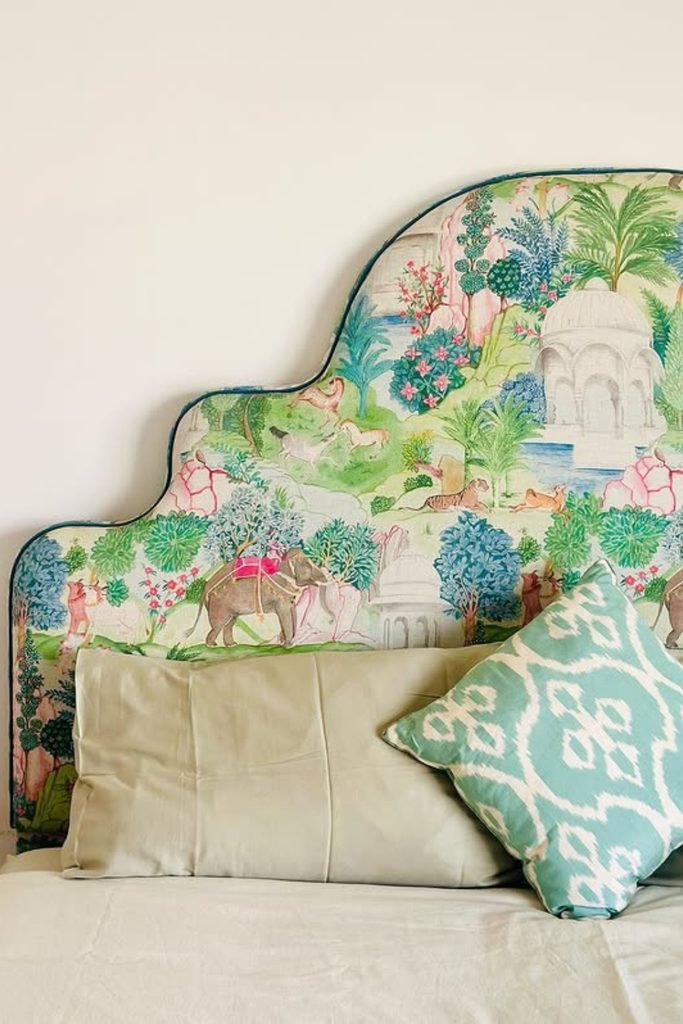
A strong repeating pattern is an easy way to make basic upholstery feel intentional when you would rather skip buttons and complicated tufting.
Mark the center of both fabric and board first, then align the main pattern before pulling anything around the padded edges.
Alternate your staples between opposite sides while working outward, helping the geometric lines remain level instead of drifting as fabric tension increases.
Basic Wrap
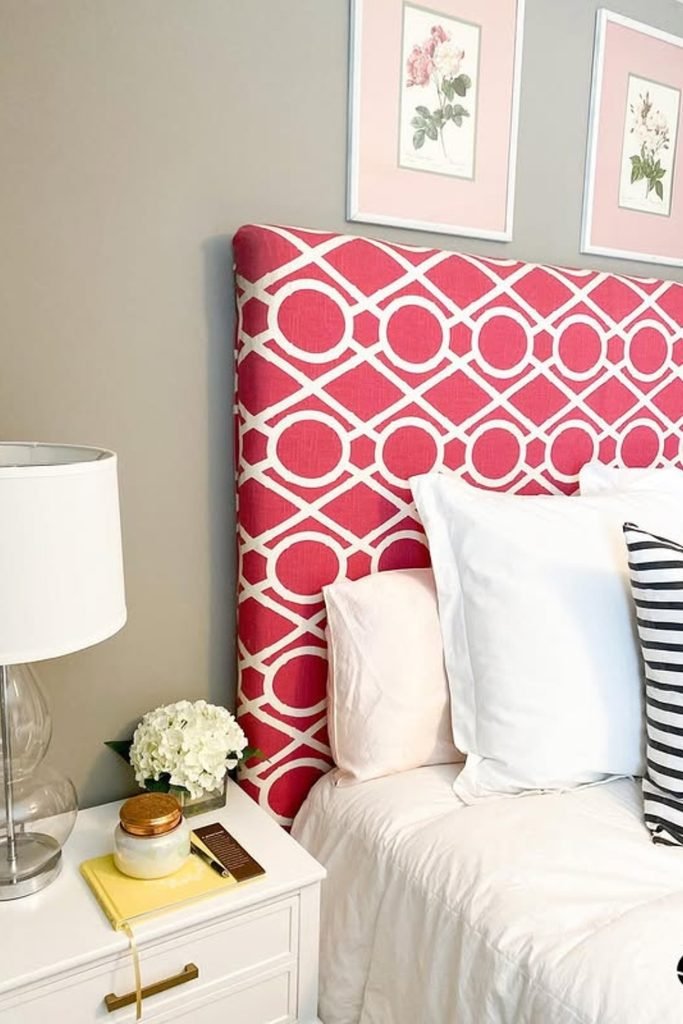
If you want to keep the build affordable, a plain padded rectangle lets you spend less time cutting and more time finishing neatly.
Use one continuous piece of fabric across the front, leaving generous excess around every side for easier pulling and stapling behind.
A lightly textured upholstery fabric can disguise tiny imperfections better than slick material, which helps when you are tackling upholstery for the first time.
Neutral Linen
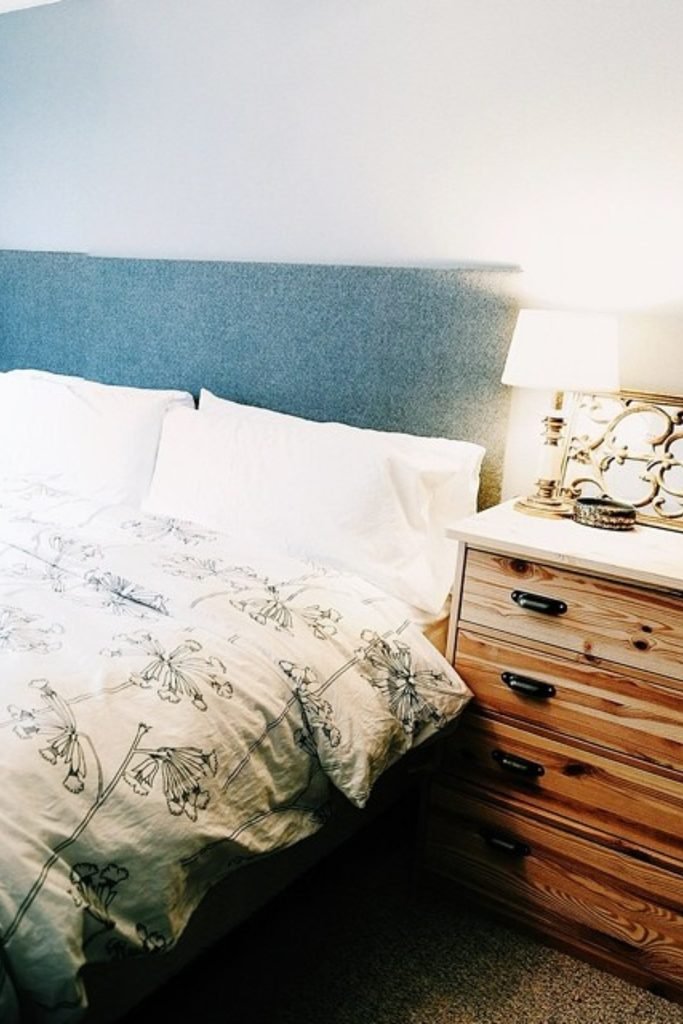
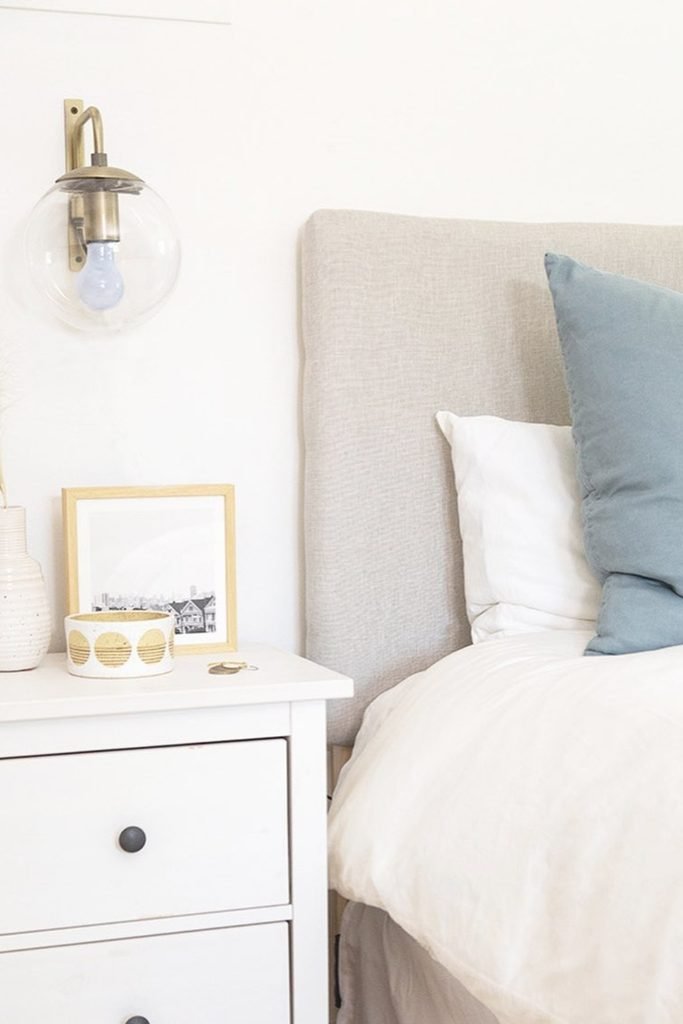
Soft neutral fabric is useful when you want the headboard to stay flexible as bedding, wall colors, or bedroom accessories change later.
Give the board enough foam to feel comfortable against your back, then add batting so the straight edges look softly rounded.
Before closing the corners, trim unnecessary bulk from the batting carefully so several folded layers do not create visible bumps underneath.
Tapestry Headboard
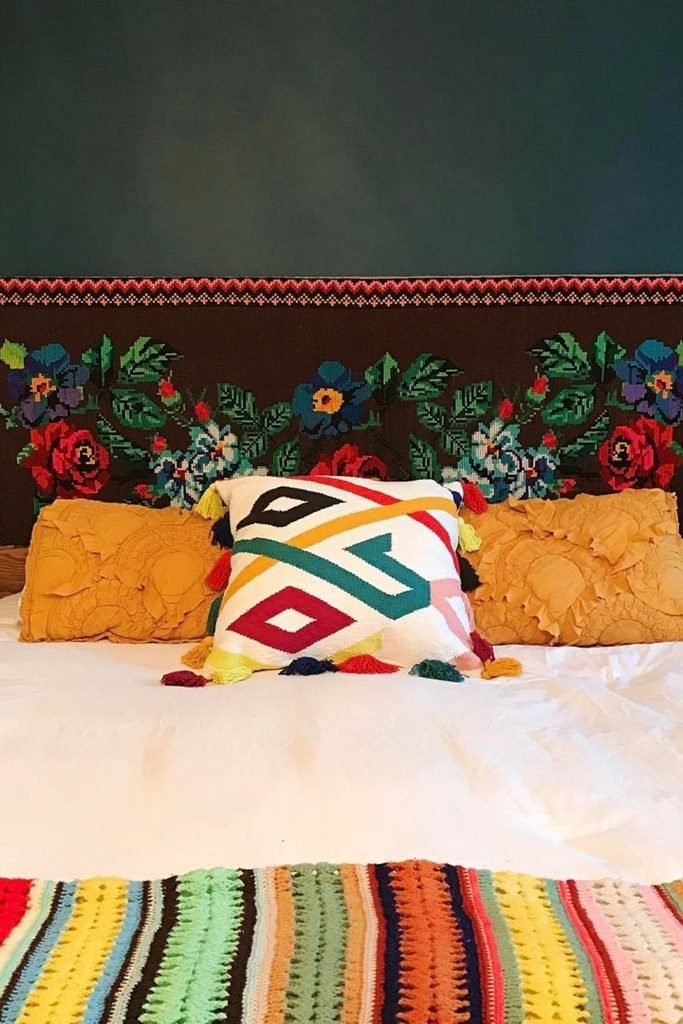
A vintage tapestry can replace ordinary upholstery fabric when you want the headboard to carry color, pattern, and personality without extra detailing.
Stretch it over a firm backing rather than loose padding, keeping the decorative border level so the original textile design remains recognizable.
If the textile feels thick or tightly woven, test your staples on leftover material first to make sure they penetrate securely without damage.
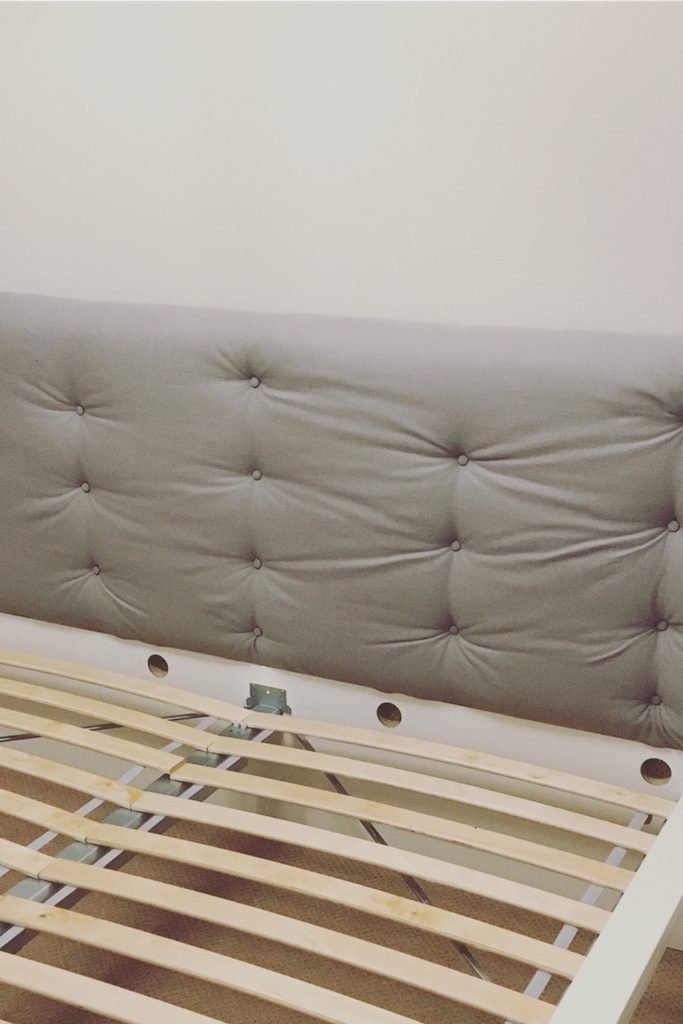
Shallow Tufting
Shallow button tufts are a useful middle ground when you want visible texture without creating the deep folds of diamond tufting.
Space the buttons evenly across your board, then pull each one gradually while smoothing nearby fabric before moving to the next position.
Watch the horizontal fabric between buttons as you work, since uneven tension can create long wrinkles instead of controlled, softly gathered sections.
FAQs
Can You Make an Upholstered Headboard Without Sewing?
Yes, many simple upholstered headboards can be finished with foam, batting, fabric, and a staple gun instead of sewing.
Straight rectangular shapes are especially manageable because the fabric can wrap around the edges and secure at the back.
How Thick Should Foam Be for an Upholstered Headboard?
Around 1 to 2 inches of upholstery foam works well for many DIY headboards, depending on how padded you want the finished surface.
Remember to add batting over the foam because it helps soften the edges and creates a smoother base for your fabric.

Hi, my name is Ali Mehmood! I’m a passionate writer and DIY enthusiast who loves turning creative ideas into practical, hands-on projects.
I created this website to share inspiring, budget-friendly ideas that you can do yourself – whether it’s organizing your home, crafting something unique, or creating fun projects for kids and pets.
I believe DIY isn’t just a hobby – it’s a smart way to save money, reduce waste, and enjoy the satisfaction of making things with your own hands.
I’m excited to have you as part of this growing community, and I’ll continue bringing you helpful, realistic, and fun DIY ideas you can actually use.