This post may contain affiliate links: read full affiliate disclosure.
If your kids enjoy crafts, you know the challenge, markers on the dining table, paper scraps all over the floor, and half-finished projects stuffed into random drawers.
The mess makes you dread craft time, and your kids quickly lose interest when they cannot find what they need. You do not need a whole playroom or a big budget to solve this.
With just a small corner and a smart setup, you can create a space that is creative, organized, and safe for your kids.
In this article, I will show you how to set up a craft corner at home that your kids will actually use and you can finally enjoy craft time without the mess.
Let’s jump into it!
How Can I Create a Craft Corner on a Budget?
You do not need to spend a lot of money to set up a craft corner for kids.
Use things you already have at home, like mason jars for markers, shoe boxes for paper, or an old table as the workspace.
Dollar stores are a great place to find basics like bins, trays, and washable supplies. Instead of buying everything at once, try rotating materials to keep things fresh.
The most important thing is to keep the space organized and easy for kids to use. You do not need fancy furniture or branded storage to make it work.
Save this article for later
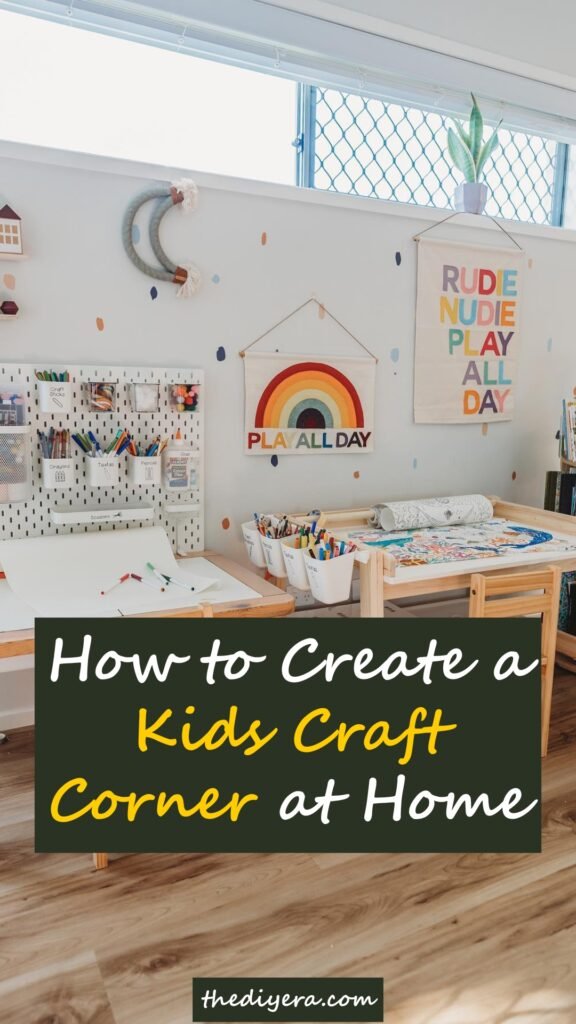
Step By Step Guide to Create a Kids Craft Corner at Home
Images are sourced from Mrs Organized YouTube Channel to help my readers visualize these steps. You can check out their channel for more inspiration and detailed guides.
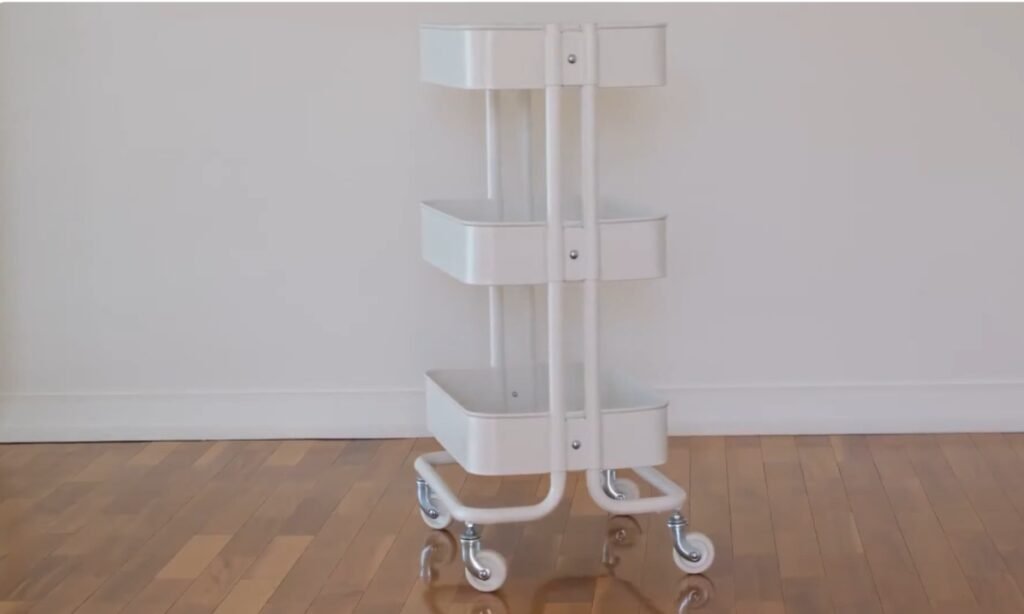
1. Start with a Craft Trolley
Consider using a three-tier trolley with wheels. This will make it easy for you to move around and store away.
You can use each shelf for different supplies, which helps you keep everything organized and easy to grab.
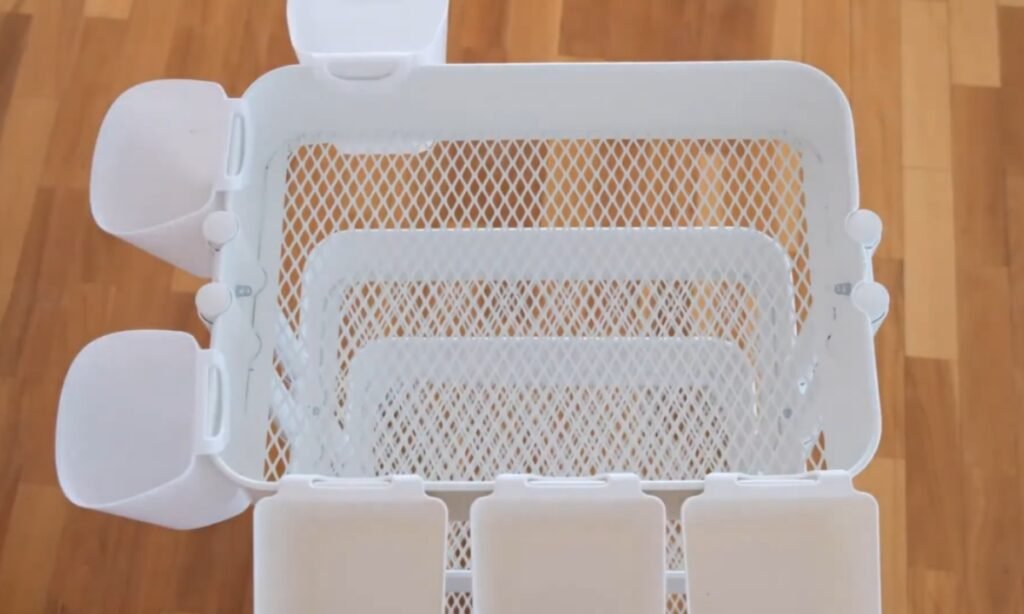
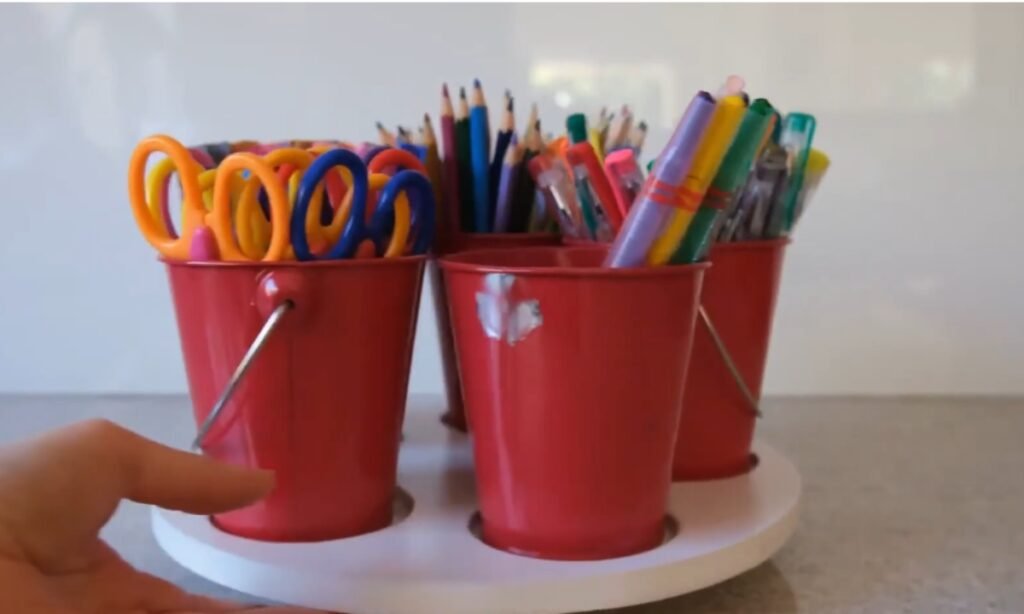
2. Add Clip-On Containers
Hook small containers onto the trolley’s edges for pens, scissors, and markers. On the top shelf, place magazine files for paper, notebooks, and sticker books.
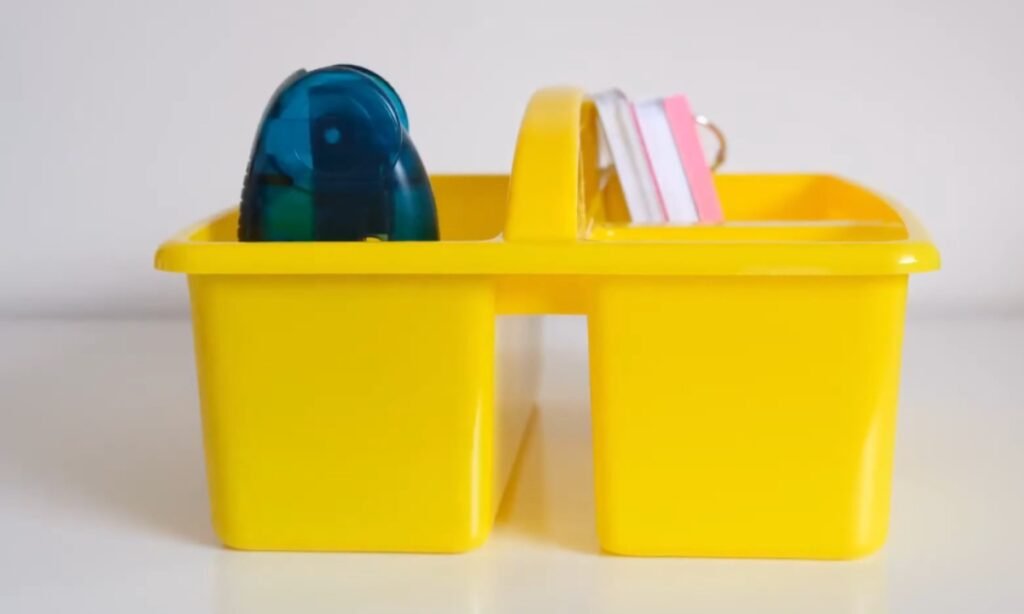
3. Use a Handy Art Caddy
To stay organized, you can fill a portable caddy with your daily supplies like glue, tape, rulers, and scissors.
You will find that smaller boxes placed inside are great for holding tiny items such as erasers or paper clips.
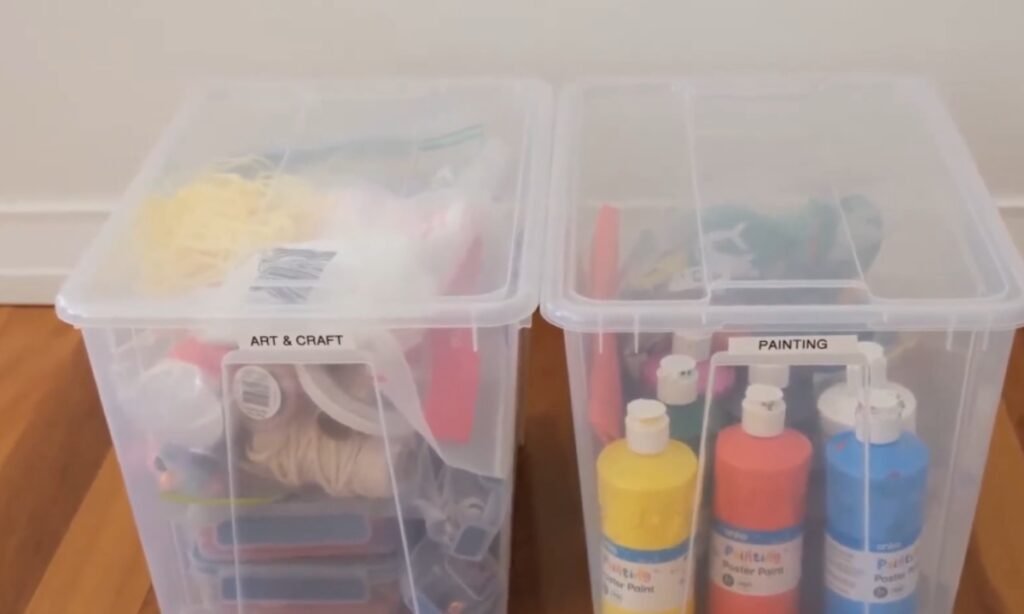
4. Label and Categorize
Print labels for containers so kids know where to put crayons, pencils, brushes, and paints. This makes it easier to find supplies and speeds up cleanup.

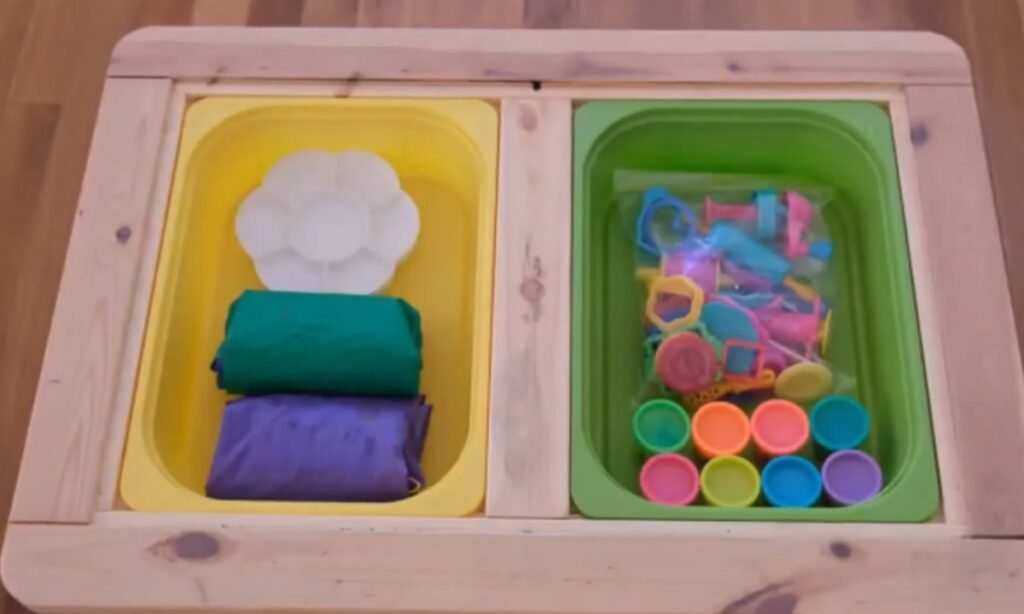
5. Add a Storage Table
Set up a kids’ table with hidden tubs under the lids. It is great for storing the larger craft items and works well with it when placed next to the trolley.
6. Stack Clear Containers
Store paints, brushes, and larger supplies in stackable clear boxes. Keep them on a shelf or in a cupboard to save space and make everything easy to see.
7. Store Bulky Items Smartly
You can use the canvas bag to hold the recyclables like cardboard, tissue rolls, or fabric scraps. Hang the bag on a hook or rail to keep the floor clear.
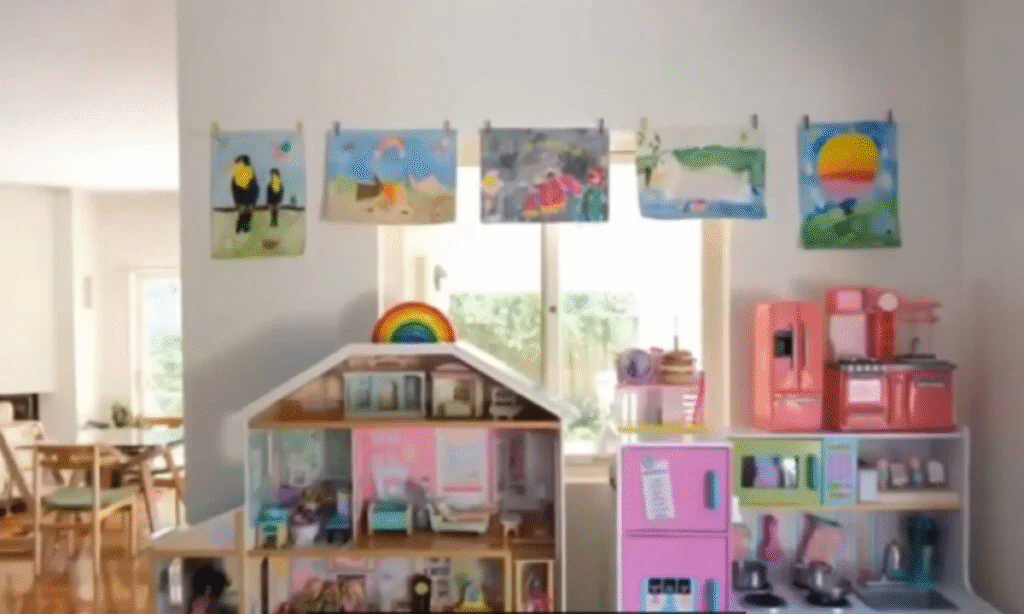
8. Organize and Display Artwork
You can file the artwork into folders labeled with a name and year, or you can take photos to save it on your computer. For a fun idea, hang a string with clips to show off their newest pieces.

What Mistakes Should I Avoid When Setting Up a Craft Corner?
One big mistake parents make is setting up the craft corner in the wrong place. If the area is dark or far from where the family spends time, kids will not want to use it.
Another mistake is putting out too many supplies at once. This only creates clutter and makes kids feel overwhelmed. Skipping labels is another common problem.
Without clear bins or picture signs, cleaning up becomes a mess. Some parents use glass jars or high shelves, but these can be unsafe and hard for kids to reach.
Finally, forgetting simple cleanup tools like a small trash bin or a washable mat makes craft time messier than it needs to be.
How Can I Add Fun Touches to the Craft Corner?
A craft corner works best when it feels special to your kids. Do not leave it plain, add small touches that help spark their creativity.
Hang up a string with clips or use a corkboard so your kids can show off their finished projects. Lay down a bright rug or put up a few wall stickers to make the space inviting without making it too busy.
Good lighting is important too. A window or a small lamp can make the space feel brighter and happier.
Ask your kids to help pick out some of the decorations, because when they help, they will feel proud of the space and want to spend more time there.
Even a small plant or a fun jar for brushes can turn a simple corner into a favorite spot.
Conclusion
Creating a kids’ craft corner at home doesn’t need to be complicated or expensive. All you really need is a small space, some basic furniture, and a smart way to keep supplies organized.
By choosing the right spot, adding safe materials, and making the area inviting, you’ll give your kids a place where creativity comes naturally.
Don’t forget the small details like labels, easy cleanup tools, and a display area for their work. These touches keep the space useful and fun for the long term.
When your kids have a corner designed just for them, craft time becomes less stressful for you and more exciting for them.
FAQs
How do I set up a craft corner if I don’t have much space?
You do not need a whole room to create your craft space. A small three-by-three-foot spot can be plenty of room if you use the wall space for storage.
You can add things like shelves, pegboards, or an organizer that hangs over the door.
A cart with wheels is another great idea because you can roll it out of the way when you are finished.
How do I keep my child from losing interest in the craft corner?
Rotate your supplies instead of leaving everything out all the time.
You can introduce seasonal themes, fresh colors, or holiday projects to create new excitement. Let your child help choose new materials or decorate the art area.
When they feel a part of the process, they will want to keep using the space.
You may also like to read!
- How to Make a Sensory Board for Toddlers
- How to Make a Baby Mobile at Home
- How to Sew a Baby Blanket Step by Step

Hi, my name is Ali Mehmood! I’m a passionate writer and DIY enthusiast who loves turning creative ideas into practical, hands-on projects.
I created this website to share inspiring, budget-friendly ideas that you can do yourself – whether it’s organizing your home, crafting something unique, or creating fun projects for kids and pets.
I believe DIY isn’t just a hobby – it’s a smart way to save money, reduce waste, and enjoy the satisfaction of making things with your own hands.
I’m excited to have you as part of this growing community, and I’ll continue bringing you helpful, realistic, and fun DIY ideas you can actually use.