
This post may contain affiliate links: read full affiliate disclosure.
Putting up peel-and-stick wallpaper seems easy until you are standing there with a roll in one hand and doubts in your mind.
What if it ends up crooked? What if bubbles keep showing up no matter how much you smooth them out? And what if peeling it off later damages your walls?
These are the questions almost everyone asks before starting.
This article will clear up the confusion and show you exactly how to do it right the first time. Step by step, with real tips to solve the problems most people face.
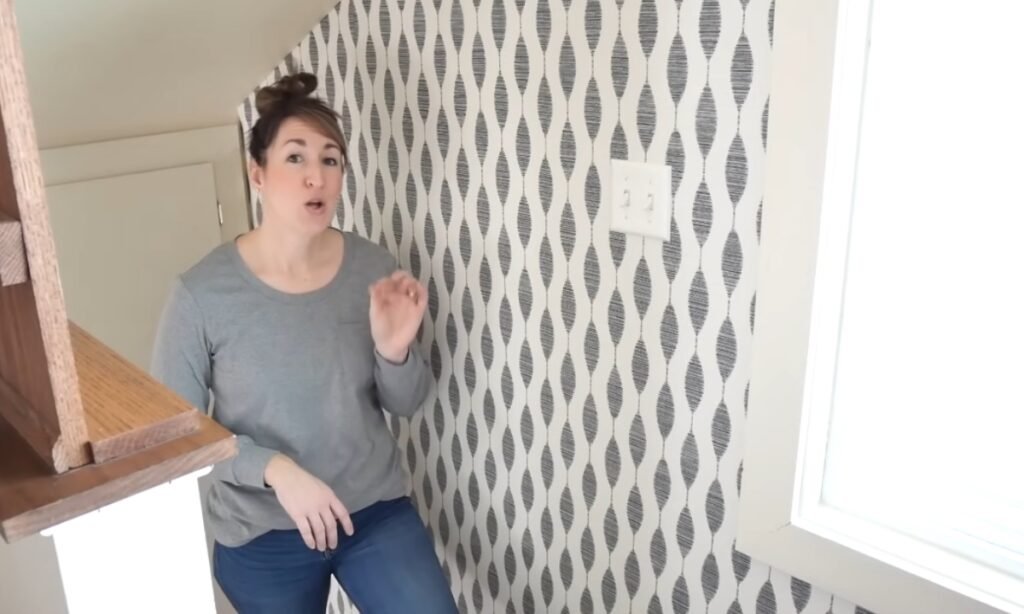
How Can You Make the Installation Easier?
Good lighting makes a big difference when you put up wallpaper. If the room is too dark, you might miss small bubbles or seams that are not straight until it is too late.
Another tip is to pick wallpaper with a background color close to your wall. This way, even if there are tiny gaps at the seams, they will not stand out.
For outlets or switches, do not cut holes before sticking the wallpaper. Place the wallpaper right over the spot, trim it neatly afterward, and then put the cover back on.
Lastly, peel-and-stick wallpaper does not do well in extreme conditions.
Too much steam in a bathroom or direct sunlight in a hot room can weaken the adhesive. Keep the space stable for the best results.
Save this article for later
What You’ll Need Before Starting
- Peel and stick wallpaper rolls (order one extra)
- Measuring tape
- Level or laser level
- Utility knife with sharp blades
- Smoothing tool or plastic card
- Pencil
- Step ladder
Step By Step to Install Peel and Stick Wallpaper
Images are sourced from Grace In My Space YouTube Channel to help my readers visualize these steps. You can check out their channel for more inspiration and detailed guides.
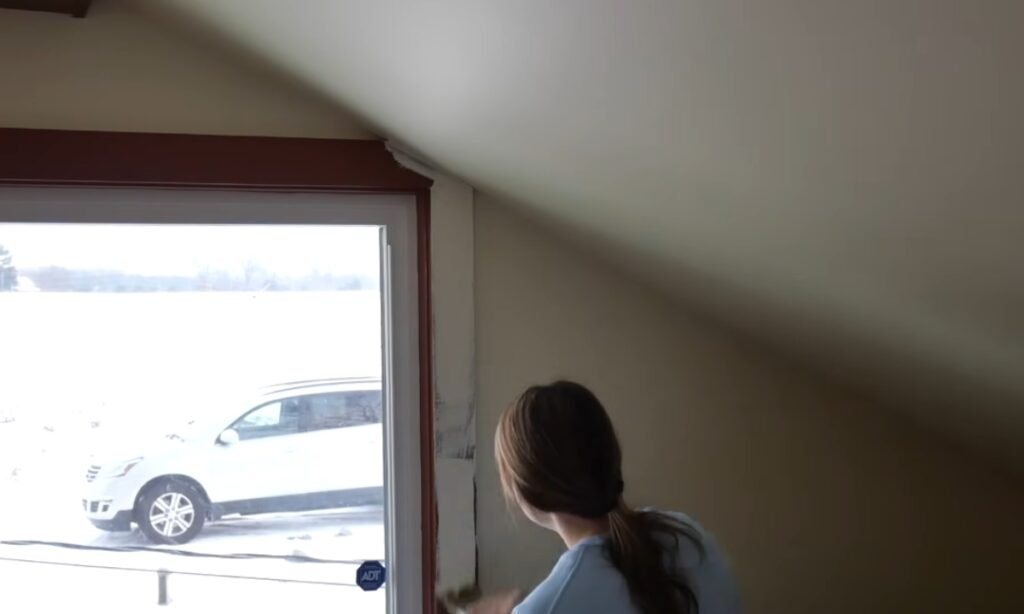
1. Prep the Walls
You can paint the walls first if needed, then clean them thoroughly to ensure the wallpaper sticks well. A smooth and dry surface is key to getting the best results.
2. Measure and Mark a Line
Measure the width of the roll and mark that measurement on the wall. Use a level to draw a straight vertical line.
Do not depend on the ceiling or corners to guide you.
3. Gather Your Tools
Keep a level, pencil, scraper, sharp blade, and wallpaper nearby. Having everything ready saves time once you start peeling.

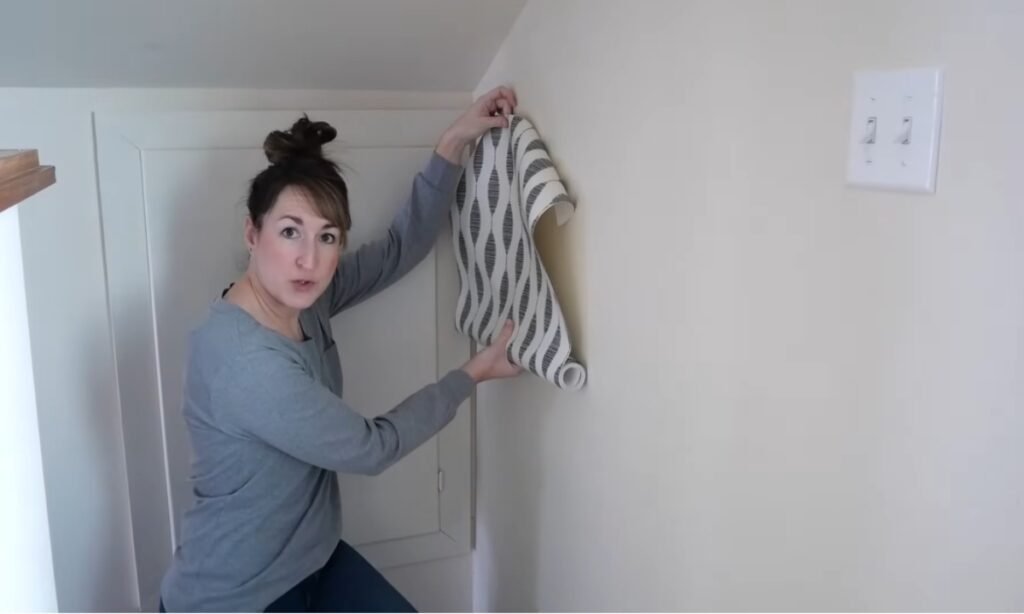
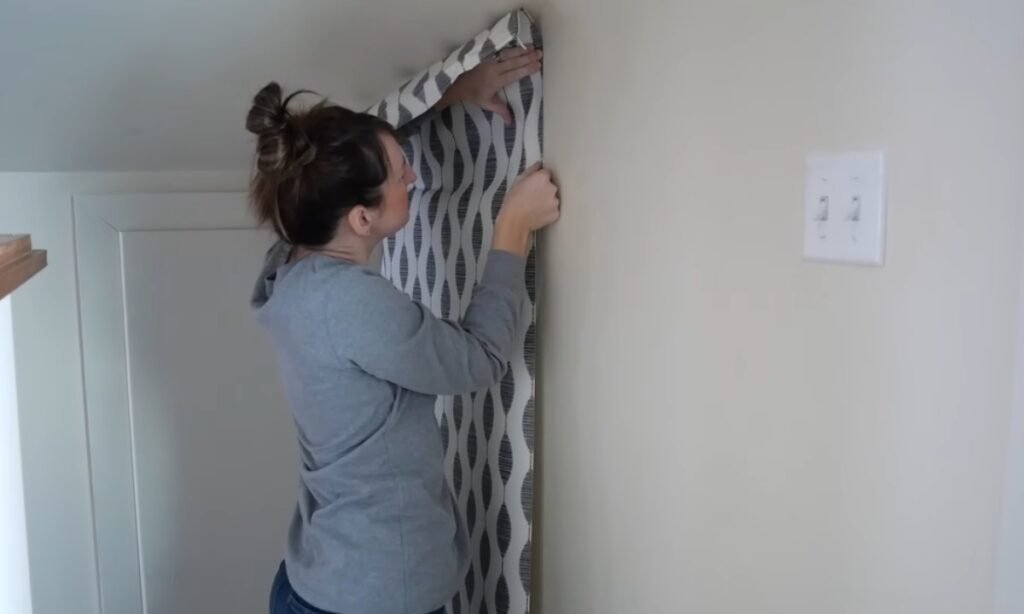
4. Stick the Top Edge
Peel back about a foot of the backing. Press the top of the wallpaper above the ceiling line, making sure it lines up with your guide mark.
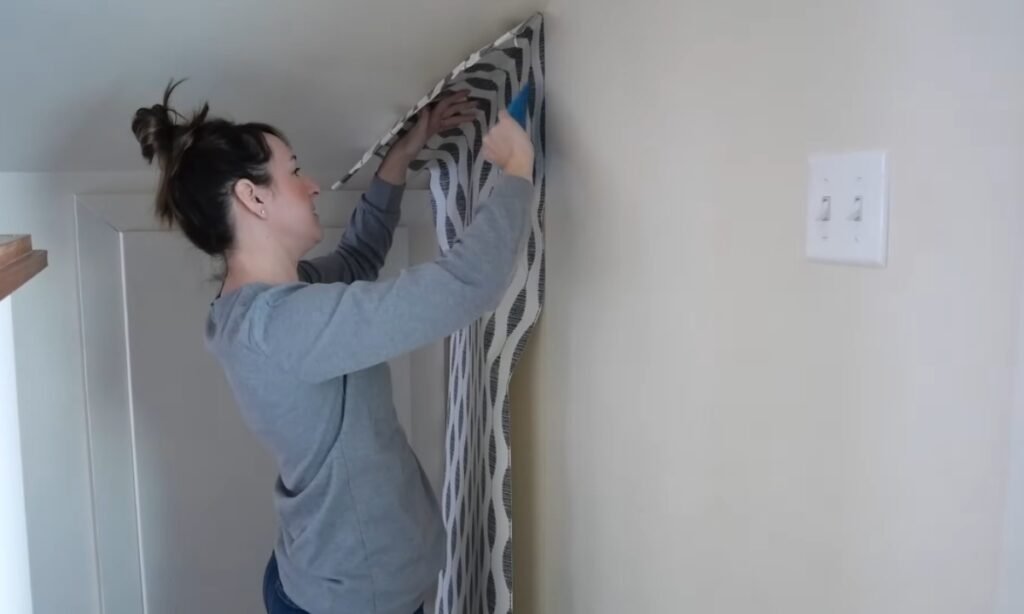
5. Smooth as You Go
Peel the backing slowly and press it down with a scraper as you go. Push any bubbles to the edges or downward while you work.
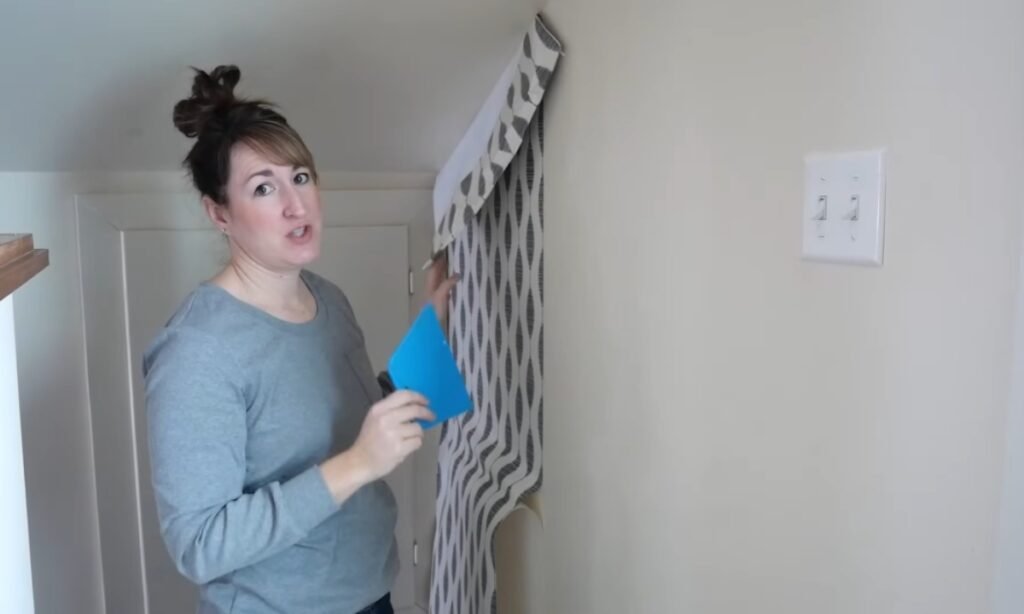
6. Leave Extra for Trimming
Do not cut right away. Leave extra material at the top and bottom until the panel is in place. Once it is set, trim it neatly, using your scraper as a guide.
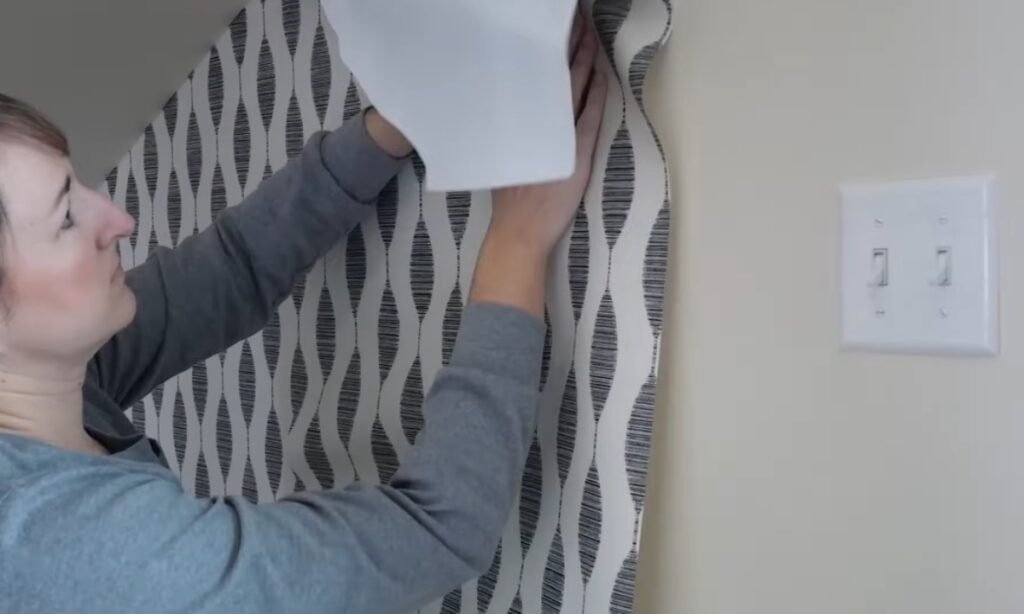
7. Match the Next Panel
First, line up the pattern with care. Then, let it overlap just a little to keep any gaps from showing. Finally, you will smooth it down, just as you did with the first piece..
8. Cut Around Outlets and Trim
For things like outlets, windows, or corners, you will need to make small cuts to get a good fit. After that, smooth everything down, make a clean trim, and look for any bubbles you might have missed.
Common Mistakes to Avoid
One of the biggest mistakes you can make is putting peel and stick wallpaper on a freshly painted wall.
If you do not wait, the wallpaper’s adhesive will not stick properly, and it might peel off within a few days.
Another common problem is not using a level to draw a starting line. If your first piece is not perfectly straight, every other piece you add will also be crooked.
This will make the seams look slanted across your wall.
Many people also try to apply wallpaper over heavily textured walls. The adhesive is not designed for rough surfaces, so you will likely see it lift and create bubbles.
Another issue is not buying enough wallpaper. If you do not order extra, you might find that patterns do not line up correctly, or you could run out before you finish the entire wall.
Finally, rushing the trimming process with a dull knife often ruins the final look. Using a sharp blade and taking your time will help you get clean edges and prevent messy-looking seams.
Conclusion
Putting up peel and stick wallpaper might seem tricky, but it is one of the simplest home projects you can tackle once you know the steps.
Preparation is the most important part, clean walls, fully dried paint, and a perfectly straight first piece will make the rest of the job easy.
You should take your time when smoothing out the paper and trimming the edges. Do not worry about lifting and moving a panel if it does not look right.
With some patience and by following the right process, you will have walls that look crisp, modern, and totally new, all without paying for a professional.
FAQs
Will peel and stick wallpaper work in a bathroom?
Yes, but you should only place it on walls that do not get hit with direct water or a lot of steam. High humidity can make the glue less sticky over time.
To get the best results, you can install it above your backsplash or on walls far from the shower. Always be certain the wall is totally dry before you put it on.
Can I reuse the peel and stick wallpaper after removing it?
Not really. Once you take the panel off the wall, the adhesive backing becomes weaker. It also tends to stretch out when you remove it.
Some companies might say you can reuse their products, but most of the time, the panels will not go on as smoothly for a second use.
If you are looking for a new look in a different room, it is best to buy new wallpaper.
You may love to read!
- How to Build a DIY Compost Bin
- How to Make Outdoor Candles at Home
- How to Make a Macrame Plant Hanger

Hi, my name is Ali Mehmood! I’m a passionate writer and DIY enthusiast who loves turning creative ideas into practical, hands-on projects.
I created this website to share inspiring, budget-friendly ideas that you can do yourself – whether it’s organizing your home, crafting something unique, or creating fun projects for kids and pets.
I believe DIY isn’t just a hobby – it’s a smart way to save money, reduce waste, and enjoy the satisfaction of making things with your own hands.
I’m excited to have you as part of this growing community, and I’ll continue bringing you helpful, realistic, and fun DIY ideas you can actually use.


