This post may contain affiliate links: read full affiliate disclosure.
Building a backyard playground sounds exciting until you start thinking about the cost, space, safety, and whether your kids will actually use it.
Store-bought playsets can be expensive, while some DIY designs feel too complicated or take over the whole yard.
You may also be wondering what activities are worth adding and how to make everything work for your children’s ages.
You’ll find inspiration for small yards, budget-friendly builds, climbing areas, playhouses, mud kitchens, swings, sensory spaces, and more.
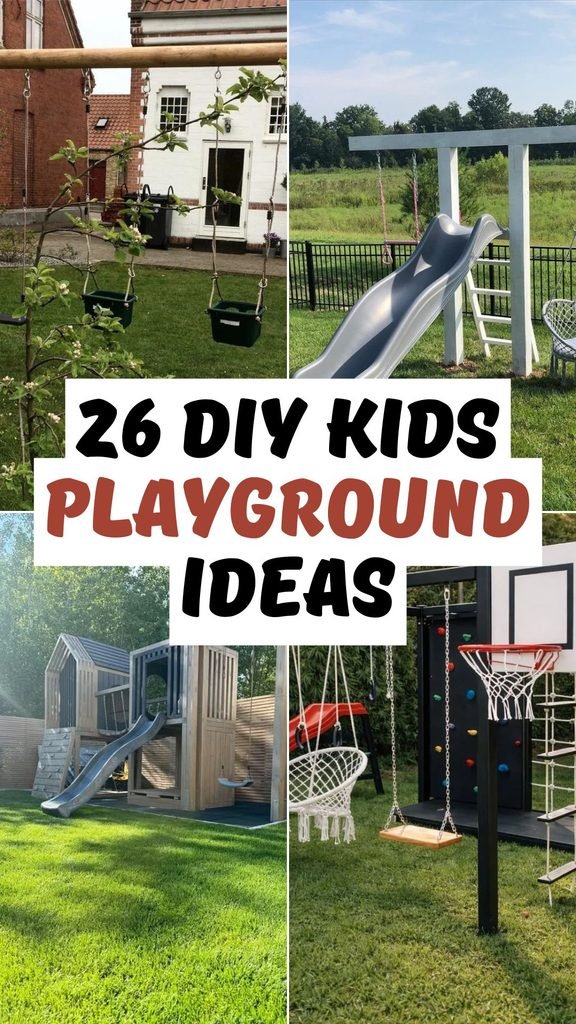
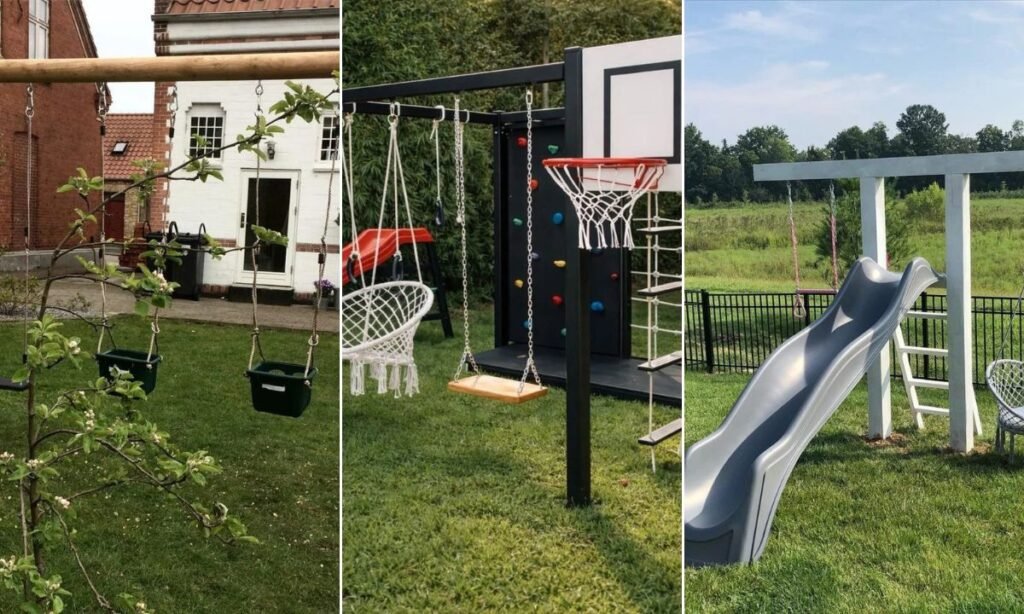
Mix Swing Seats
Keep a timber frame flexible by hanging different swing seats, so younger kids and older siblings can share one setup.
Bucket seats add extra support for toddlers, while a flat swing keeps the structure useful as children become more confident.
Leave generous clearance around every moving seat, and anchor the posts securely before letting several children swing at once outside.
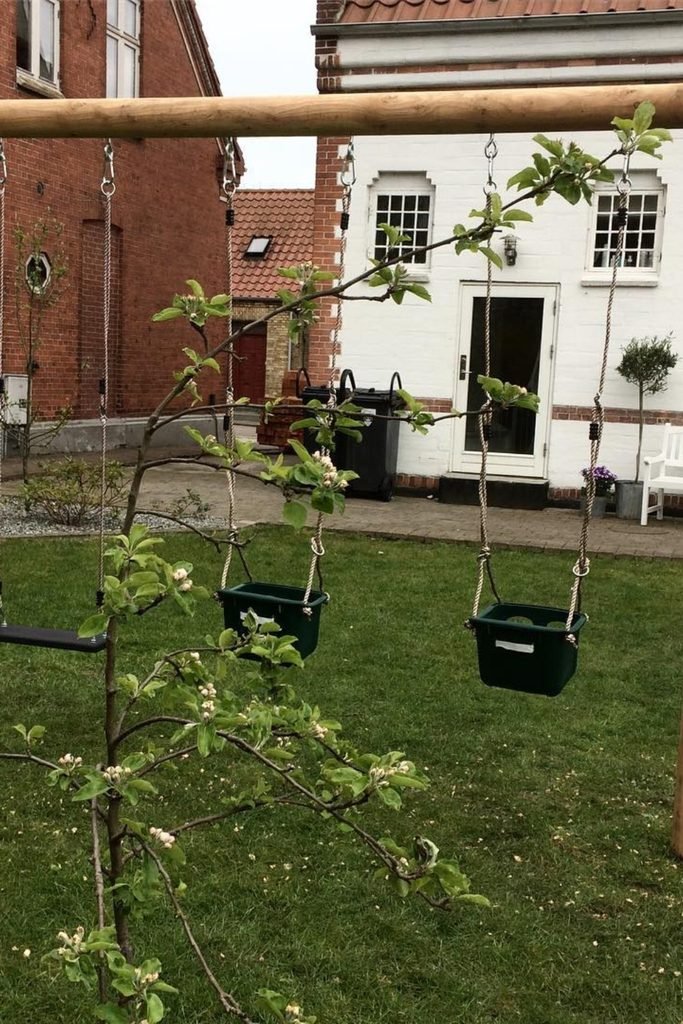
Build Upward
Short on backyard room? Pair a slide with one nest swing instead of spreading several separate activities across the lawn.
A central ladder can serve the slide without adding another bulky tower, keeping the footprint manageable for a smaller yard.
Before building, measure landing and swinging zones separately; compact equipment still needs clear space around each activity for safer play.
Create a Play Hub
Turn one raised playhouse into the playground hub, then attach climbing, sliding, and swinging features around the same sturdy structure.
That shared base gives adventurous kids several ways to move without scattering equipment across every open section of your backyard.
For longer use, design attachments you can swap later, replacing toddler features with harder climbing challenges as children grow older.
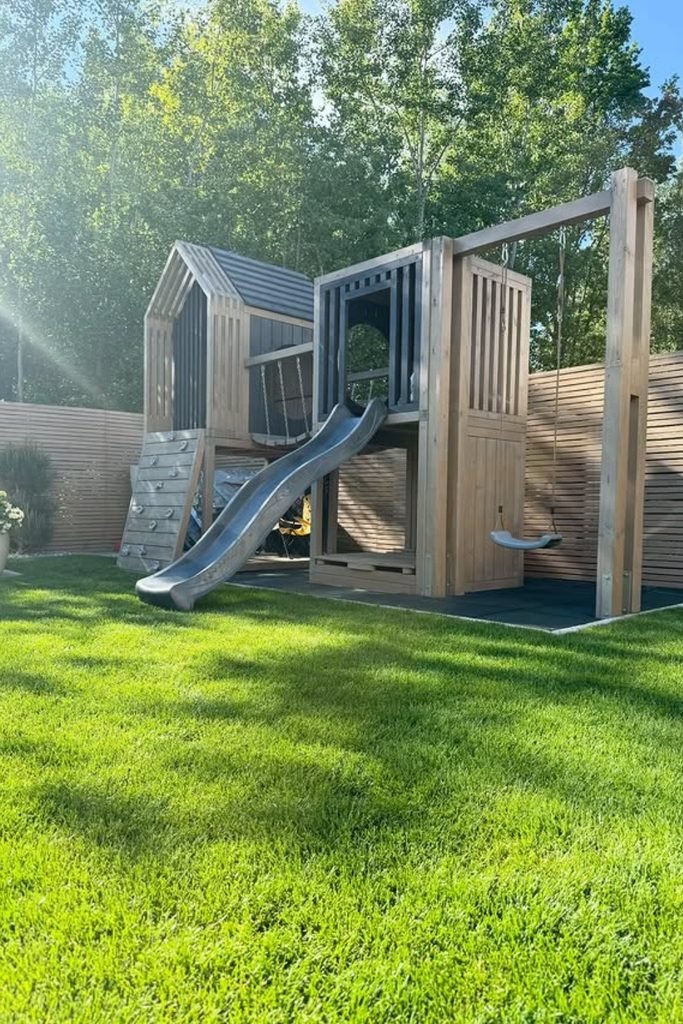
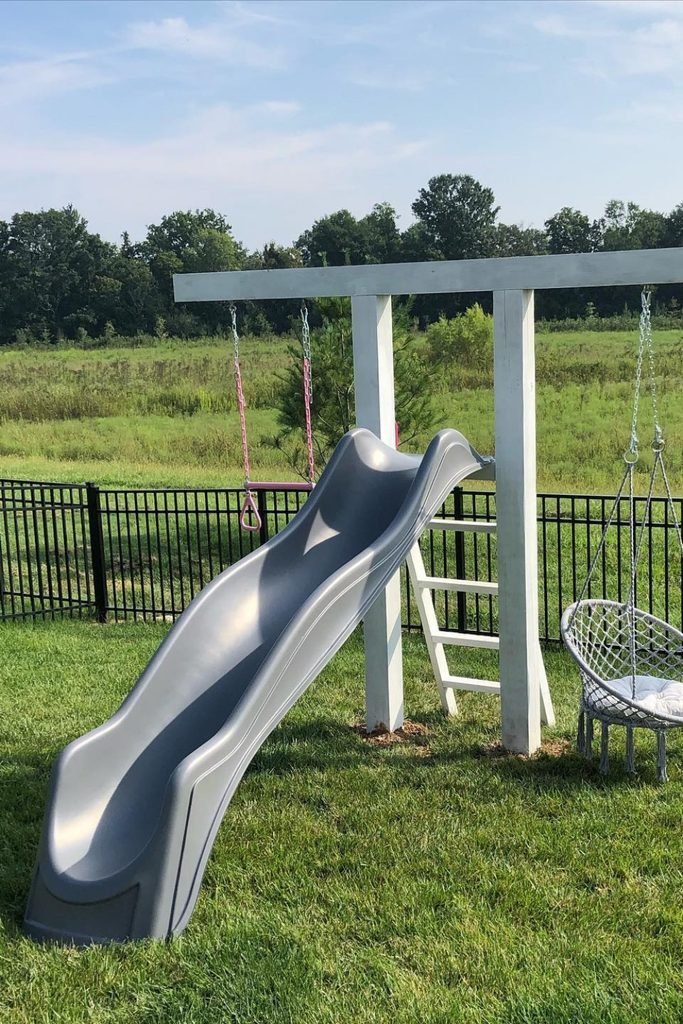
Pack In Activities
When kids bounce between activities, an all-in-one frame can keep climbing, swinging, sliding, and shooting hoops within one play zone.
Use the strongest central structure for climbing features, then position swings and slide where their movement paths will not overlap.
Multiple challenges also help the playground stay interesting longer, especially when siblings prefer different kinds of active play in the backyard.
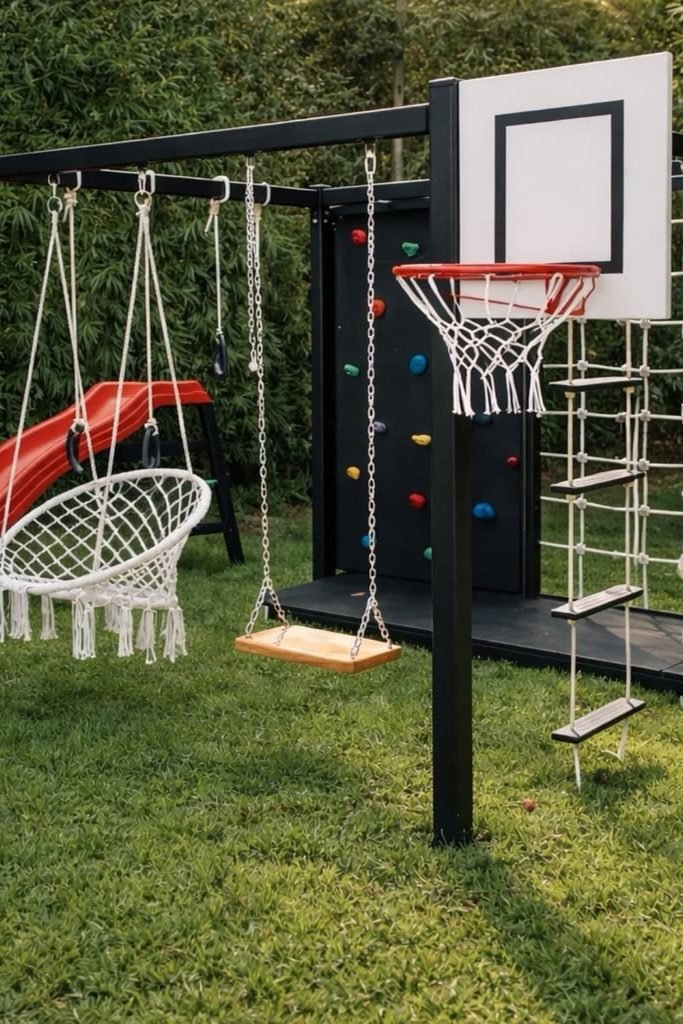
Use Space Below
A raised playhouse can do double duty when you turn the shaded space underneath into a sandbox or digging zone.
Keeping messy play below the platform also saves lawn space and gives younger kids somewhere calmer beside the slide nearby.
Add edging to contain the sand, then check the overhead structure regularly so loose hardware never drops into their play area.
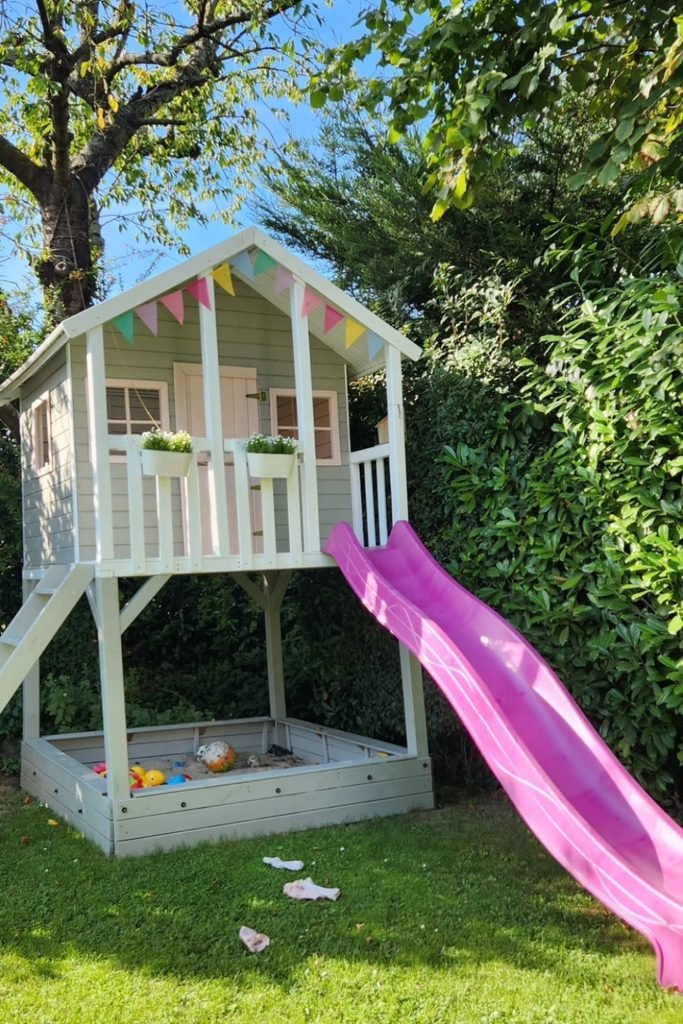
Build One Tower
For a backyard that can handle a larger footprint, connect an A-frame swing beam directly to an elevated play tower.
The roofed platform creates shade between activities, while the open lower level can become storage, seating, or another play spot.
Plan the swing clearance before placing the tower, because a roomy structure still needs safe movement space beyond its wooden frame.
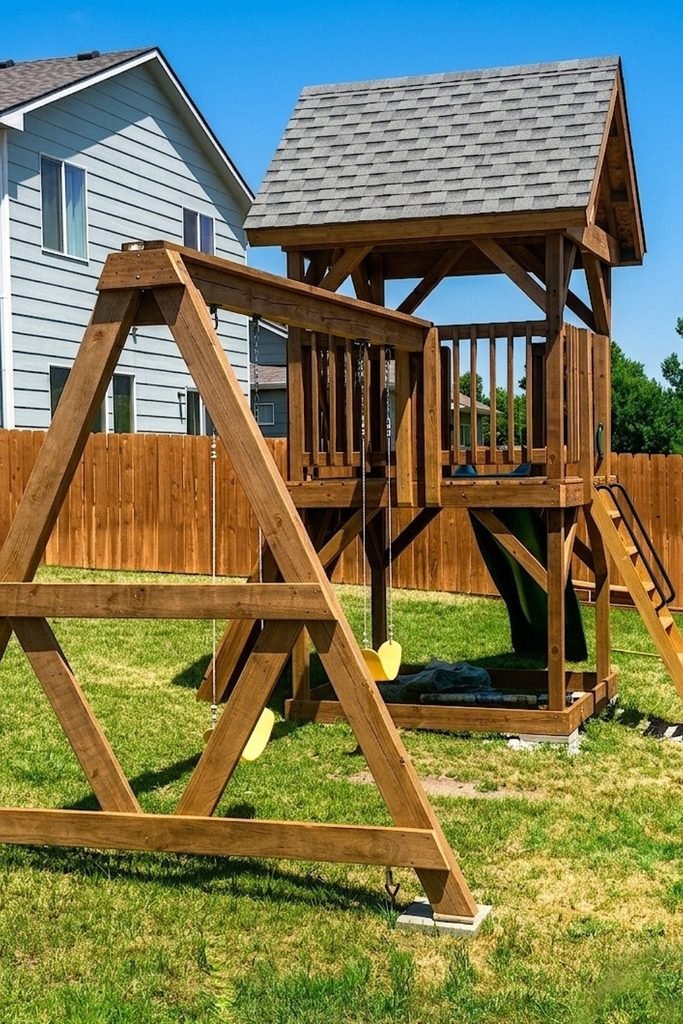
Bring In Color
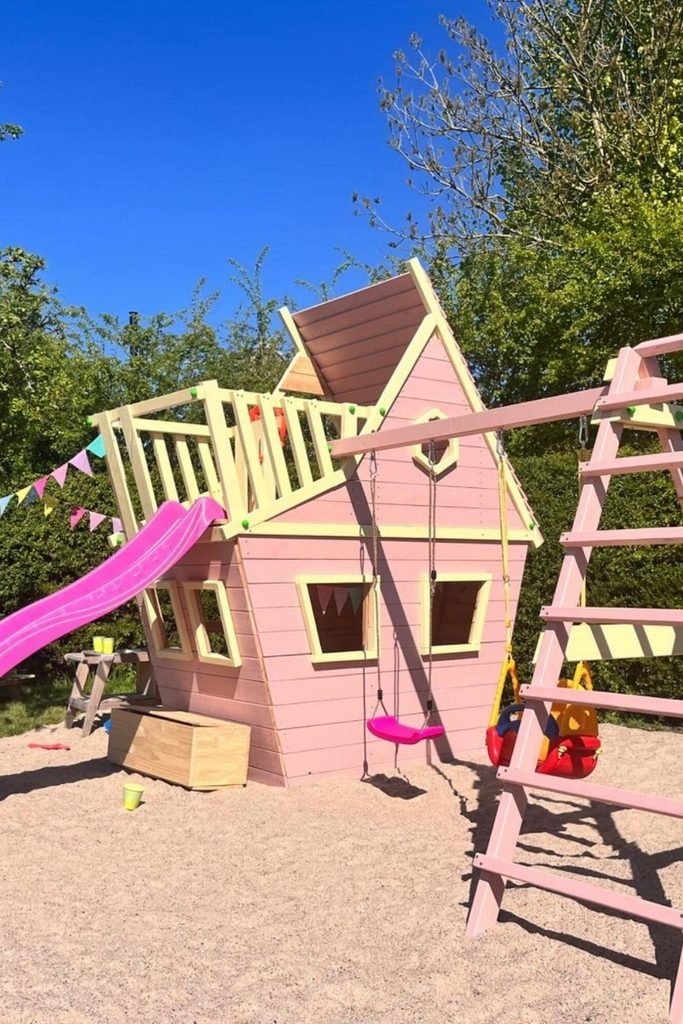
Let color become part of the fun by painting a wooden playhouse in shades your kids will actually get excited about.
A slide, toddler swing, regular swing, and climbing ladder can surround the same house without making each activity feel disconnected.
Use contrasting trim to make handholds and edges easier to notice, then choose outdoor finishes that can handle sun and rain.
Add Bigger Challenges
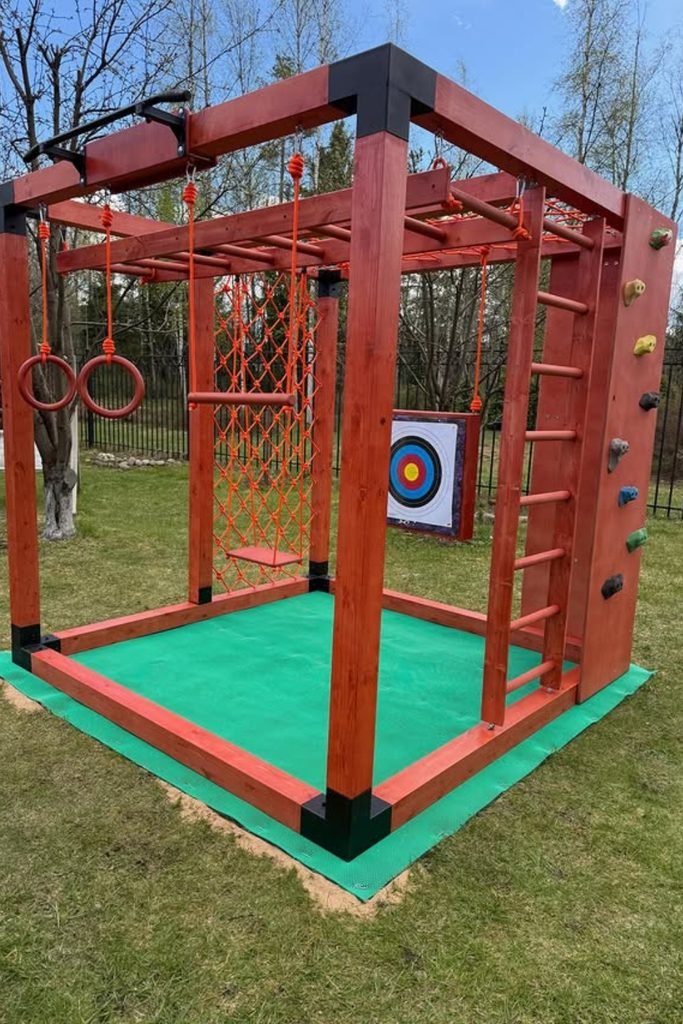
Older kids often need more challenge than another slide, so build a compact climbing cube around strength, balance, and coordination activities.
Monkey bars, rings, rope nets, ladders, and climbing holds give them different routes instead of one predictable way through it.
Keep fall zones clear on every side, and place impact-absorbing surfacing underneath since kids may drop from several different positions.
Raise the Playhouse
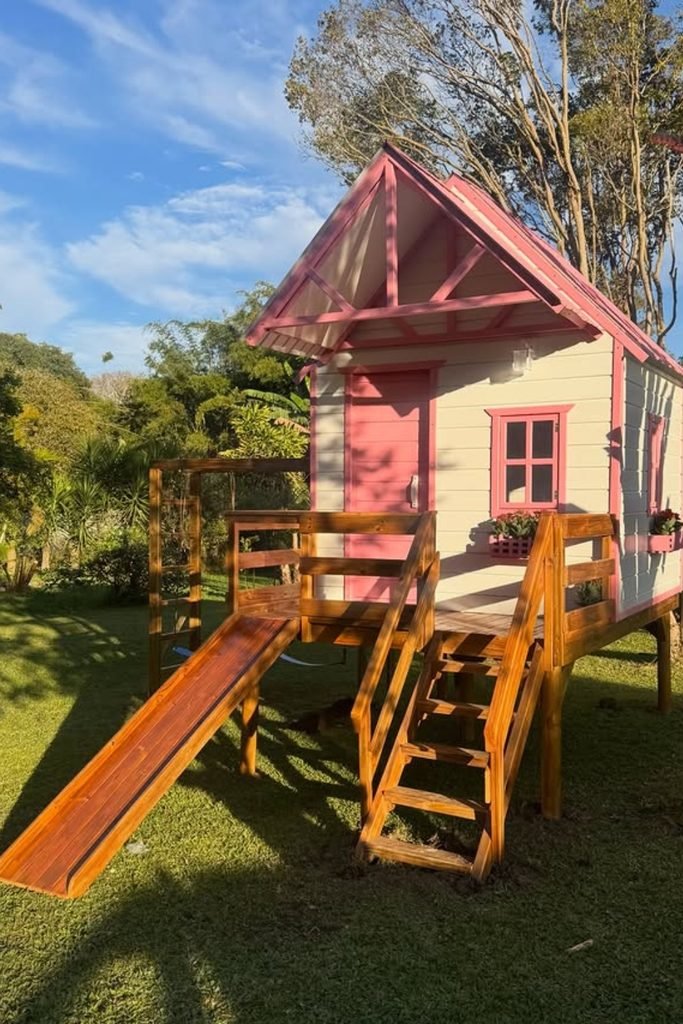
Give pretend play more purpose by raising the playhouse, then use the added height for a slide and easy-access stairs below.
A front deck creates a useful transition zone where kids can pause, play house, or wait their turn without crowding.
Keep the lower area open for shade, storage, or future activities, so the structure can change as your children grow.
Add Hangout Space
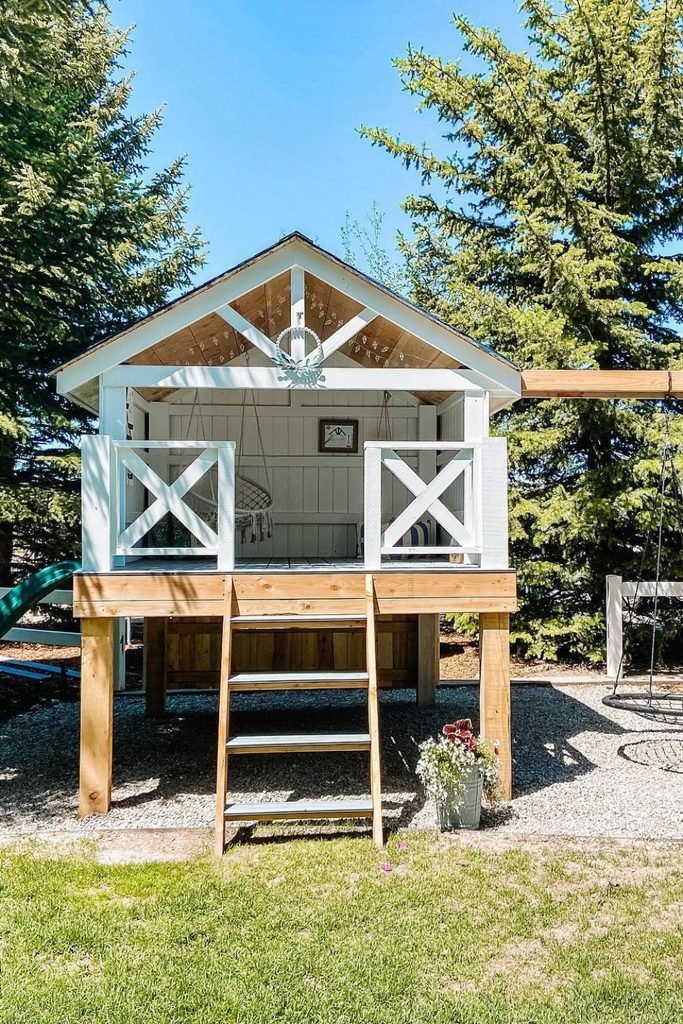
Not every playground needs nonstop action; an open-front playhouse gives kids a shaded spot to rest between climbing, sliding, and swinging.
Attach active features around the outside, while keeping the covered platform clear enough for reading, pretend play, or quiet conversations.
This balance works especially well for mixed ages because younger children can play nearby while older kids use the swings independently.
Challenge Active Kids
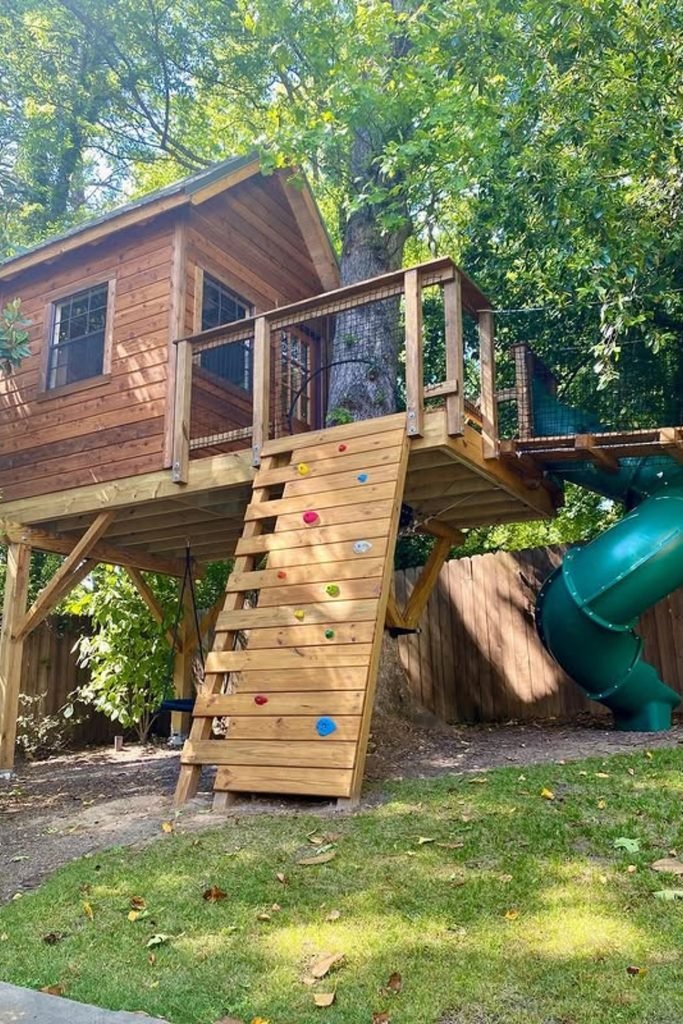
When basic ladders feel too easy, turn the route upward into a climbing wall that makes reaching the playhouse more rewarding.
Pair that tougher climb with a tube slide, giving kids a fast way down after working their way up the wall.
Place impact-absorbing surfacing beneath the climbing side, and keep nearby branches trimmed so adventurous play never competes with hidden obstacles.
Build a Fort
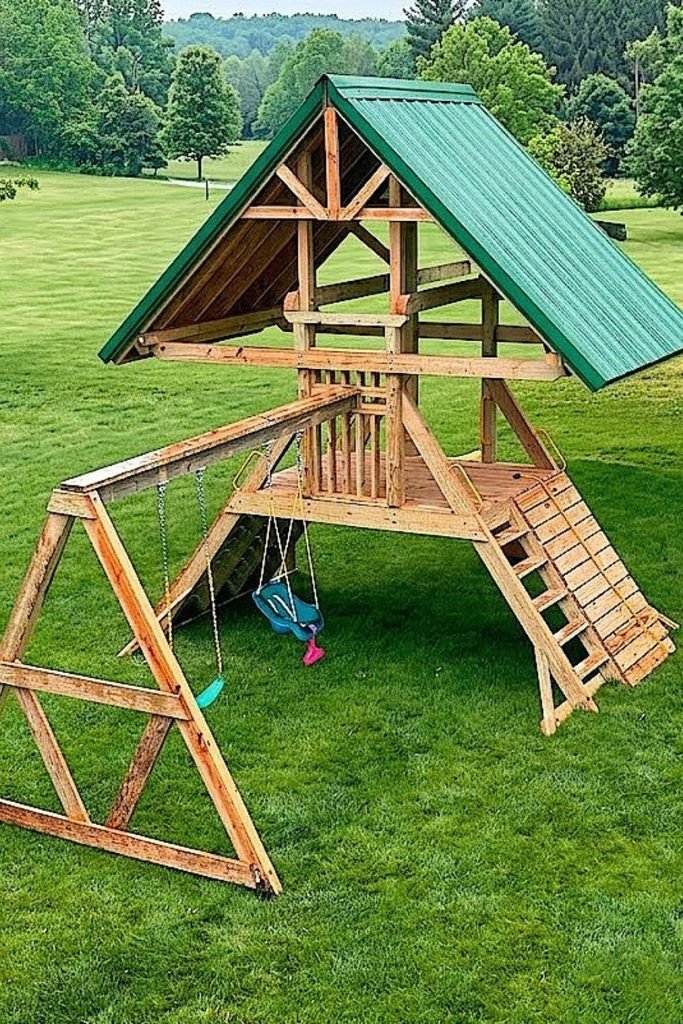
A steep roof can make a simple timber frame feel like a real adventure fort without adding another enclosed playhouse.
Build the swing beam from the same structure, then use the opposite side for a climbing ramp instead of another ladder.
That mix keeps the footprint efficient while giving kids both repetitive favorites and a physical challenge they can gradually master.
Climb Two Ways
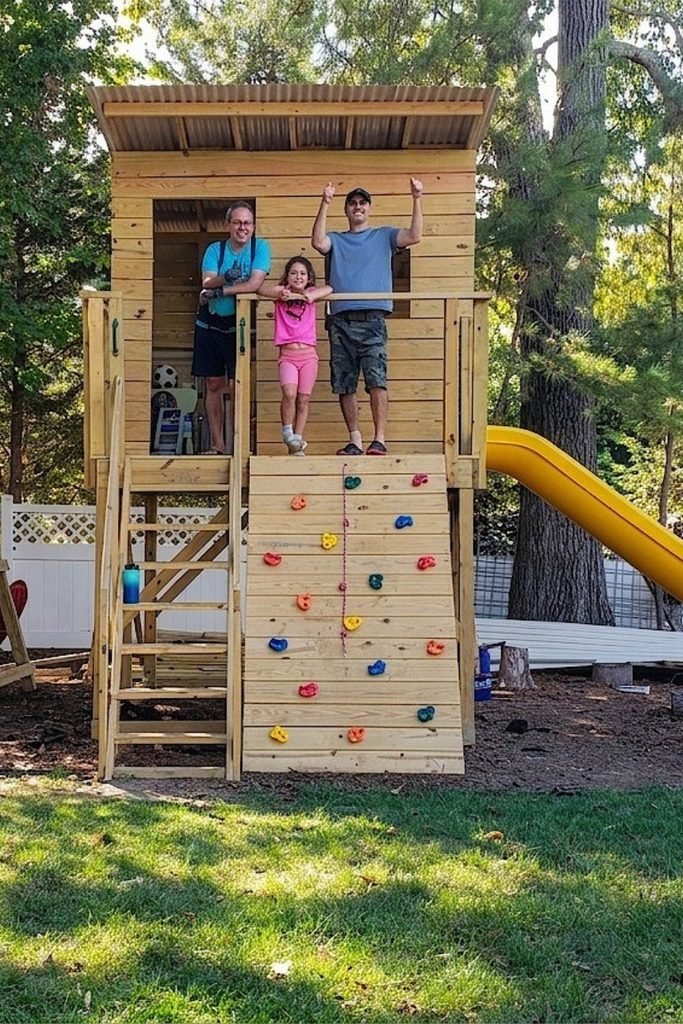
Turn a tall play tower into the challenge itself by adding climbing holds beside a regular ladder for two routes upward.
Kids can choose the easier climb or test their grip, while the slide becomes a quick reward after reaching the platform.
This setup suits mixed confidence levels and makes one compact structure feel more adventurous without adding another bulky backyard feature.
Create Movement Zones
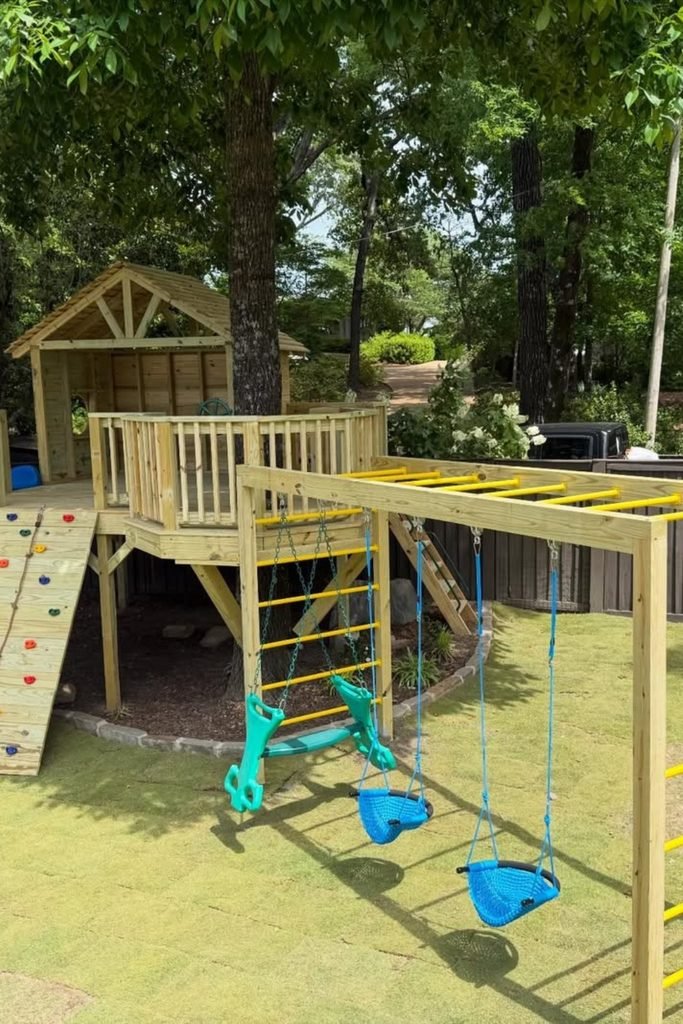
Stretch the playground into a movement course by linking a raised deck with monkey bars, climbing rungs, swings, and rock walls.
Different stations keep active kids circulating instead of waiting around one feature, especially when several children want to play together.
Keep swinging and climbing paths separate, then place protective surfacing beneath the areas where falls are most likely to happen.
Encourage Pretend Play
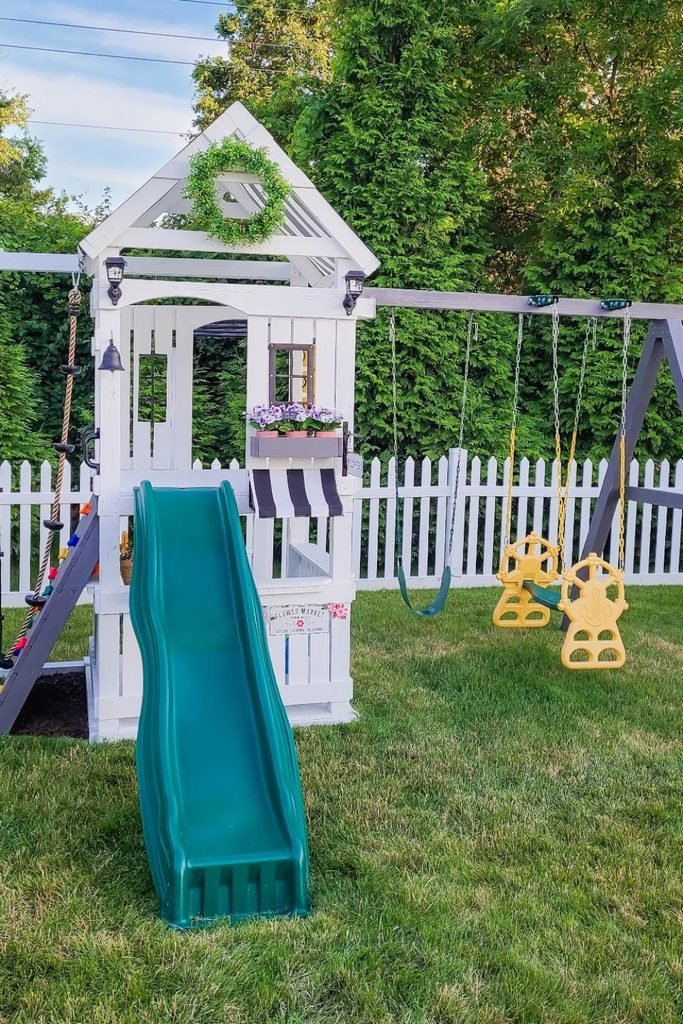
Give a basic playset more personality with small details like a flower box, market window, bell, or decorative roof treatment.
Those pretend-play touches keep the tower interesting even when kids are tired of climbing, swinging, or racing down the slide.
Secure decorative pieces firmly and keep them clear of moving equipment, so added charm never creates snagging points or blocked pathways.
Stack the Fun
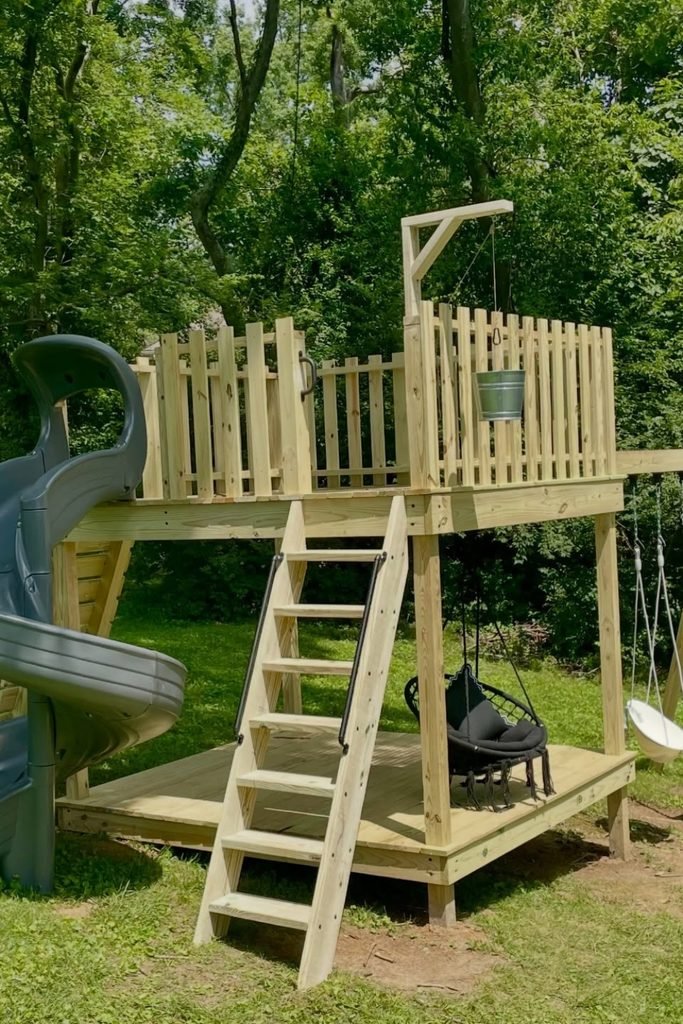
Use two levels when you want more play value without covering the backyard with several separate wooden structures or activity stations.
The upper deck can feed a spiral slide, while the lower platform becomes a shaded hangout for resting or imaginative play.
Wide stairs help younger children move between levels, and open platforms leave room to change activities as their interests grow.
Go Tall
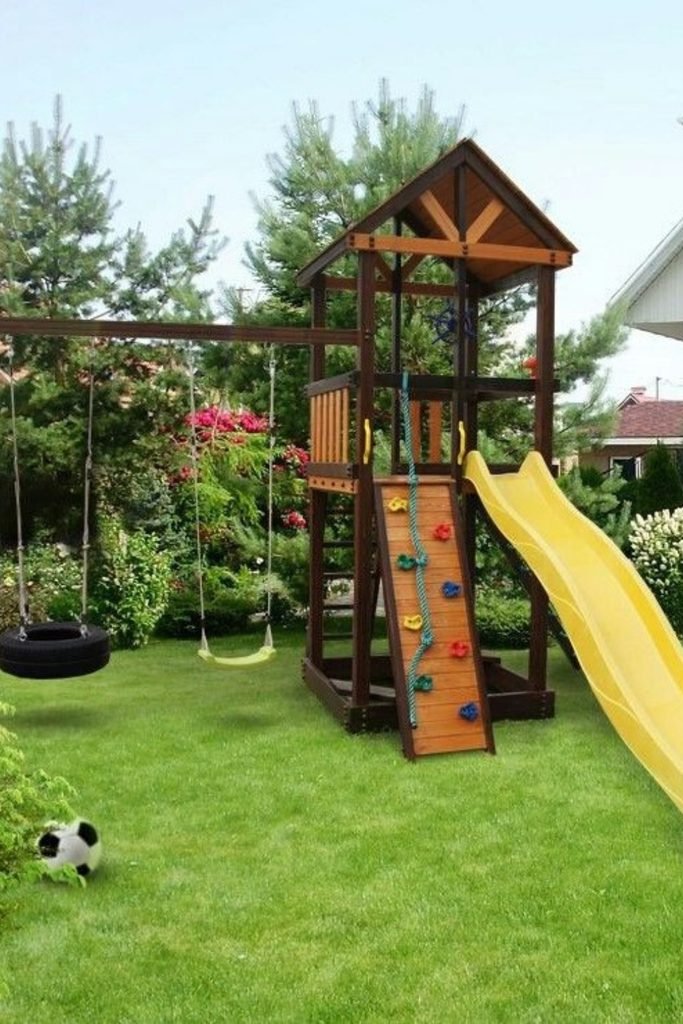
A narrow tower works well when you want several activities without sacrificing a huge section of lawn to one playground.
Stack the climbing wall below the platform, then send kids down a tall slide while swings extend from the side.
This layout keeps everything connected, but leaves generous clearance around the slide and swings so active routes never cross unexpectedly.
Work Around Corners
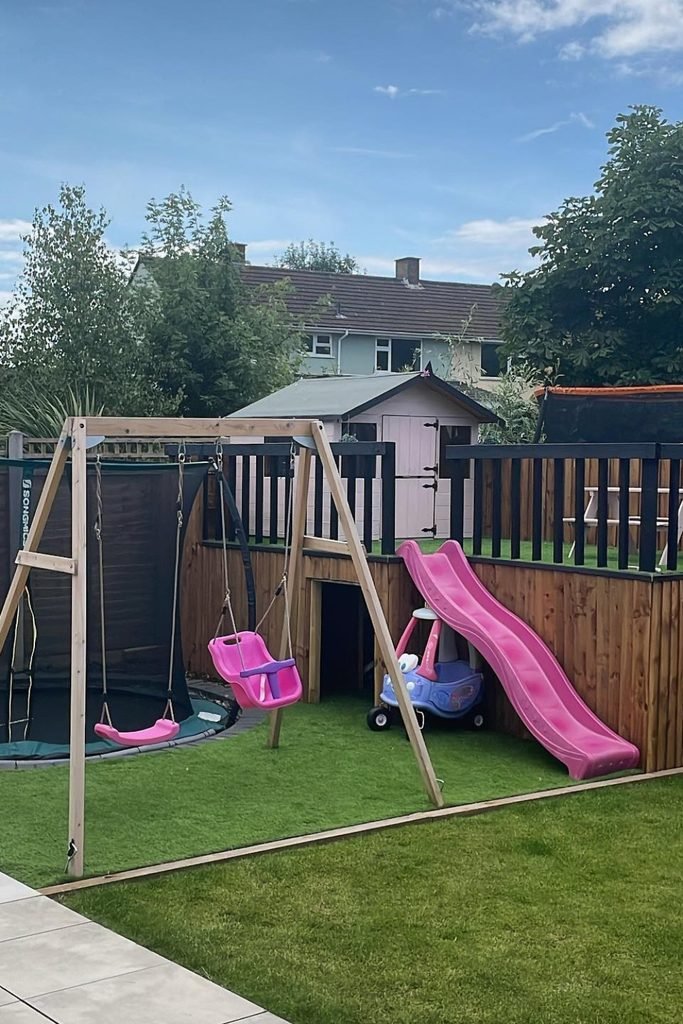
An awkward backyard corner can become play space when you run a raised platform along the fence instead of outward.
Keep the slide and swings facing the open lawn, while the enclosed lower section handles toys, pretend play, or storage.
That arrangement makes a compact yard feel less crowded and gives each activity its zone instead of competing for movement.
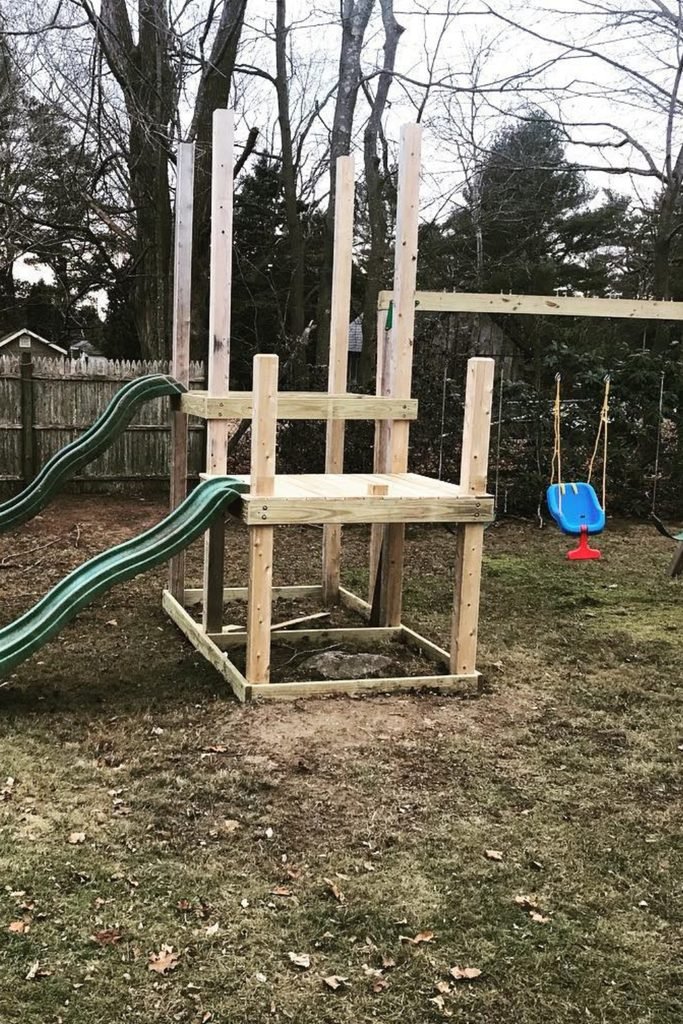
Build in Stages
You do not need to finish everything at once; start with a sturdy frame, platform, slides, and swing beam first.
Leaving upright posts exposed during construction makes future additions easier, whether you plan a roof, railings, climbing wall, or canopy.
Just make each stage safe before playtime, because an unfinished edge or open platform can turn progress into a hazard.
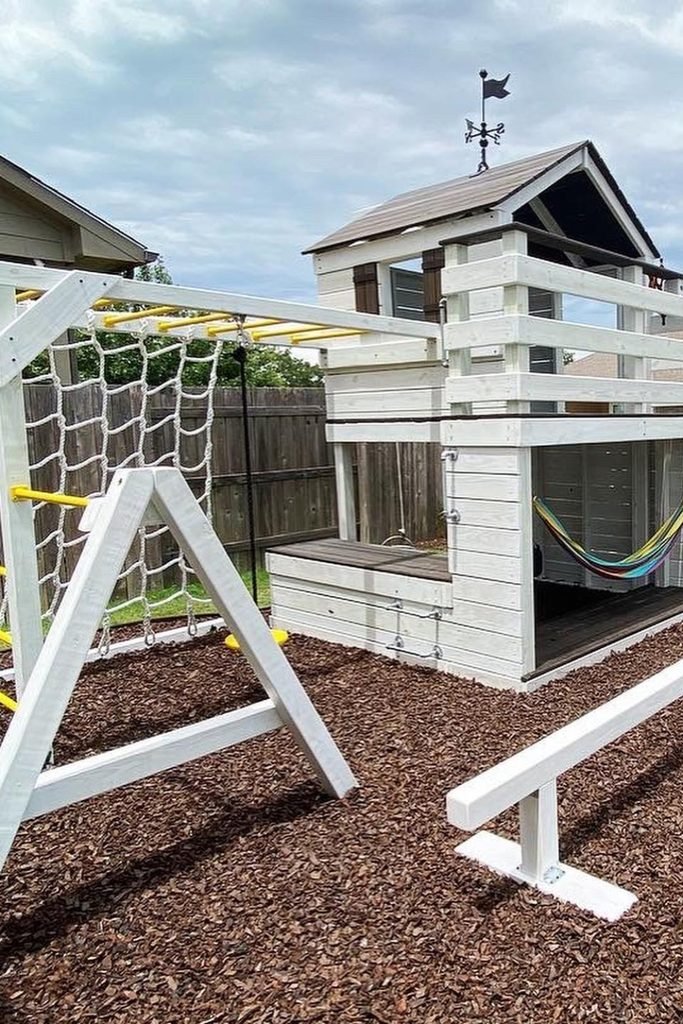
Mix Rest Play
Active playgrounds feel better when kids also have somewhere to slow down, so build a hammock nook beneath the fort.
Use the outer frame for climbing nets, monkey bars, and balance challenges, keeping energetic features away from the quieter hangout.
That contrast gives older kids choices between movement and downtime, which can keep a backyard playground useful for much longer.
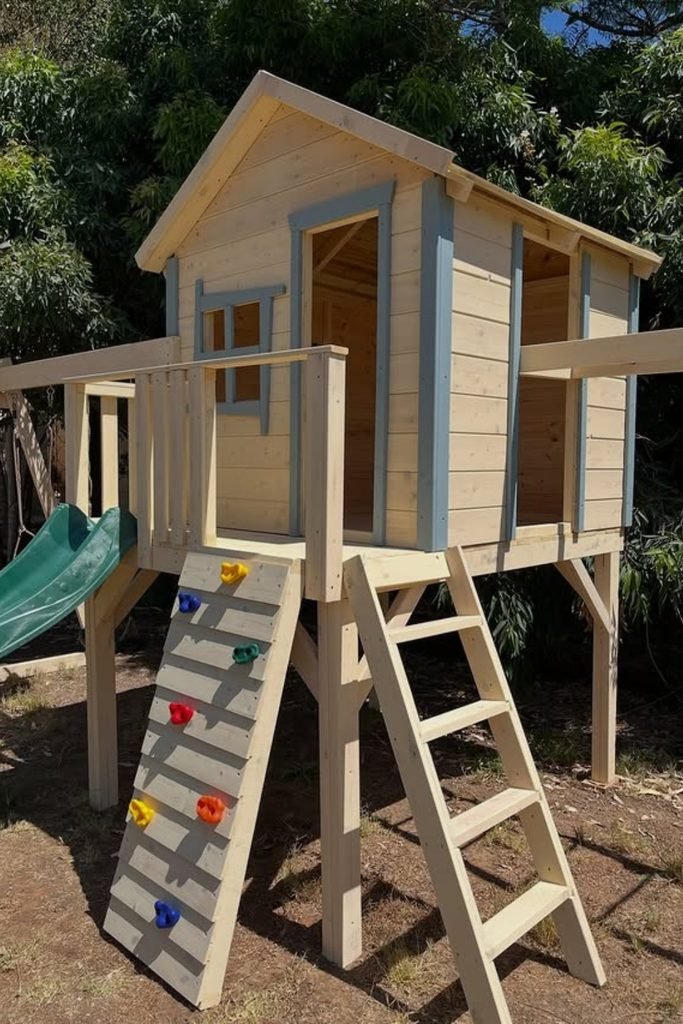
Add More Routes
Make the climb part of the fun by giving one raised playhouse both a ladder and a beginner-friendly climbing wall.
Kids can pick the route that matches their confidence, then use the slide for an easy trip back to ground.
Keep the lower area open and shaded, so it can later become storage, a sandbox, or another simple play zone.
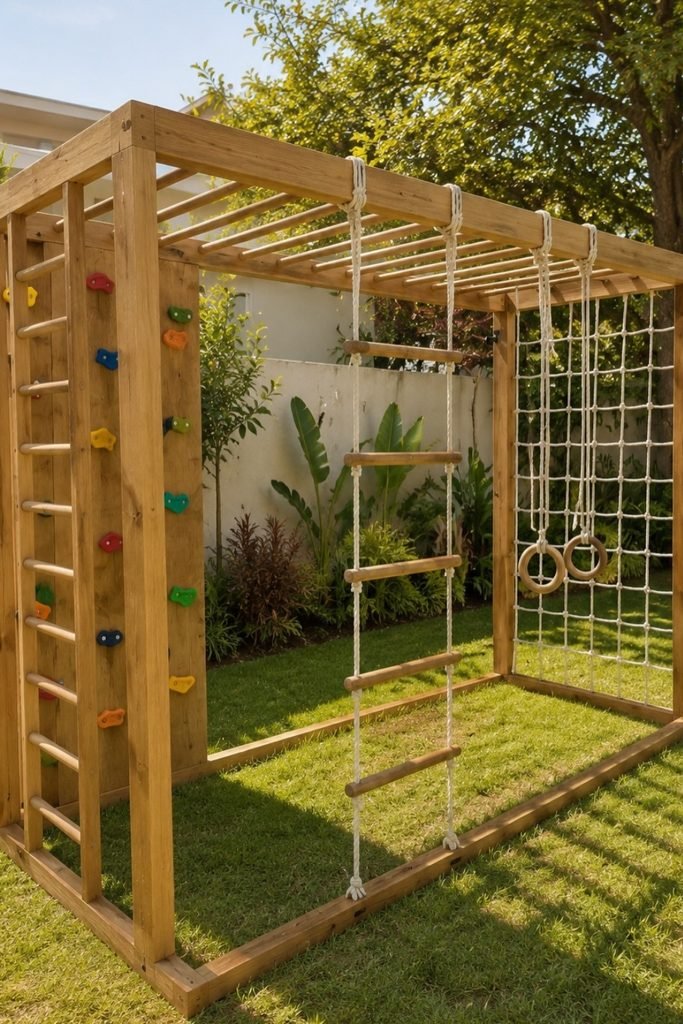
Build a Climbing Circuit
Skip the bulky fort when climbing is the main attraction, and build a simple wooden frame packed with upper-body challenges.
Monkey bars, rings, a rope ladder, climbing holds, and a net let kids switch movements without needing extra backyard structures.
Because falls can happen from several directions, leave clear landing space around every side and use suitable impact-absorbing surfacing underneath.
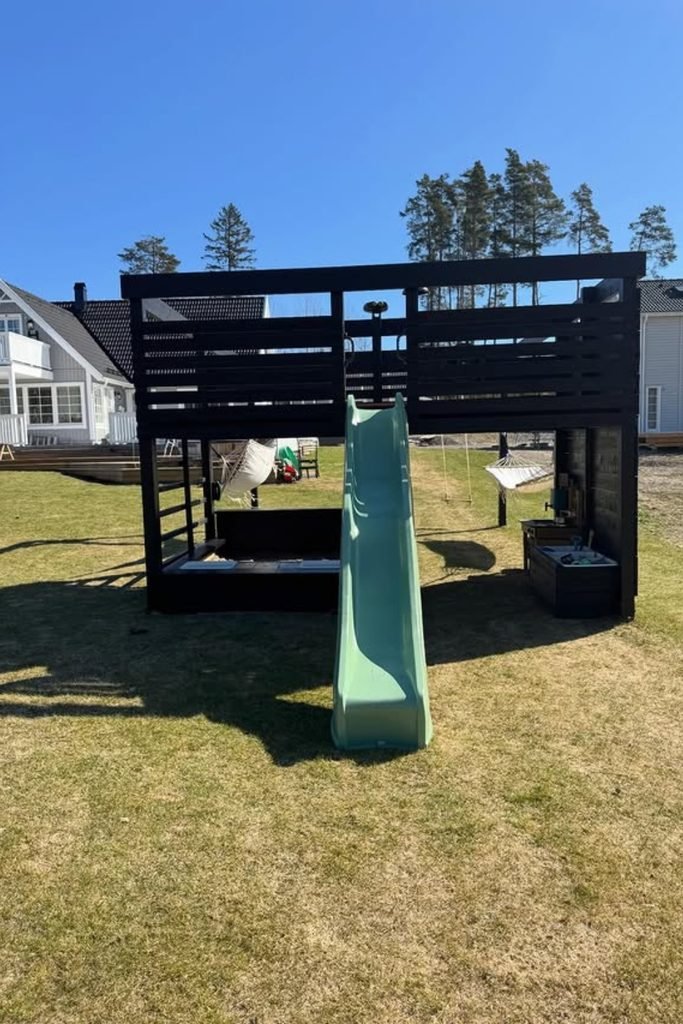
Claim the Shade
A simple deck can become more than a slide platform when the entire shaded underside is planned as usable play space.
Set up a mud kitchen, sandbox, or pretend shop below, while keeping the upper level open for active play above.
Painting the structure in one dark finish can also help a larger playground feel calmer and more intentional in the yard.
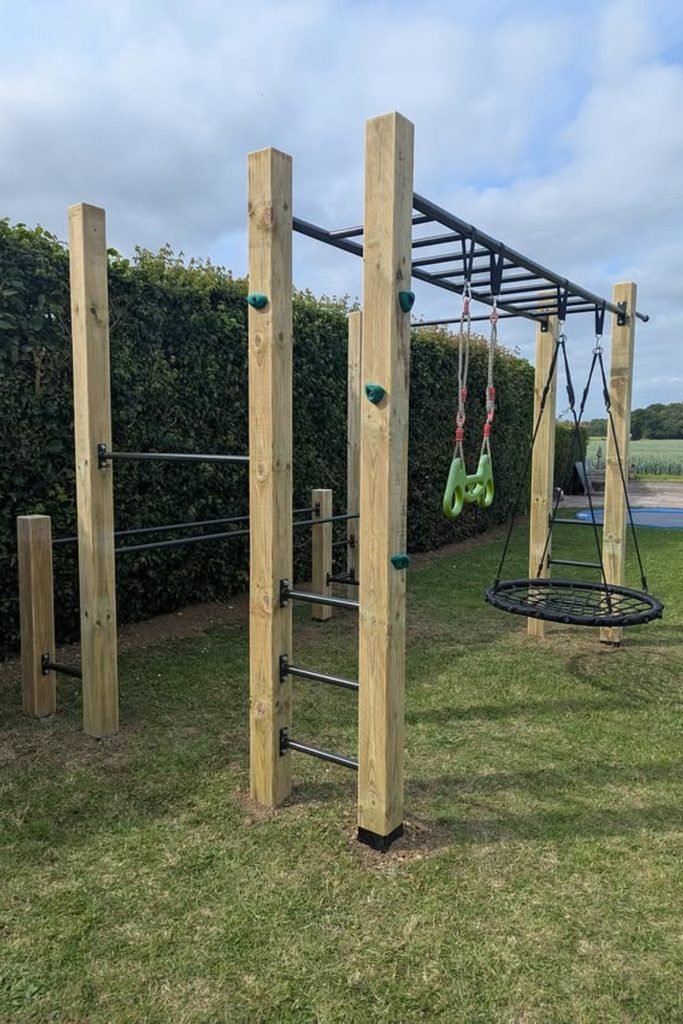
Level Up Play
For older kids who have outgrown tiny slides, build a lean activity course focused on hanging, climbing, swinging, and strength.
Separate posts with horizontal bars make the layout feel open, while overhead monkey bars connect challenges without creating a bulky fort.
Add a nest swing at one end for downtime, and keep clear fall space beneath every climbing section along the route.
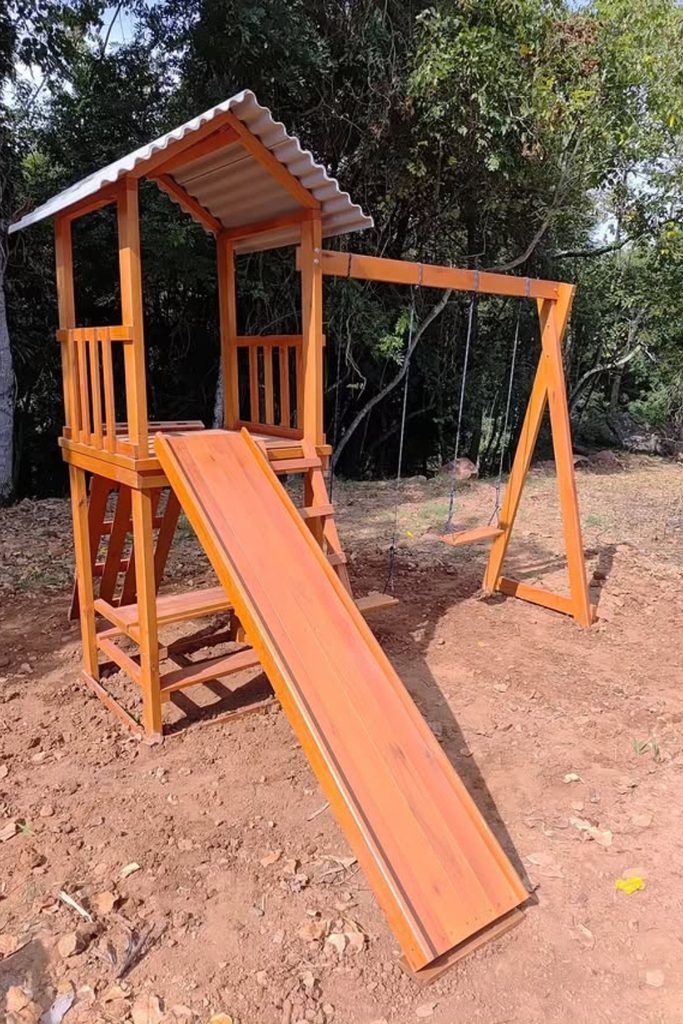
Keep It Simple
A straightforward slide-and-swing setup can still feel complete when a covered platform gives kids one clear starting point for play.
Choose a smooth wooden slide only if it is properly finished, weather protected, and checked often for splinters or rough spots.
Keeping the frame uncomplicated also makes repairs easier, while separate swing spacing gives children room to move without crossing paths.
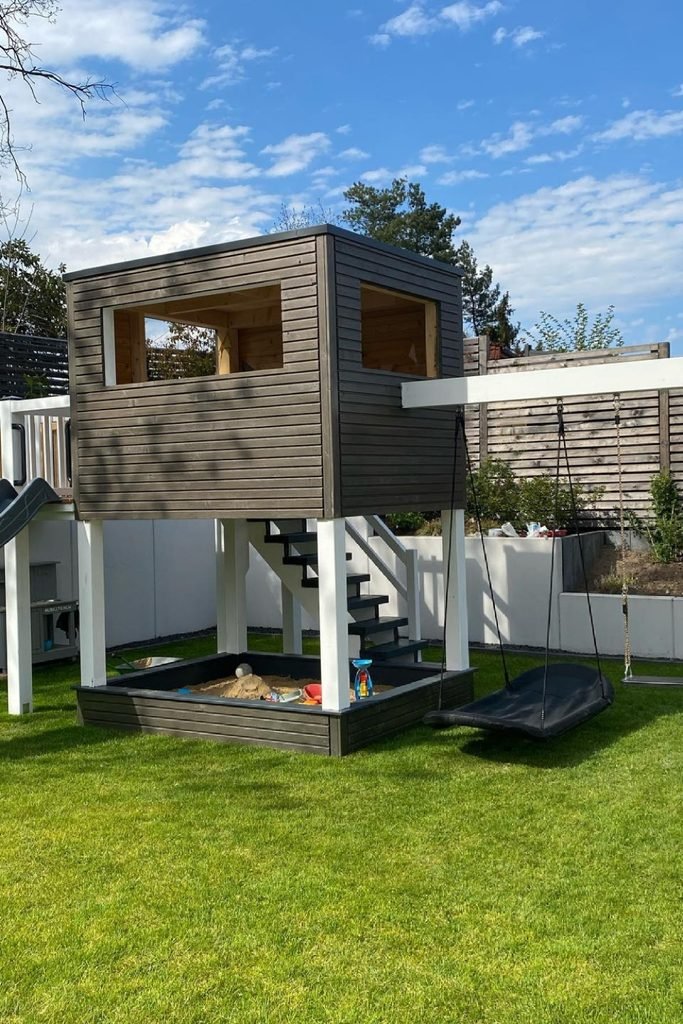
Use Every Level
Think vertically when the yard is limited, placing a sandbox beneath the playhouse instead of giving it another separate footprint.
An attached swing beam and climbing net extend the activity outward, while the upper room stays dedicated to imaginative indoor-style play.
Define the sand area with sturdy edging, then keep swing and climbing zones clear so each activity has its own space.
FAQs
What Is the Cheapest Way to Build a DIY Kids Playground?
Start with one simple feature, such as a swing frame, sandbox, climbing wall, or mud kitchen, instead of building everything at once.
Using basic lumber, reclaimed materials, and modular add-ons can lower costs while still giving kids plenty of ways to play.
Just avoid reusing damaged wood or questionable hardware for structural parts where safety matters most.
What Should You Put Under a DIY Kids Playground?
Use a playground surface that helps cushion falls, such as engineered wood fiber, wood chips, sand, pea gravel, or tested rubber surfacing.
Grass may look convenient, but it becomes less protective as it wears down and can quickly turn muddy under heavy play.
Choose the surface based on equipment height, drainage, maintenance, and the amount of fall protection the playground needs.

Hi, my name is Ali Mehmood! I’m a passionate writer and DIY enthusiast who loves turning creative ideas into practical, hands-on projects.
I created this website to share inspiring, budget-friendly ideas that you can do yourself – whether it’s organizing your home, crafting something unique, or creating fun projects for kids and pets.
I believe DIY isn’t just a hobby – it’s a smart way to save money, reduce waste, and enjoy the satisfaction of making things with your own hands.
I’m excited to have you as part of this growing community, and I’ll continue bringing you helpful, realistic, and fun DIY ideas you can actually use.