This post may contain affiliate links: read full affiliate disclosure.
A DIY pergola can look simple until you start asking the questions that matter: How deep should the posts go? What size should you build?
Can it sit on pavers, concrete, or a deck? And how do you keep the whole thing square, sturdy, and worth the money you spend on lumber?
You’ll learn how to plan your pergola around your space, choose the right foundation approach, understand the basic structure, organize materials, and follow the build in a clear order.
In this article, you’ll also find 20 DIY pergola inspirations with practical tips to help you shape the look, shade, layout, and finishing details around how you want to use your backyard.
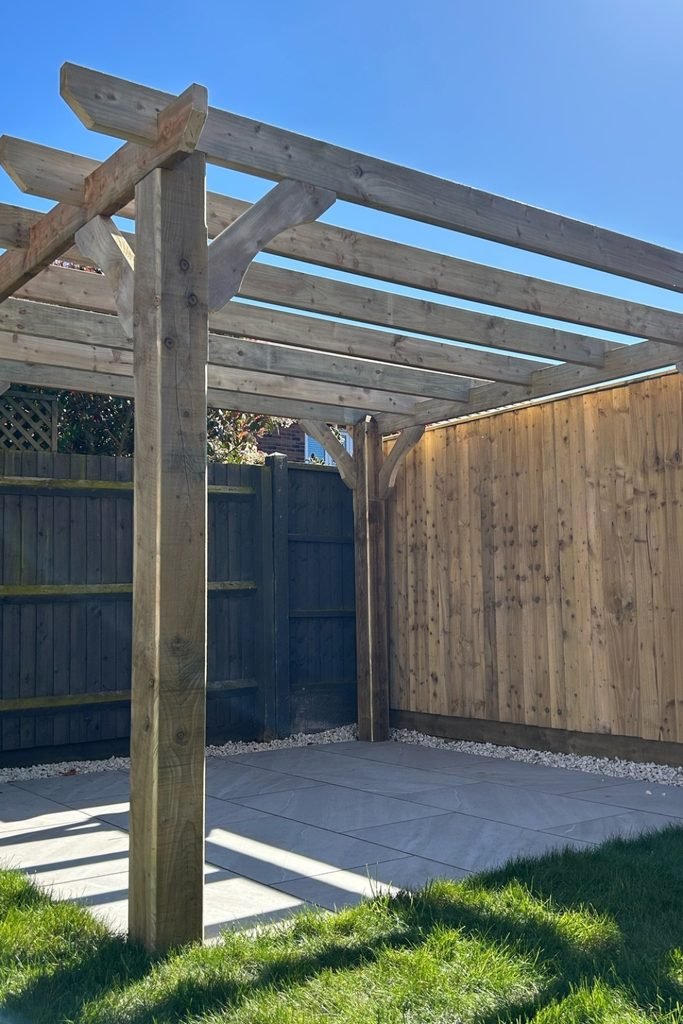
Brace It Early
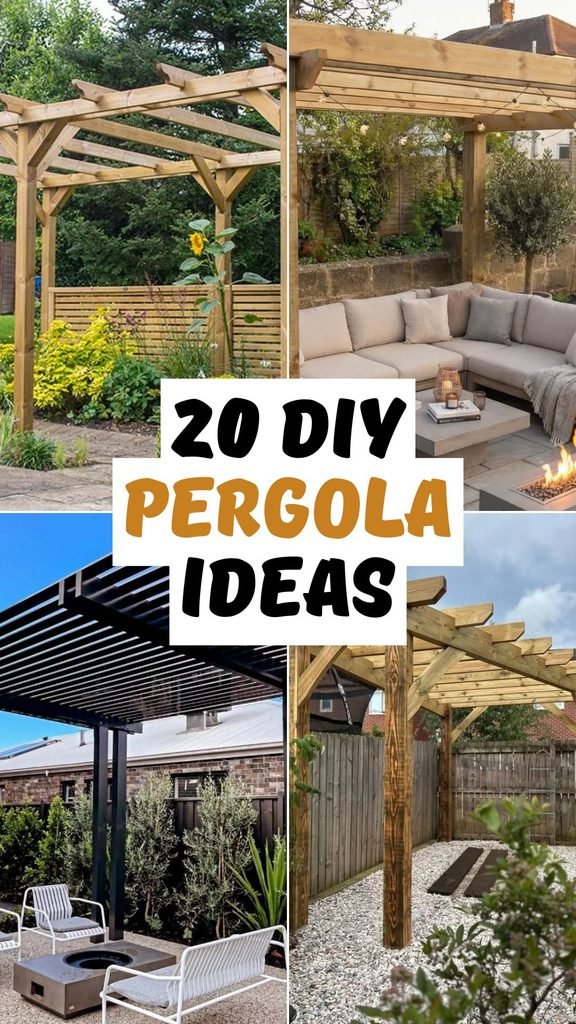
If your pergola feels tall and exposed, diagonal knee braces can add useful rigidity while giving the frame a more finished look.
Plan those braces before cutting beams, because their angle and length depend on your post spacing and the clearance you want below.
Keep the rafters evenly spaced overhead, then let the extended ends provide character without turning every joint into unnecessary decorative work.
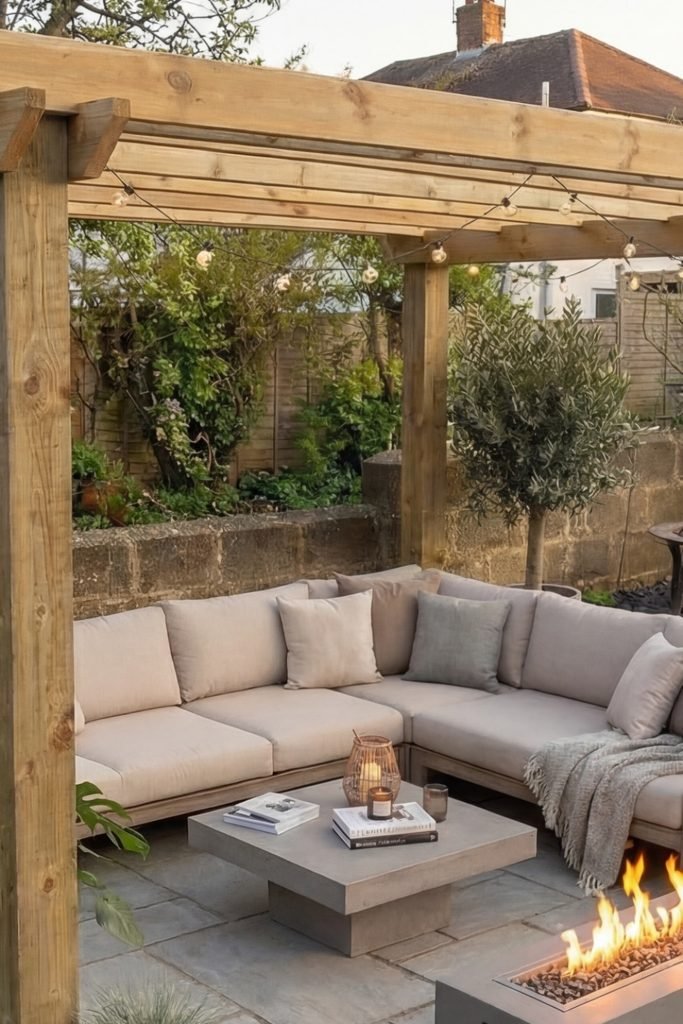
Size for Seating
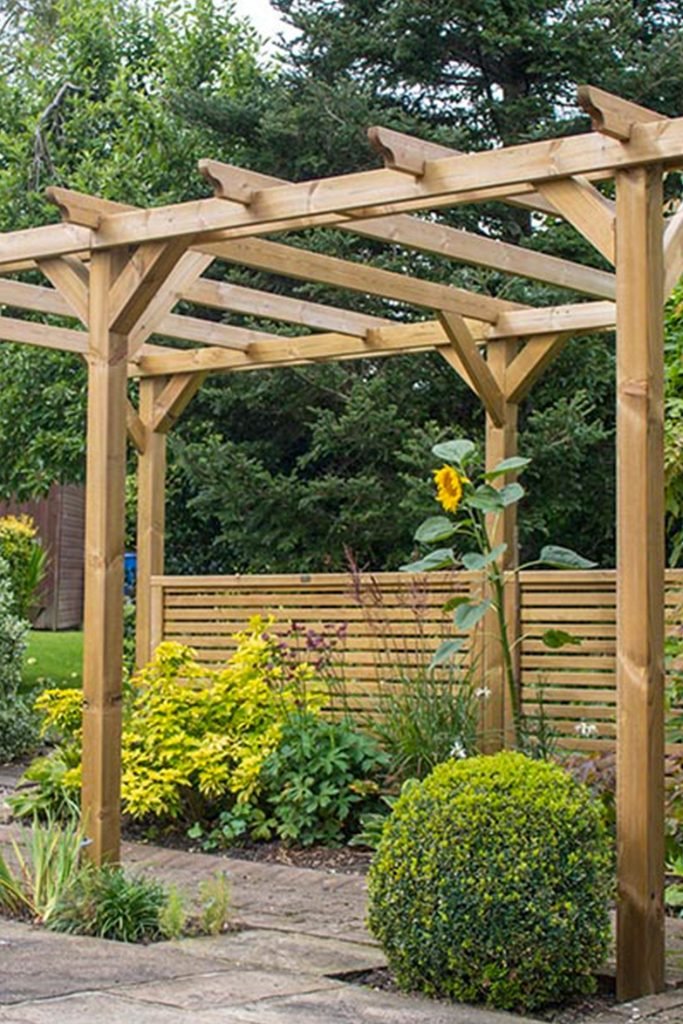
Before fixing post locations, arrange your outdoor seating first so the pergola covers the space you actually use instead of an empty patio.
A lounge setup needs breathing room around sofas and tables, so leave comfortable circulation space rather than sizing the frame too tightly.
Once the footprint works, string lights can follow the beams easily and make the finished pergola useful well after daylight disappears.
Gravel Comes Last
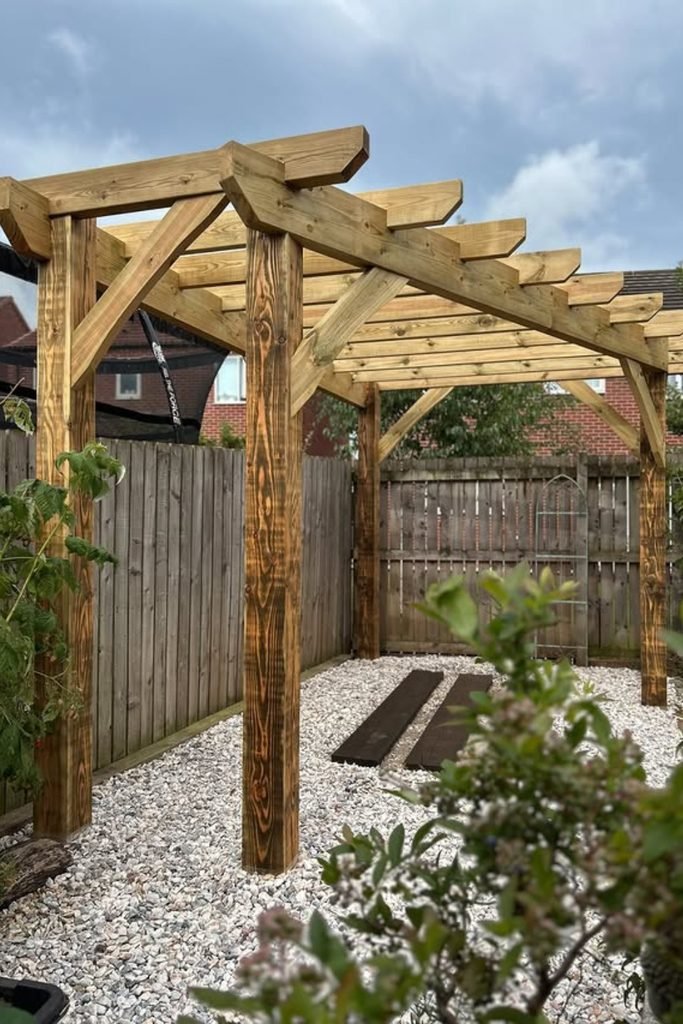
If gravel is part of your pergola plan, sort out the structural footings first and treat the stone as the finished surface.
That order keeps post locations visible while you measure, square, and brace the frame, instead of digging through fresh landscaping later.
For a cleaner build, cut matching rafter tails together and repeat one brace angle so the timber details stay visually consistent.
Modern Metal Shade
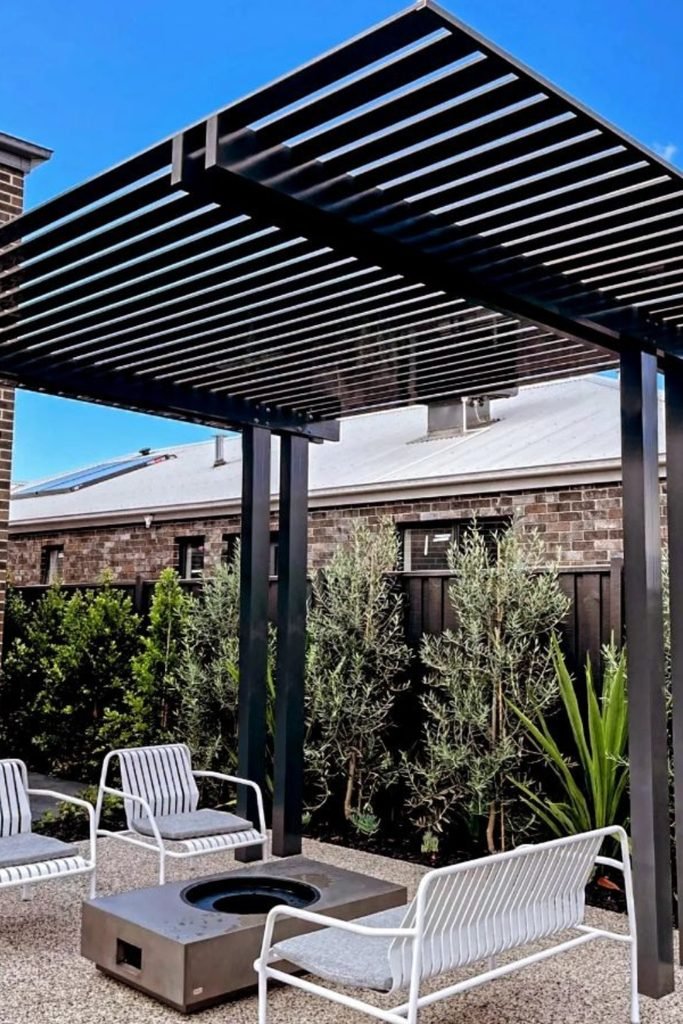
For a sharper modern look, a dark metal frame works best when the post lines stay simple and the roof spacing stays disciplined.
The tighter overhead slats create more filtered shade than widely spaced rafters, so decide your shade goal before choosing that spacing.
Keep furniture visually light beneath a bold frame; it prevents the structure from making a smaller patio feel heavy or boxed in.
Screen One Side
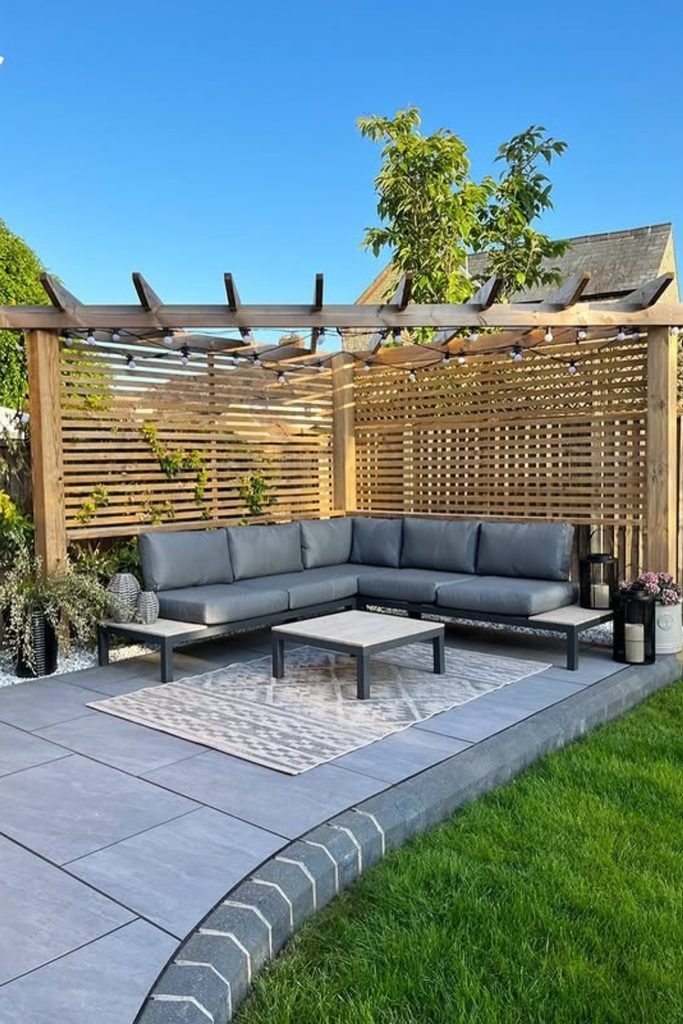
Turn one pergola corner into privacy by adding horizontal timber slats, but leave small gaps so the space still feels breathable.
Keep the screen aligned with your seating zone rather than wrapping every side, which preserves openness while blocking the most exposed view.
String lights can follow the beam line afterward, giving the privacy wall a softer evening feel without adding another bulky feature.
Keep Framing Simple
A simple timber frame works best when every post, beam, and brace feels intentional, so avoid overcomplicating the structure with extras.
Use evenly spaced rafters to create light shade, then let sturdy knee braces handle the visual weight at each post connection.
If your patio is still empty, finish the pergola first so furniture placement can respond to the final footprint and shade pattern.
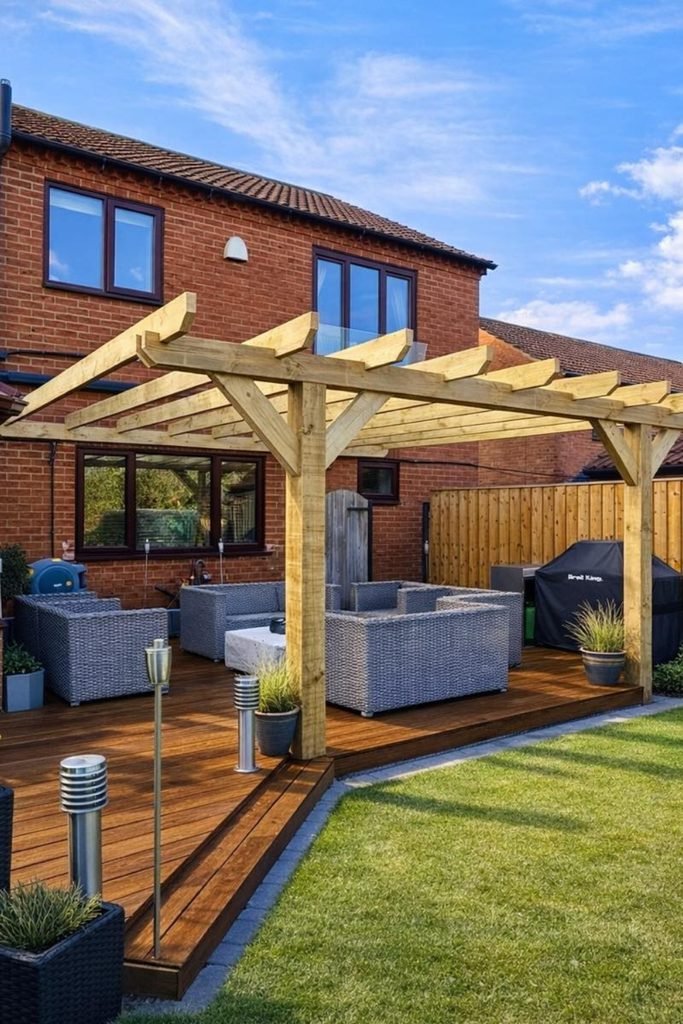
Plan With Decking
When a pergola sits over a raised deck, plan the structure and deck together instead of treating them as two unrelated projects.
Keep post positions clear of main walkways and furniture corners, because good circulation matters just as much as overhead shade outside.
An open rafter layout suits lounge areas well, especially when you want filtered light without making the deck feel enclosed or dark.
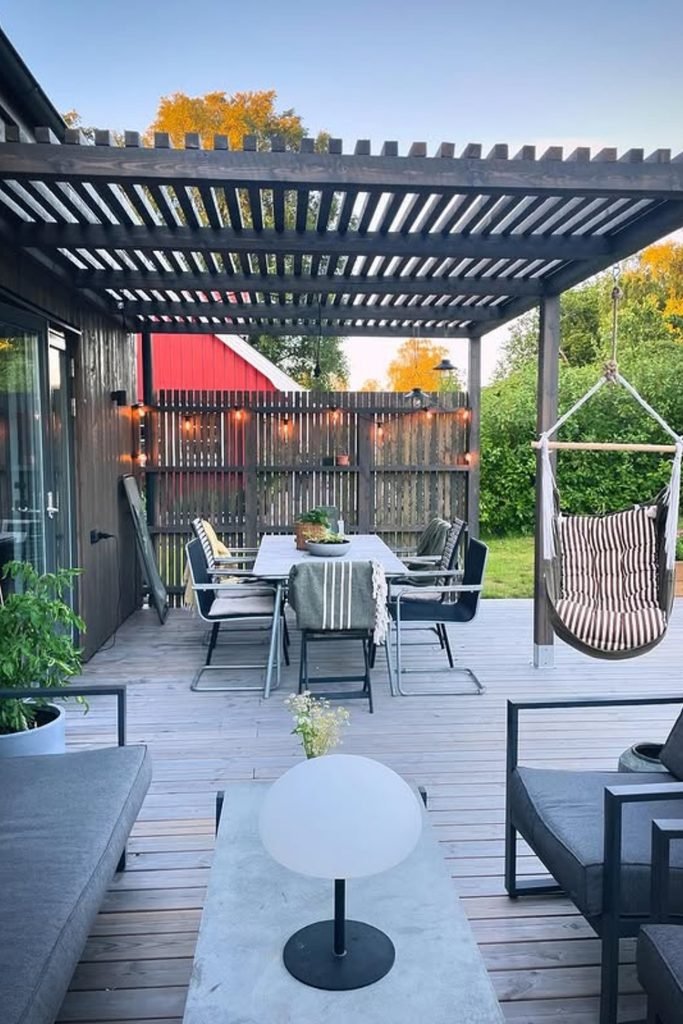
Tighten the Slats
If stronger shade is the goal, tighter roof slats can make a pergola noticeably more comfortable without turning it into a solid roof.
Match the darker frame to existing exterior finishes for a more integrated look, especially when the pergola covers dining and lounging zones.
Leave enough open space beneath for movement, then use hanging seating or lights sparingly so the structure stays practical, not overcrowded.
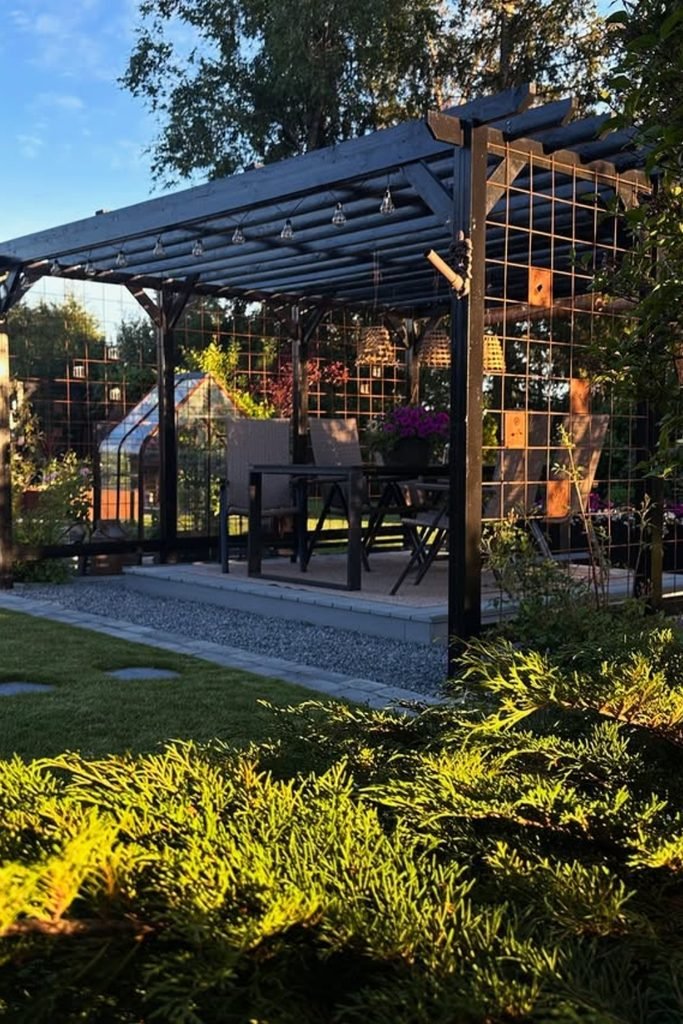
Grow a Green Wall
If privacy matters, add open trellis panels between selected posts so climbing plants can soften the pergola without closing it in.
Install the trellis after the main frame is square, and keep it clear of connections you may need to inspect later.
Run string lights along the beams instead of through growing vines, which makes seasonal pruning and future bulb replacement much easier.
Build Shade First
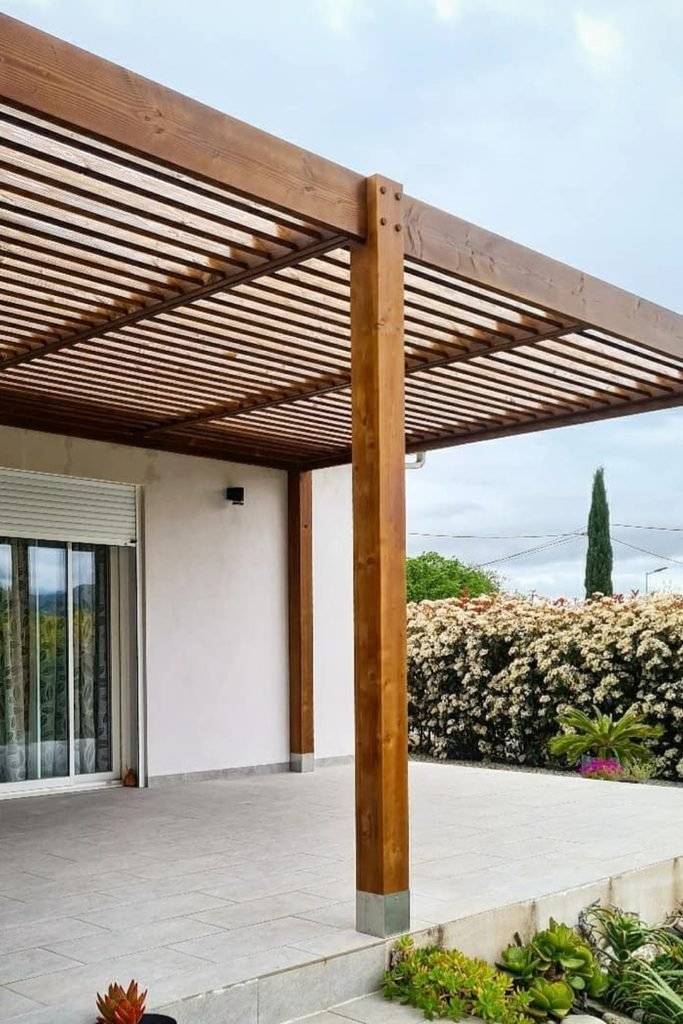
For a patio that gets harsh sun, tighter top slats can create better filtered shade than widely spaced decorative rafters alone.
Choose that spacing before cutting anything, because changing the roof pattern later usually means extra lumber, fasteners, and unnecessary rework.
Metal post bases can also keep timber ends separated from wet paving, helping the lower posts stay cleaner and easier to maintain.
Design for Swings
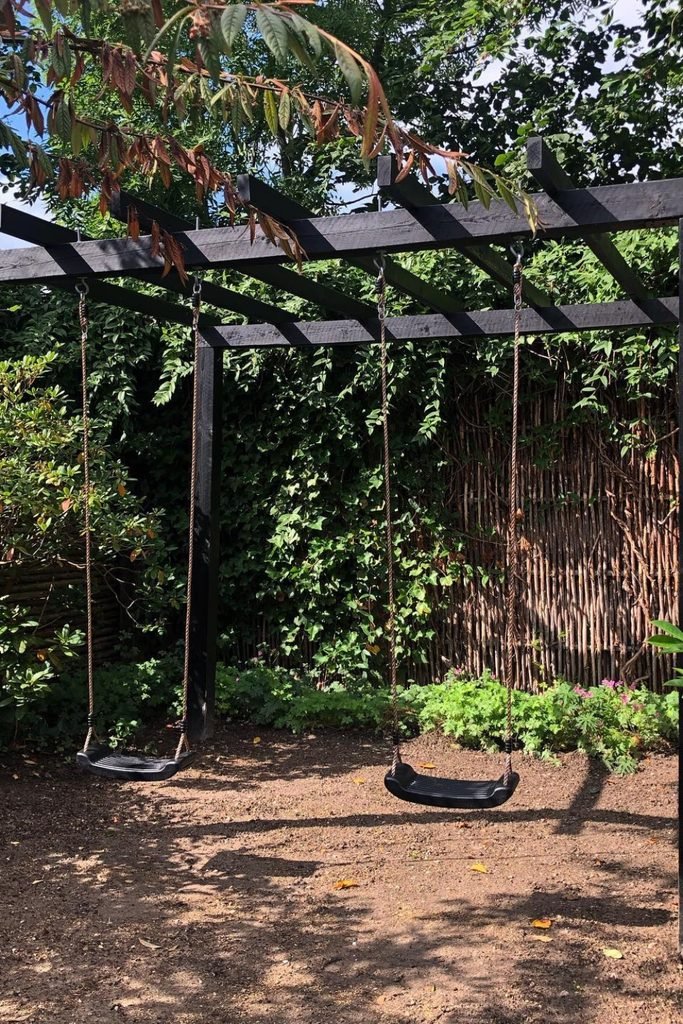
Want to hang swings from your pergola? Treat that as a structural requirement from day one, not a decorative add-on later.
Swinging creates repeated moving loads, so ordinary rafter spacing or casual screw connections should never be assumed strong enough for it.
Use properly rated hardware and a frame designed for those loads, especially when children or multiple seats will use it regularly.
Add an Overhead Grid
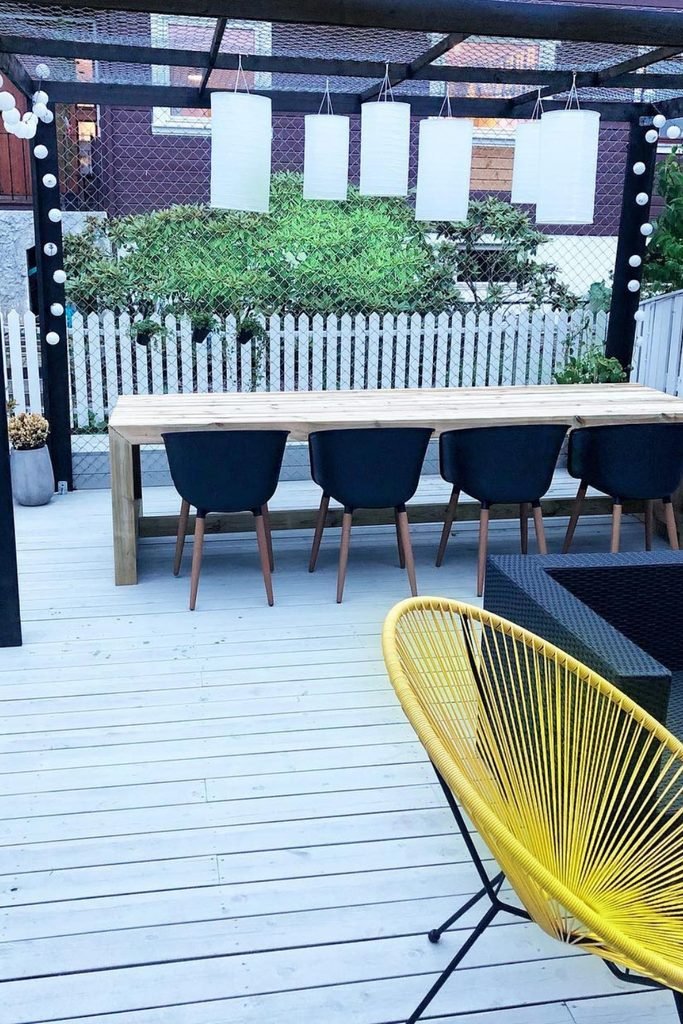
A lightweight overhead grid can make a dining pergola more useful by giving you planned attachment points for lanterns, vines, or shade fabric.
Keep decorative items light and evenly distributed, and avoid hanging anything heavy from members that were never designed for extra loads.
Over a dining table, hang lighting high enough to clear heads and sightlines while still bringing useful illumination down to the table.
Use Narrow Spaces
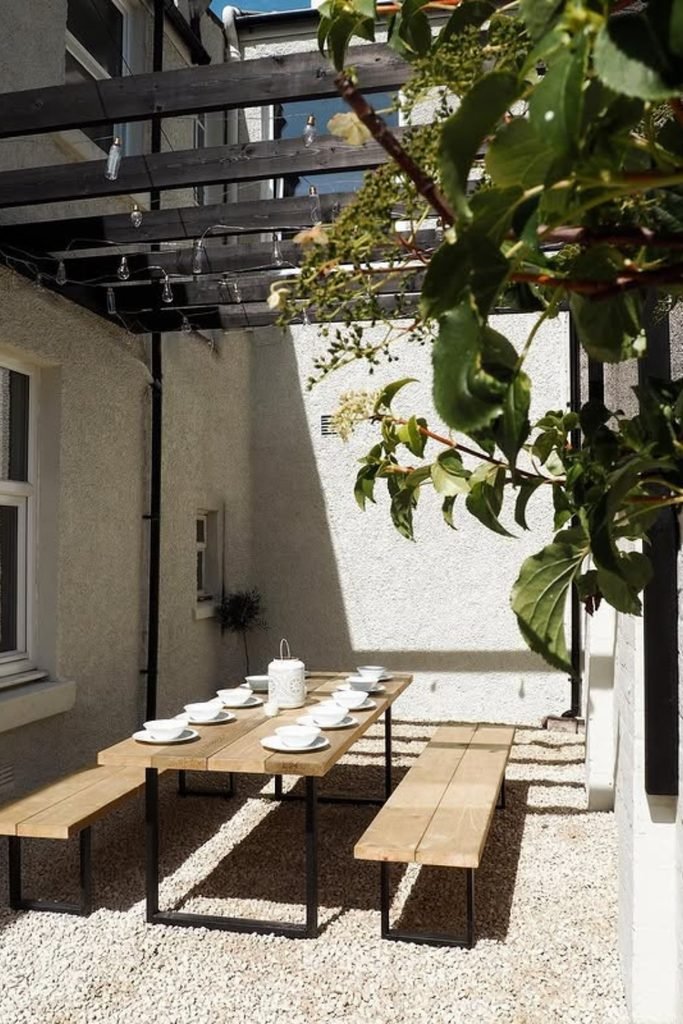
A narrow side yard can still handle a pergola if you keep the frame slim and center furniture along the longest wall.
Gravel works well beneath a dining setup because it drains easily, but establishes solid footings before spreading the finished stone surface.
Run string lights between rafters afterward, keeping cords clear of branches and seating so the compact area stays comfortable after dark.
Shade With Privacy
For a patio beside the house, combine tight overhead slats with one screened side to control sun and unwanted views together.
Keep the privacy slats slightly open instead of solid, which lets air move through and prevents the lounge from feeling boxed in.
Plan lighting points before finishing the roof grid, so pendants or cords can be added neatly without disturbing the clean timber lines.
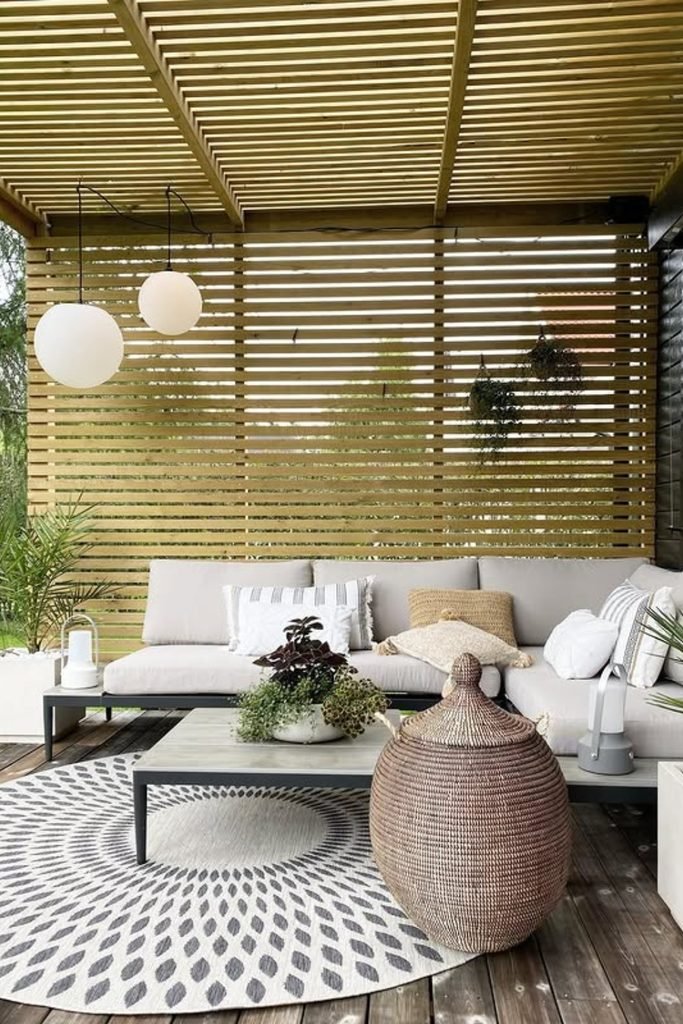
Plan Deck Framing
If the pergola will sit on a raised deck, coordinate post locations with the deck framing before boards cover the structure below.
That planning step keeps posts out of awkward traffic zones and avoids cutting finished decking later just to reach structural supports.
Use the pergola footprint to define the lounge zone, then leave the deck edge open so the space still connects naturally outside.
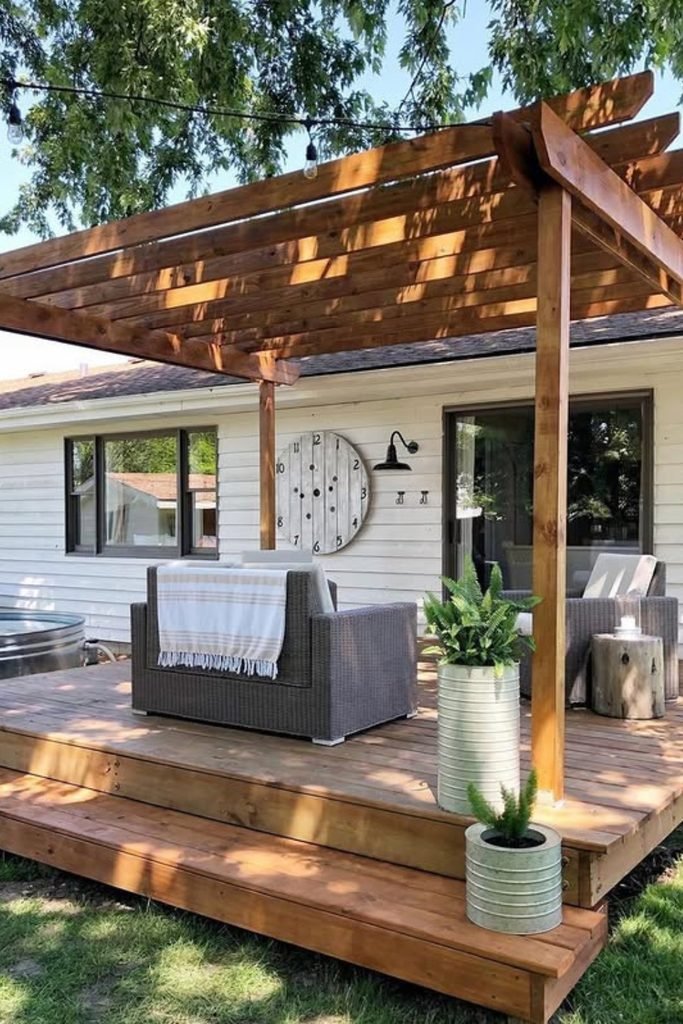
Train Climbing Vines
A small pergola can become a private garden retreat faster when you train climbing plants up posts instead of adding heavy walls.
Start vines on trellis or wire supports, keeping stems away from key joints so future inspection and maintenance stay easy.
Keep furniture compact beneath the frame and leave one open side toward the lawn, which makes the little pergola feel surprisingly spacious.
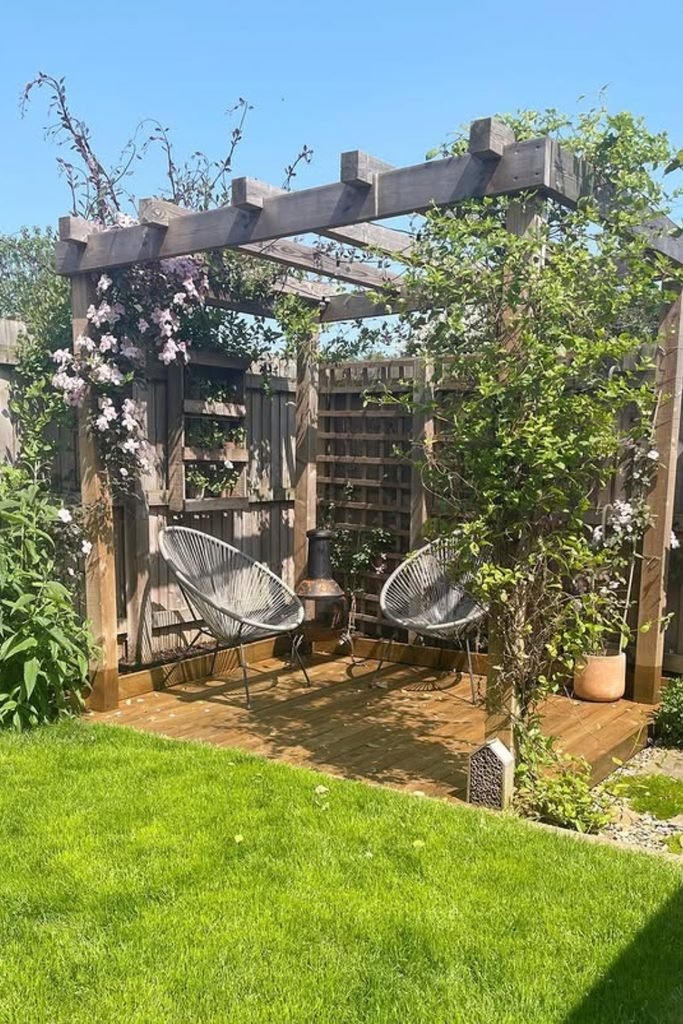
Fit the Corner
An awkward backyard corner can become useful when the pergola follows its shape instead of forcing a standard rectangle into it.
Mark every post location before digging, then check diagonals and clearances so the finished frame leaves room for planting underneath.
If vines are part of the plan, install supports early and keep future growth away from joints that need occasional inspection.
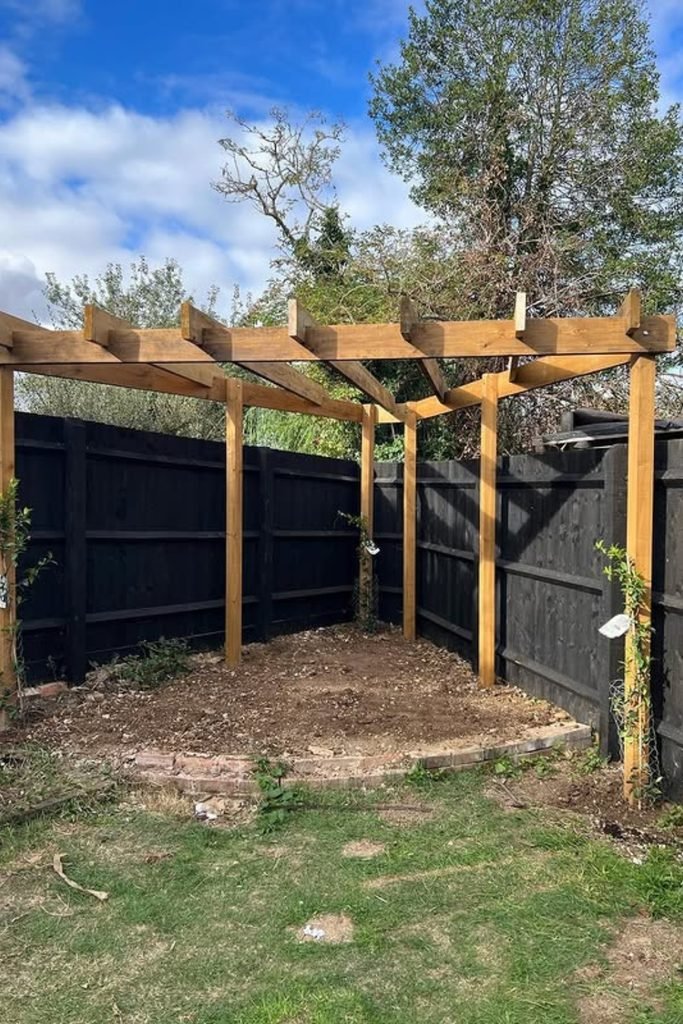
Plan House Attachments
Attaching a pergola to the house can save posts, but the wall connection needs more planning than a freestanding build.
Before drilling into brick or siding, identify the actual structural support behind the exterior and plan proper flashing around penetrations.
If that connection is unclear, get local guidance first; guessing here can create water problems or a weak attachment later.
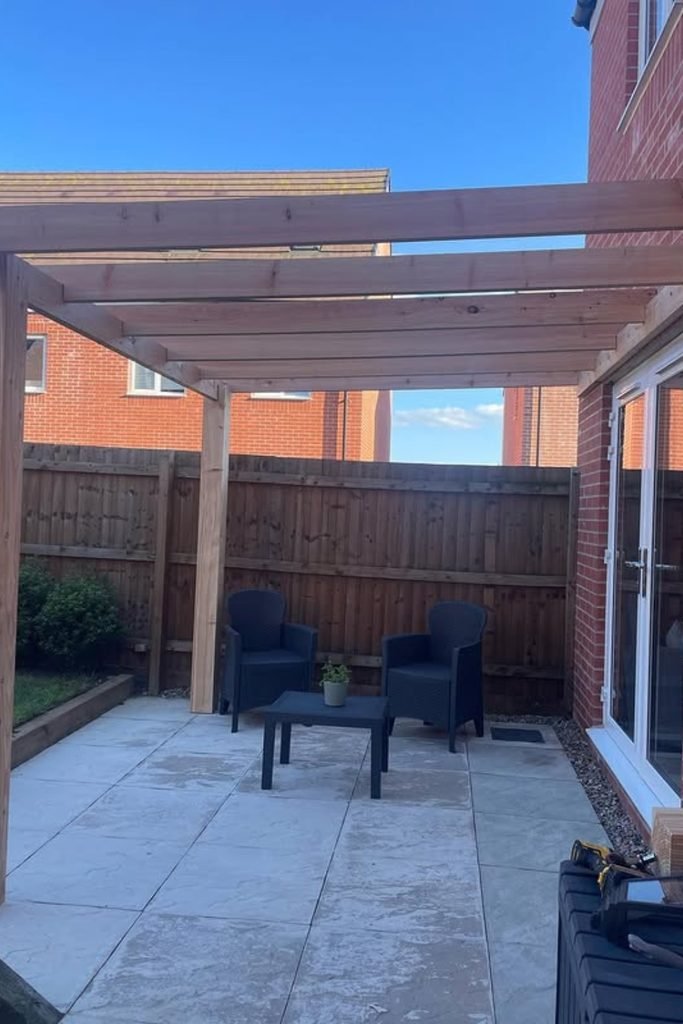
Finish Before Furnishing
A warm stain can make basic lumber look finished, but protection works best when every exposed face receives an even coat.
Sand rough edges and treat cut ends before furniture arrives, because those small areas are much easier to reach during construction.
Choose a finish rated for exterior wood, then follow its recoat schedule instead of waiting until the surface looks badly weathered.
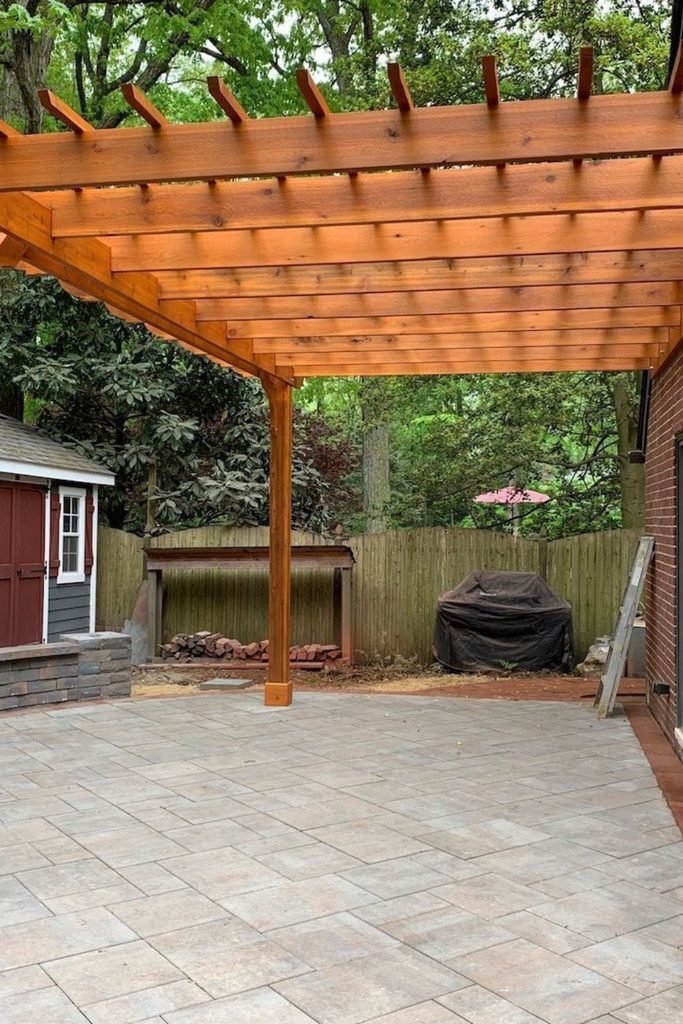
Use Brackets Wisely
Bracket systems can simplify a DIY pergola, especially when you want clean joints without cutting complex notches into every post and beam.
Match every bracket to the lumber size and outdoor rating specified by its manufacturer, rather than mixing hardware just for appearance.
If you add a shade sail later, plan separate attachment points and tension carefully so the canopy does not overload the frame.
FAQs
Can You Build a DIY Pergola on an Existing Patio?
Yes, but the patio surface itself should not automatically be treated as the pergola’s structural foundation.
Pavers and many standard slabs may need separate footings or approved anchors beneath them.
Check the existing base, local requirements, and your pergola design before drilling or setting posts.
How Much Shade Does a Pergola Actually Provide?
That depends mostly on the spacing and direction of the rafters or top slats. Wide spacing creates light, filtered shade, while closer slats block more direct sun.
If you want heavier shade, plan for additional slats, shade fabric, or another suitable covering from the beginning.

Hi, my name is Ali Mehmood! I’m a passionate writer and DIY enthusiast who loves turning creative ideas into practical, hands-on projects.
I created this website to share inspiring, budget-friendly ideas that you can do yourself – whether it’s organizing your home, crafting something unique, or creating fun projects for kids and pets.
I believe DIY isn’t just a hobby – it’s a smart way to save money, reduce waste, and enjoy the satisfaction of making things with your own hands.
I’m excited to have you as part of this growing community, and I’ll continue bringing you helpful, realistic, and fun DIY ideas you can actually use.