This post may contain affiliate links: read full affiliate disclosure.
The cardboard bends, shelves begin to sag, joints feel weak, and suddenly that simple chair or table looks much harder to build than expected.
You may also wonder which cardboard is strong enough, how many layers you need, or how to make the finished piece look like furniture instead of stacked shipping boxes.
Cardboard can become surprisingly useful furniture when you reinforce the weak areas, position the corrugation correctly, and choose shapes that naturally support weight.
In this list of DIY cardboard furniture ideas, you will find practical inspiration for tables, chairs, shelves, storage units, desks, and more.
Drawer Storage
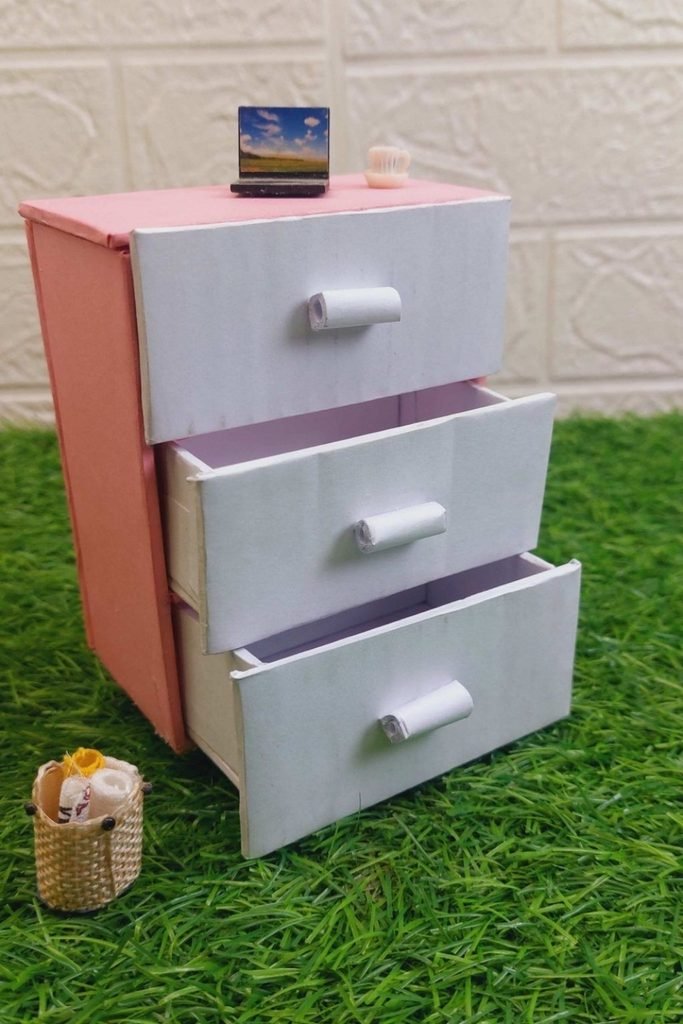
Small drawer units work best when you double the front panels, because repeated pulling can quickly weaken thin cardboard around handles.
Build each drawer slightly narrower than its opening, then reinforce the corners so it slides smoothly without catching or twisting.
A painted finish hides shipping-box marks nicely, making this a smart choice for lightweight craft supplies, accessories, or dollhouse storage.
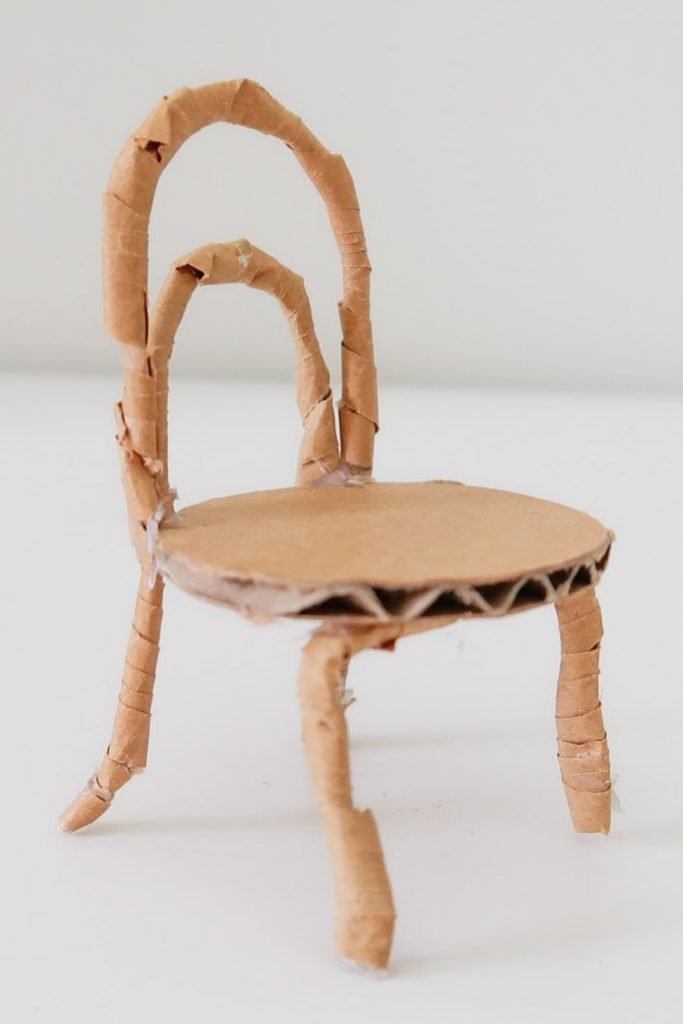
Mini Chair
Curved chair backs are easier to shape from narrow cardboard strips, but wrap them tightly so the bends hold their form.
Layer the seat instead of using one thin circle, especially when you want the miniature chair to stay flat and sturdy.
Keep all four legs equal before gluing, because even a tiny height difference will make small cardboard furniture look crooked.
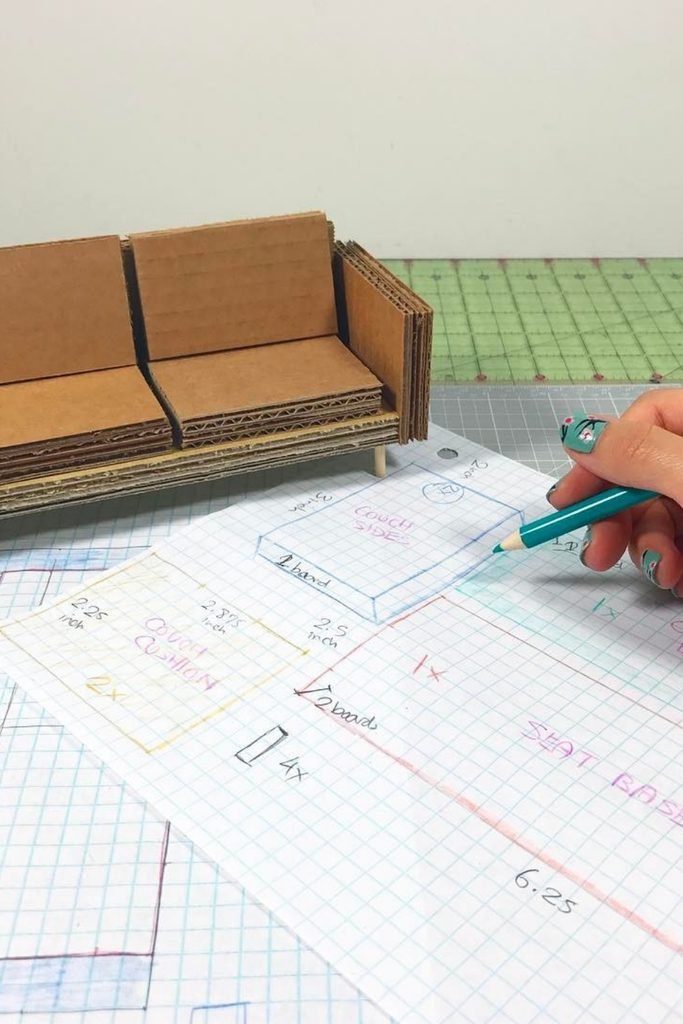
Sofa Prototype
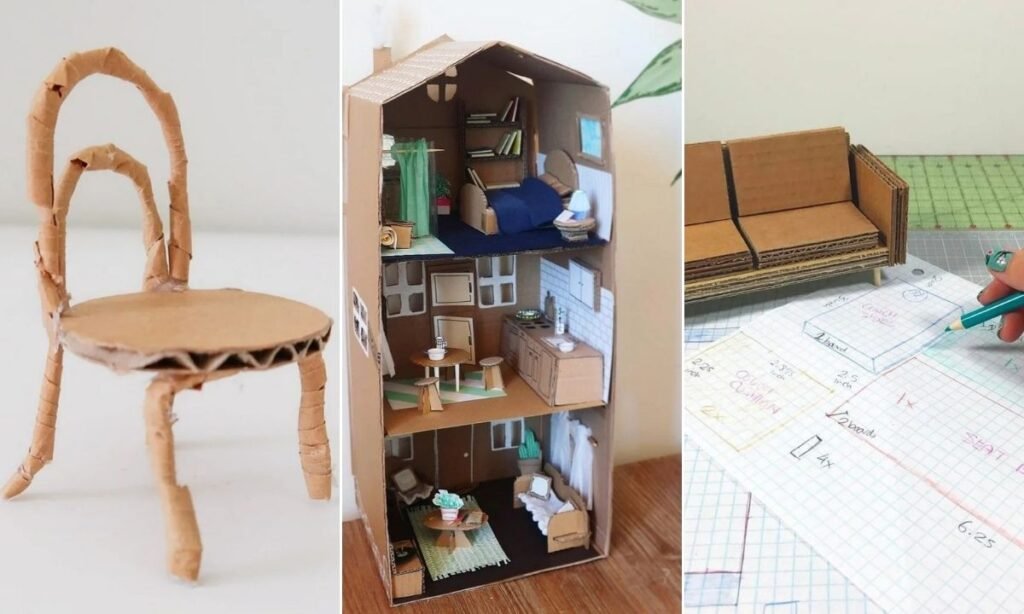
Planning the sofa on graph paper first saves cardboard, especially when several layered pieces need to match exactly during assembly.
Build the seat, back, and arms as separate laminated sections, then join them after checking every piece against your measurements.
This prototype approach is useful before making larger furniture, because mistakes become obvious while the material cost and cutting stay manageable.
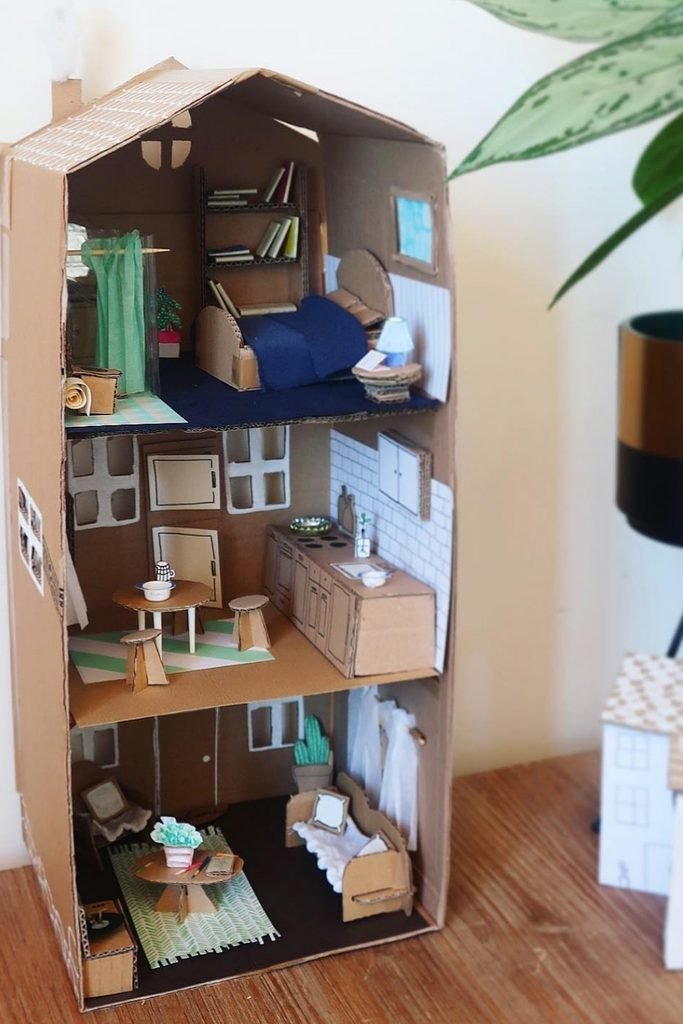
Dollhouse Furniture
Treat a dollhouse like a testing ground for bigger builds; shelves, beds, tables, and cabinets reveal weak joints before you scale up.
Use leftover strips for tiny dividers and supports, because miniature pieces still look cleaner when every shelf and tabletop stays perfectly level.
Finish each room after the structure is solid, then add paper, fabric, or paint so details never hide loose connections underneath.
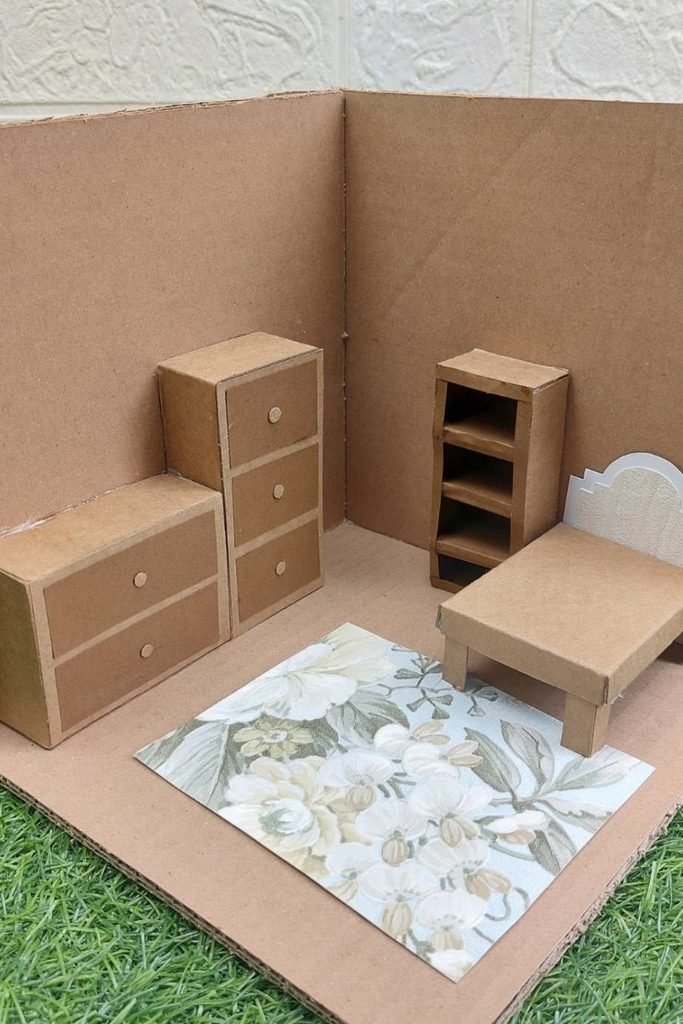
Bedroom Set
Bedroom storage feels more convincing when every piece shares the same proportions, so measure the bed first and size cabinets around it.
Reinforce narrow drawer units with doubled side panels, since tall shapes twist easily when the cardboard walls are too thin.
A simple paper rug or headboard detail adds polish without adding much weight, which keeps this miniature setup neat and easy to move.
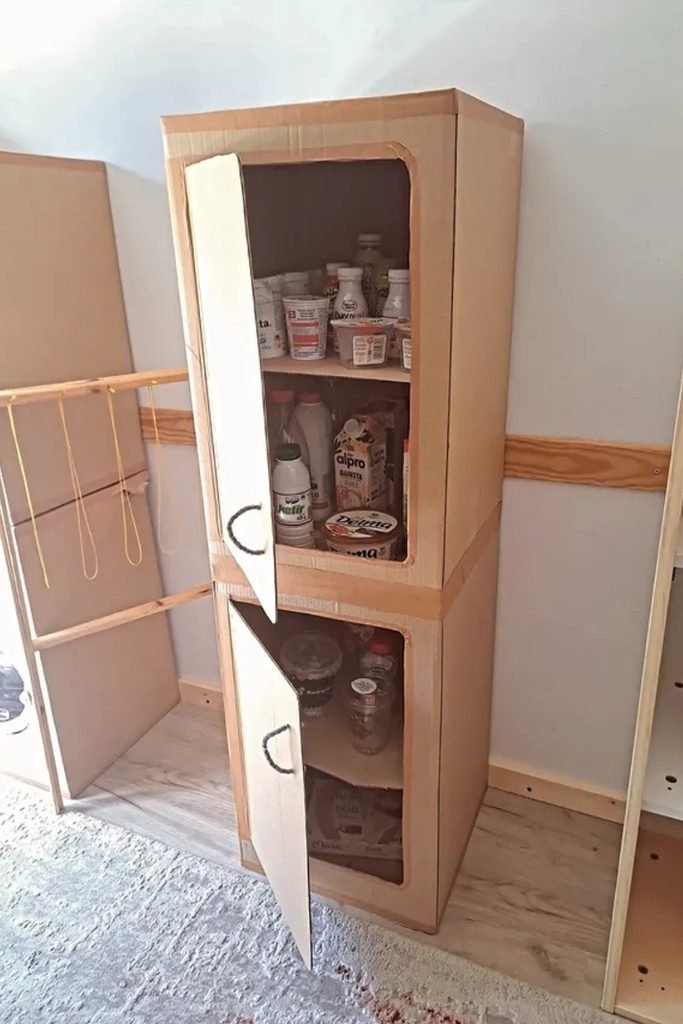
Storage Cabinet
For a full-size cardboard cabinet, build the body from large uninterrupted panels and add internal shelves before attaching the front doors.
Double the door edges where hinges or handles sit, because repeated opening puts extra stress on those small connection points.
Keep heavier items on lower shelves and lighter containers above; that lowers the center of gravity and helps the cabinet stay stable.
Ribbed Seating
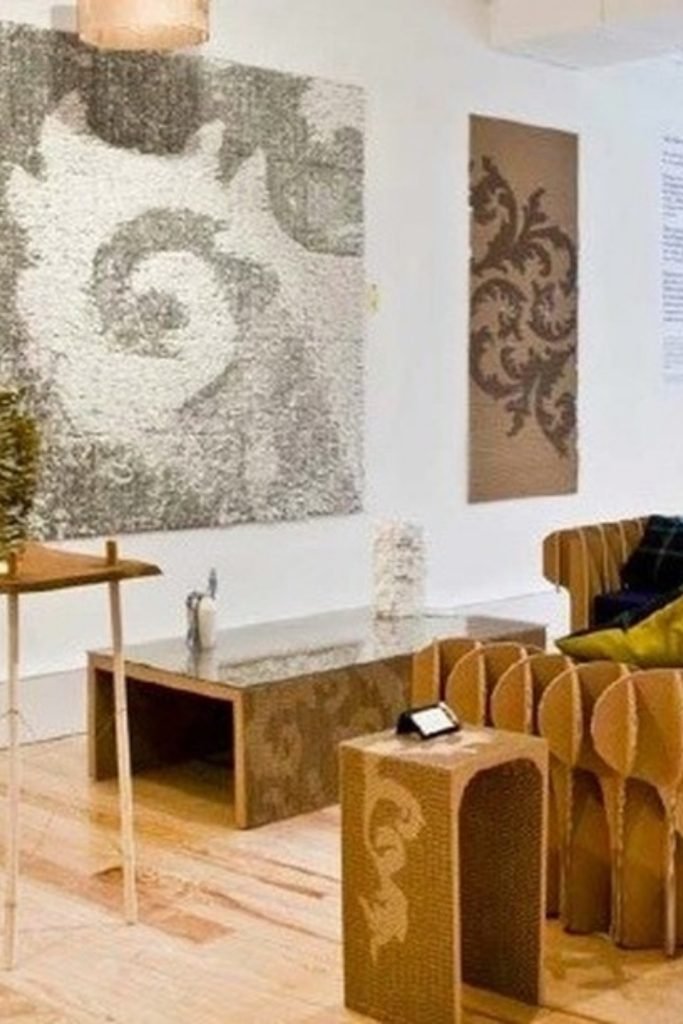
Curved cardboard seating gets its strength from repeated ribs, so spacing those supports evenly matters more than simply making the outer shell thicker.
Use a reinforced base beneath chairs and side tables, especially where narrow legs meet larger surfaces and sideways movement can loosen joints.
Leaving the corrugated texture visible can look intentional, but trim rough edges neatly so the finished furniture feels designed rather than unfinished.
Reclining Chair
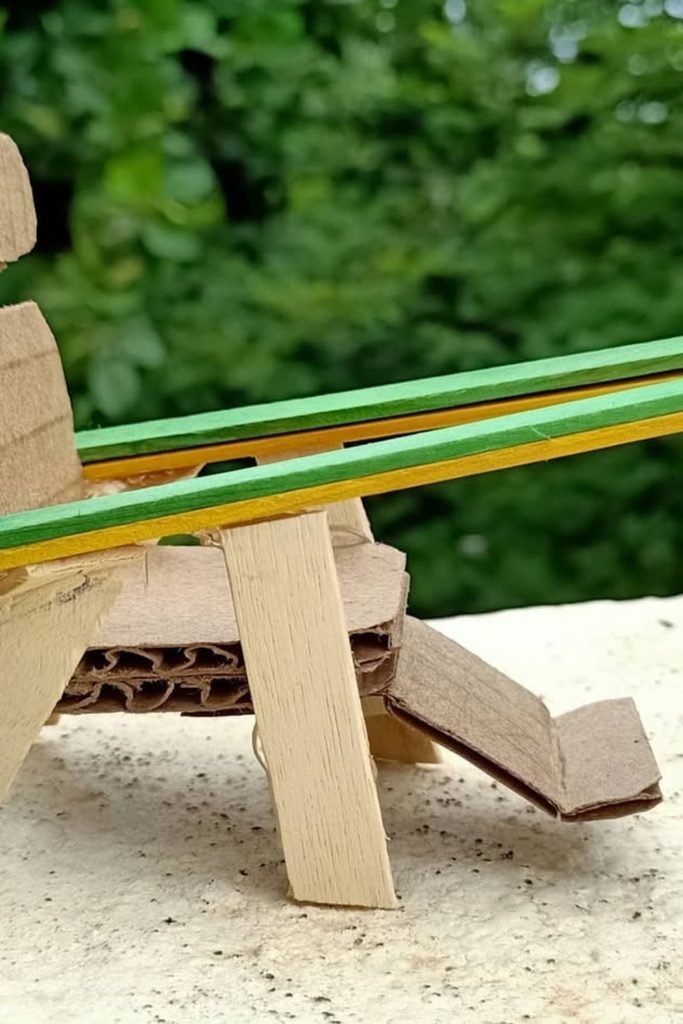
A reclining shape needs a firm seat base first, because the angled back and footrest put extra pressure on weak joints.
Layer the cardboard around the seat and back connection, then brace underneath so the chair does not fold during play.
Narrow arm pieces can stay lightweight, but glue them along reinforced edges instead of attaching them directly to a single panel.
Rounded Armchair
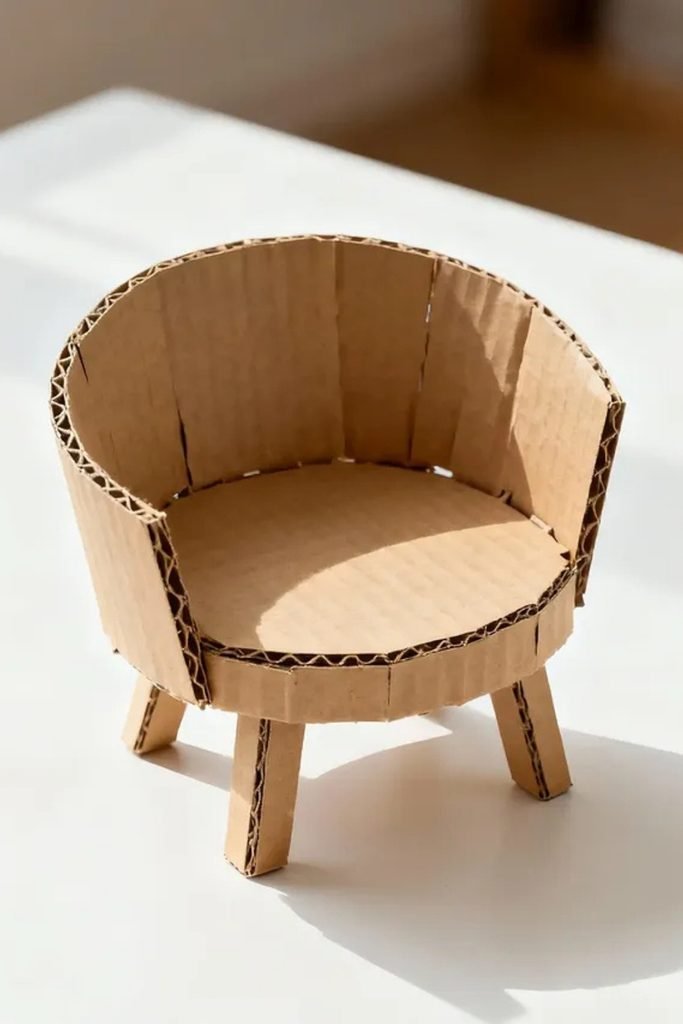
Curved cardboard is easiest to control with several shallow cuts or narrow sections, giving the back a smoother, cleaner bend.
Double the circular seat before adding legs, since a stronger platform keeps the rounded shell from spreading outward under pressure.
Angle each leg slightly outward for stability, then cover exposed corrugated edges if you want the chair to look more finished.
Folded Sofa
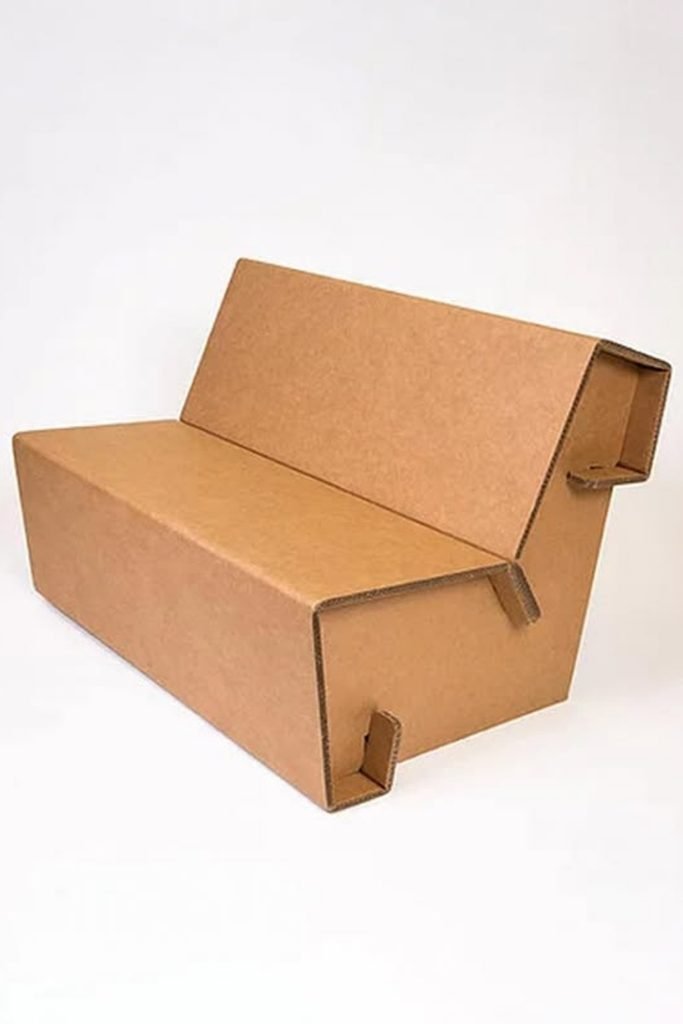
One continuous folded shell can make a surprisingly clean sofa, but every crease needs to stay sharp and evenly aligned.
Reinforce the seat from underneath before closing the base, because broad unsupported cardboard surfaces will start flexing with repeated use.
Tabs work well for locking the sides together, especially when you want a glue-light design that can be assembled neatly.
Modular Shelves
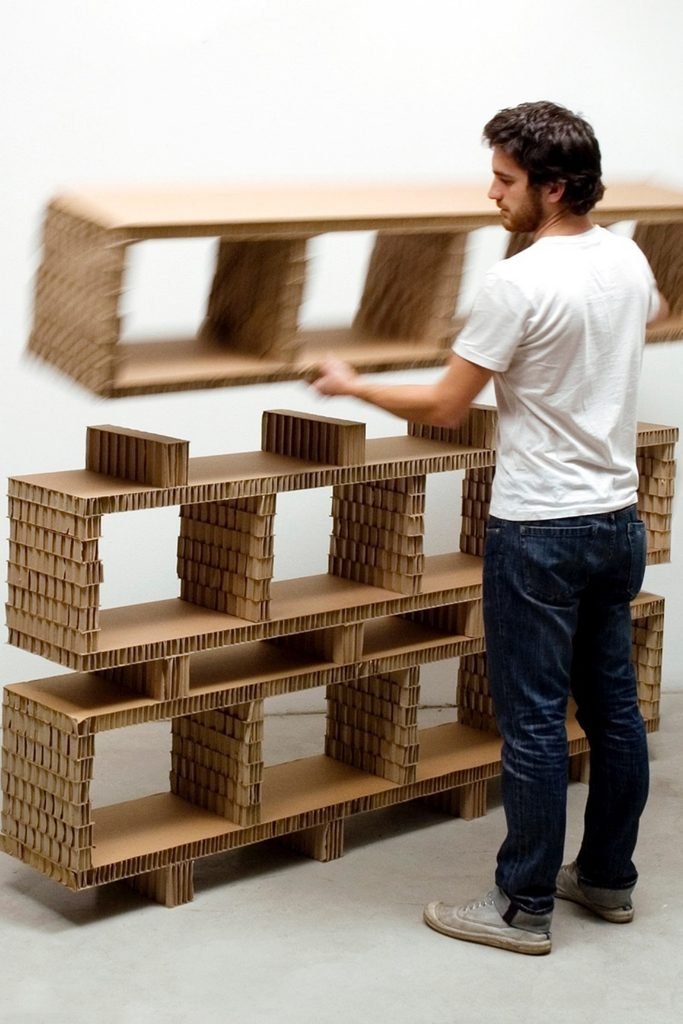
Large cardboard shelving becomes far stronger when vertical dividers sit directly beneath each upper section instead of leaving long unsupported spans.
Honeycomb-style cardboard panels add stiffness without much weight, making them useful for wide shelves that still need to remain movable.
Build separate modules before stacking them, so damaged sections can be replaced later without taking the entire storage unit apart.
Mini Lounge
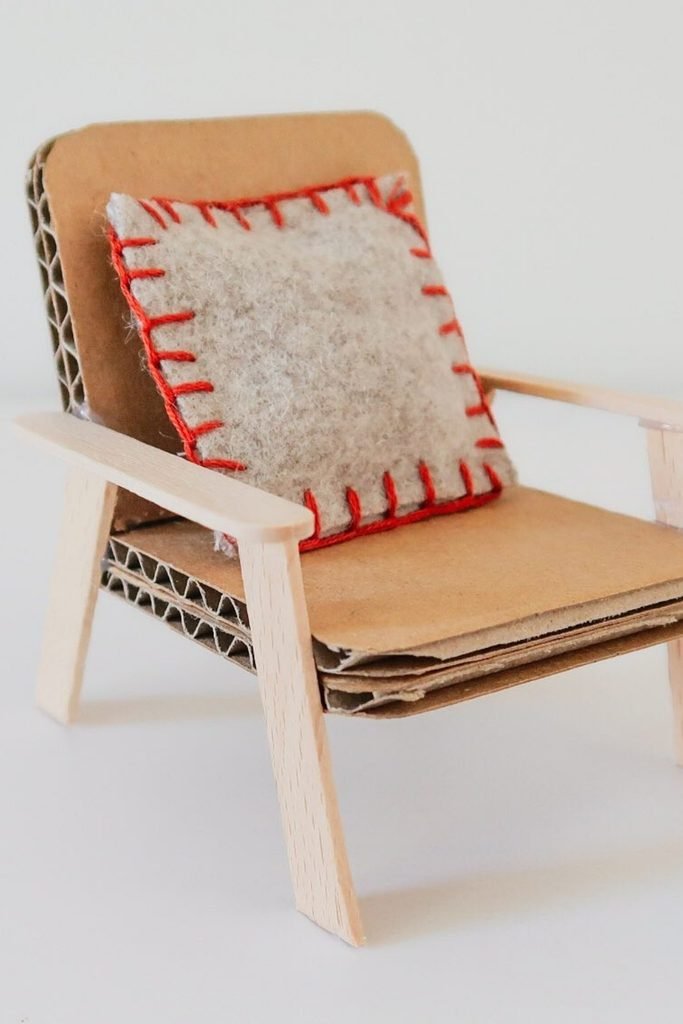
Layer the seat and back before adding slim wooden arms, because those wider cardboard panels carry most of the chair’s stress.
A small felt cushion softens the look without hiding the structure, making this miniature piece feel finished instead of purely experimental.
Keep the front legs slightly angled and test the frame on a flat surface so wobbling shows up before final gluing.
Open Shelves
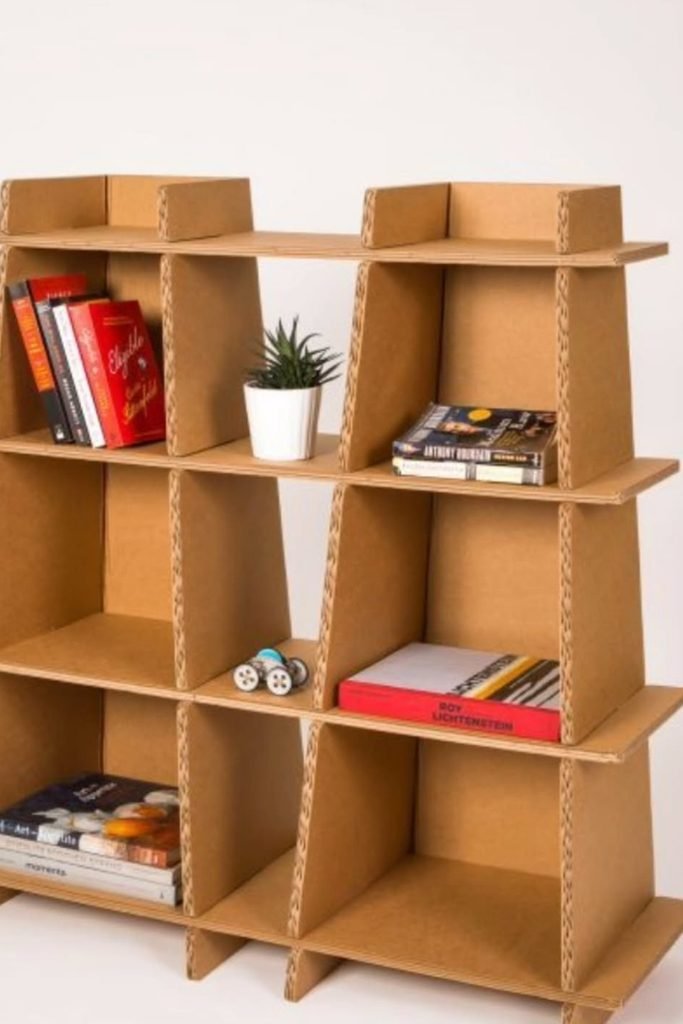
Open cubbies stay stronger when each vertical divider sits directly beneath the shelf above, creating short spans instead of weak stretches.
Cut matching slots carefully so the panels lock together squarely; loose joints will make the entire unit lean once books are added.
Use heavier books on lower levels and lighter decor above, which helps the cardboard shelving stay balanced and easier to reposition.
Interlocking Chair
This chair gets its strength from repeated interlocking panels, so accurate slots matter far more than adding random extra cardboard layers.
Round the seat edge by bending several narrow sections together, then reinforce underneath where body weight will concentrate during regular use.
Build the back and base as connected structures instead of separate pieces, which reduces movement where chairs usually begin to loosen.
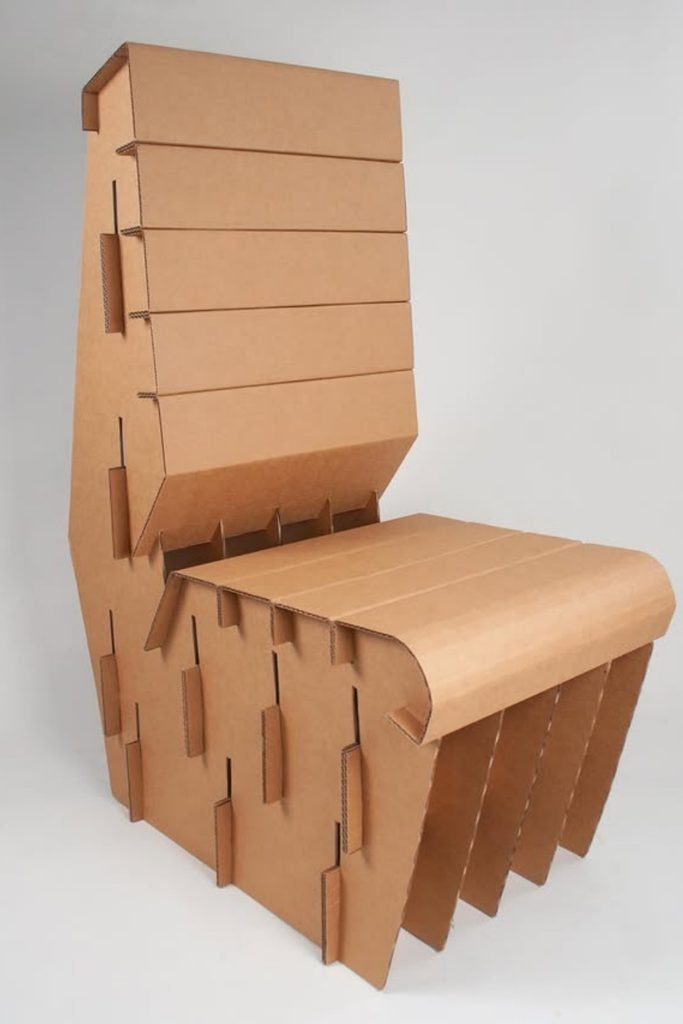
Desk Organizer
A compact desk organizer works best when storage zones are planned first, so shelves, paper slots, and top compartments stay genuinely useful.
Double the side walls before cutting curved edges, because those panels support every shelf and keep the organizer from twisting sideways.
Leave the bottom compartment open for larger items, while shallow upper shelves handle notebooks, mail, or supplies you reach for often.
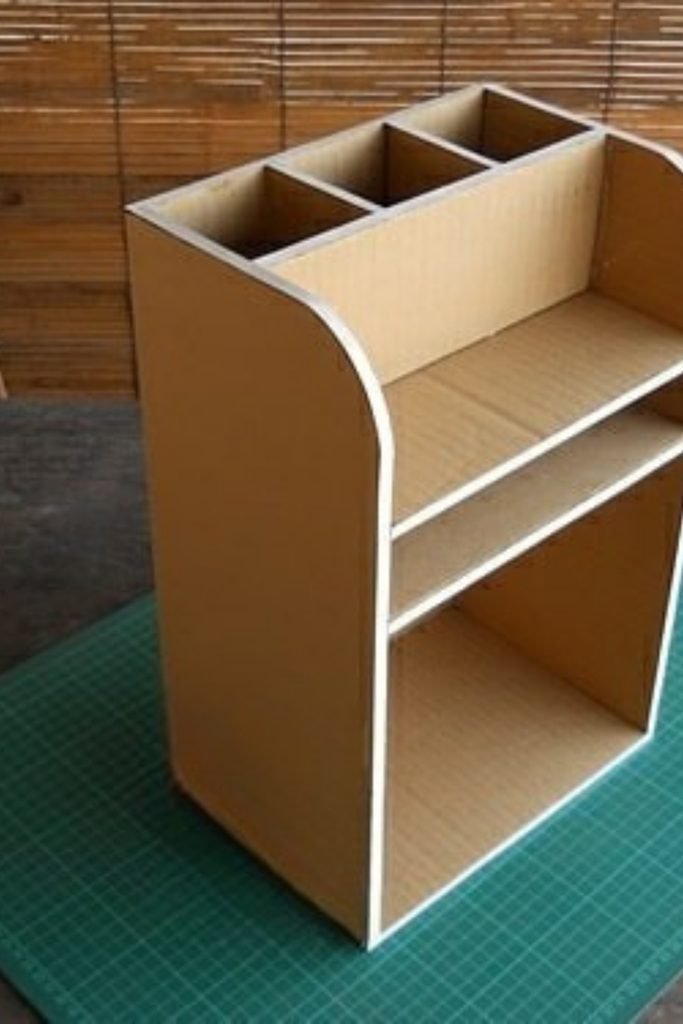
Curved Shelf
Curved shelving needs a strong inner framework first, so build repeated cardboard compartments before adding the decorative outer silhouette around them.
Those small internal boxes act like ribs, helping tall furniture resist twisting while also creating useful spots for books or display pieces.
Keep the widest sections near the bottom and test the unit upright before finishing, because height makes any imbalance much more noticeable.
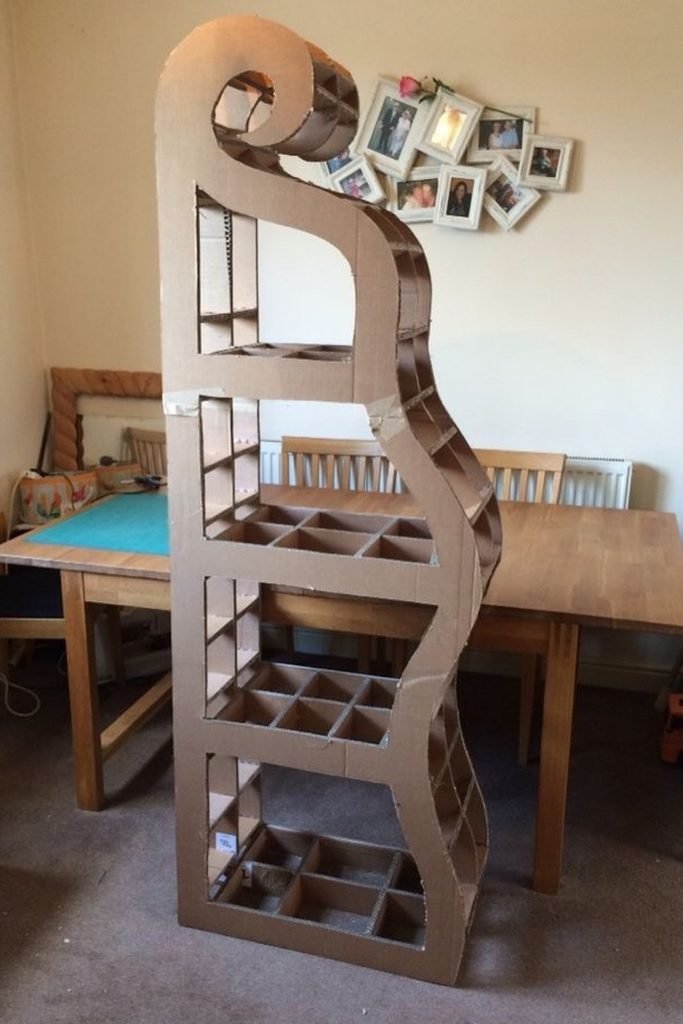
Sculpted Lounge
Sculptural cardboard furniture works best with repeated ribs, because those closely spaced layers spread weight instead of stressing one thin panel.
For rounded chairs, cut matching profiles carefully and connect them evenly; inconsistent spacing can make the seat feel crooked or unstable.
A glass tabletop can sit over a reinforced lattice base, but protect every contact point so hard edges do not crush the cardboard.
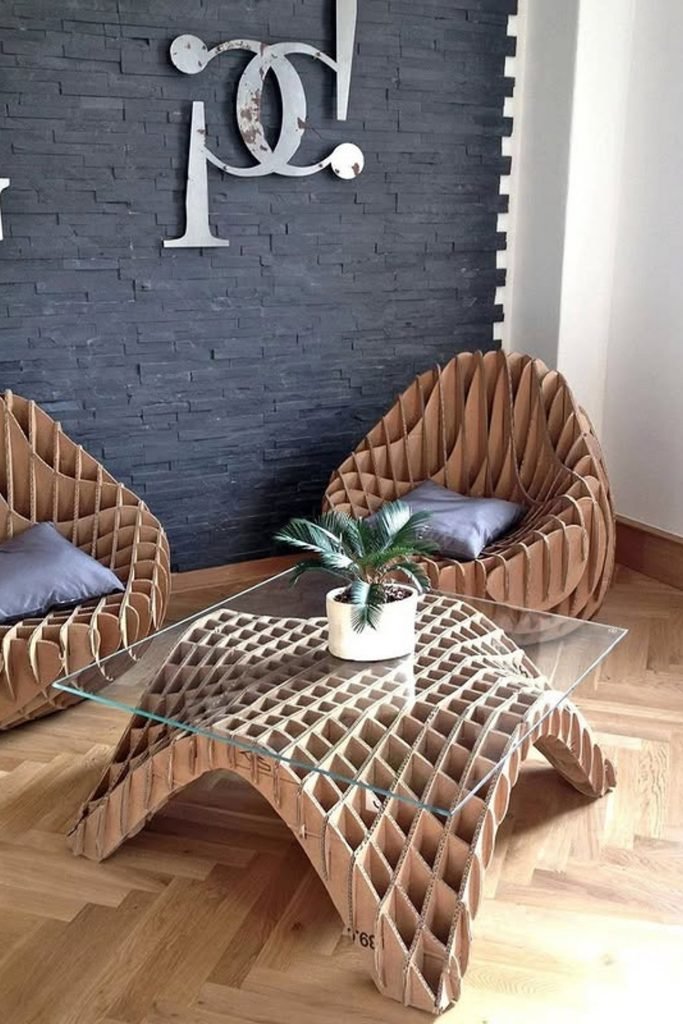
Slanted Shelves
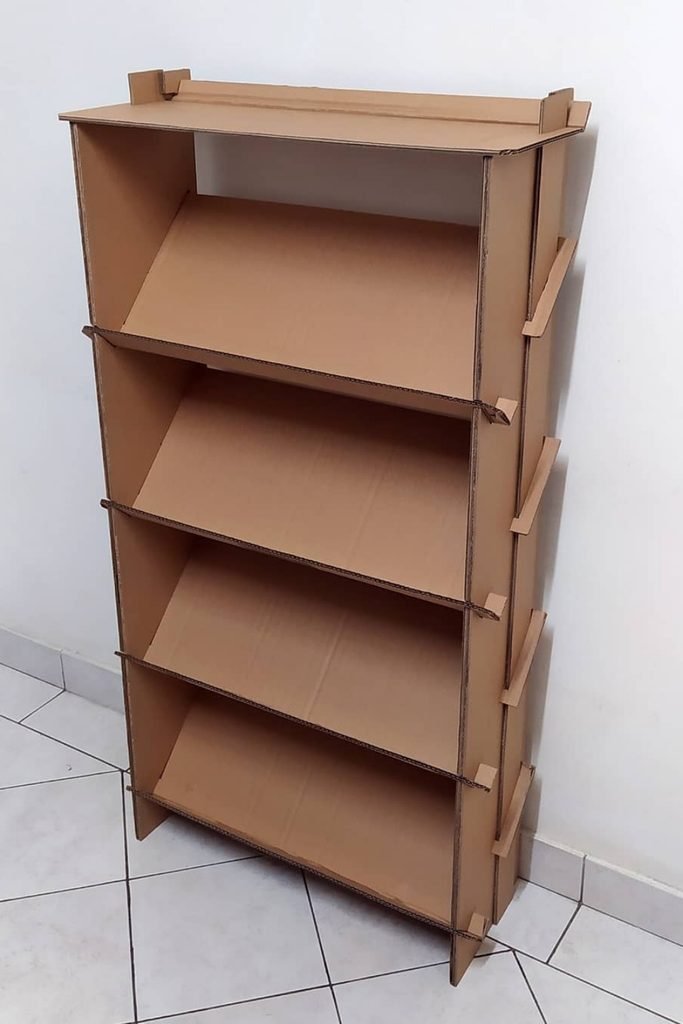
Slanted shelves are useful for shoes, magazines, or display pieces because the angled surface keeps items visible without needing deep compartments.
Support each shelf along both sides and across the front edge, since long cardboard panels can bow once weight sits near the center.
A narrow vertical shape saves floor space, but anchor or brace the back if you plan to load several levels with heavier items.
Cat Shelf
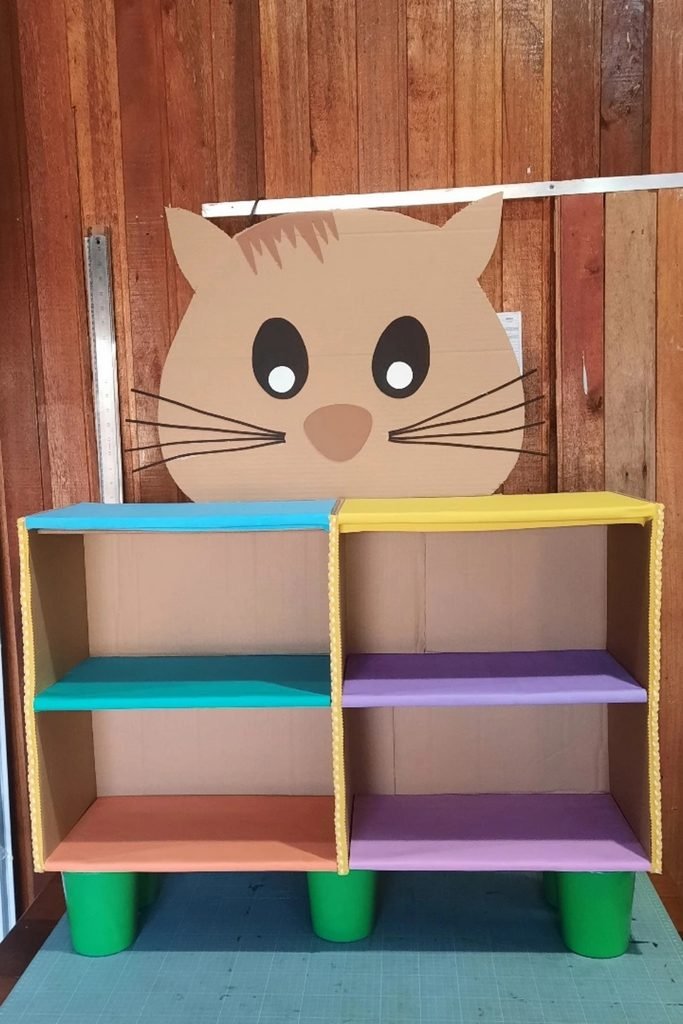
Kids storage feels more inviting when the structure does double duty, so a simple shelf can also become part of the room decor.
Build the center divider directly beneath the upper joint, giving both sides proper support instead of relying on one wide unsupported shelf.
Color only after assembly is complete, then add playful cardboard details like the cat face without covering joints you may need to reinforce.
Mini Dining
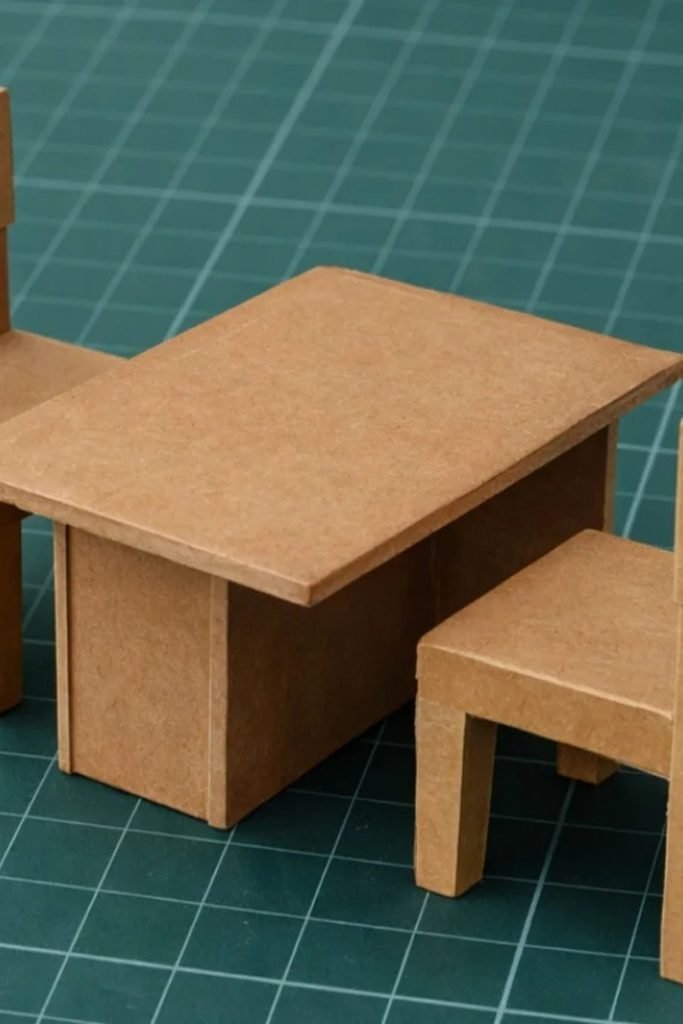
Matching miniature chairs to the table first keeps proportions believable, especially when every leg and seat is cut from cardboard.
Use doubled strips for chair legs and table edges, because narrow single layers can bend even on small-scale furniture pieces.
Build the table base as a boxy support rather than four thin legs, giving the top more stability during play.
Study Desk
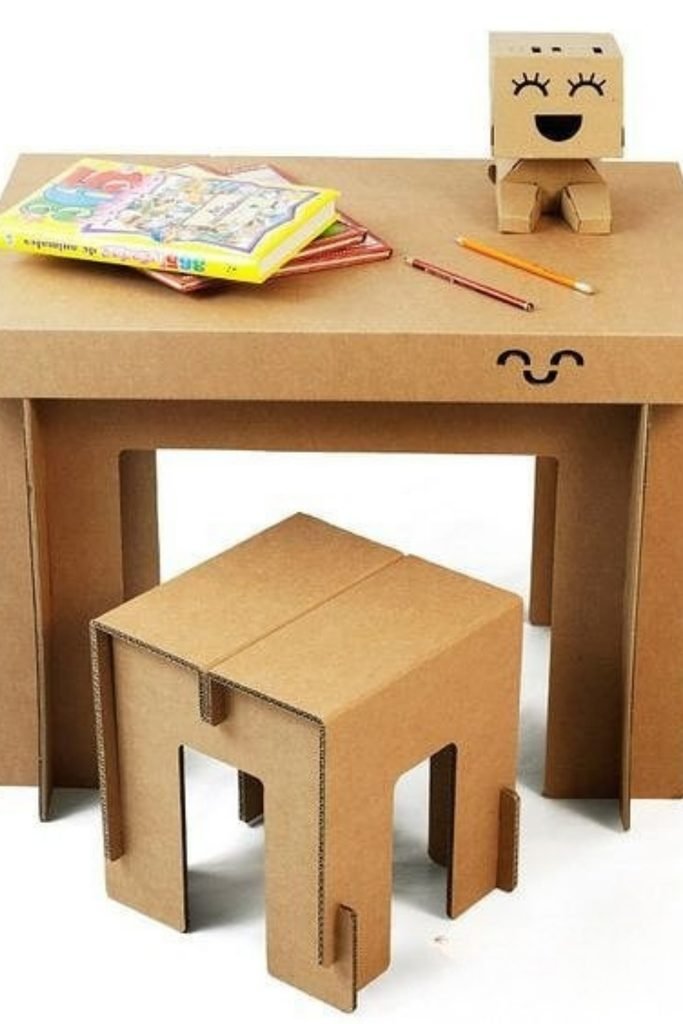
A cardboard study desk needs a reinforced top, since books, elbows, and repeated leaning place steady pressure across the surface.
Fold the desk legs into wide panels instead of narrow posts, which makes the whole frame harder to wobble sideways.
Keep the matching stool low and simple, then double its seat so children get a sturdier spot for drawing or reading.
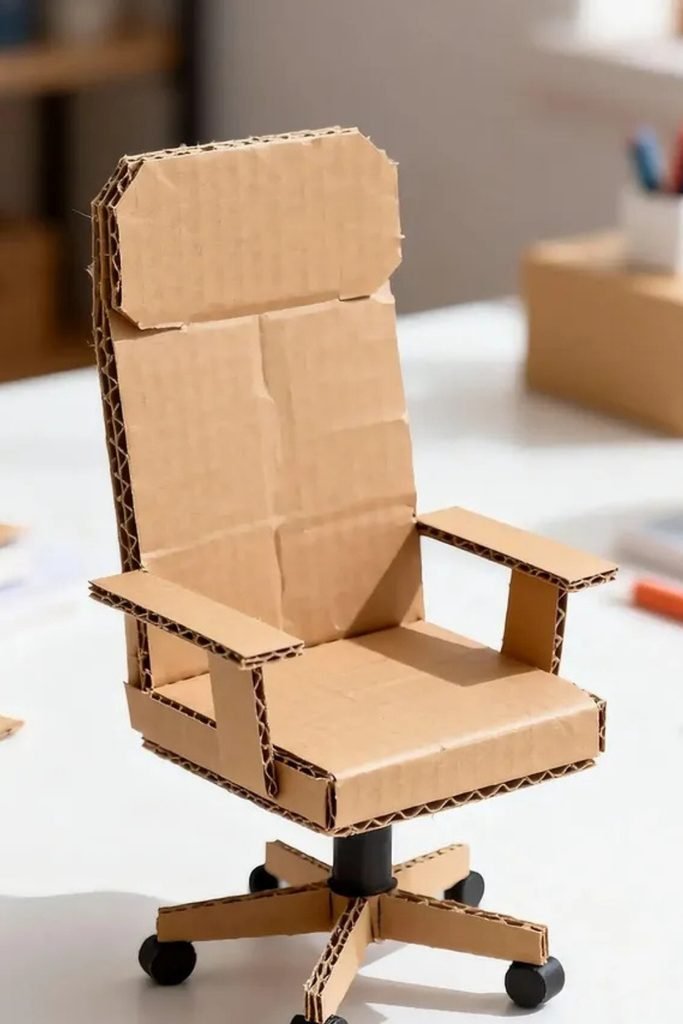
Office Chair
A rolling office chair needs extra support beneath the seat, because the center post concentrates more pressure than four separate legs.
Layer the seat base and reinforce every arm connection, since thin cardboard strips can loosen quickly when the chair is handled.
Keep the wheels and swivel section lightweight, then test the frame upright so wobbling shows before you finish the details.
FAQs
Can Cardboard Furniture Really Hold Weight?
Yes, but strength depends more on structure than thickness, so use layered panels, internal ribs, and vertical supports in load-bearing areas.
Chairs, benches, and shelves need extra reinforcement at joints because those connection points usually fail before the cardboard itself does.
How Do You Make Cardboard Furniture Last Longer?
Start with clean, dry corrugated cardboard and keep finished furniture away from damp rooms, spills, or floors that regularly collect moisture.
Cover exposed edges with paper tape, paint, or another protective finish, since open corrugation absorbs moisture and gets damaged quickly.

Hi, my name is Ali Mehmood! I’m a passionate writer and DIY enthusiast who loves turning creative ideas into practical, hands-on projects.
I created this website to share inspiring, budget-friendly ideas that you can do yourself – whether it’s organizing your home, crafting something unique, or creating fun projects for kids and pets.
I believe DIY isn’t just a hobby – it’s a smart way to save money, reduce waste, and enjoy the satisfaction of making things with your own hands.
I’m excited to have you as part of this growing community, and I’ll continue bringing you helpful, realistic, and fun DIY ideas you can actually use.