This post may contain affiliate links: read full affiliate disclosure.
You may skip carving because you want less mess, only to realize choosing what to paint on your pumpkin becomes the harder part.
Some designs look too complicated to recreate, while simpler ones can feel plain once you picture them with your fall or Halloween décor.
You need inspiration that matches your skill level, works with different pumpkin shapes, and still gives you a finished look worth displaying.
In this article, you’ll discover painted pumpkin ideas ranging from easy patterns and playful designs to colorful, detailed, and stylish looks.
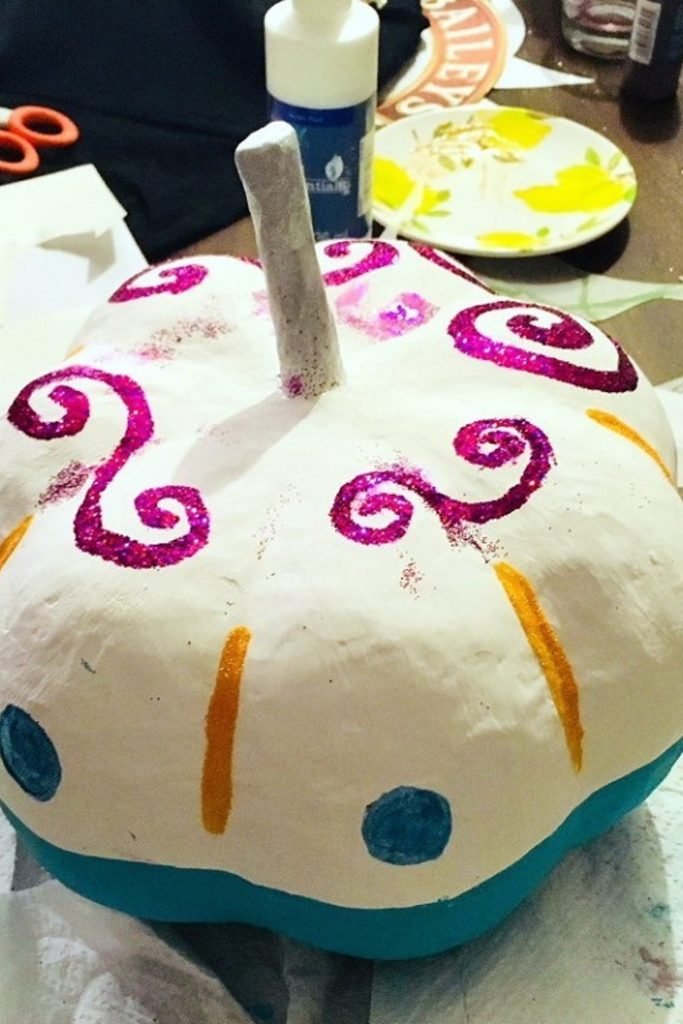
Glitter Swirls
Give a plain white pumpkin extra personality by tracing loose magenta glitter swirls across the top instead of covering every ridge.
Small teal dots and slim orange strokes balance the sparkle, while the solid teal base creates a clean finishing border.
Try this playful approach when you want an easy craft that still feels colorful enough for a cheerful Halloween display.
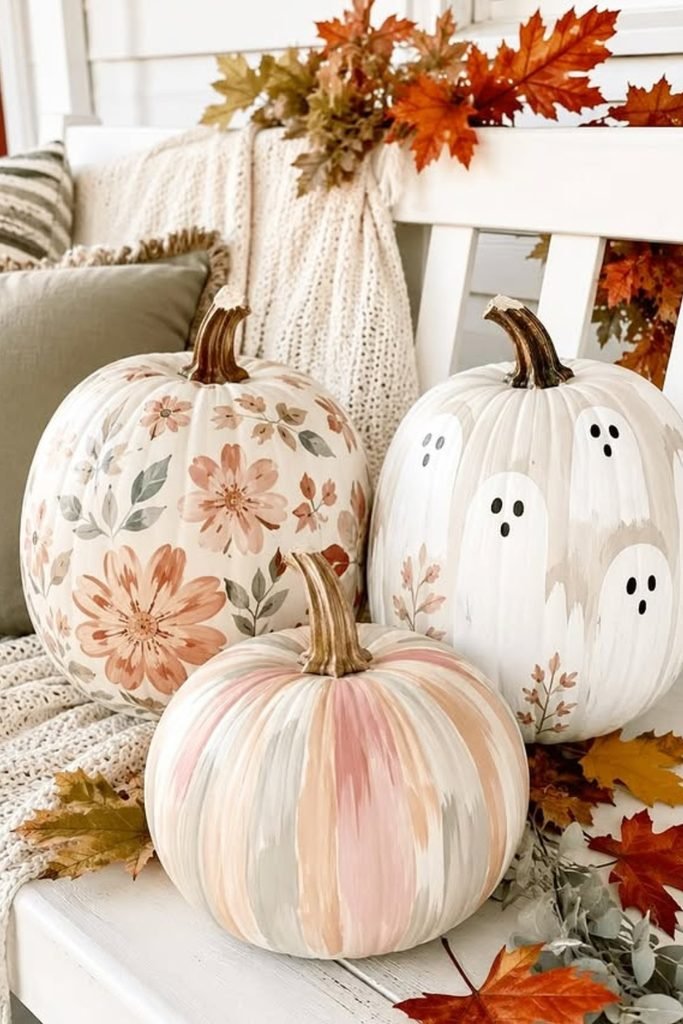
Soft Fall Trio
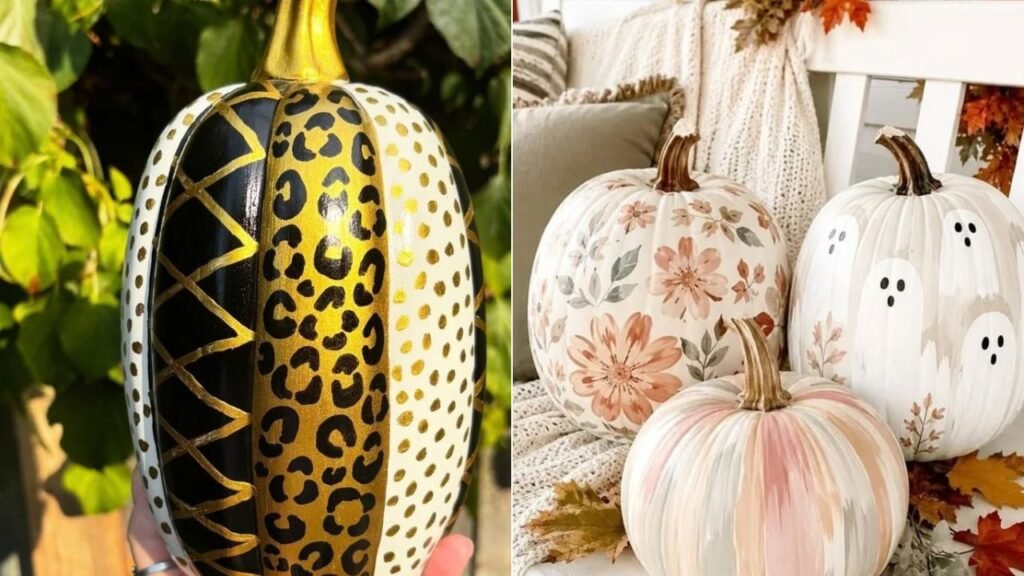
Muted pumpkins work beautifully when you want seasonal decorating without relying on the usual strong orange and black Halloween palette.
Paint one with loose florals, another with tiny ghosts, then use soft vertical brushstrokes to keep the grouping visually varied.
Keeping blush, cream, sage, and warm beige across all three designs helps separate patterns still feel intentionally connected together.
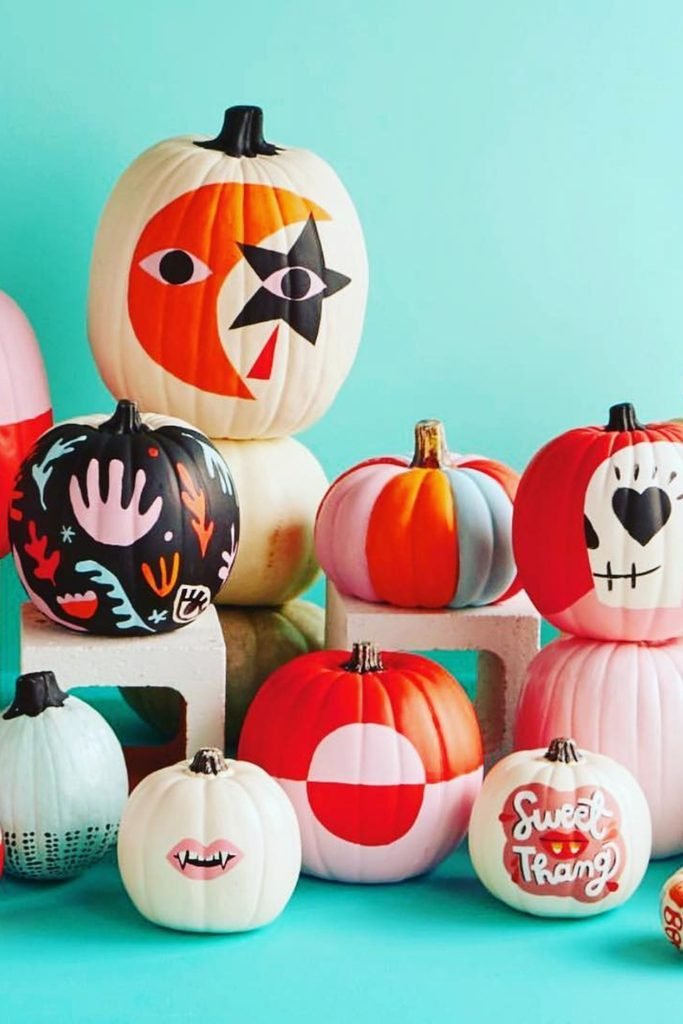
Graphic Halloween Mix
When one design feels limiting, turn several pumpkins into a collection of bold graphics using completely different Halloween-inspired motifs.
Mix oversized eyes, skull faces, hands, dots, lettering, and color blocks while repeating a few shades across the entire arrangement.
Varying pumpkin heights makes this approach especially effective for party displays where every painted detail deserves its own visible spot.
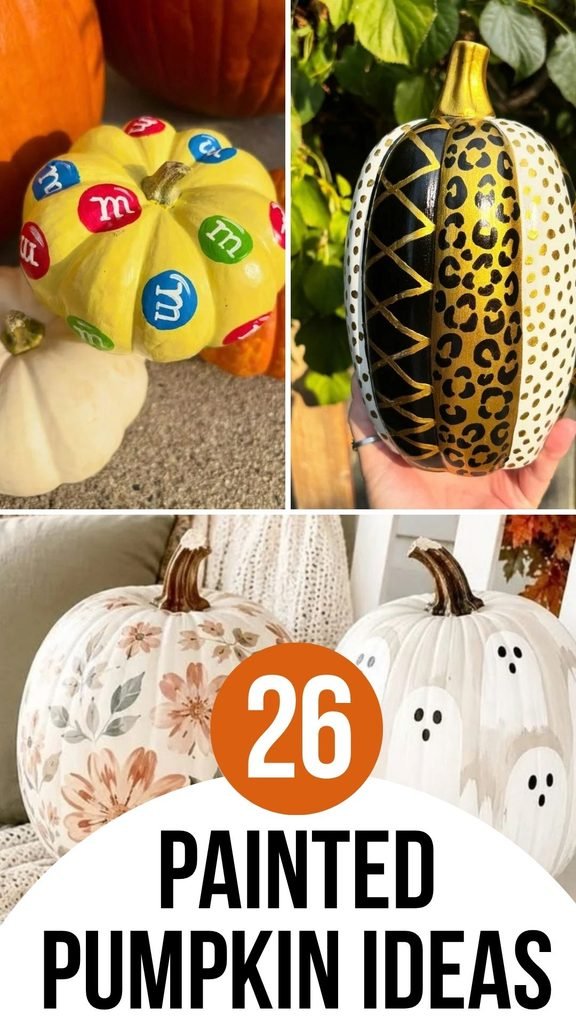
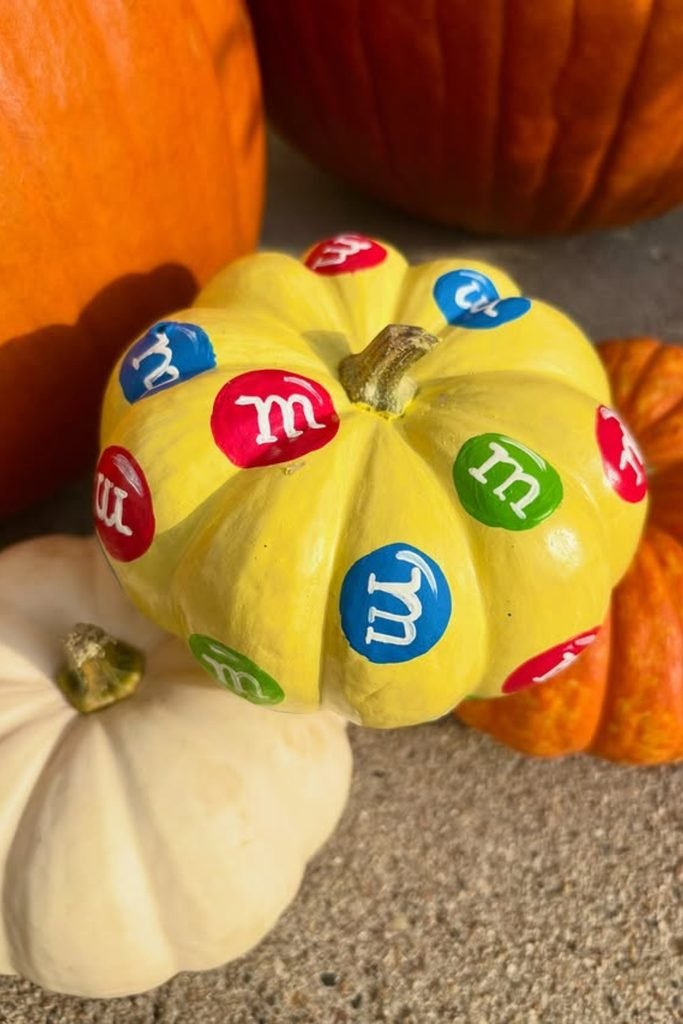
Candy Pumpkin
Candy-inspired painting gives a small pumpkin an instantly recognizable theme without requiring detailed illustration.
Start with a bright yellow base, then scatter colorful circles across separate ridges so the pattern feels playful rather than crowded.
Finish each circle with a simple white letter, making this a fun choice for Halloween treat tables or kitchen displays.
Glitter Swirls
Give a plain white pumpkin extra personality by tracing loose magenta glitter swirls across the top instead of covering every ridge.
Small teal dots and slim orange strokes balance the sparkle, while the solid teal base creates a clean finishing border.
Try this playful approach when you want an easy craft that still feels colorful enough for a cheerful Halloween display.
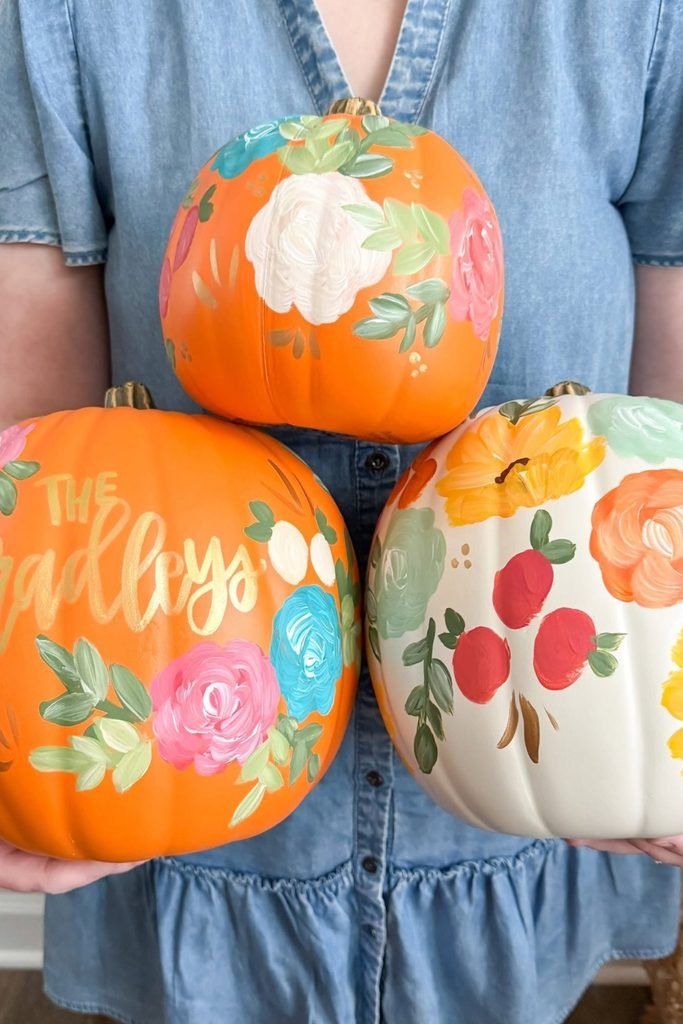
Soft Fall Trio
Muted pumpkins work beautifully when you want seasonal decorating without relying on the usual strong orange and black Halloween palette.
Paint one with loose florals, another with tiny ghosts, then use soft vertical brushstrokes to keep the grouping visually varied.
Keeping blush, cream, sage, and warm beige across all three designs helps separate patterns still feel intentionally connected together.
Graphic Halloween Mix
When one design feels limiting, turn several pumpkins into a collection of bold graphics using completely different Halloween-inspired motifs.
Mix oversized eyes, skull faces, hands, dots, lettering, and color blocks while repeating a few shades across the entire arrangement.
Varying pumpkin heights makes this approach especially effective for party displays where every painted detail deserves its own visible spot.
Candy Pumpkin
Candy-inspired painting gives a small pumpkin an instantly recognizable theme without requiring detailed illustration or complicated brushwork to pull off.
Start with a bright yellow base, then scatter colorful circles across separate ridges so the pattern feels playful rather than crowded.
Finish each circle with a simple white letter, making this a fun choice for Halloween treat tables or kitchen displays.
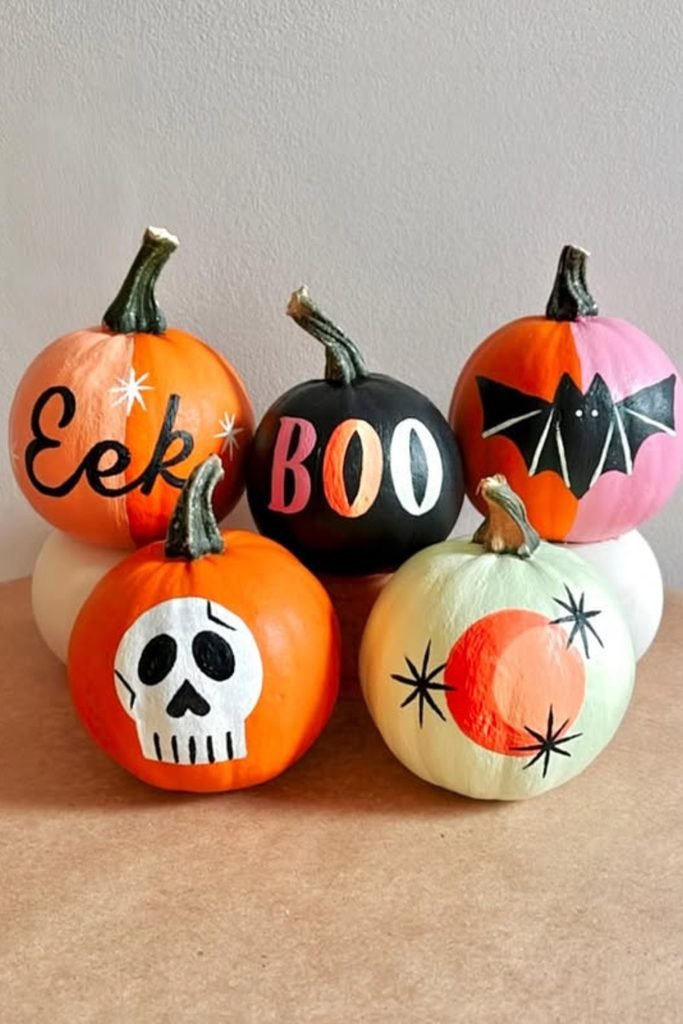
Retro Halloween Set
A few bold symbols can make small pumpkins feel like a coordinated Halloween collection without asking you to paint complicated scenes.
Pair lettering with a skull, bat, and crescent moon, then repeat black across each design to visually connect the group.
Changing the base colors keeps every pumpkin distinctive, so this works nicely when you want several quick projects displayed together.
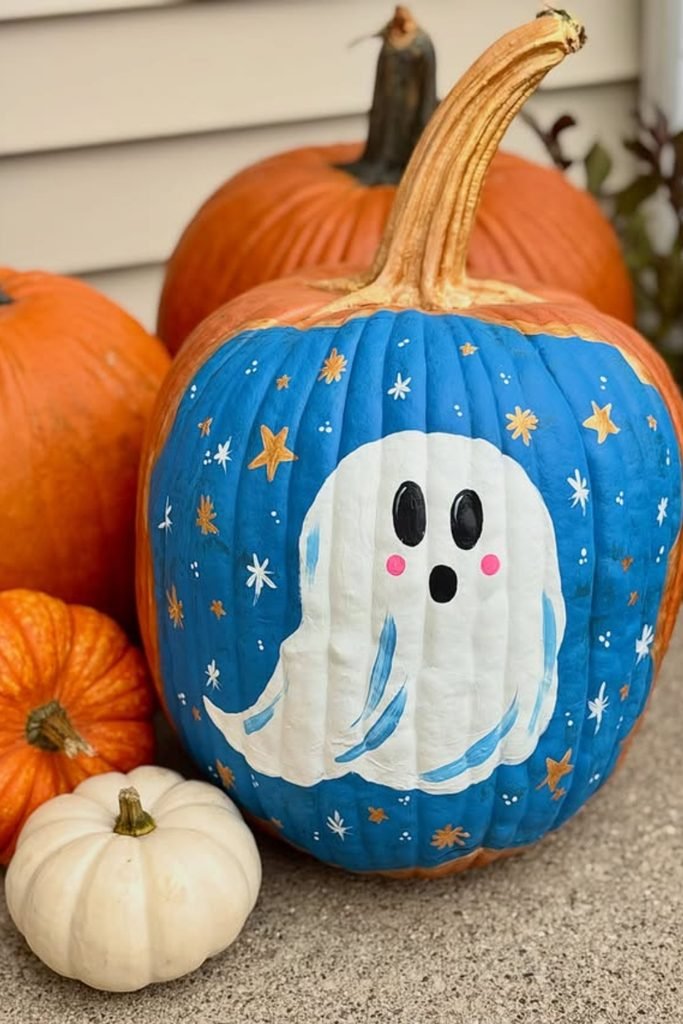
Starry Ghost
Instead of placing another ghost on plain orange, paint a deep blue backdrop that makes the white figure immediately stand forward.
Scatter tiny gold and white stars around the open space, keeping them irregular so the night-sky effect feels naturally playful.
Pink cheeks soften the spooky expression, making this design especially fun when your Halloween decorating leans cute rather than frightening.
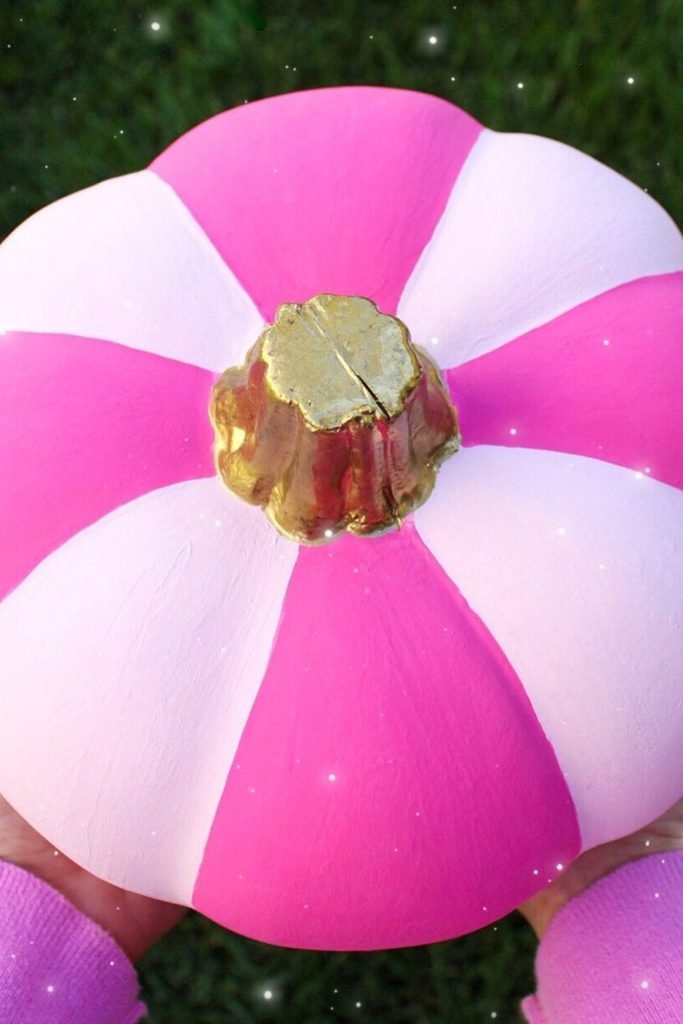
Pink Stripes
Let the pumpkin’s natural ridges do the measuring by alternating bright pink and pale pink sections from top to bottom.
Clean blocks of color make this surprisingly beginner-friendly, since you can follow each groove instead of drawing complicated shapes freehand.
Painting the stem gold adds just enough contrast, turning a simple striped pumpkin into cheerful décor for a colorful fall setup.
Whimsical Faces
Detailed faces become easier to tackle when you keep the pumpkin orange and concentrate your brushwork around expressive features instead.
Sketch the eyes and smile first, then surround them with flowing white lines that suggest curls without requiring perfectly filled shapes.
Small dots, rosy cheeks, and fine outlines add personality, making this style especially rewarding when you enjoy slower detail work.
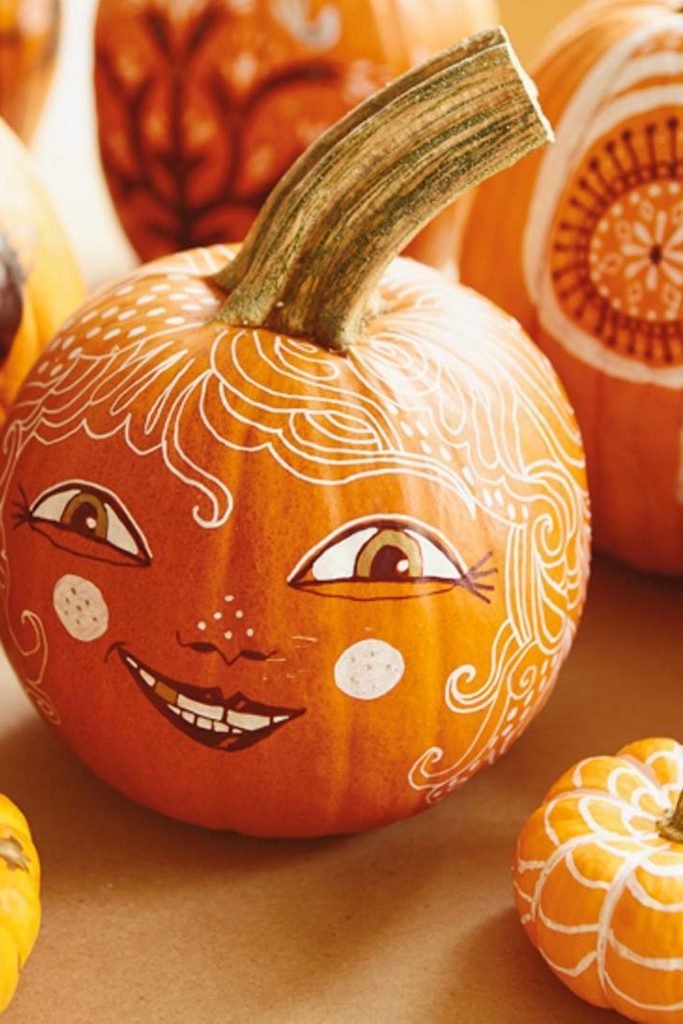
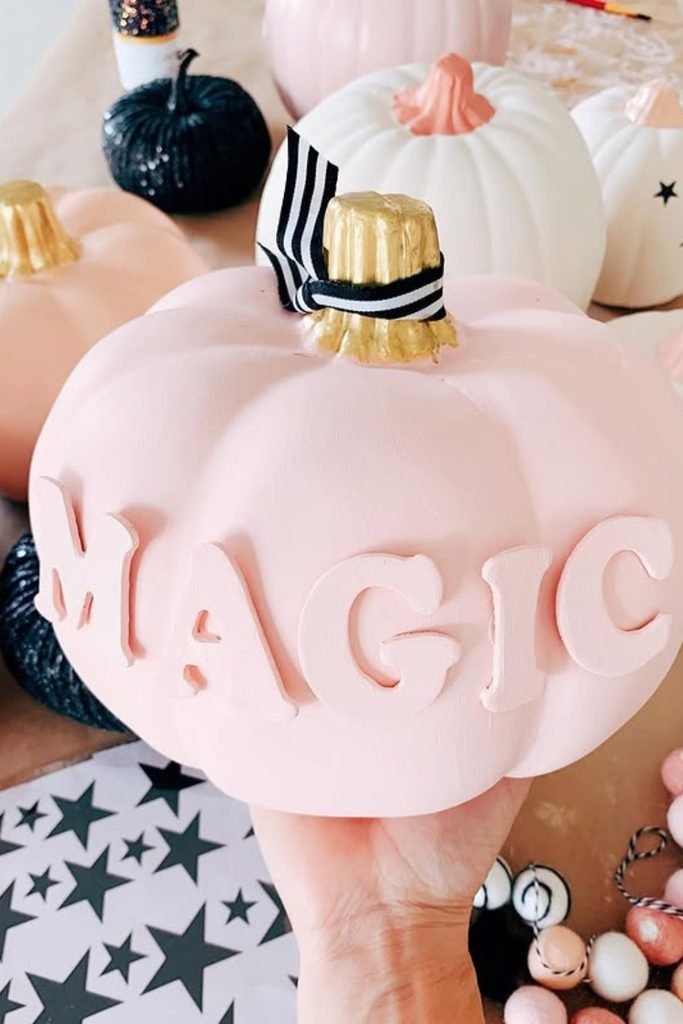
Raised Magic Letters
If flat lettering feels too simple, raised letters give a softly painted pumpkin extra dimension without making the design visually busy.
Keep the pumpkin blush pink, match the letters closely, then use a metallic gold stem and striped ribbon for contrast.
This works especially well on smaller pumpkins because one short word can become the focal point without requiring detailed painting.
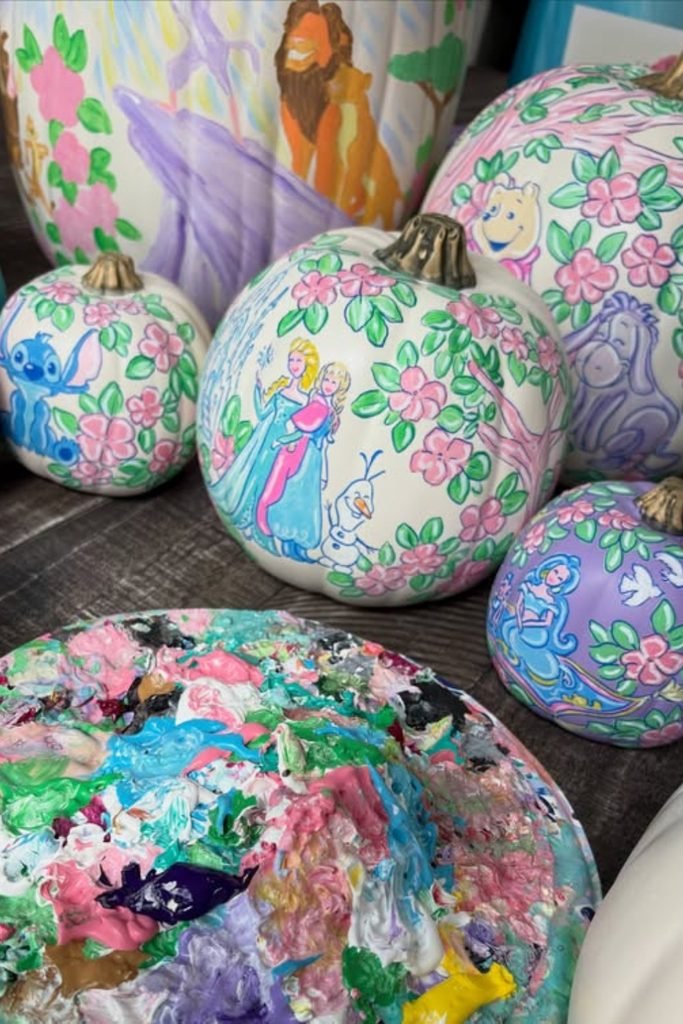
Storybook Florals
Detailed character art feels more cohesive when you surround each figure with the same repeating flowers, leaves, and soft background colors.
Sketch your character first, then build the floral border around open areas so important facial details never disappear beneath decoration.
Using several pumpkins lets you continue the theme across different characters, creating a collectible display rather than one crowded illustration.
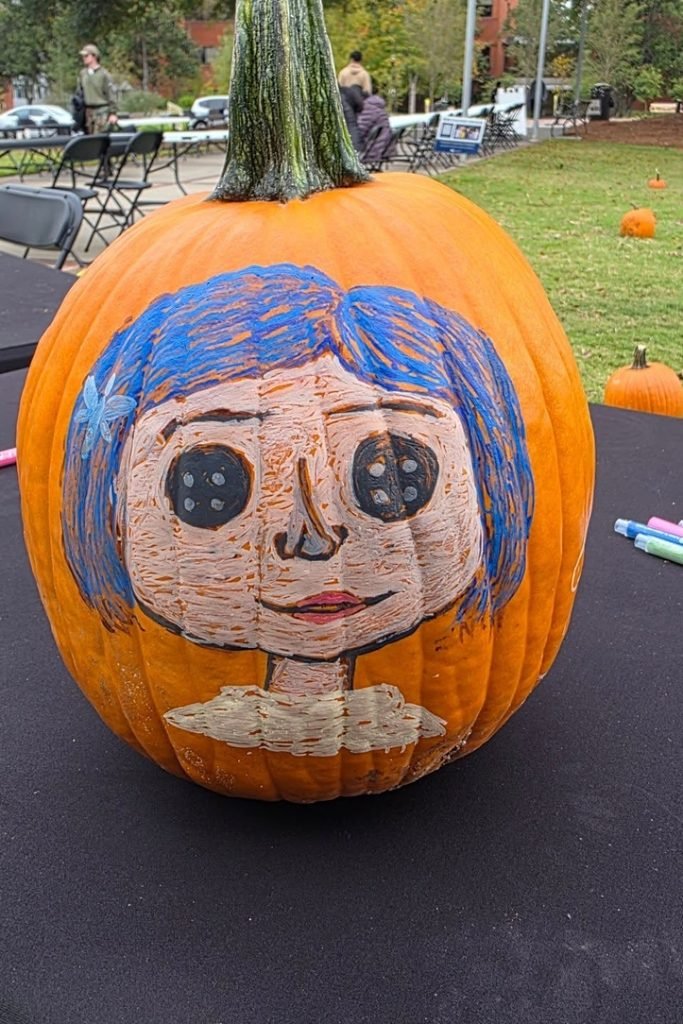
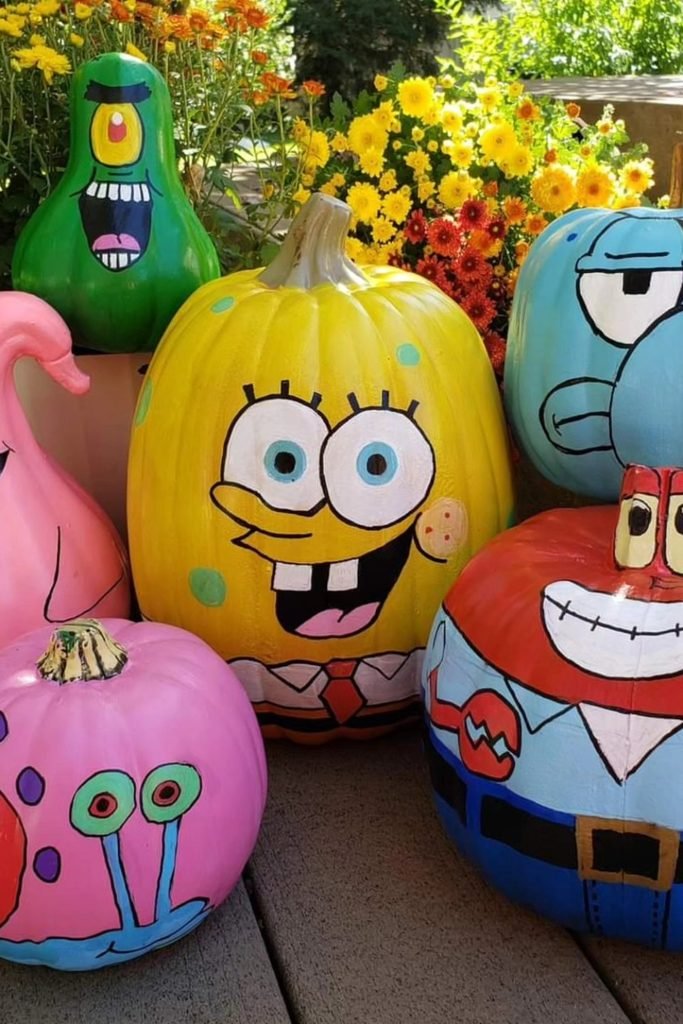
Cartoon Characters
Recognizable cartoon faces are easier to paint when you choose pumpkin shapes that already resemble each character’s natural proportions and silhouette.
Use solid base colors first, then add oversized eyes, mouths, clothing details, and strong black outlines once everything has dried.
Grouping several characters together turns the project into a playful porch feature where different pumpkin sizes actually strengthen the overall scene.
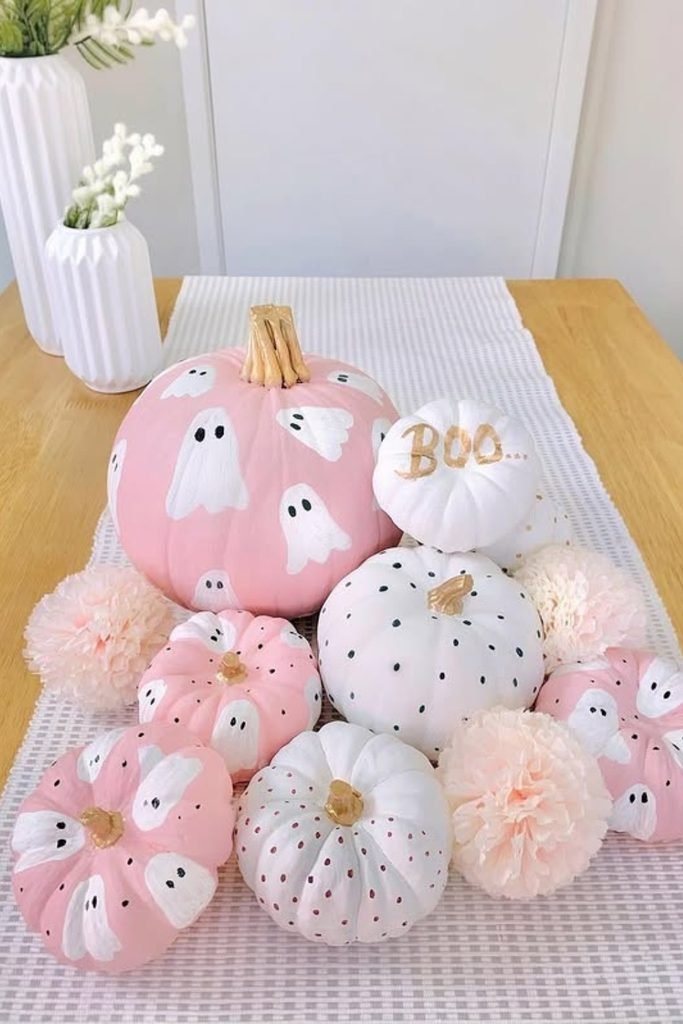
Pastel Ghosts
Soft pink and white can make ghost pumpkins feel playful enough for a dining table instead of creating a heavily spooky display.
Scatter small white ghosts around larger pumpkins, then use tiny dots on the remaining pieces to keep simpler designs visually connected.
Gold stems and pale floral accents bring warmth between the pumpkins, helping the whole arrangement feel decorative rather than purely Halloween-themed.
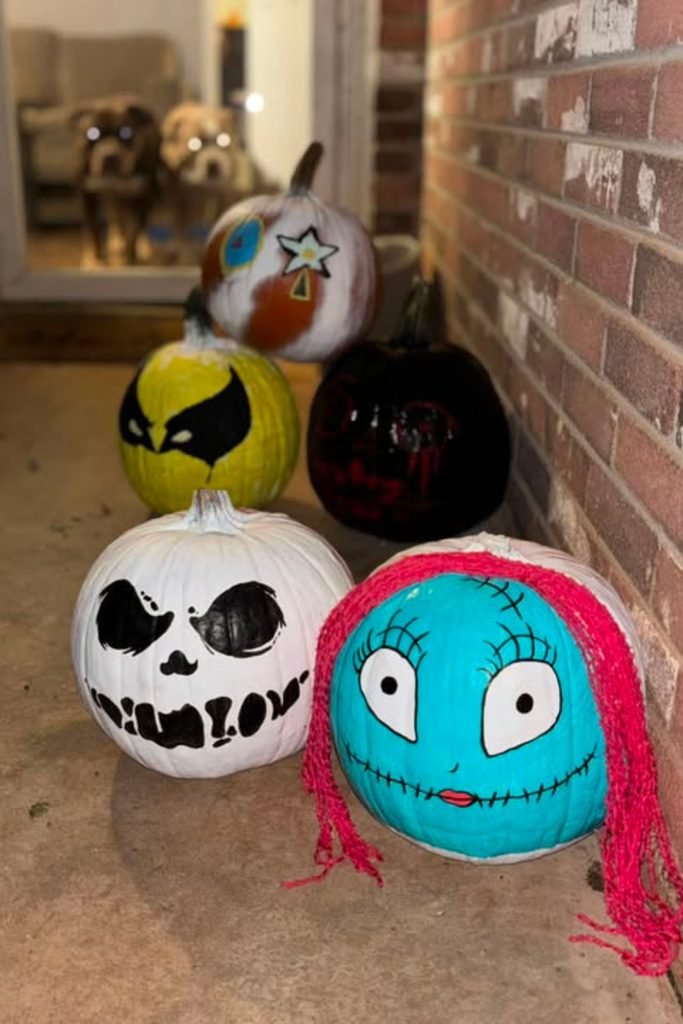
Spooky Character Set
Give your porch more personality by painting each pumpkin as a different spooky character instead of repeating one Halloween face.
Bright turquoise, white, yellow, and black backgrounds help each expression stand apart, while exaggerated eyes keep the designs easy to recognize.
Add yarn hair or another simple textured detail to one character when you want the collection to feel more handmade.
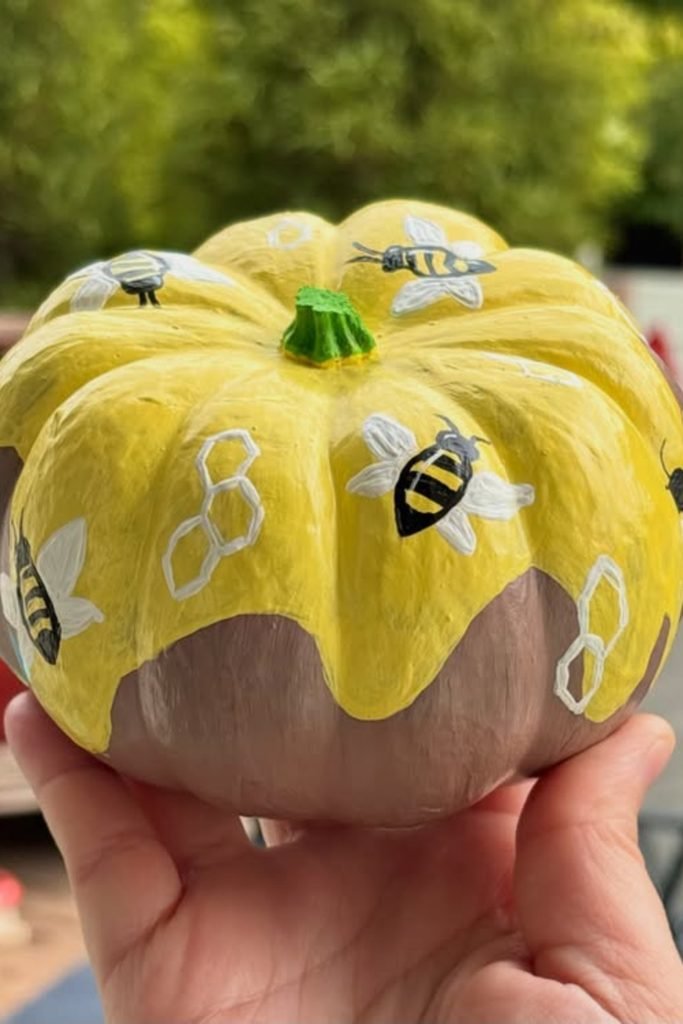
Honey Bee Pumpkin
Turn a squat pumpkin into a honey-inspired design by letting warm yellow paint drip unevenly over a soft brown base.
Small bees and outlined honeycomb shapes fill the yellow area without hiding the dripping edge that gives this design its character.
A green stem adds an unexpected finishing touch, making the pumpkin especially fitting for nature-inspired fall displays or garden gatherings.
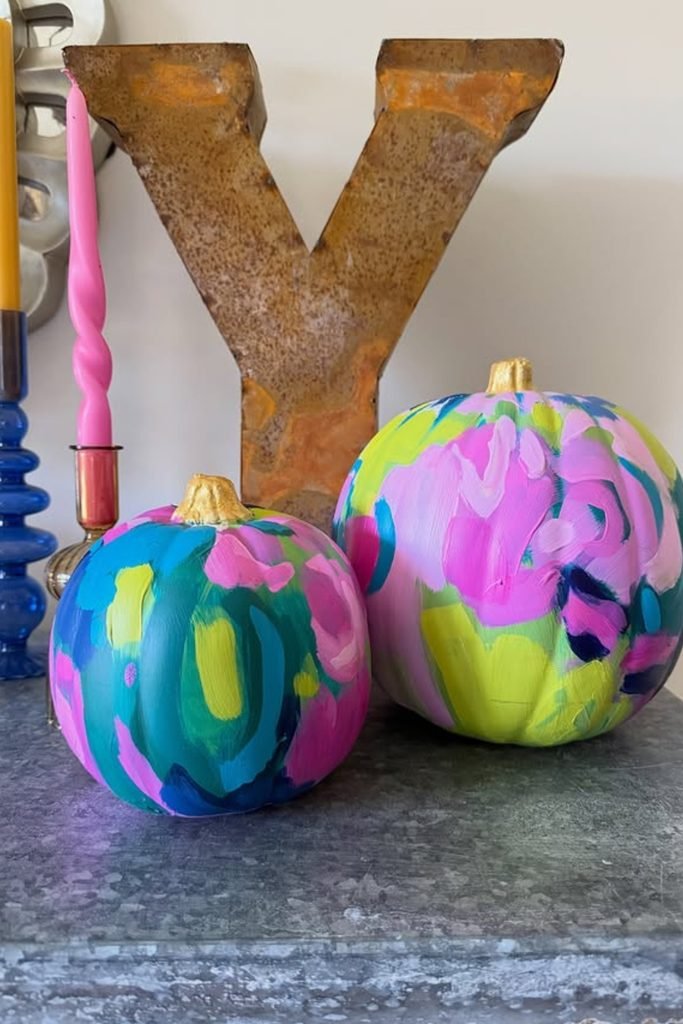
Abstract Brushwork
Forget perfect outlines when you want something artistic, because broad overlapping brushstrokes can make ordinary pumpkins feel intentionally modern.
Layer teal, pink, lime, blue, and darker accents in loose patches, allowing earlier colors to peek through between heavier strokes.
Matching gold stems pull the two different compositions together, so they work nicely as colorful accents on shelves or consoles.
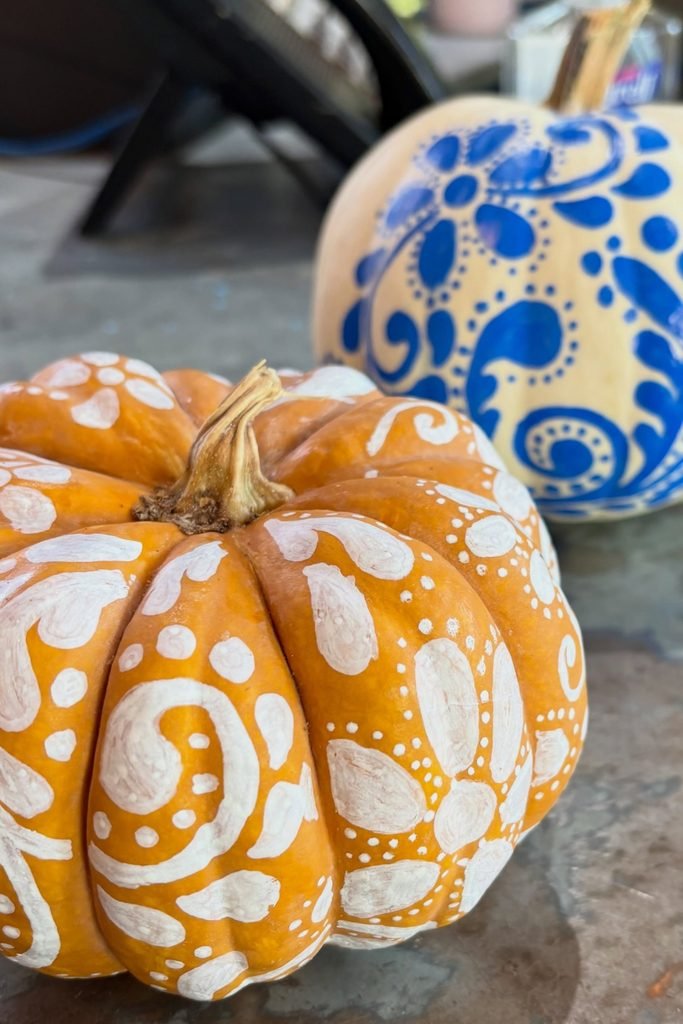
Folk Art Patterns
Natural pumpkin color becomes part of the artwork when you paint flowing white motifs directly across individual ridges instead of covering everything.
Mix paisley shapes, petals, dots, and curling lines, changing their scale as you move around the pumpkin’s curved surface.
For a bolder companion piece, repeat similar motifs in blue over a pale pumpkin while keeping the pattern equally free-flowing.
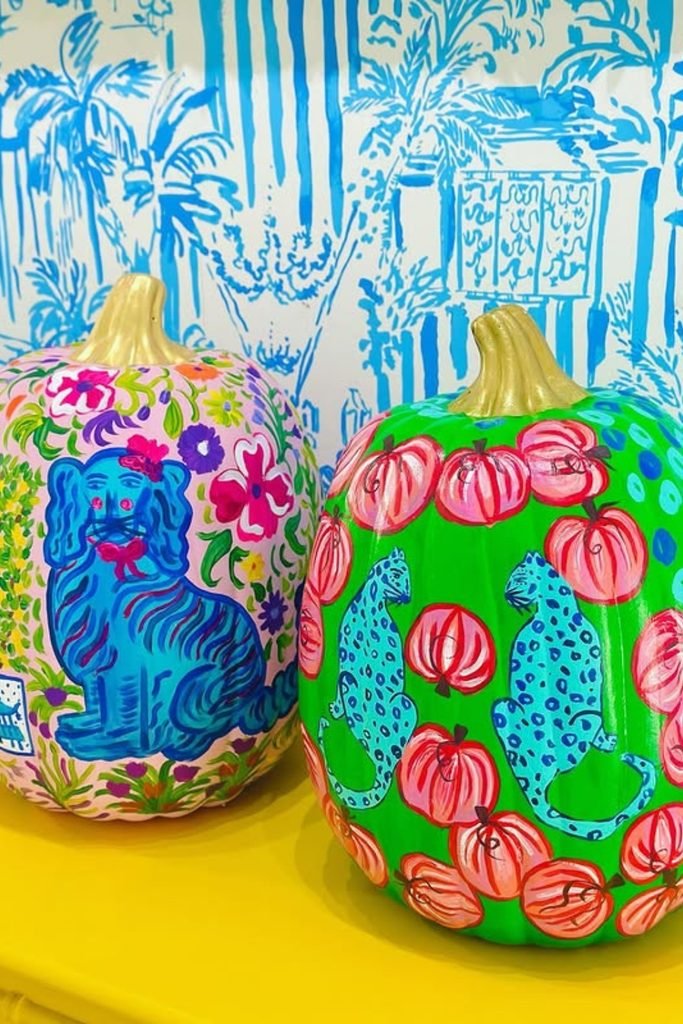
Chinoiserie Pumpkins
If you enjoy maximalist décor, cover each pumpkin with animals and florals rather than limiting your artwork to one central motif.
Bright green and blush backgrounds let blue animals stand forward, while loose flowers fill gaps without making the composition feel rigid.
Gold stems finish the look beautifully, making these detailed pumpkins feel more like decorative objects than temporary Halloween crafts.
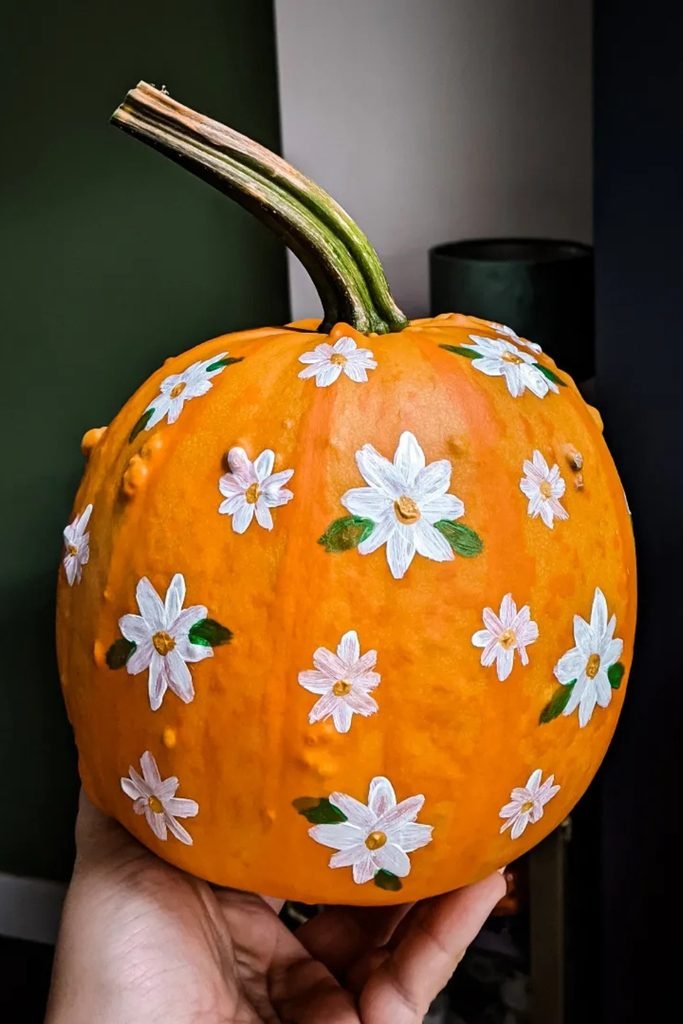
Daisy Pumpkin
Sometimes one repeated flower is enough, especially when the natural orange surface already provides all the background color you need.
Space white daisies loosely across the pumpkin, varying their sizes and adding occasional green leaves so the pattern avoids looking uniform.
Keeping plenty of orange visible makes this an approachable floral project when you want fall décor with a softer garden-inspired touch.
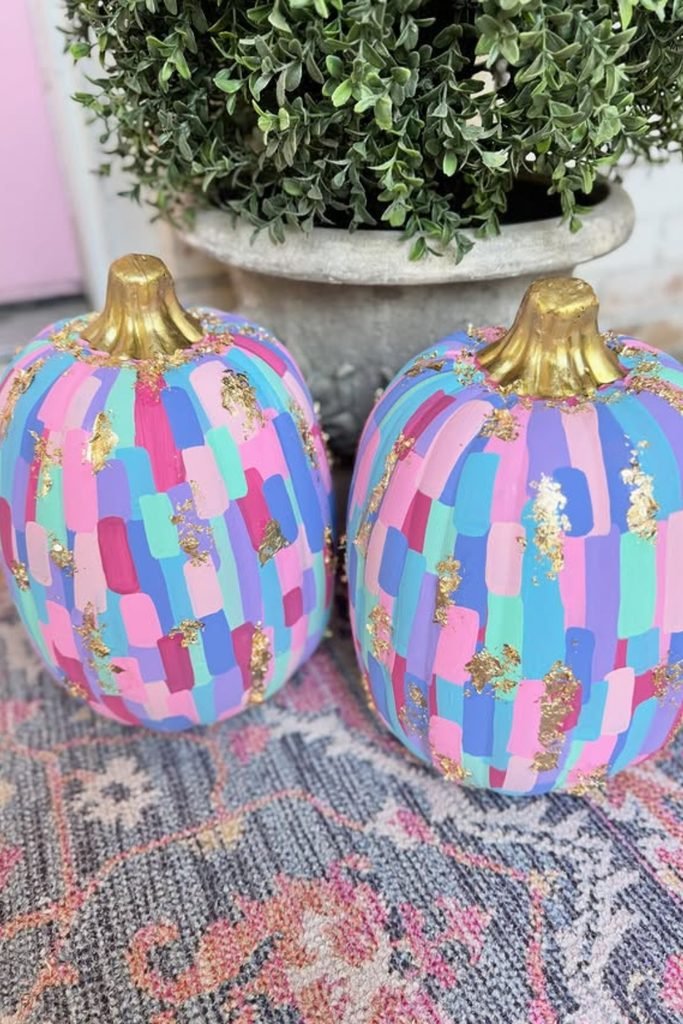
Pastel Mosaic
Short blocks of pastel color are wonderfully forgiving because uneven edges simply become part of the hand-painted mosaic effect.
Work around the pumpkin with pink, lavender, aqua, and blue strokes, changing their lengths so neighboring sections never feel too repetitive.
Touches of gold leaf break up the pastel pattern and connect naturally with metallic stems for a more decorative finished pair.
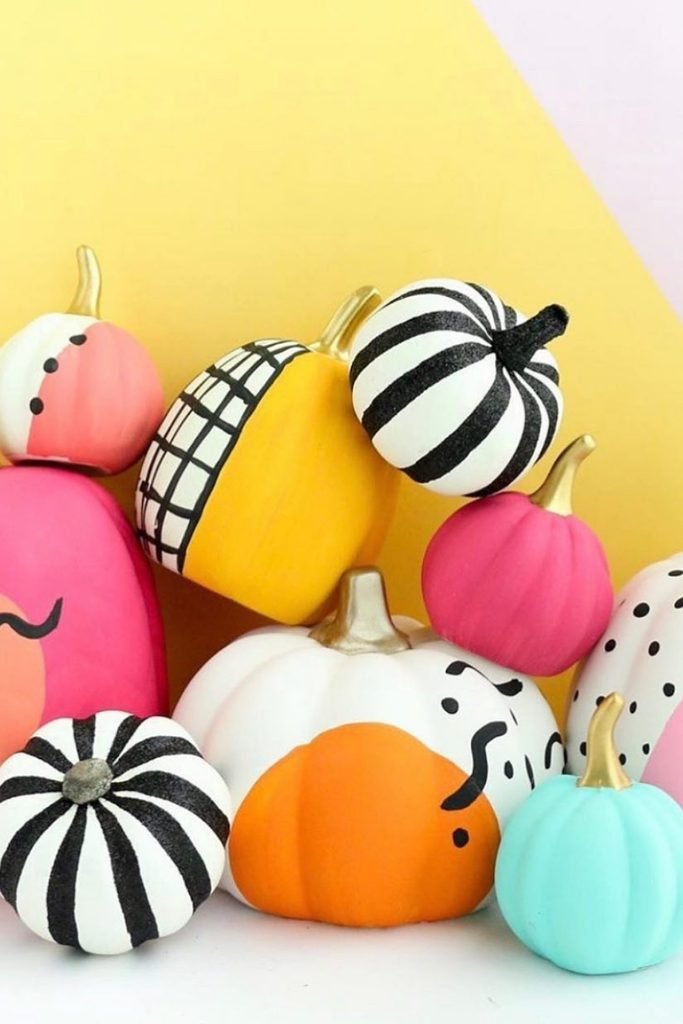
Playful Pattern Mix
For a collection that feels lively without matching perfectly, give every pumpkin its own bold pattern and repeat colors between pieces.
Combine stripes, grids, dots, color blocking, and simple abstract shapes using pink, orange, aqua, black, white, and touches of gold.
Different pumpkin sizes make the mixed patterns even more interesting, especially when you cluster them together instead of spacing them apart.
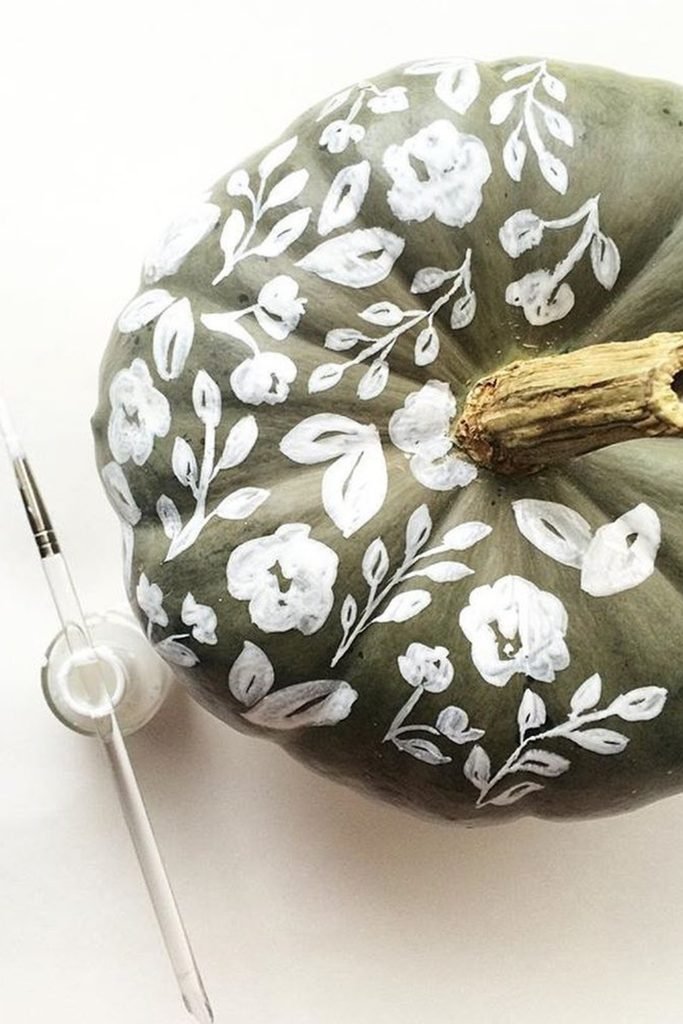
White Botanicals
A muted green pumpkin gives simple white flowers enough contrast to feel detailed, even when you keep every botanical shape loose.
Paint small blooms first, then connect open spaces with thin leafy branches so the pattern travels naturally across the uneven surface.
Leaving generous green gaps between clusters prevents the delicate white details from becoming crowded and keeps the finished pumpkin quietly elegant.
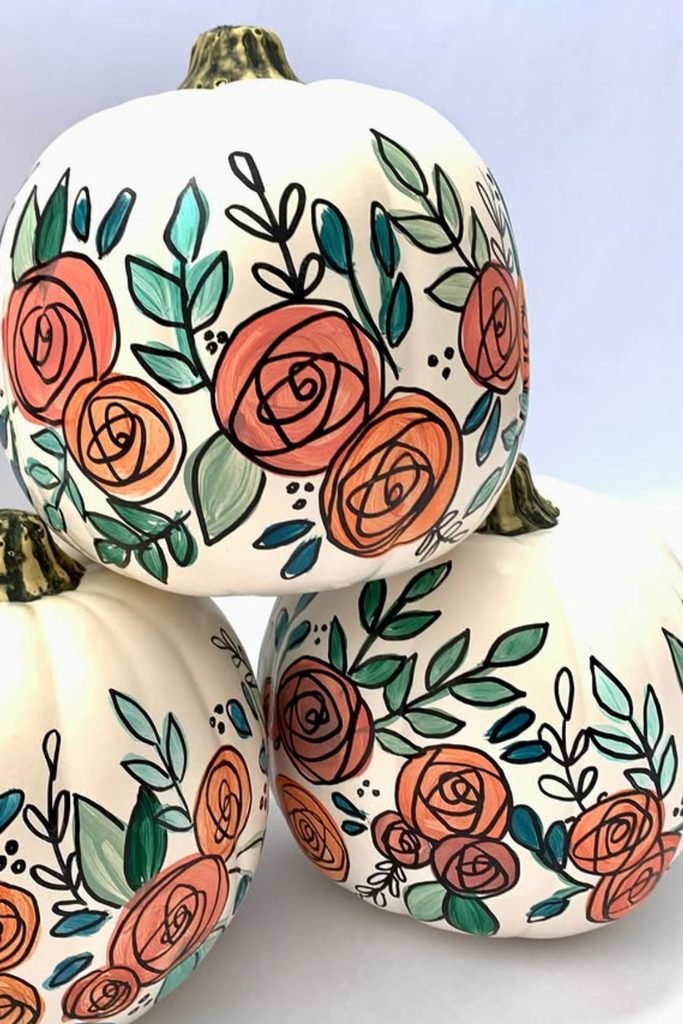
Sketched Roses
Loose black outlines make painted roses much easier to recreate because your petals do not need perfectly smooth or symmetrical edges.
Build coral and orange circles around the pumpkin, sketch spiral centers, then weave teal and sage leaves between larger blooms.
Repeating the floral border across several white pumpkins creates a coordinated centerpiece while still letting every arrangement look slightly different.
FAQs
What Paint Works Best for Painting Pumpkins?
Acrylic craft paint is usually the easiest option because it gives you strong color coverage and dries fairly quickly between layers.
For tiny details, lettering, or outlines, paint pens can give you better control. I always suggest starting with a clean.
How Can You Keep a Painted Pumpkin Looking Good Longer?
Start with a firm pumpkin without bruises or soft spots, since paint cannot stop an already damaged pumpkin from deteriorating.
Keep your finished pumpkin somewhere cool and dry, and protect it from rain or excess moisture.

Hi, my name is Ali Mehmood! I’m a passionate writer and DIY enthusiast who loves turning creative ideas into practical, hands-on projects.
I created this website to share inspiring, budget-friendly ideas that you can do yourself – whether it’s organizing your home, crafting something unique, or creating fun projects for kids and pets.
I believe DIY isn’t just a hobby – it’s a smart way to save money, reduce waste, and enjoy the satisfaction of making things with your own hands.
I’m excited to have you as part of this growing community, and I’ll continue bringing you helpful, realistic, and fun DIY ideas you can actually use.