This post may contain affiliate links: read full affiliate disclosure.
Getting those clean, evenly spaced slats across a whole wall looks easy until measurements, crooked boards, awkward outlets, and material costs enter the picture.
One small spacing mistake can keep repeating across the wall, while the wrong wood or finish can quickly push your budget higher.
You still want that warm, modern slat look without turning a weekend DIY into a frustrating rebuild.
In this article, you’ll find DIY slat wall ideas with practical inspiration for choosing layouts, materials, spacing and finishes.
Warm Slat Surround
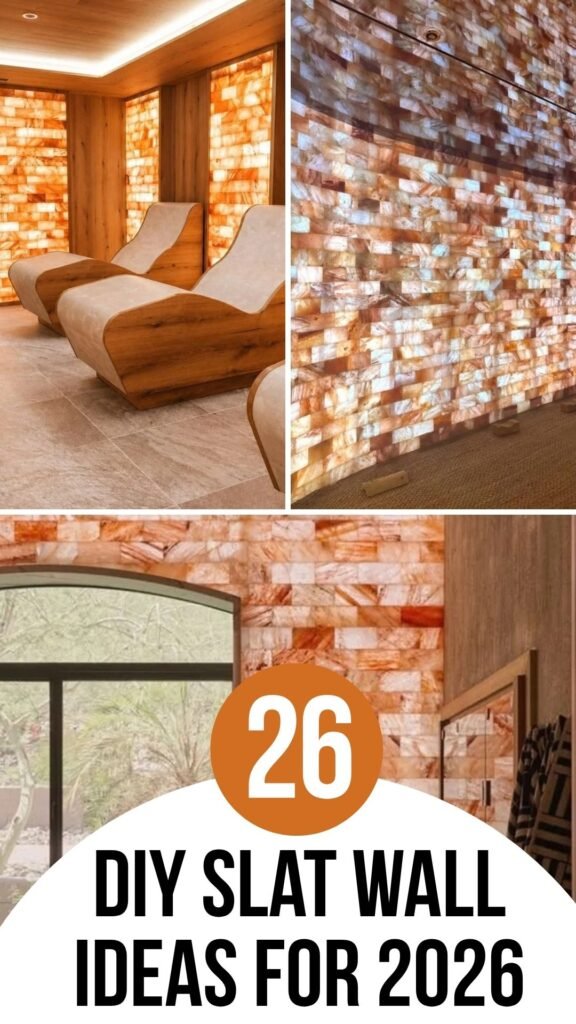
Warm-toned slats can turn a compact wellness room into a calmer retreat without adding bulky decoration or stealing useful floor space.
Carry matching timber across adjoining surfaces when you want the treatment to feel built-in rather than attached as an afterthought.
Keep gaps narrow and consistent, then let soft indirect lighting bring out the grain without making every joint visually compete.
Framed Slat Panels
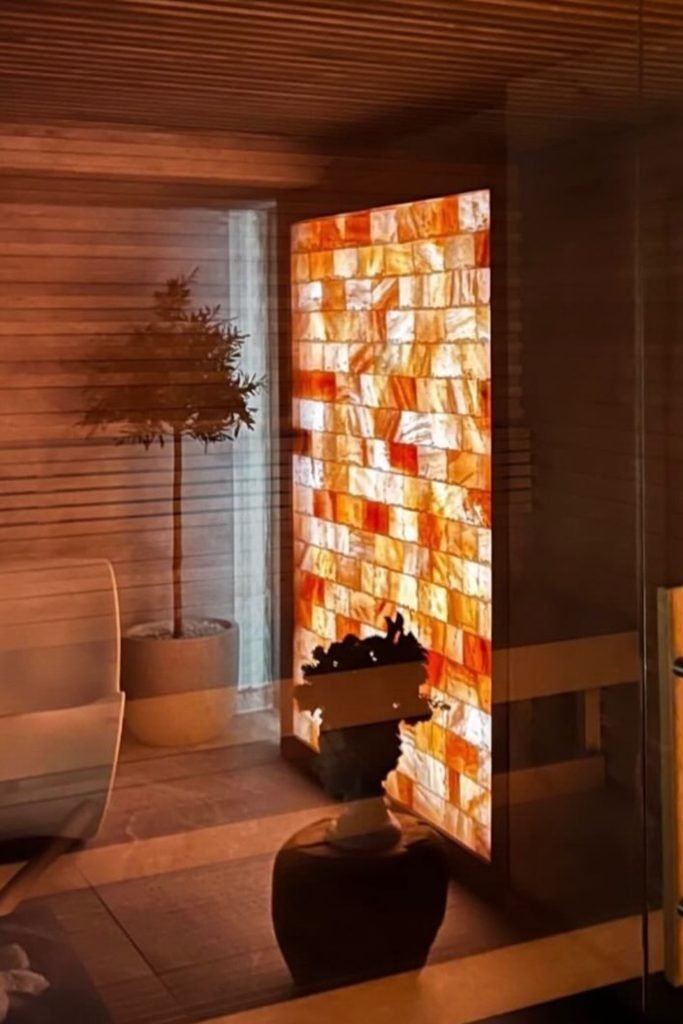
Breaking one large feature into separate framed sections gives you the slatted effect without covering every inch of the wall.
Build shallow rectangular frames first, then fit evenly spaced pieces inside so keeping the outer edges straight becomes much easier.
Backlighting works especially well here because each contained panel becomes its own glowing feature while the surrounding wall stays visually quiet.
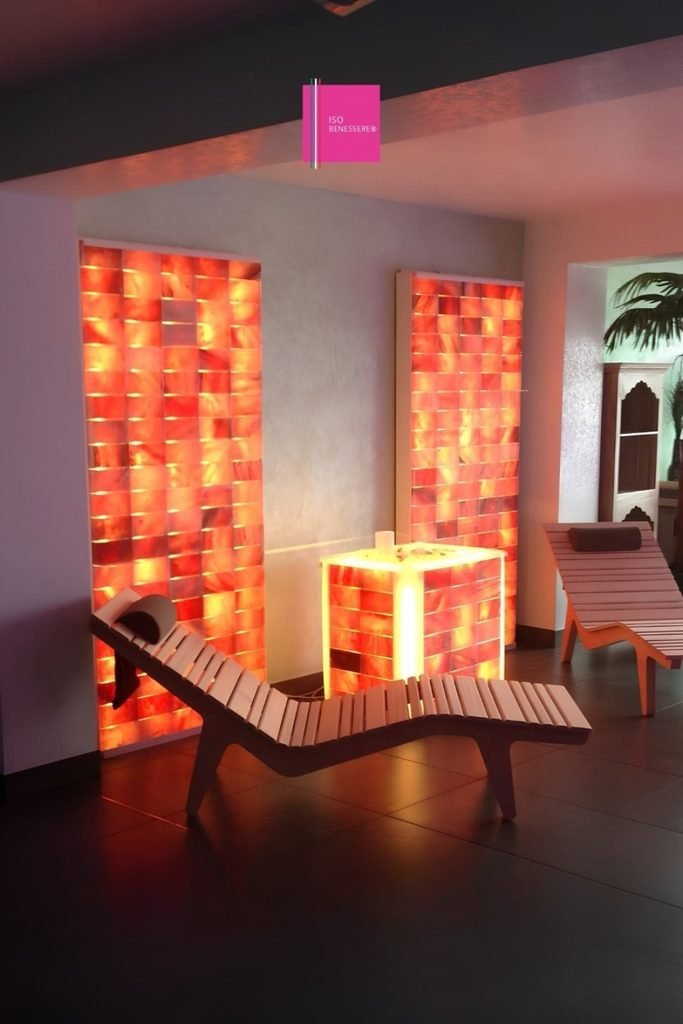
Sauna Slat Wall
Heat-focused spaces benefit from a continuous slatted treatment because repeating timber lines connect walls, seating, and ceilings without extra decorative clutter.
Choose material appropriate for sauna conditions, then maintain consistent board gaps so the installation looks intentional around benches.
Warm concealed lighting beneath seating can complement the wood while keeping the main wall free from fixtures that interrupt its clean rhythm.
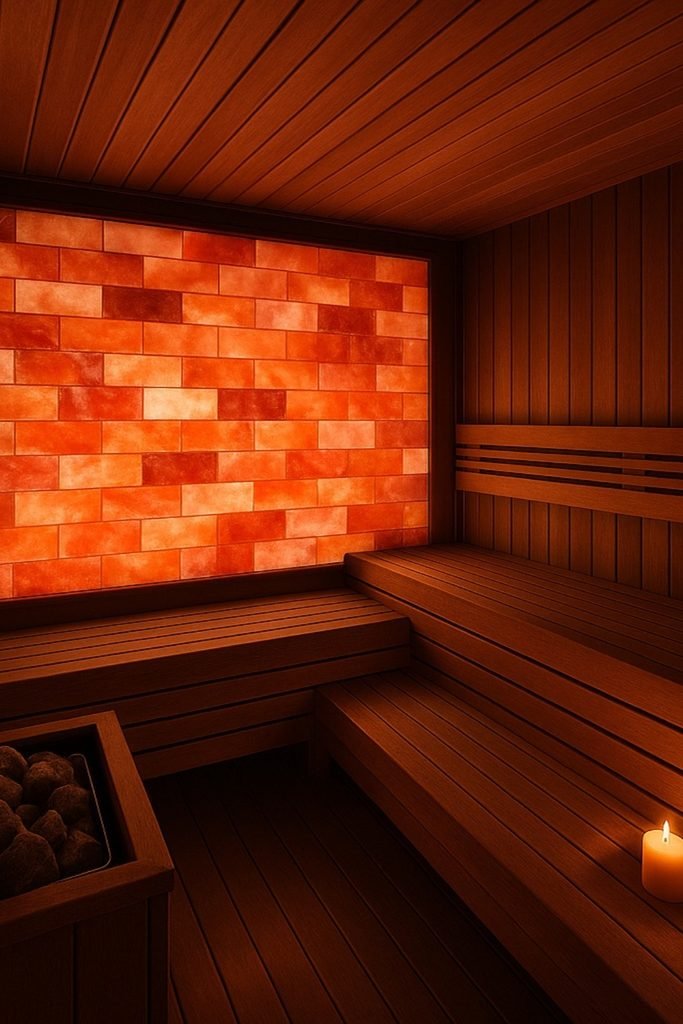
Backlit Slat Feature
Instead of covering every wall, concentrate your slat work around one long feature where lighting can make the texture feel more dimensional.
Plan the illuminated section before installing surrounding timber, since wiring and hidden light placement become harder to adjust once boards are secured.
Continue similar wood spacing across nearby benches or ceilings to connect the feature naturally without making the whole room feel overly busy.
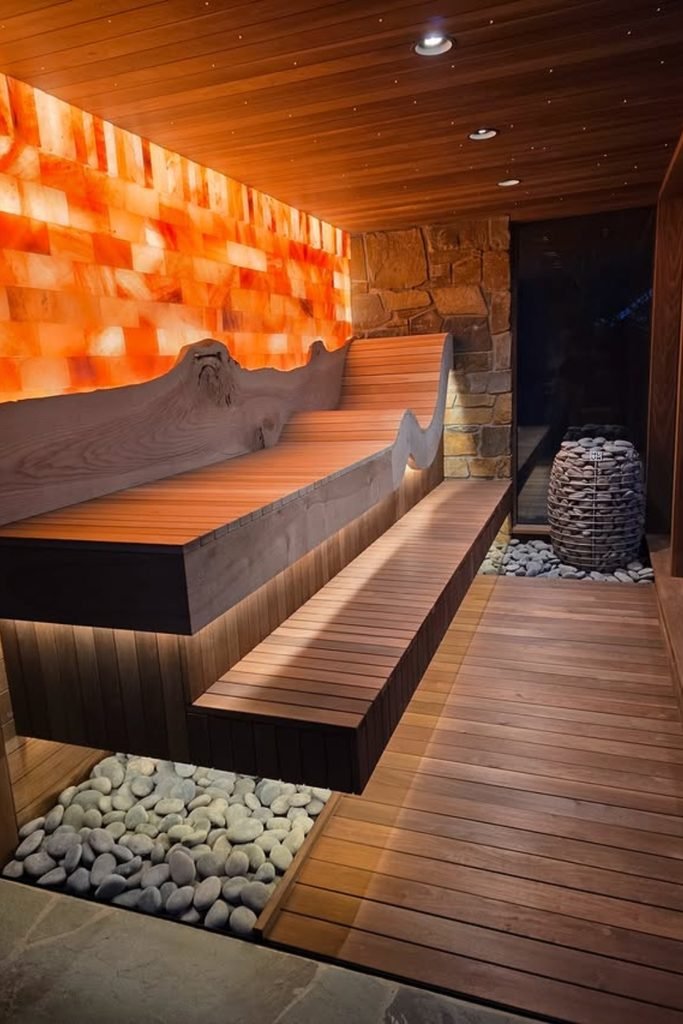
Full Glow Wall
For maximum impact, reserve one uninterrupted wall for the feature so its warm texture becomes the room’s natural focal point.
Frame the perimeter before filling the center, which gives your installation cleaner boundaries and helps disguise slightly imperfect outer cuts.
Keep surrounding finishes quieter, then use concealed backlighting to emphasize the wall without competing with its already detailed surface.
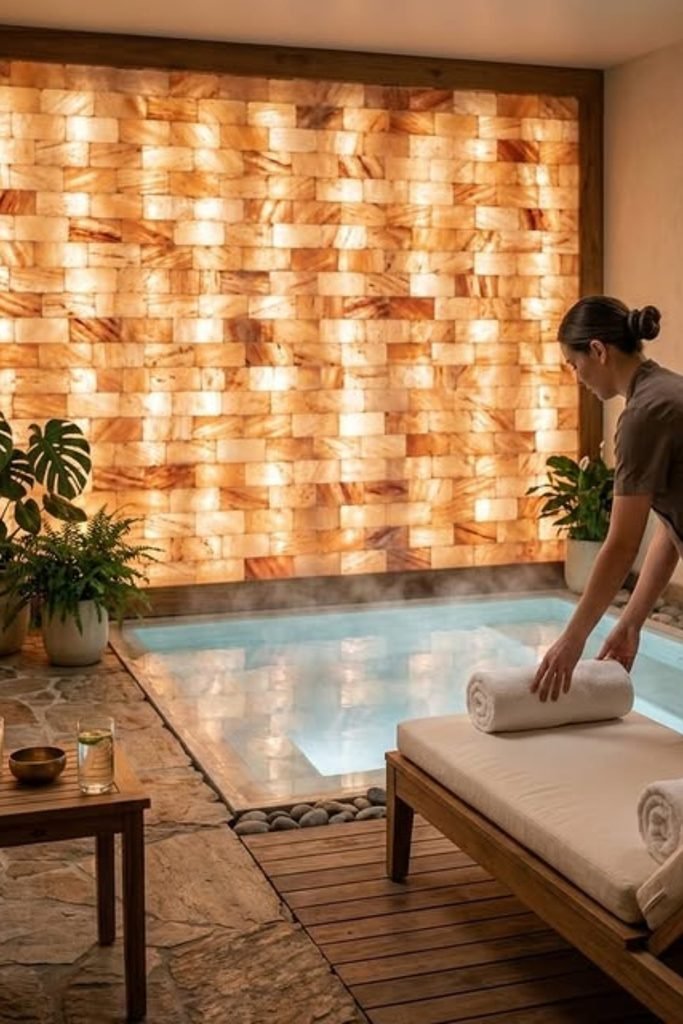
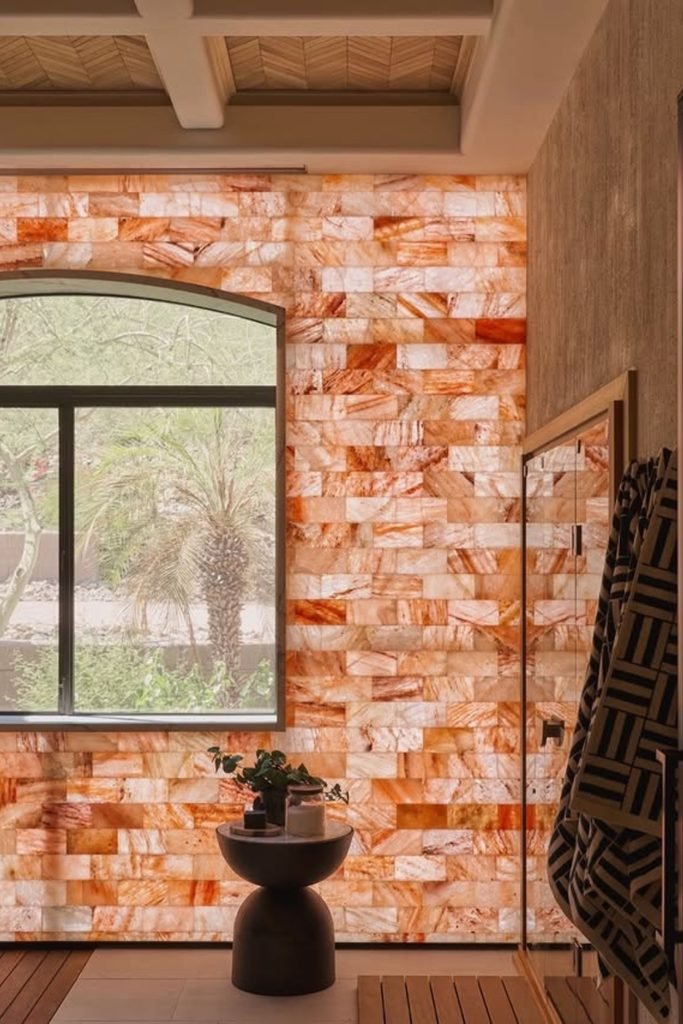
Window Wrap
Working around a window becomes easier when you treat the opening as part of the layout instead of an annoying interruption.
Map your rows around the frame beforehand, keeping cut pieces balanced so neither side ends with noticeably awkward narrow sections.
Natural daylight changes the feature throughout the day, while discreet perimeter lighting keeps its texture visible after the sun goes down.
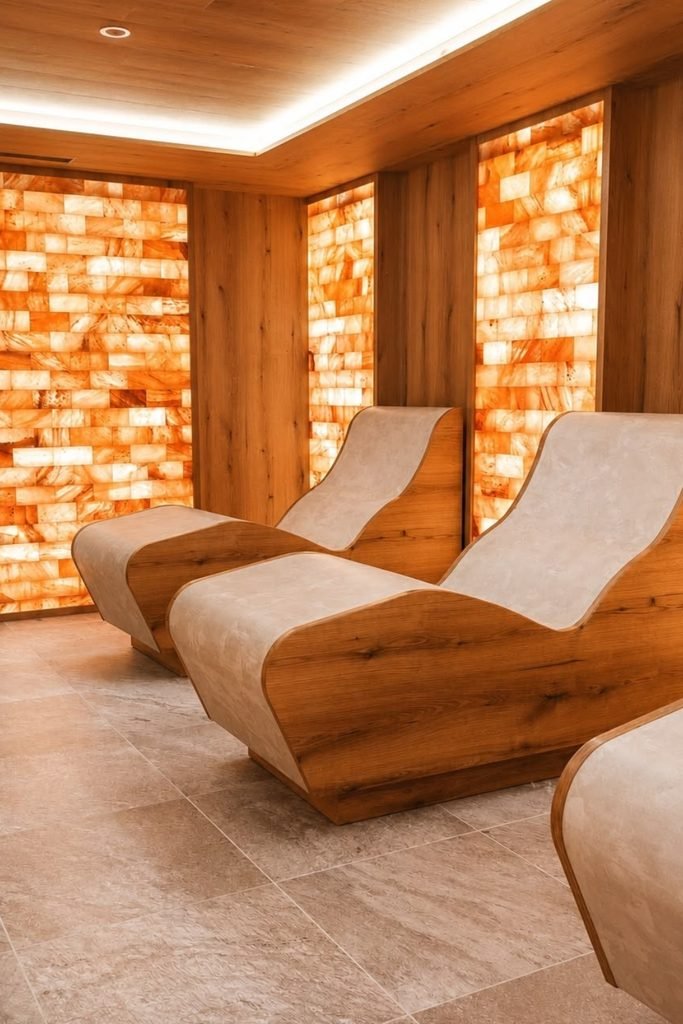
Slatted Dividers
Mixing solid timber sections between illuminated features gives you breathing room when one continuous textured wall would feel too visually heavy.
Use matching wood panels as dividers, carefully repeating their widths so separate sections still read as one planned wall treatment.
Recessed ceiling lighting can handle general brightness while the glowing inserts provide warmth without requiring extra decorative fixtures nearby.
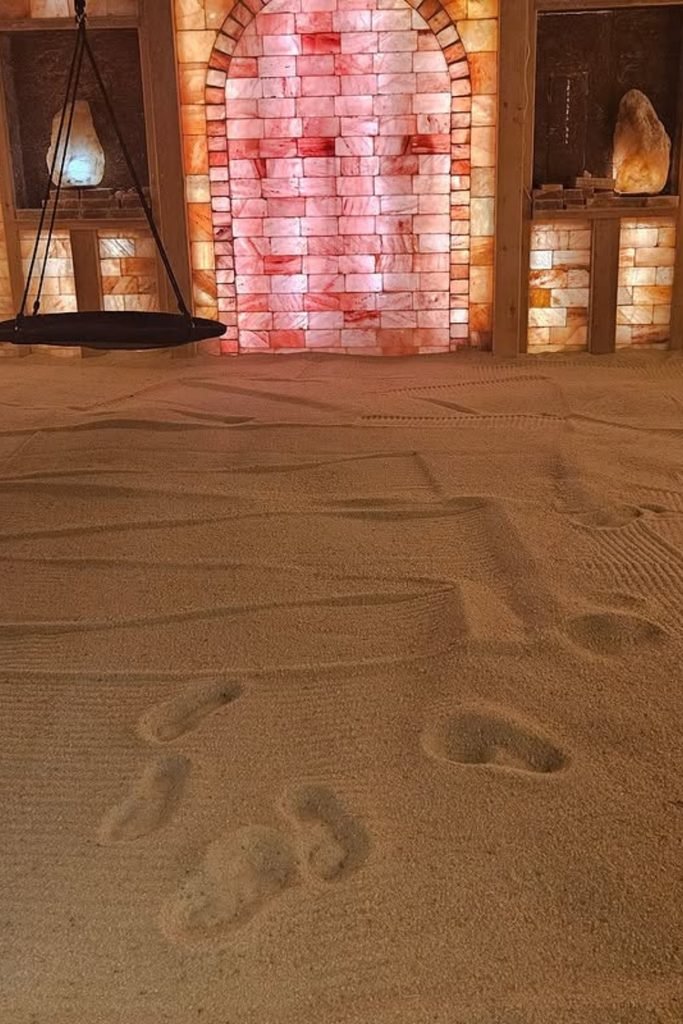
Arched Accent
Curved openings can break up rigid wall patterns beautifully, especially when you want a handmade feature to feel more architectural and intentional.
Sketch the arch first, establish its border, then work your surrounding pieces outward rather than trying to force symmetry afterward.
Colored backlighting adds another layer of depth, but keeps nearby framing simple so the curved feature remains easy to notice.
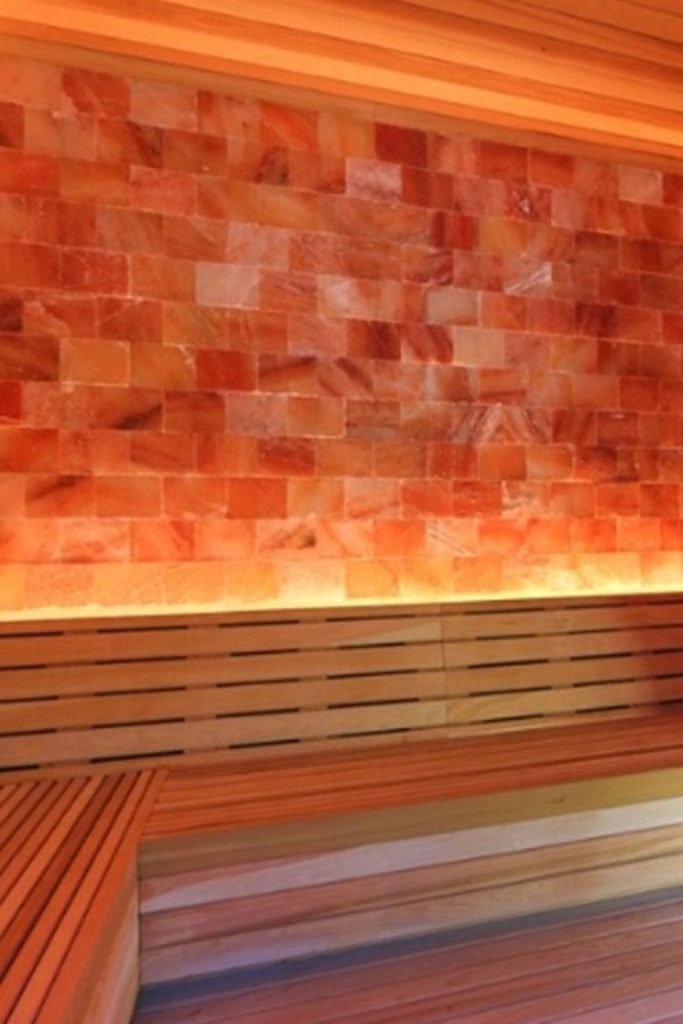
Bench Backdrop
Give a simple sauna bench more presence by placing the feature directly behind it instead of spreading decorative materials around every surface.
Frame the feature with matching timber first, then keep the surrounding slats restrained so the glowing center remains visually organized.
A concealed light along the bench edge adds softer illumination below, balancing the brighter wall without introducing distracting overhead fixtures.
Wrapped Corner
Corners become part of the design when the wall treatment continues around them instead of stopping abruptly at each adjoining surface.
Plan your rows from the most visible corner outward, keeping joints aligned so the transition feels continuous rather than patched together.
Warm backlighting works especially well across connected surfaces because it softens the corner while revealing subtle variations between individual pieces.
Mixed Slat Bands
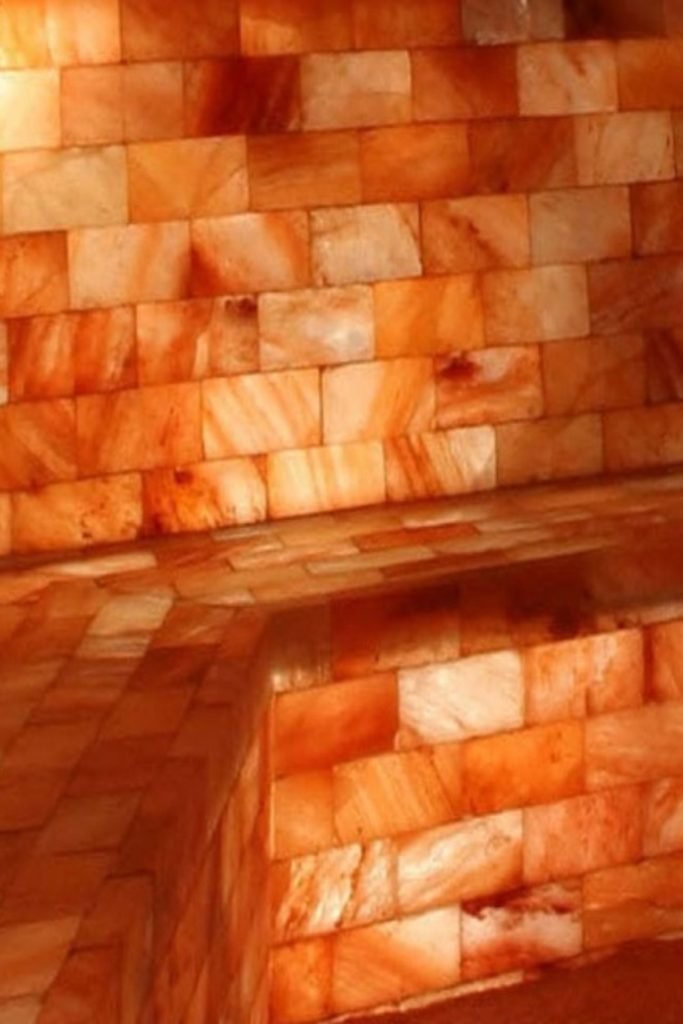
Long walls can feel repetitive, so dividing the surface with darker horizontal bands gives the installation a stronger architectural rhythm.
Set those bands level before filling surrounding sections, using them as visual reference points that help keep long rows consistently aligned.
Backlighting behind the textured sections creates depth, while the darker separators prevent such a large illuminated feature from becoming visually overwhelming.
Contrast Feature Wall
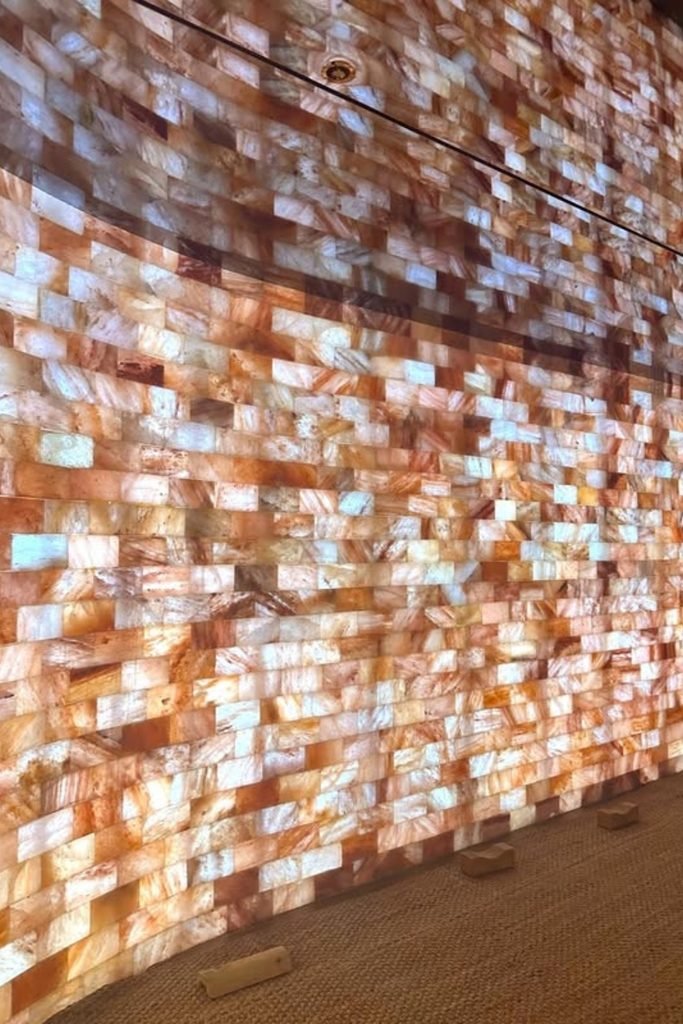
Pairing a warm feature wall with a cooler neighboring surface can make both finishes feel stronger without adding more decorative accessories.
Keep the slatted floor and nearby timber simple so their straight lines quietly ground the brighter, more irregular wall treatment.
Use focused lighting sparingly here, since the glowing surface already provides plenty of visual energy for a compact relaxation corner.
Floating Base
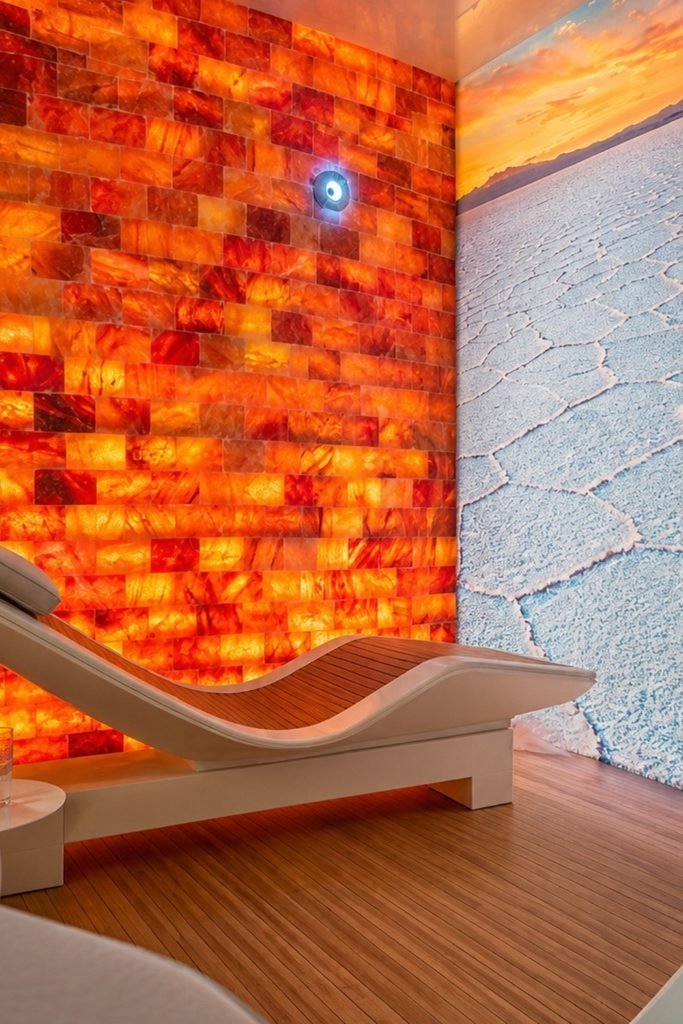
Leaving a slim reveal beneath your wall treatment can make a heavy feature feel lighter while giving concealed lighting somewhere to disappear.
Build the lower support perfectly level first, since any unevenness becomes much easier to notice once repeated rows sit above it.
A narrow bed of decorative stone can hide the lighting source while creating a cleaner transition between the wall and floor.
Slatted Frame
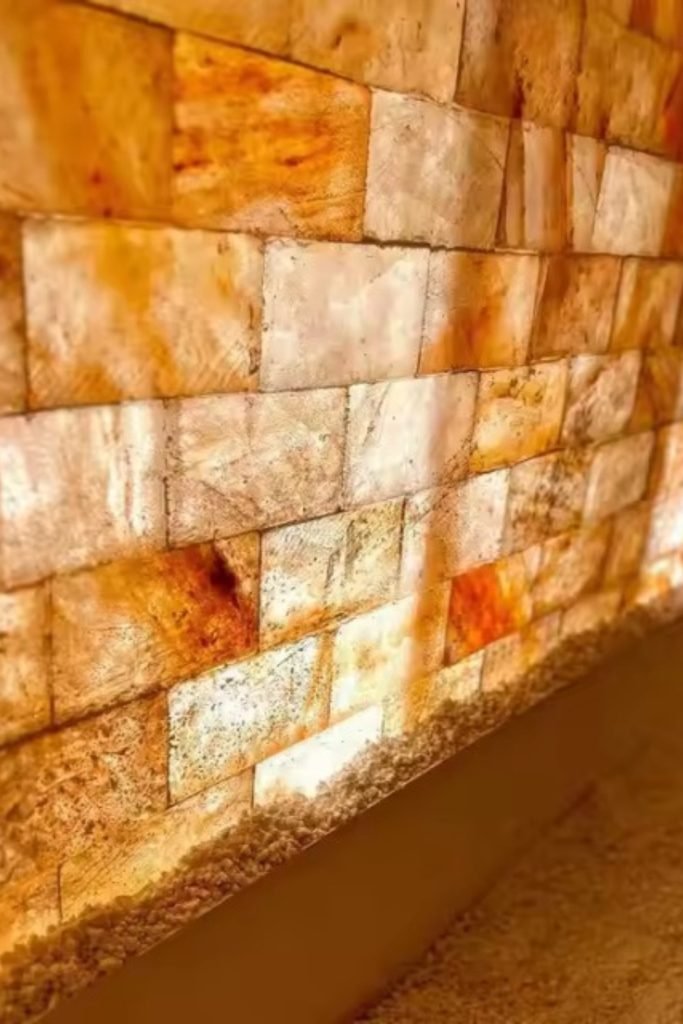
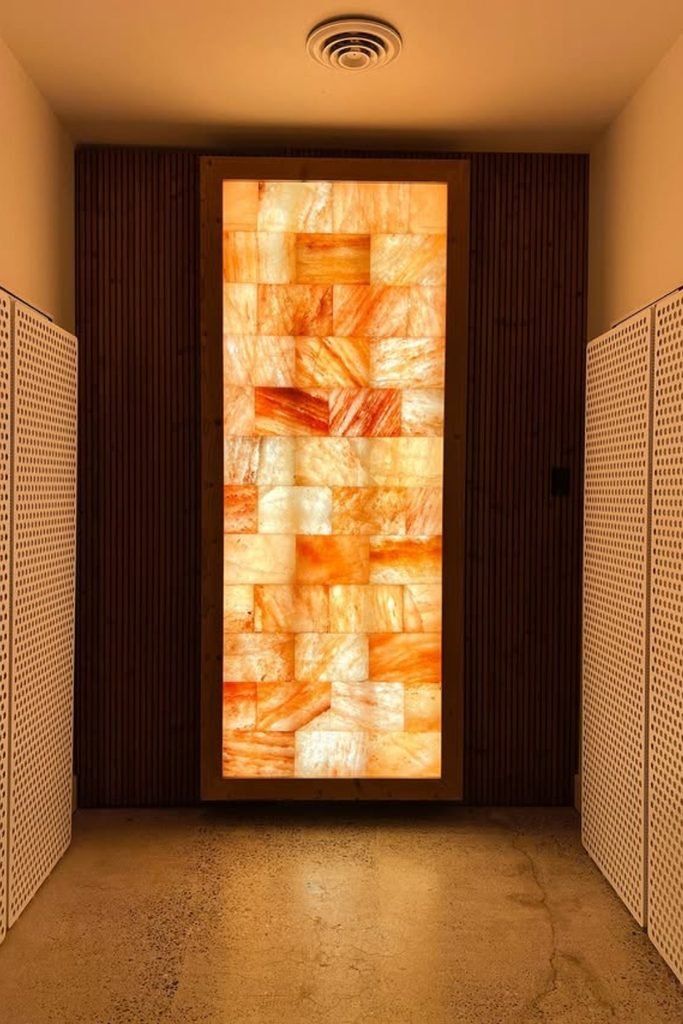
When your feature only occupies one narrow section, surrounding it with dark vertical slats helps the smaller insert feel intentionally proportioned.
Center the framed section before fixing anything permanently, then work outward so both slatted sides finish at roughly equal widths.
Keep the surrounding walls plain and lightly colored, allowing the warm center to provide enough character without crowding a narrow room.
Layered Panels
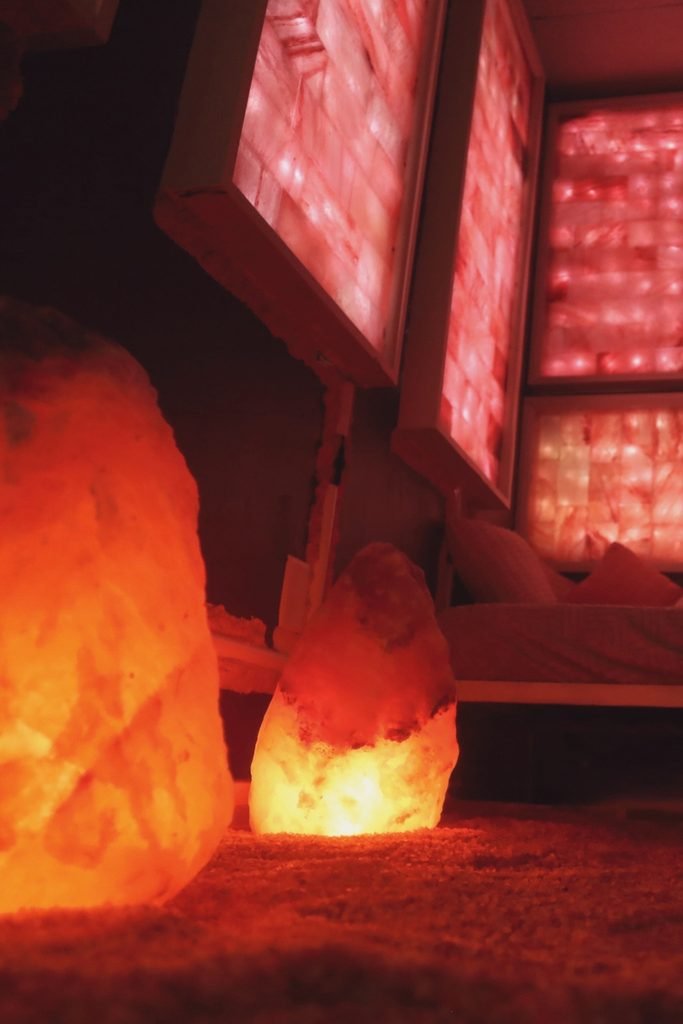
Several smaller illuminated panels can create more rhythm than one continuous feature, especially when you’re working around shelves.
Keep frame depths and spacing consistent between panels, while varying their proportions enough to prevent the arrangement from feeling overly repetitive.
Low-level accent lighting works best here because multiple glowing surfaces already supply plenty of warmth across the surrounding wall area.
Offset Rows
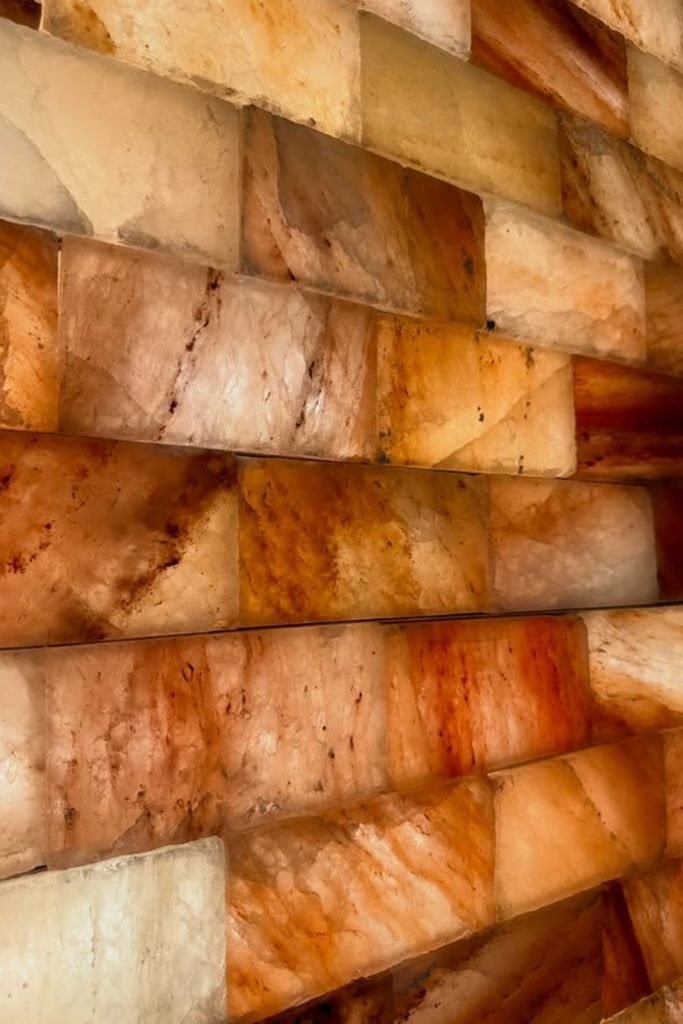
Perfectly matching every joint isn’t necessary when staggered rows are part of the plan, and the variation can feel more handcrafted.
Lay several rows on the floor first, mixing lighter and darker pieces until neighboring joints and tones feel naturally distributed.
Maintain consistent horizontal lines even while staggering vertical joints, because that underlying alignment keeps the finished surface controlled rather than random.
Headboard Glow
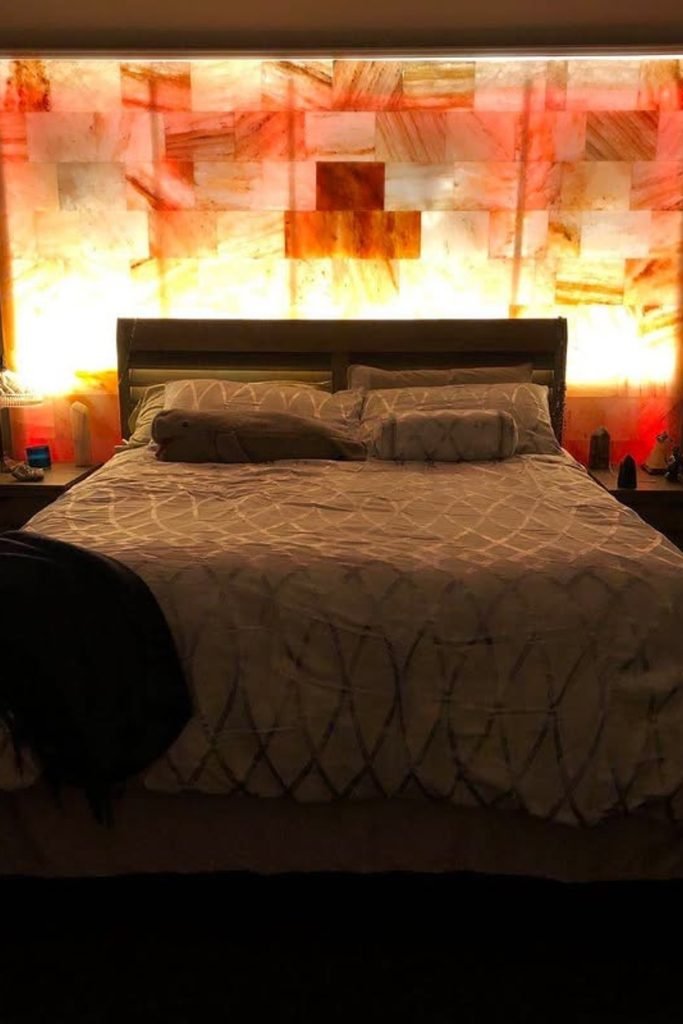
Turn the wall behind your bed into the main feature when you want a strong visual impact without adding bulky bedroom furniture.
Extend the treatment slightly beyond the headboard, then center every row carefully so the composition feels balanced from either bedside.
Place concealed lighting behind the lower section for a softer nighttime glow that highlights texture without shining directly toward your eyes.
Recessed Light Panel
Narrow walls are perfect for a recessed feature because you can create depth without covering an entire room in heavy texture.
Build a shallow perimeter frame, leave enough clearance behind the center material, and hide LED strips where individual bulbs remain unseen.
Keeping adjacent surfaces plain makes the illuminated texture feel intentional while preventing a small passage from becoming visually crowded.
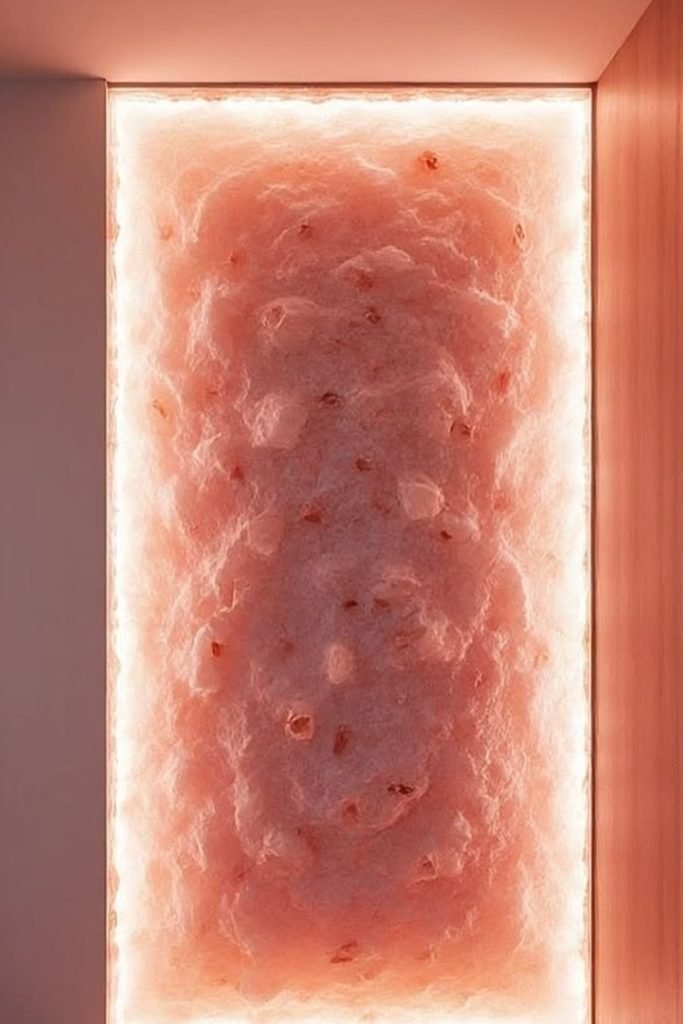
Bathtub Backdrop
Use the wall behind a freestanding tub when you want one dramatic feature without sacrificing valuable storage or walking space.
Frame the installation from floor to ceiling, then keep nearby finishes restrained so the detailed surface has room to stand out.
For wet areas, choose moisture-suitable materials and protected lighting components rather than treating an ordinary dry-room DIY installation the same way.
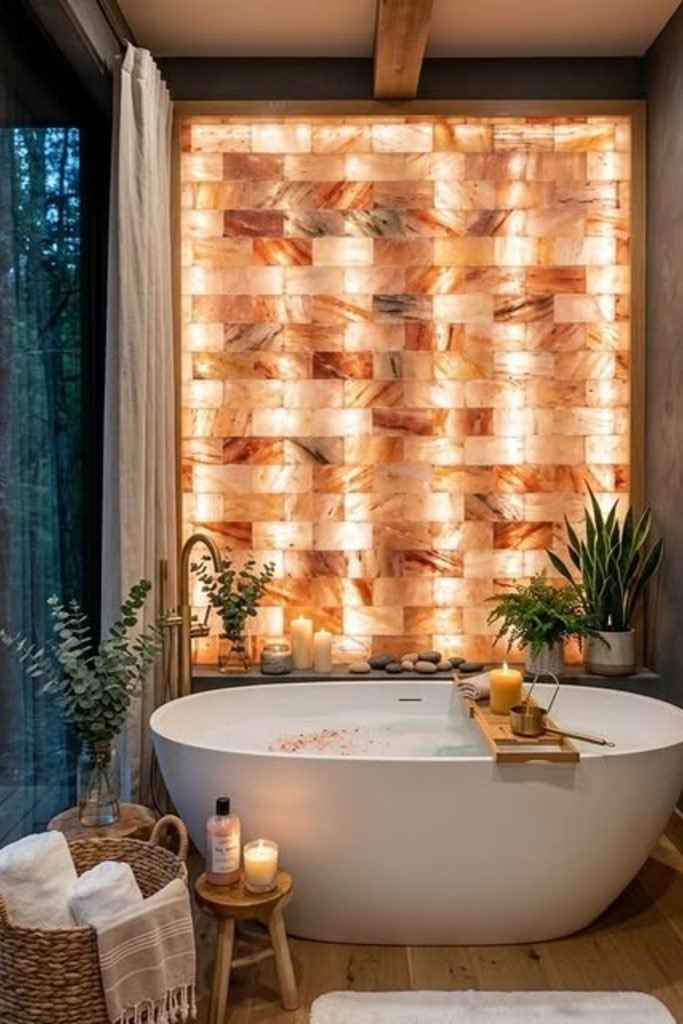
Built-In Counter
Let your feature continue behind a counter when you want the lower cabinetry and upper wall to read as one connected installation.
Plan countertop height first, then align the upper and lower sections so visible joints do not suddenly shift across the working area.
Keep task lighting separate from decorative backlighting, giving the counter enough practical brightness while preserving the wall’s warmer ambient effect.
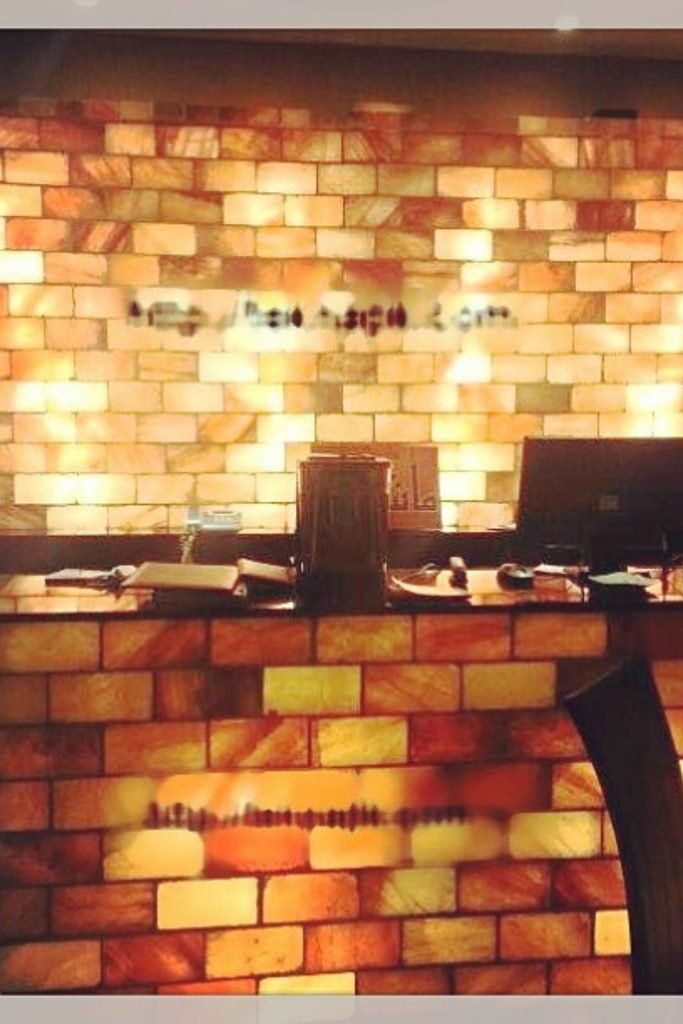
Floating Art Panel
Skip full-wall coverage when you want the feature to behave more like artwork, especially in bedrooms or smaller relaxation spaces.
Mount the finished panel slightly away from the wall, leaving enough clearance behind it for a continuous hidden LED strip.
Irregular shapes and carved details can make the surface feel handmade, while the surrounding glow keeps its outer silhouette clearly defined.
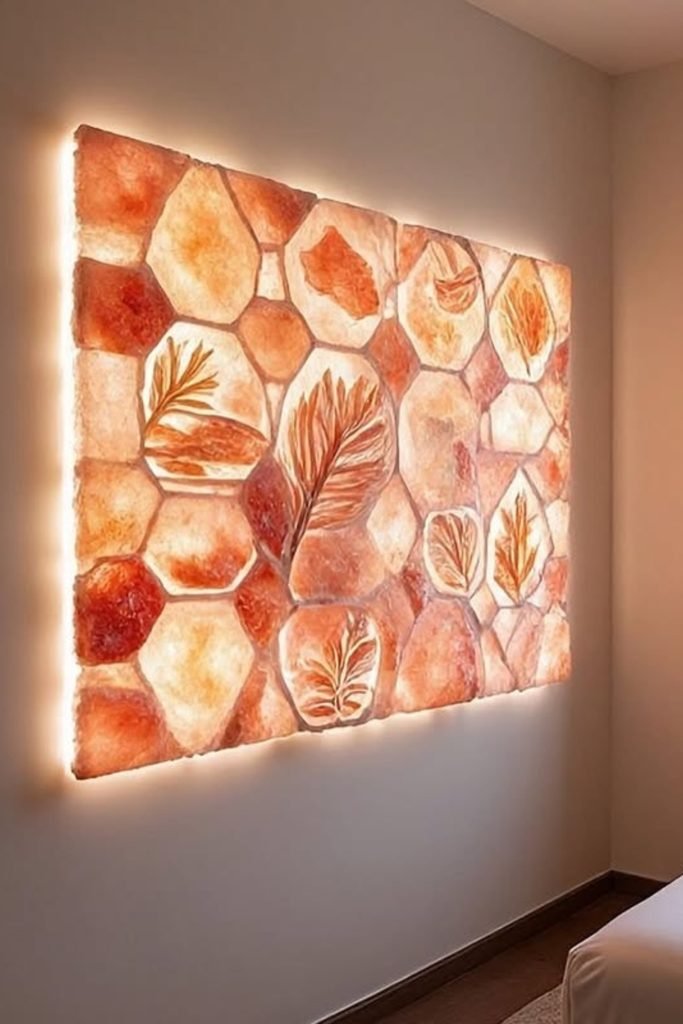
Slatted Center Band
A dark horizontal slat band can calm a brightly illuminated wall by giving your eye one clean line across the middle.
Build the glowing backdrop first, then position evenly spaced timber strips across it with secure supports hidden behind the darker frame.
Repeating similar wood on benches and ceilings helps the added slats belong naturally instead of looking like a separate decorative attachment.
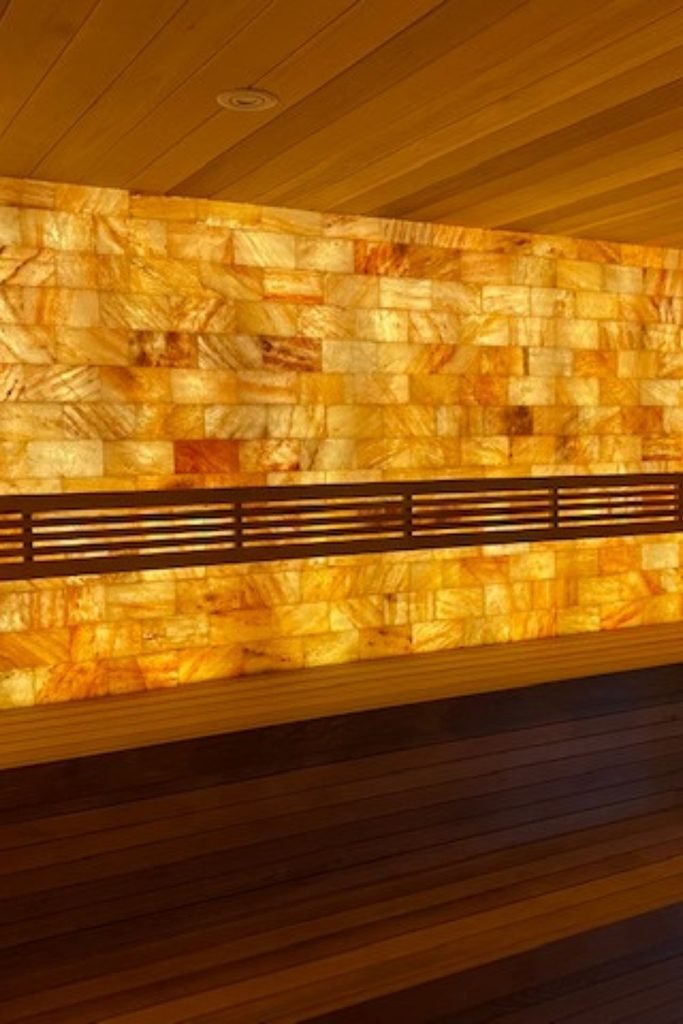
Compact Glow Panel
Smaller square panels are worth considering when your budget or wall space cannot support a full floor-to-ceiling feature.
Create one rigid backing frame, arrange mixed pieces inside it, then conceal the lighting behind the surface before closing the edges.
A dark outer border gives the irregular interior a crisp finish and makes the panel easy to position on a plain wall.
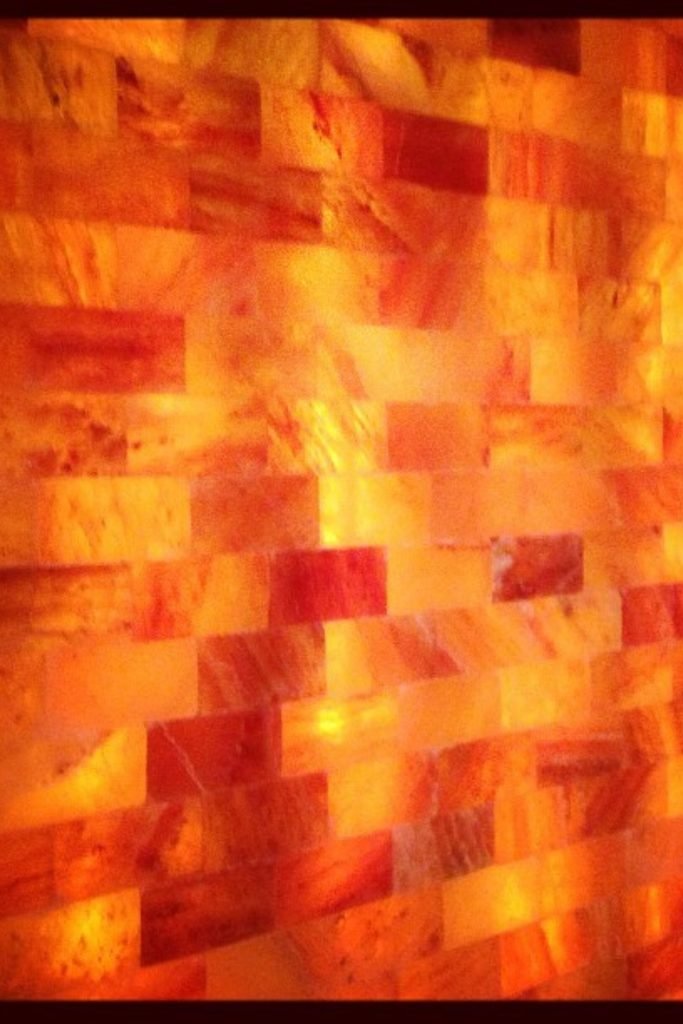
Display Wall Ledges
Turn a textured wall into functional display space by adding staggered ledges instead of covering the surface with conventional shelving.
Anchor each shelf into proper structural support behind the finish, particularly when heavier decorative pieces will sit away from the wall.
Vary shelf heights while keeping their wood finish consistent, letting individual illuminated pieces create softer pools of light across the texture.
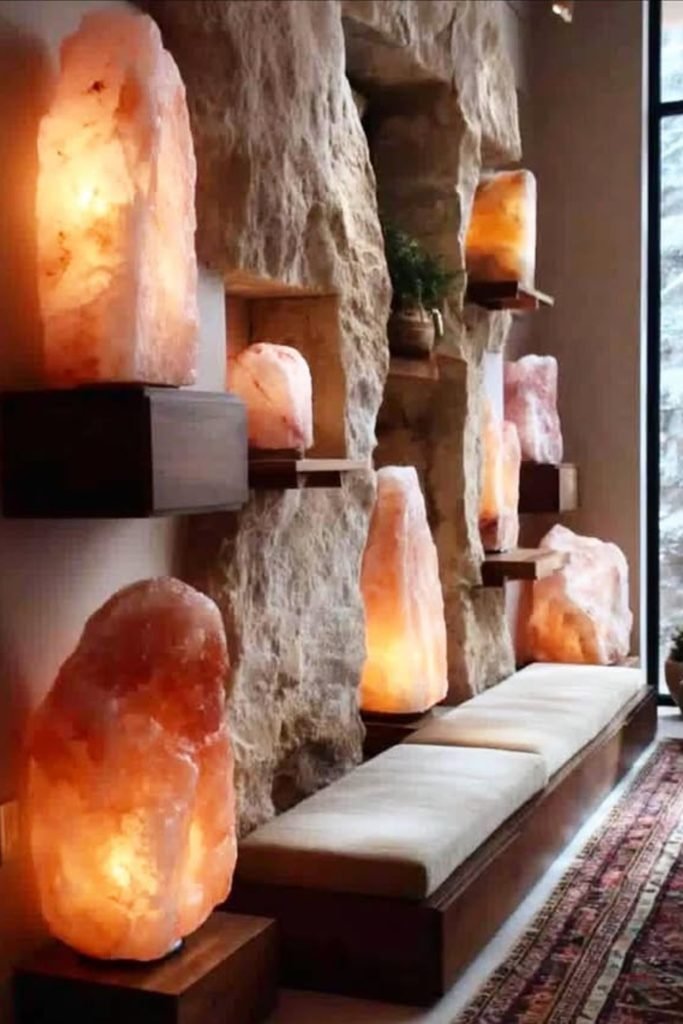
Wellness Corner
Give an unused corner a purpose by turning one wall into a glowing backdrop for stretching, meditation, or quiet floor seating.
Keep the surrounding palette natural and understated, allowing warm wall texture to work alongside plants, timber flooring, and woven accessories.
Soft illumination behind the feature creates enough ambient warmth for relaxing while leaving room for separate practical lighting when you need it.
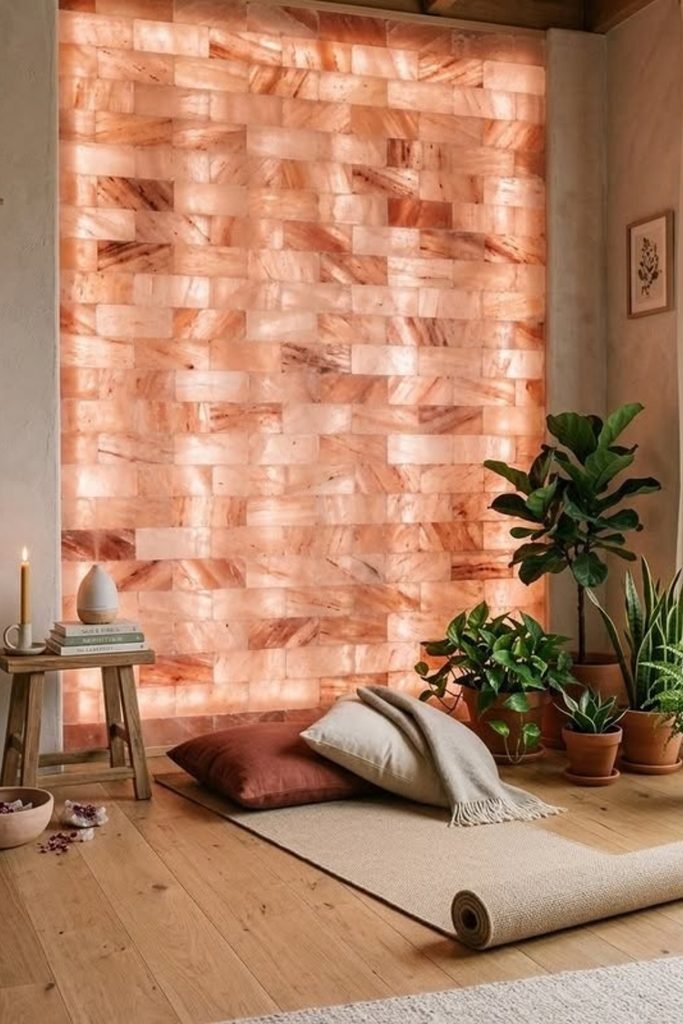
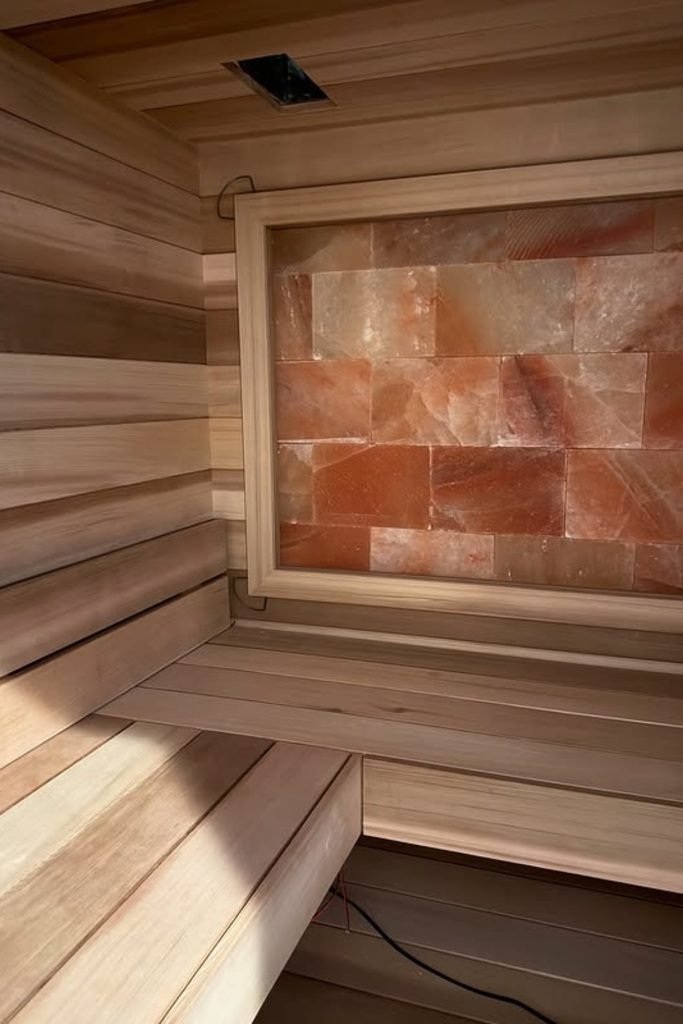
Framed Sauna Panel
You don’t need to cover every sauna wall when one framed insert can create contrast against lighter horizontal timber slats.
Size the frame around your main seating area, then keep its edges parallel with nearby boards for a more precise built-in finish.
Hide suitable lighting behind the insert and use softer bench lighting below, giving the compact space depth without adding visible fixtures.
FAQs
What Is the Cheapest Material for a DIY Slat Wall?
Pine, furring strips, and MDF are usually practical budget options, but the cheapest boards can require extra sanding and straightening.
If you want a painted finish, MDF gives you smooth, consistent slats. For visible wood grain, inexpensive pine works well after careful sanding and staining.
Should You Paint the Wall Before Adding Slats?
Yes, finishing the background first saves you from trying to squeeze a brush between dozens of narrow gaps later.
Dark paint creates stronger contrast behind natural wood, while matching the slats and wall gives you a softer built-in look.

Hi, my name is Ali Mehmood! I’m a passionate writer and DIY enthusiast who loves turning creative ideas into practical, hands-on projects.
I created this website to share inspiring, budget-friendly ideas that you can do yourself – whether it’s organizing your home, crafting something unique, or creating fun projects for kids and pets.
I believe DIY isn’t just a hobby – it’s a smart way to save money, reduce waste, and enjoy the satisfaction of making things with your own hands.
I’m excited to have you as part of this growing community, and I’ll continue bringing you helpful, realistic, and fun DIY ideas you can actually use.