This post may contain affiliate links: read full affiliate disclosure.
You spot a beautiful macrame wall hanging and feel ready to make one, until cord lengths, knot names, and complicated-looking patterns start getting confusing.
Cutting the wrong amount of cord or pulling a few knots unevenly can also change the whole design before you get halfway through.
Once you understand the right cord, basic knot combinations, and a few small techniques, even detailed patterns become easier to approach.
In this article, you’ll find 22 Macrame Wall Hanging DIY ideas with practical inspiration to help you choose a design.
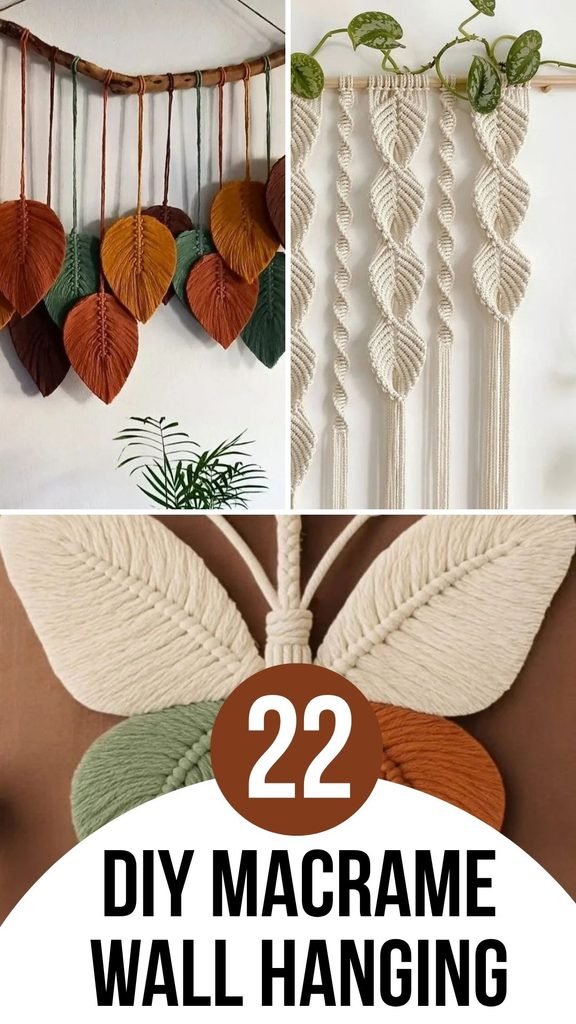
Feather Trio
Bring color into a simple macrame project by combining three brushed feathers instead of building one large, heavily knotted wall hanging.
Use single-strand cotton so each feather combs smoothly, then trim around the edges gradually to keep those pointed shapes balanced.
Mounting them at slightly different heights on natural driftwood gives the finished piece movement without requiring complicated knot patterns.
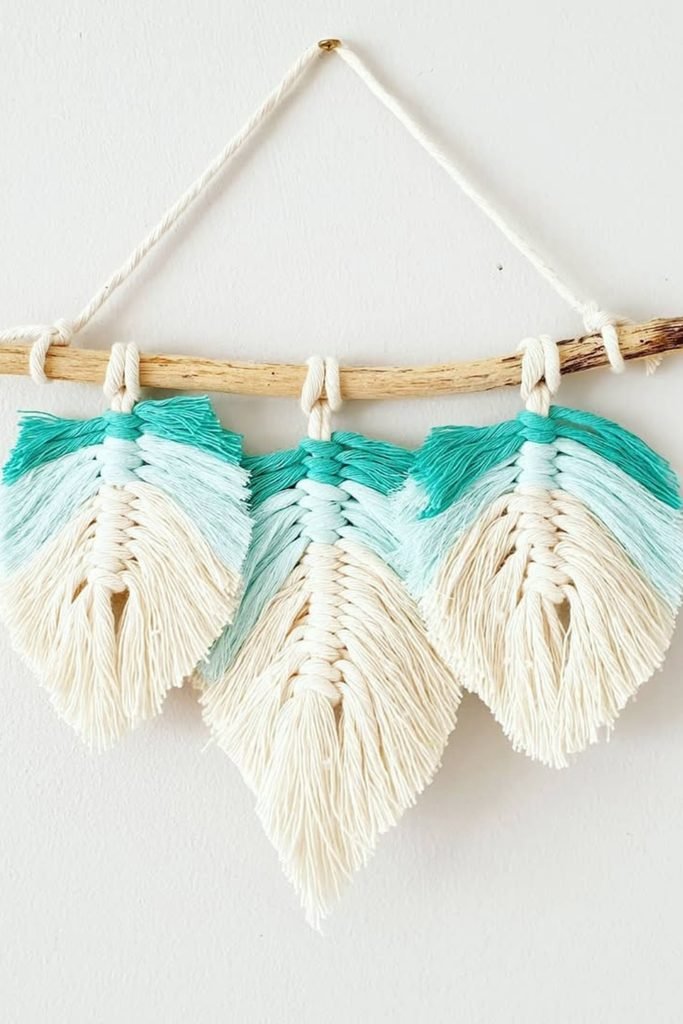
Butterfly Hanging
Turn basic macrame leaf techniques into something playful by arranging four brushed sections around a tightly wrapped central butterfly body.
Keep both upper wings slightly larger than the lower pair, checking their outlines together before making your final edge trims.
A wooden ring makes hanging easier, while contrasting cord on the lower wings adds personality without complicating the actual construction.
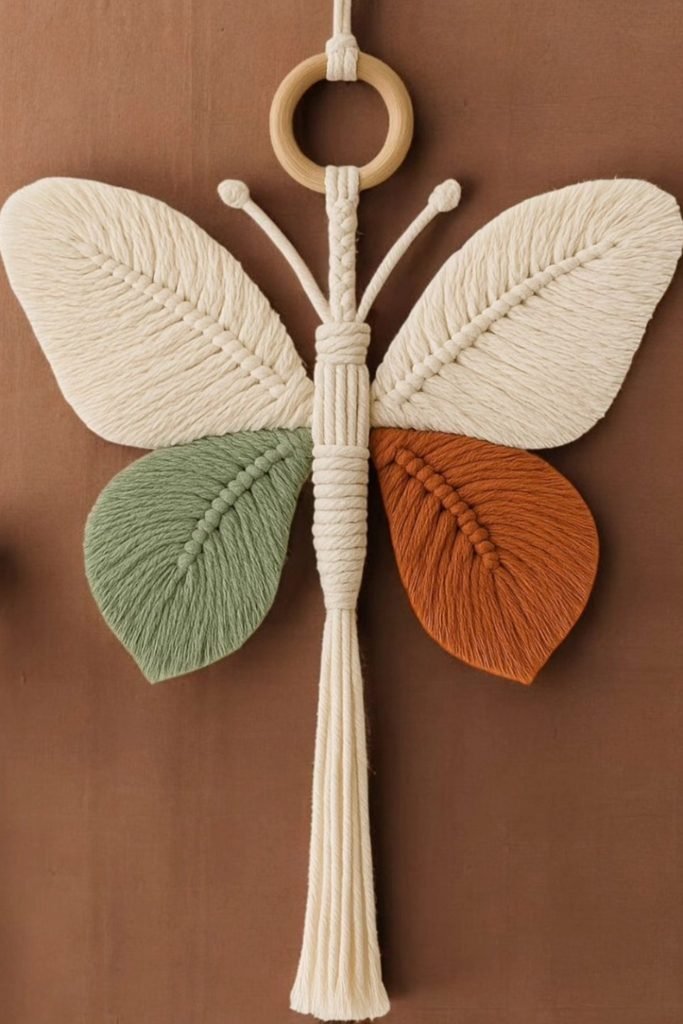
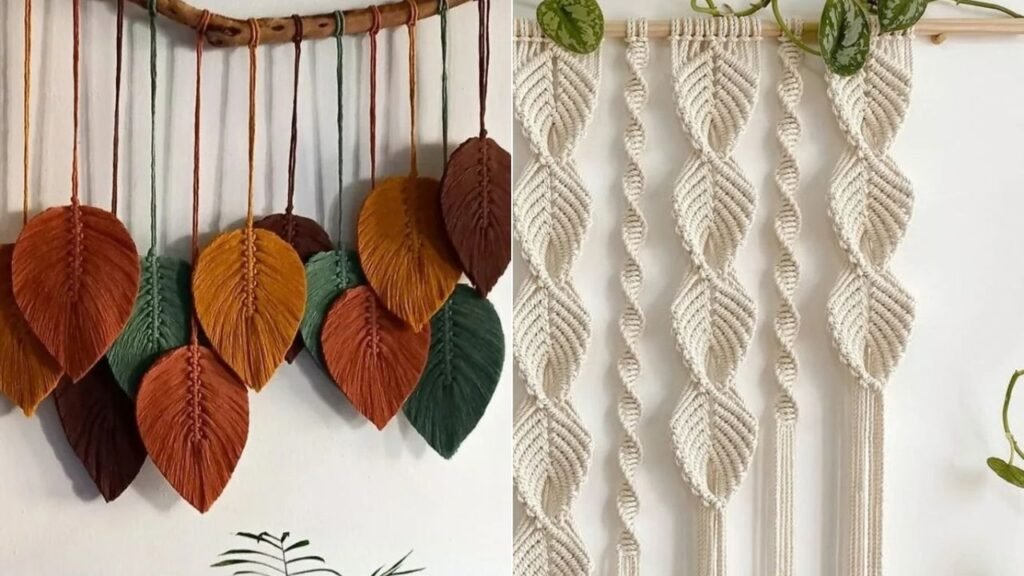
Autumn Leaves
Instead of knotting one large panel, make individual macrame leaves first and arrange them across a branch after every piece is finished.
Vary the hanging lengths and overlap several leaves slightly, which creates fullness without forcing you to master a complicated continuous pattern.
Rust, mustard, green, and brown cords give this design its autumn feel, while brushed fibers keep every leaf looking soft.
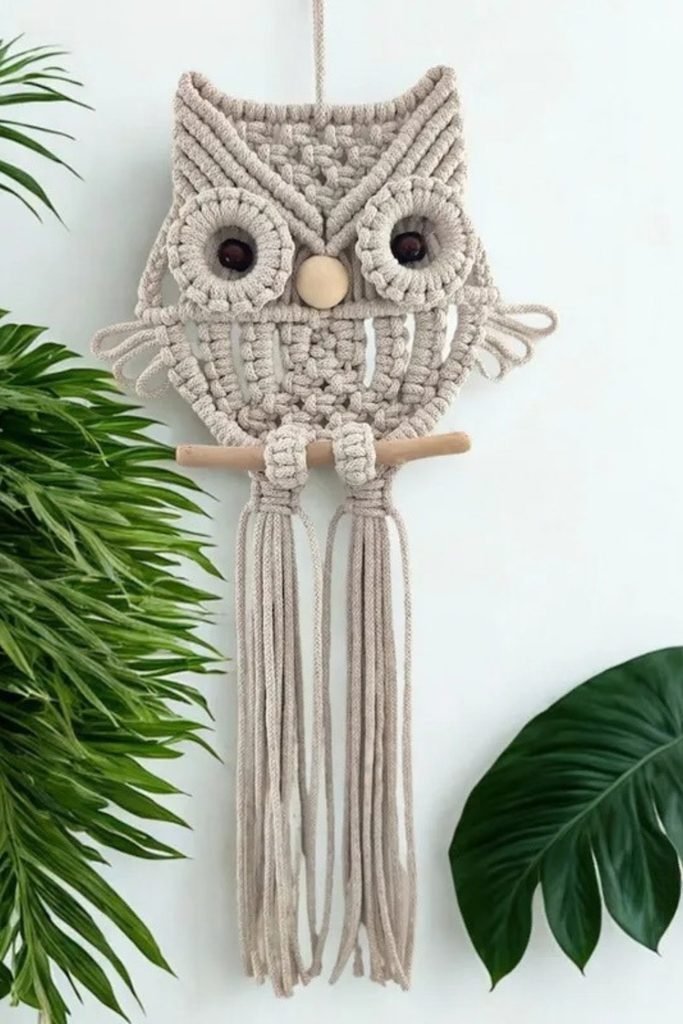
Macrame Owl
Ready for something more detailed? Build the owl in separate sections so the eyes, body, wings, and perch stay manageable.
Keep matching knots equally tight around both eyes, because even small tension differences become noticeable once the circular shapes sit together.
Finish with long loose cords beneath the wooden perch, letting that simple fringe balance the denser knotwork throughout the upper section.
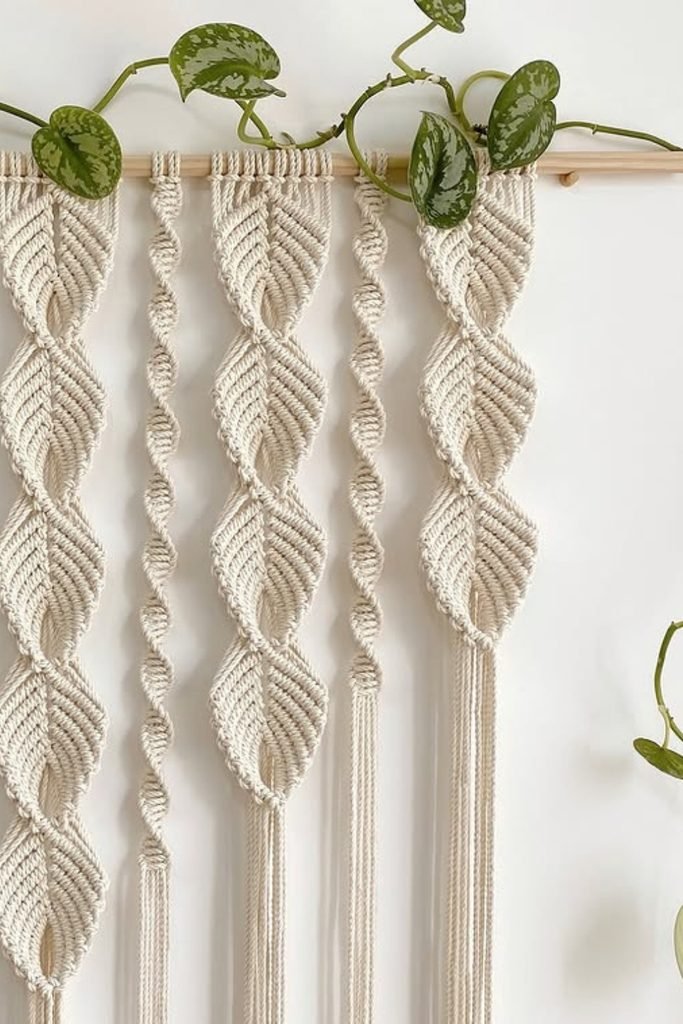
Leaf Columns
For a cleaner botanical pattern, build repeating leaf shapes vertically and separate each column with softly twisted spiral knot sections.
Keep the outer cords angled consistently while forming each leaf, since matching tension helps every opening stay balanced from top to bottom.
Leaving several cords straight beneath the final leaves gives all that detailed knotwork a lighter finish instead of adding another pattern.
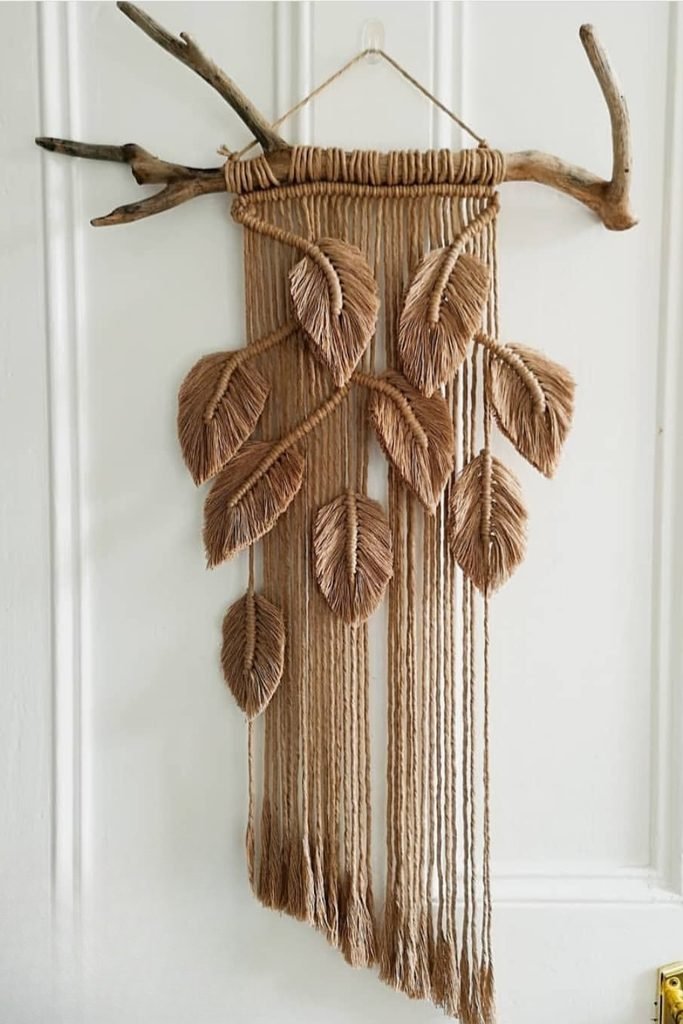
Hanging Branch
Give loose fringe more character by attaching handmade macrame leaves at different heights rather than filling the entire background with knots.
Choose an irregular branch for the top, then stagger each leaf so the arrangement follows its natural bends instead of perfect symmetry.
Long unknotted strands behind the leaves add movement and depth, while earthy cord keeps the layered botanical details feeling connected.
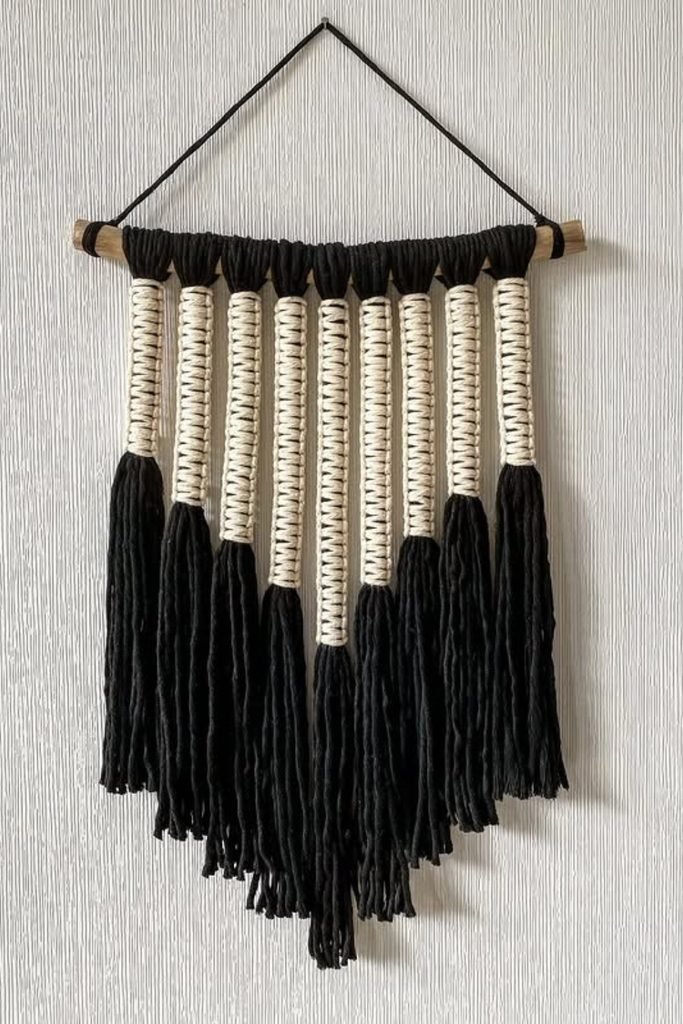
Wrapped Tassels
Skip intricate patterns when bold contrast can do the work, using wrapped cream sections above thick black tassels for graphic impact.
Cut the hanging sections at gradually changing lengths before wrapping them, which makes the center drop naturally into a strong pointed shape.
Keep each cream wrap equally spaced and snug, then trim the black ends together after hanging so the silhouette stays controlled.
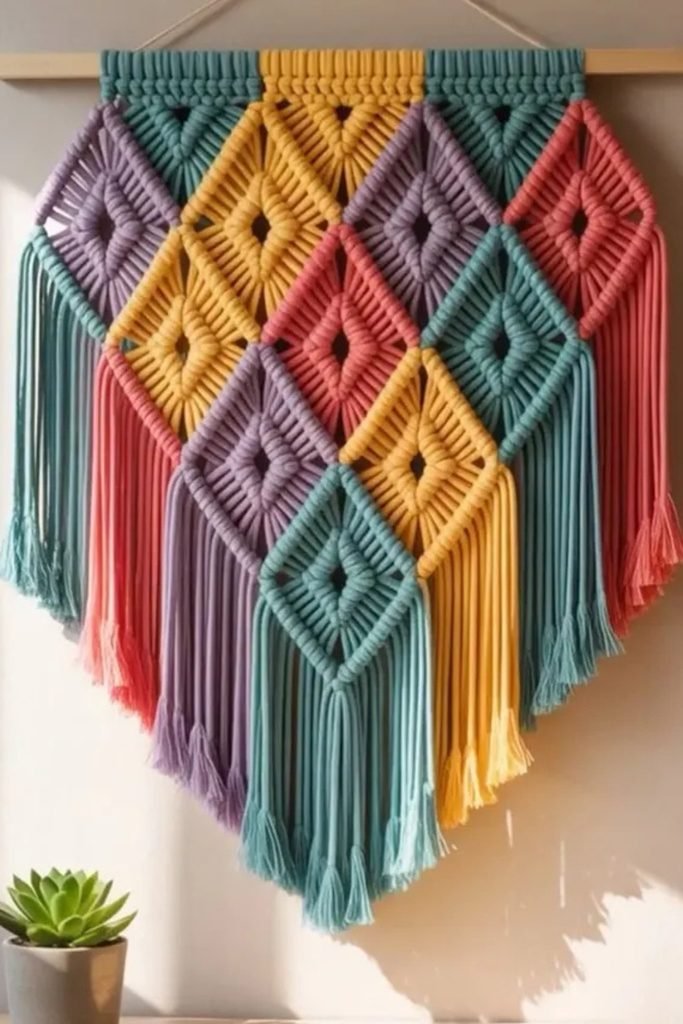
Color Diamonds
Color becomes part of the pattern here, so plan your cord placement before knotting instead of deciding shades halfway through.
Build each open diamond with evenly angled cords, then repeat neighboring shapes closely enough for their edges to create an interlocking layout.
Let matching colors continue into separate fringe sections below, giving the finished wall hanging movement without losing its geometric structure.
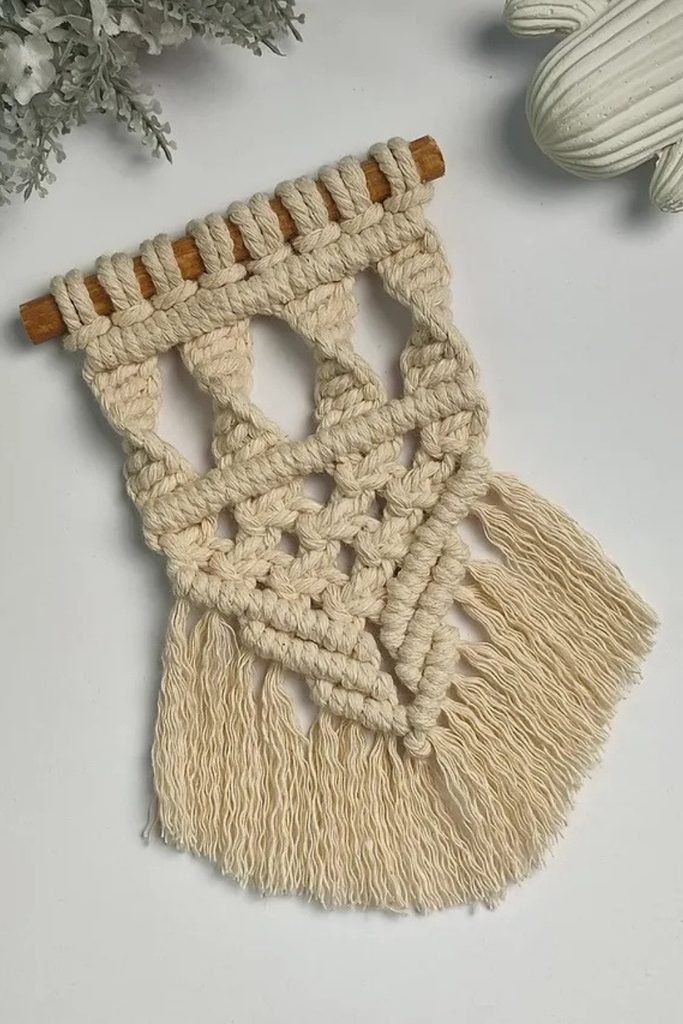
Open Knotwork
When you want texture without making the piece feel heavy, leave generous openings between thicker knot sections instead of filling every space.
Crossing the working cords through the center creates movement, while tighter knots near the edges help hold that loose structure together.
Save plenty of length for the bottom fringe, then comb and curve the ends only after the finished piece hangs naturally.
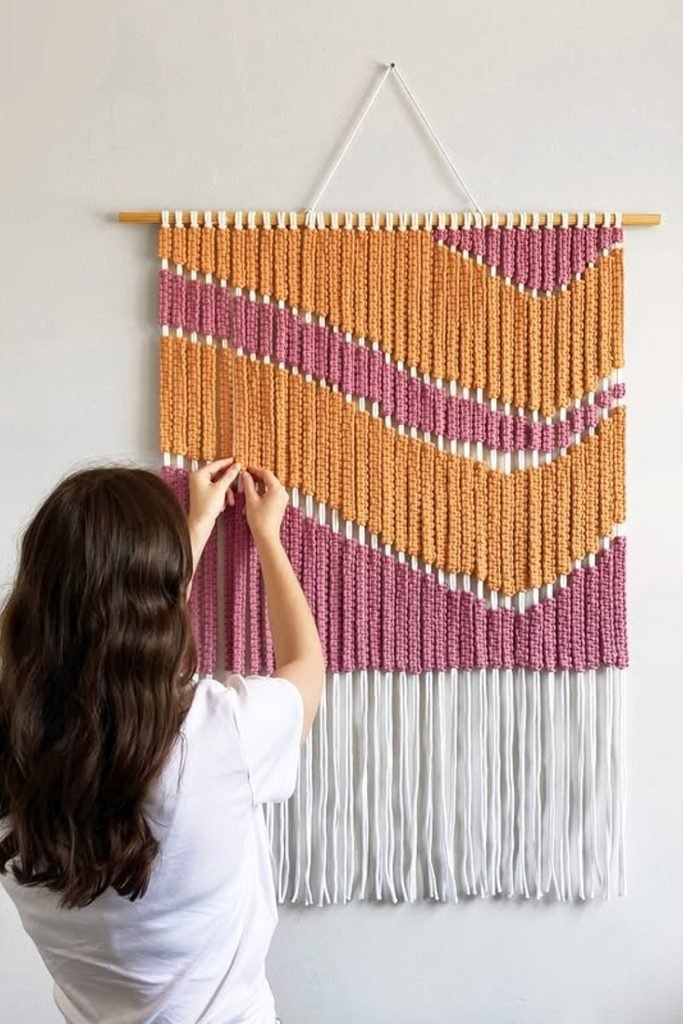
Wavy Color Blocks
Large wall hangings become easier to plan when you treat each colored section as a separate band rather than one complicated pattern.
Mark where each wave should rise and fall first, then keep your repeated knots consistent while switching colors along those boundaries.
Leaving narrow cream gaps between orange and purple sections makes every curve easier to read without adding another decorative knot.
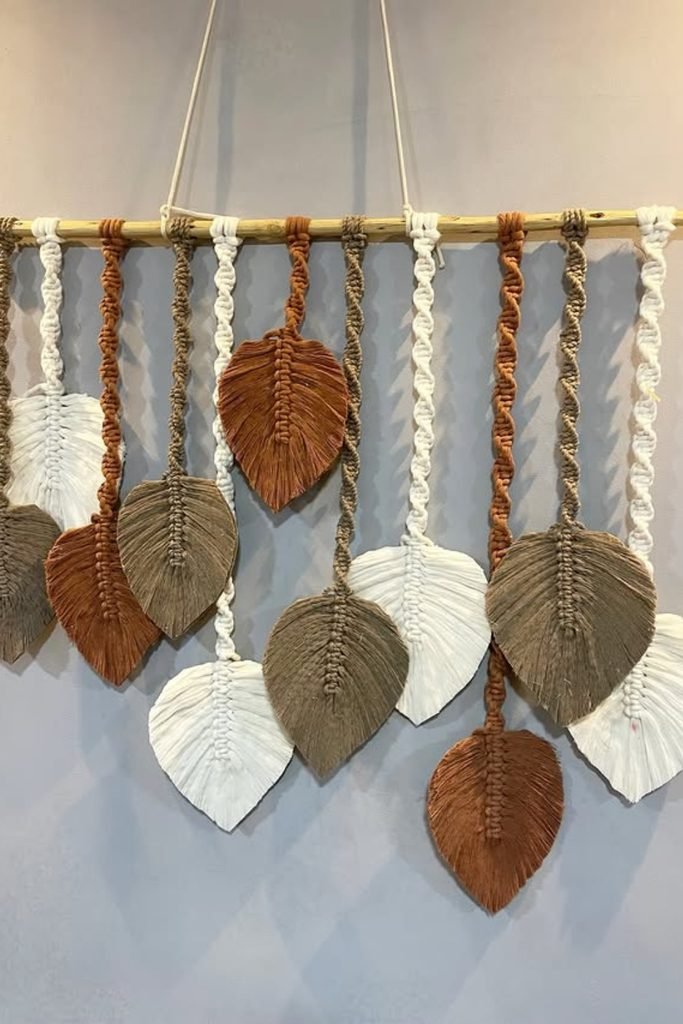
Staggered Leaves
Try suspending individual leaves from spiral-knotted cords when you want botanical detail without brushing an entire background into fringe.
Change both cord lengths and leaf positions across the dowel, letting some shapes overlap so the arrangement feels naturally layered.
Mixing cream, brown, and muted taupe keeps each handmade leaf distinct while still giving the whole hanging one connected palette.
Floral Panel
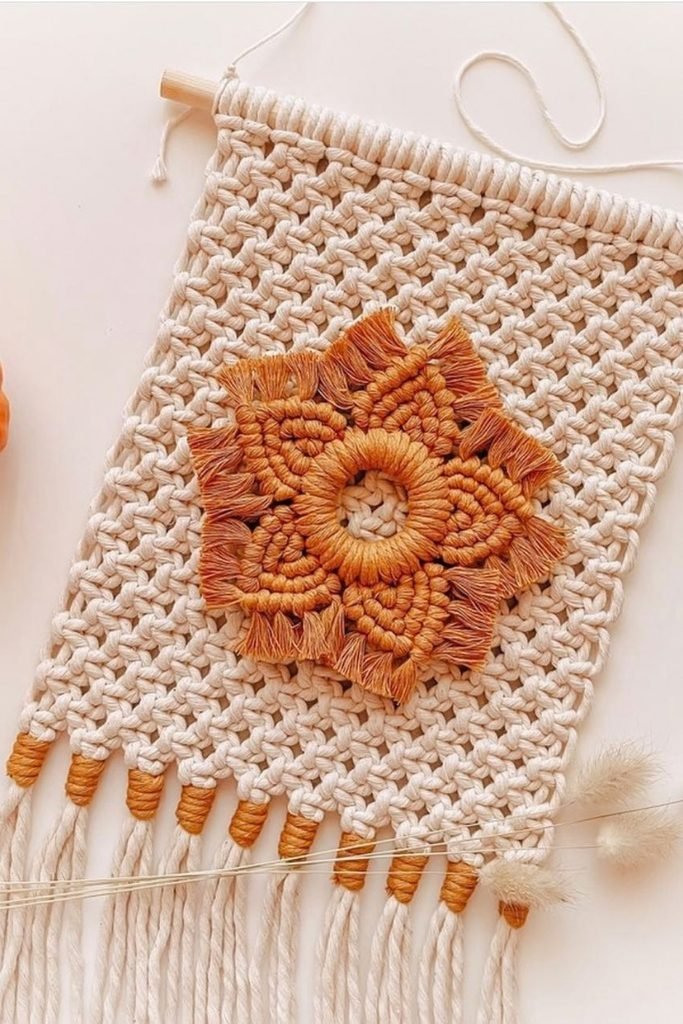
A detailed flower feels much more intentional when you place it over simple open knotwork instead of competing with another dense pattern.
Build the neutral rectangular panel first, then center the rust-colored flower carefully so its raised petals become the main focal point.
Wrap small sections above the loose bottom cords in matching rust thread, carrying the flower color downward without overcrowding the design.
Layered Tassel
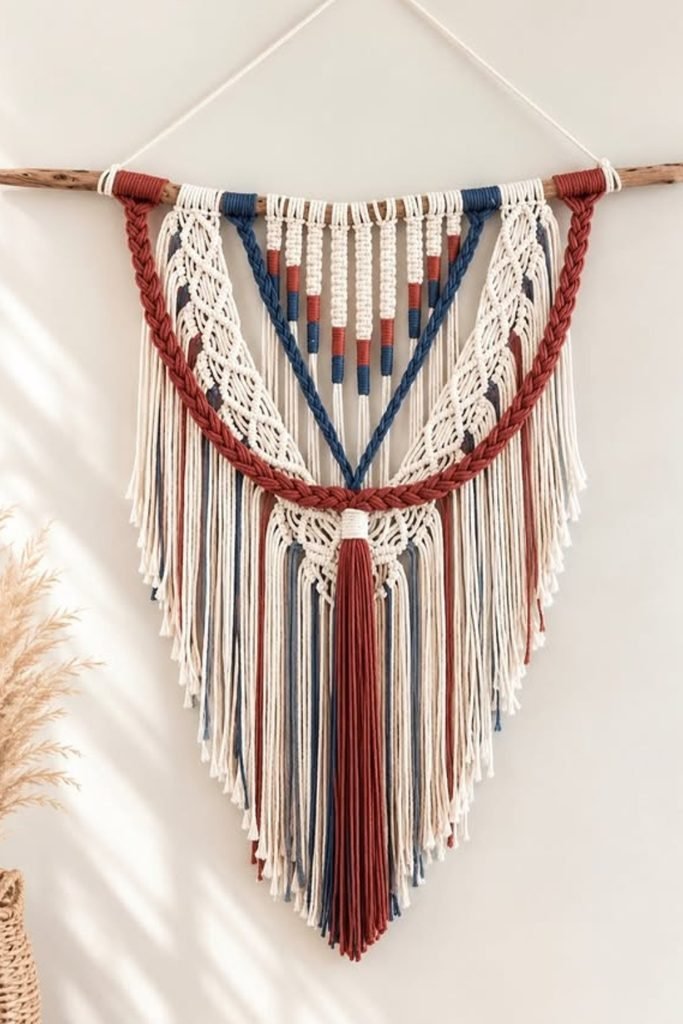
Let the long fringe become part of the design by framing it with thick braided cords instead of covering everything with dense knots.
Add narrow wrapped sections in rust and navy through the center, giving neutral cotton stronger definition without making construction overly complicated.
Gather the longest strands into one central tassel, then trim the surrounding fringe gradually to create a balanced downward-pointing silhouette.
Scalloped Layers
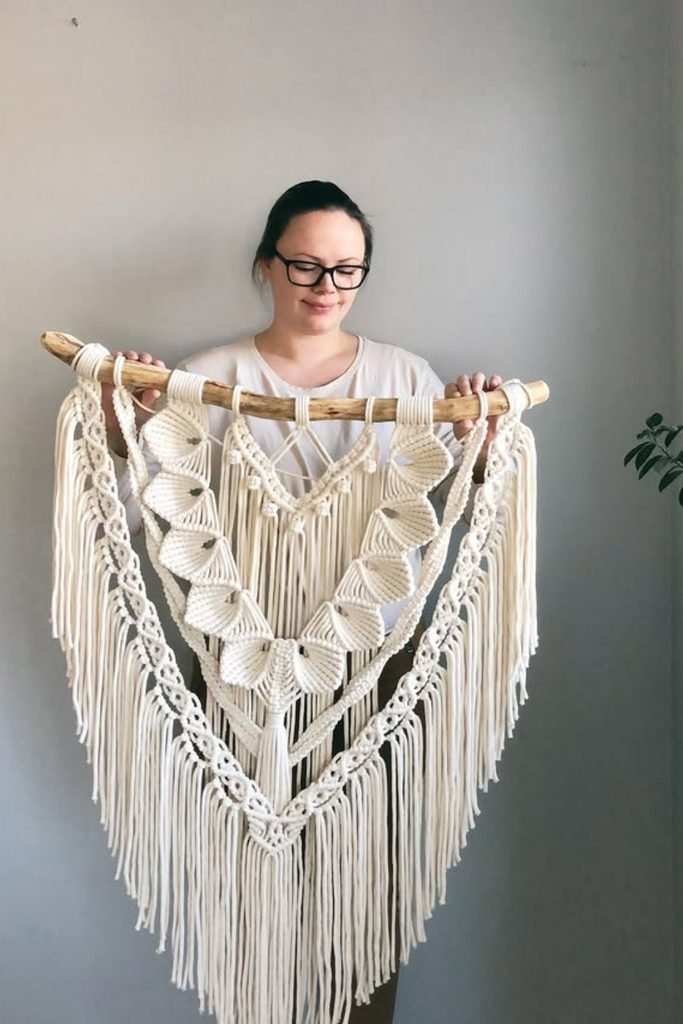
For a larger statement piece, build several decorative borders independently and layer them inward rather than tackling one enormous knot pattern.
Fan-shaped sections create the strongest middle detail, while open knotted borders around them keep all that cream cord from feeling too dense.
Work from the outer edges toward the center, checking both sides regularly so the deep V shape remains symmetrical as it grows.
Fiber Flowers
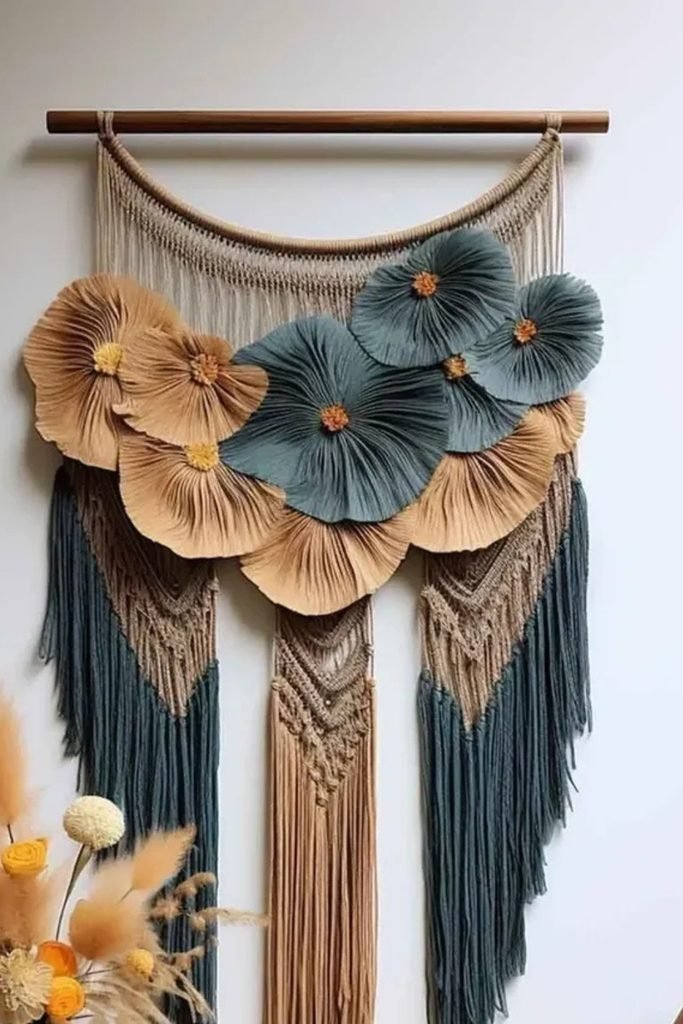
Take brushed macrame beyond ordinary leaves by shaping the fibers into oversized flowers and layering them across a structured knotted background.
Comb each petal section thoroughly before trimming, then overlap different sizes so the flower cluster gains depth without extra complicated knotwork.
Keep a longer fringe underneath the floral layer, using contrasting cord colors to separate the soft petals from the geometric sections below.
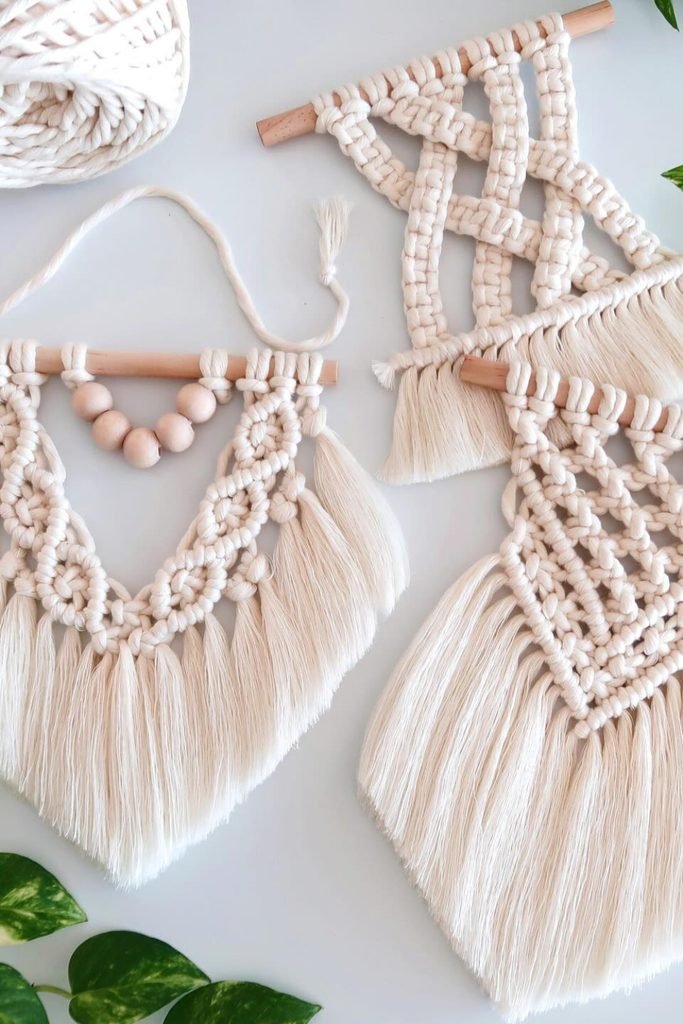
Mini Wall Hangings
Smaller projects are perfect for practicing knot combinations because you can test open patterns, beads, and fringe without wasting much cord.
Start each piece on a short wooden dowel, then experiment with V-shaped knotting or irregular grids before committing to larger dimensions.
Brush the remaining ends into soft fringe only after knotting, letting different trimming shapes completely change each small hanging’s final character.
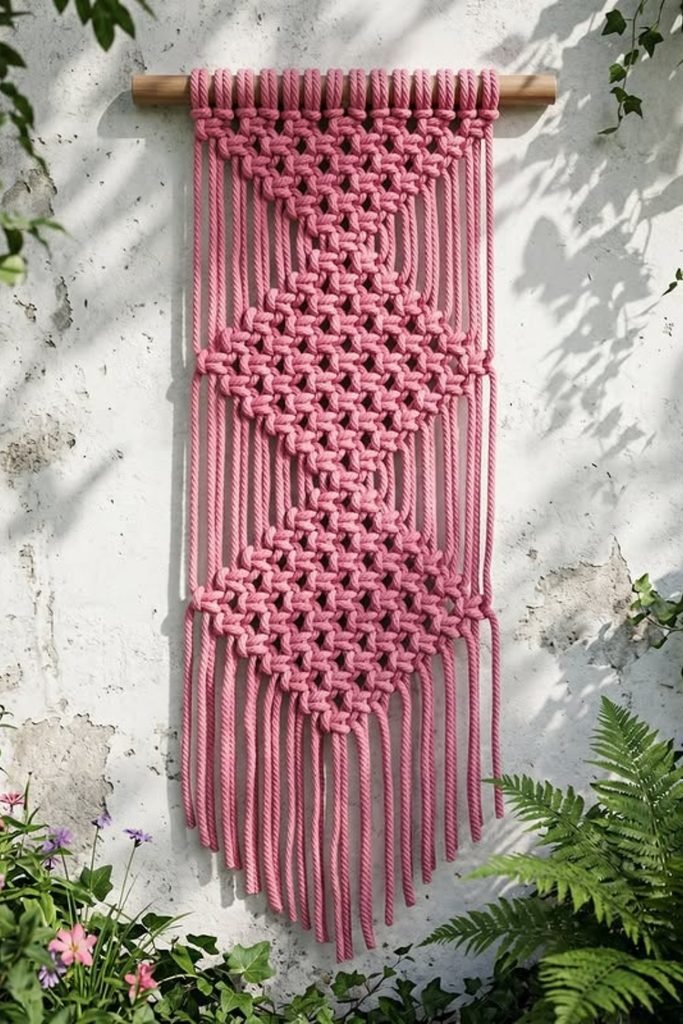
Triple Diamonds
Repeating one knot pattern can still feel striking when you stack three open diamonds vertically and let their points connect naturally.
Keep the outer cords straight while tightening each center section evenly, because consistent spacing is what makes those repeated diamonds look crisp.
Choose one bold cord color for the entire piece, then stagger the loose ends slightly to continue the narrow vertical shape.
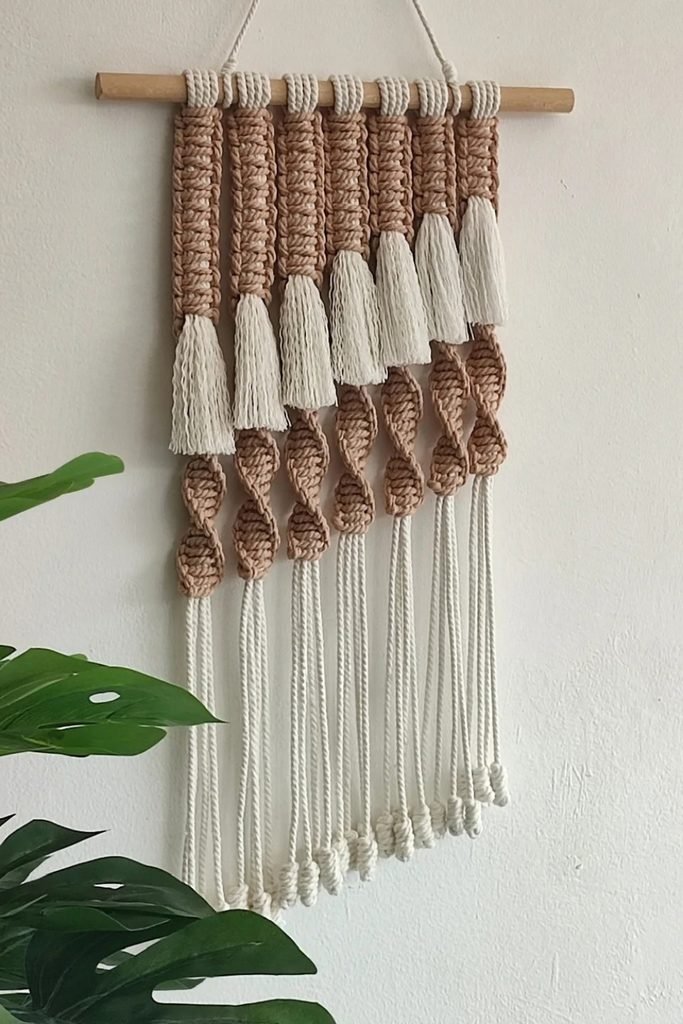
Textured Drops
Mixing structured knots with soft tassels gives you plenty of texture without requiring one continuous pattern from the dowel downward.
Knot each upper strip separately, then vary its finished length so the cream tassels create a gentle stepped transition across the piece.
Continue selected cords into small leaf shapes below, leaving their final strands loose and knotted at the ends for extra movement.
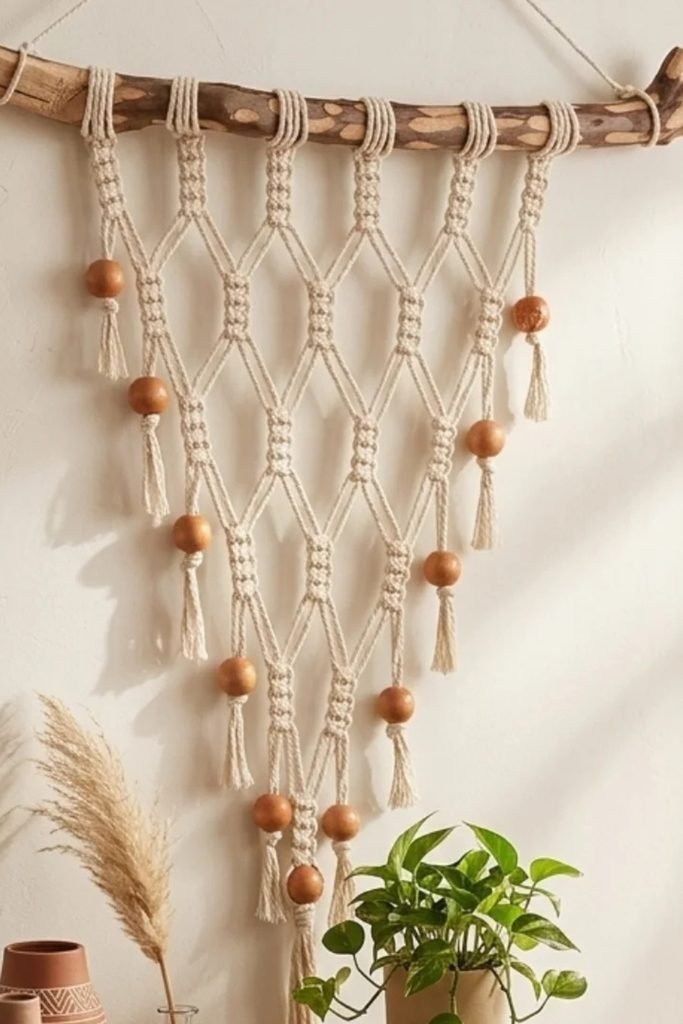
Beaded Net
Wooden beads can break up an open macrame design beautifully, especially when the knotwork itself stays light and widely spaced.
Create repeating diamond openings first, then slide larger beads onto selected outer cords where they can visually anchor each hanging tassel.
Let the pattern narrow gradually toward the bottom instead of trimming everything evenly, giving the finished hanging a relaxed triangular shape.
Draped Layers
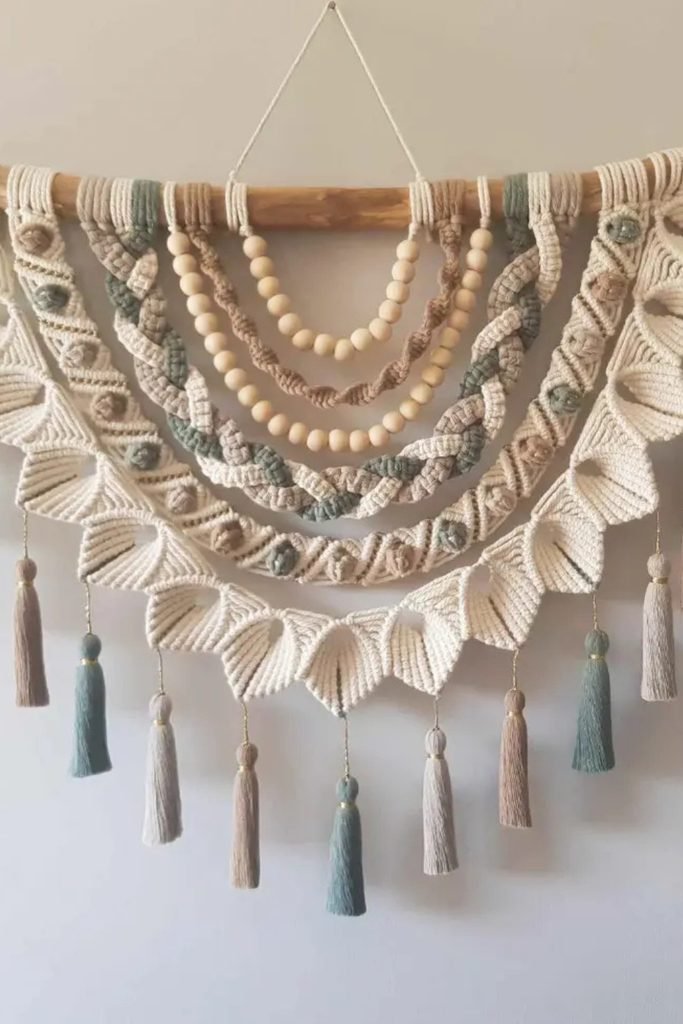
Think in curved layers for a wide statement piece, combining knotted swags, wooden beads, sculptural sections, and tassels across one branch.
Build each draped row separately and test its depth before securing it, so the layers remain visible instead of overlapping too heavily.
Use muted accent colors sparingly through knots and tassels, allowing the cream sections and natural wood to keep everything visually connected.
Knotted Layers
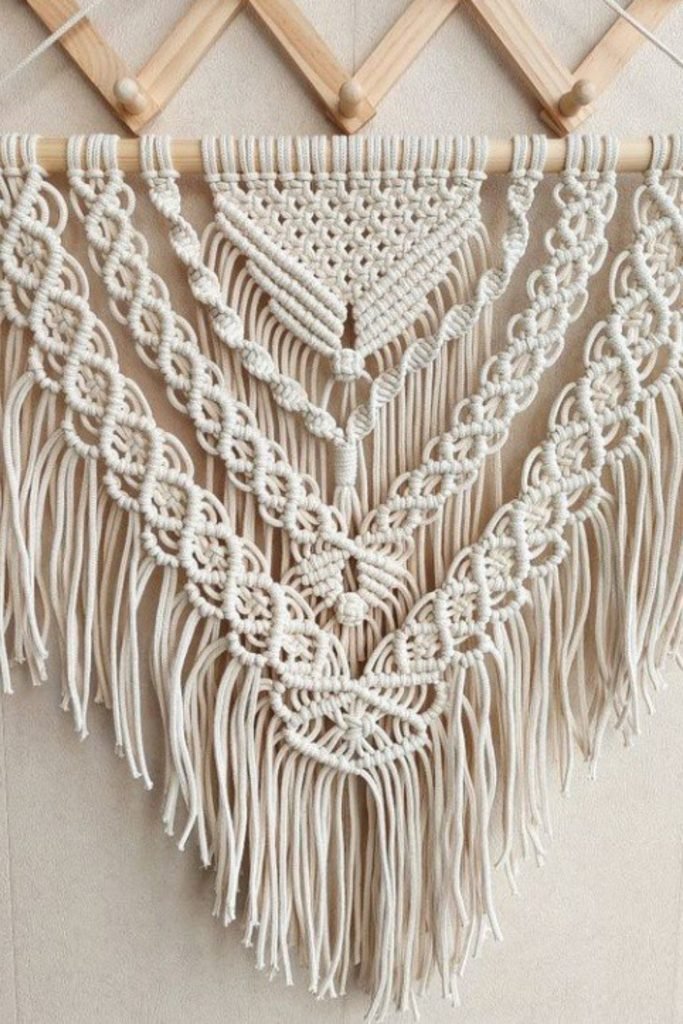
When one pattern feels too flat, layer several decorative knot bands at different depths to build dimension without introducing contrasting colors.
Start with the smaller center panel, then frame it using wider looped sections while checking that both sides descend evenly.
Colorful Spirals
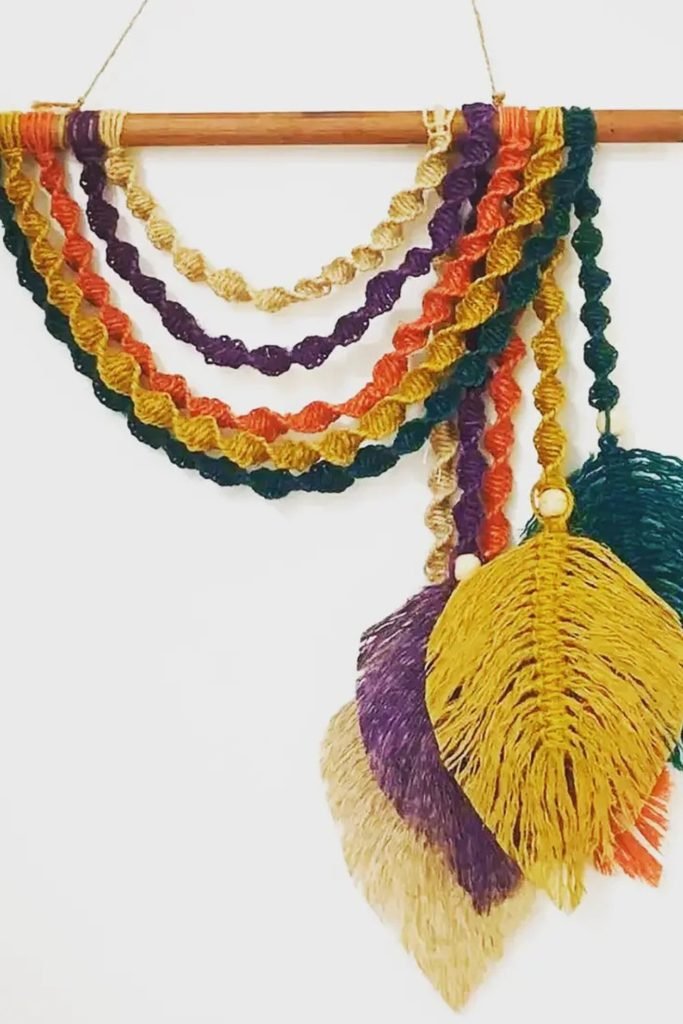
Use spiral knots as the main feature when you want plenty of color without measuring complicated geometric patterns across the entire hanging.
Knot each shade into its own twisted strand, then drape several lengths loosely across the dowel instead of keeping everything symmetrical.
FAQs
How Much Cord Should You Buy for a Macrame Wall Hanging?
Cord length depends on your finished size, knot density, fringe length, and how often each strand folds or crosses.
For a new design, test a small section first so you can estimate how quickly your chosen knots use the cord.
How Do You Keep Macrame Knots Looking Even?
Secure your dowel before working, keep matching knots at similar heights, and check the hanging from a short distance after each section.
If one side starts shifting, correct it early instead of continuing downward and making the difference harder to fix.

Hi, my name is Ali Mehmood! I’m a passionate writer and DIY enthusiast who loves turning creative ideas into practical, hands-on projects.
I created this website to share inspiring, budget-friendly ideas that you can do yourself – whether it’s organizing your home, crafting something unique, or creating fun projects for kids and pets.
I believe DIY isn’t just a hobby – it’s a smart way to save money, reduce waste, and enjoy the satisfaction of making things with your own hands.
I’m excited to have you as part of this growing community, and I’ll continue bringing you helpful, realistic, and fun DIY ideas you can actually use.