This post may contain affiliate links: read full affiliate disclosure.
You love the idea of decorating your walls with crochet flowers, but finding a design that’s easy to make and actually looks beautiful when hung can be frustrating.
Maybe you’ve already crocheted a few flowers but aren’t sure how to arrange them, keep the petals from drooping, or turn them into a finished wall hanging.
That’s why I’ve gathered 13 crochet flower wall hanging ideas, featuring colorful garlands, delicate blooms, and creative floral arrangements.
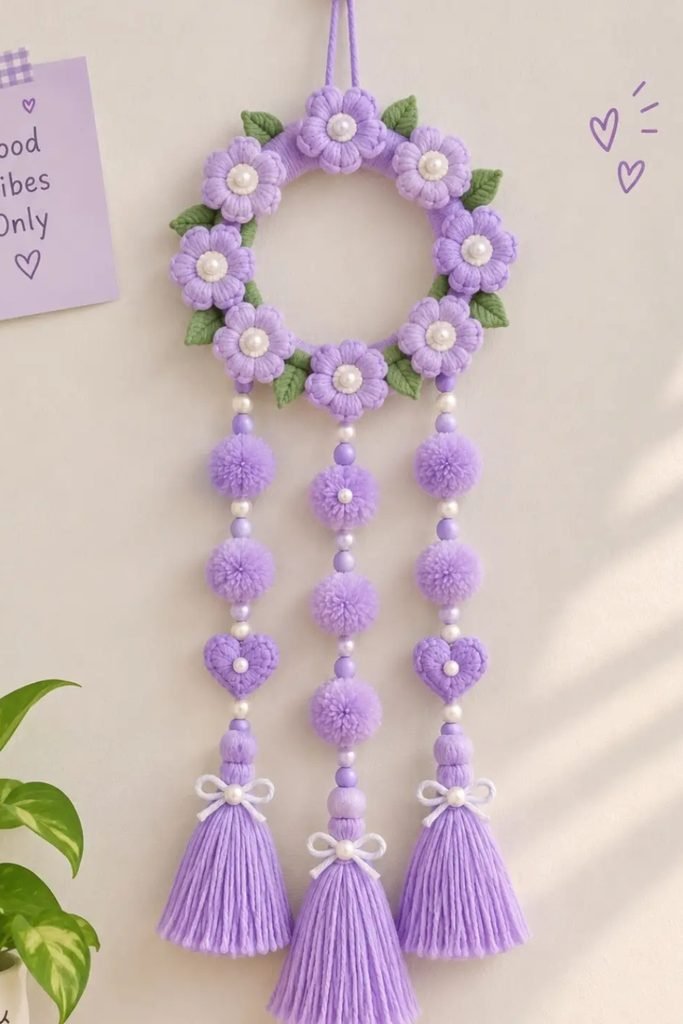
Lavender Floral Wreath
If you love pastel decorations, try arranging lavender crochet flowers around a circular base with little green leaves between them.
Use puff stitches for fuller petals, then add pearl centers to give each flower a neat, slightly raised appearance.
Finish with matching pom-poms, tiny hearts, and long tassels, keeping the hanging strands balanced so the wreath hangs straight.
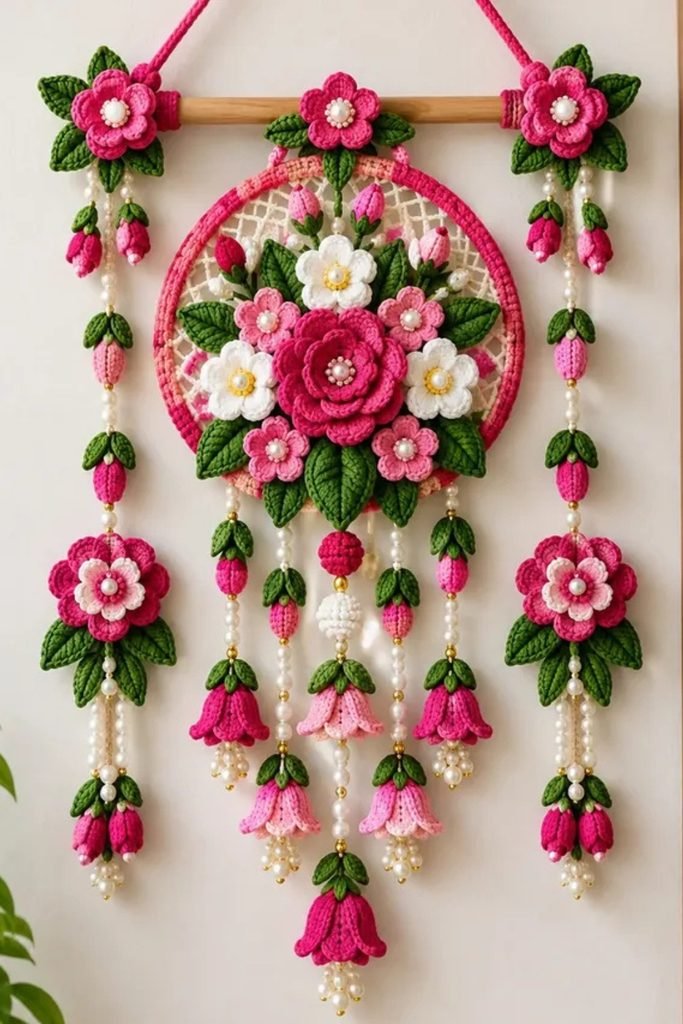
Cascading Rose Bouquet
Creating a fuller floral hanging gets easier when you crochet the roses, leaves, and dangling buds as separate pieces.
Arrange the largest pink rose in the center of a wrapped hoop, surrounding it with smaller blooms and greenery.
Thread pearl beads between the hanging flowers, varying their lengths carefully so the detailed arrangement doesn’t become too crowded.
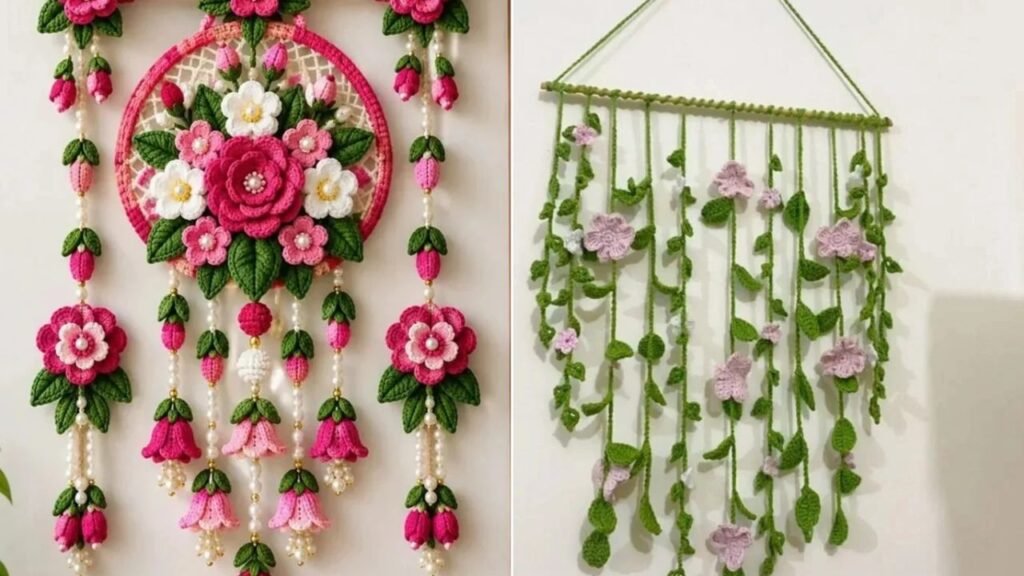
Trailing Blossom Vines
Bare walls can feel more inviting with long crochet vines that bring a little greenery indoors without needing sunlight.
Make several chains in different lengths, attaching small leaves and pale pink flowers at irregular intervals for natural movement.
Secure each vine along a wooden dowel, leaving enough space between strands to prevent the leaves from overlapping excessively.

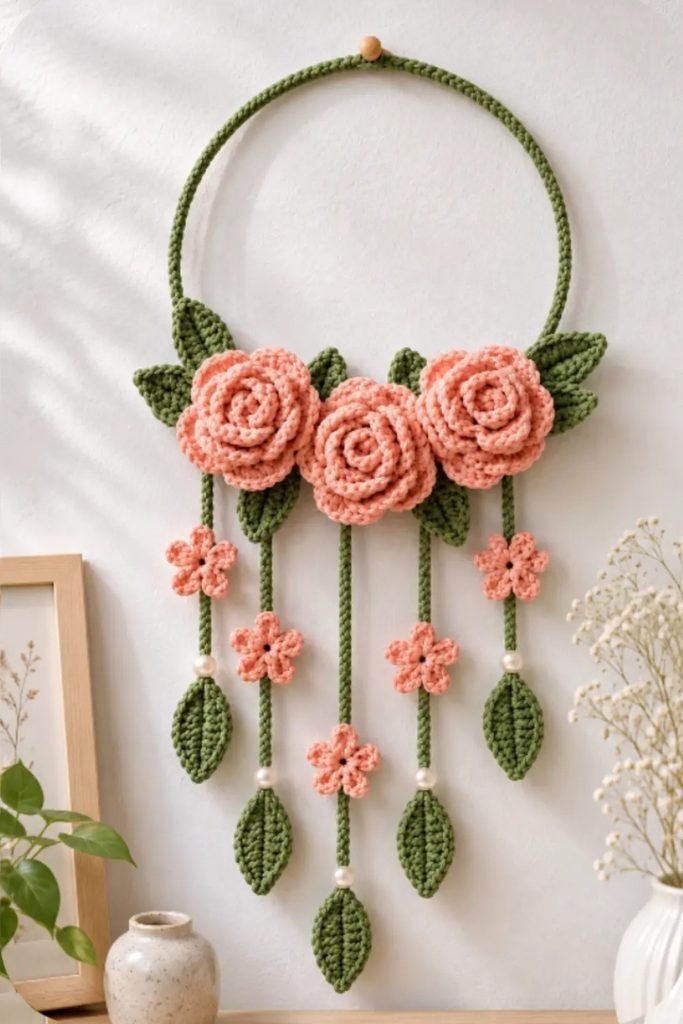
Peach Rose Hoop
Three dimensional crochet roses are a lovely choice when you want flowers that stand out without filling the entire hoop.
Create each rose by rolling a crocheted petal strip, then stitch the layers together firmly before attaching green leaves.
Position the largest blooms along the lower curve, letting smaller flowers and leafy strands hang underneath for a delicate finish.
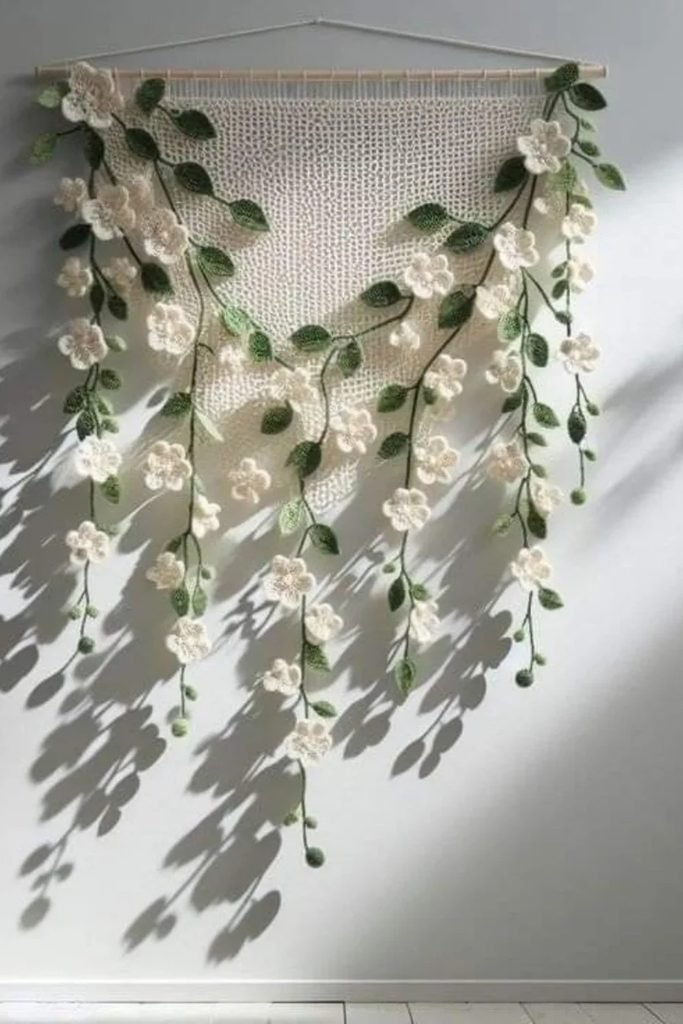
Cascading White Blossoms
For a softer botanical look, combine delicate white crochet flowers with trailing green vines over a simple cream backdrop.
A loose triangular crochet panel gives the flowers a place to attach while keeping the arrangement light and airy.
Let some vines extend beyond the panel, varying their lengths to create a natural, garden-inspired finish without overcrowding.
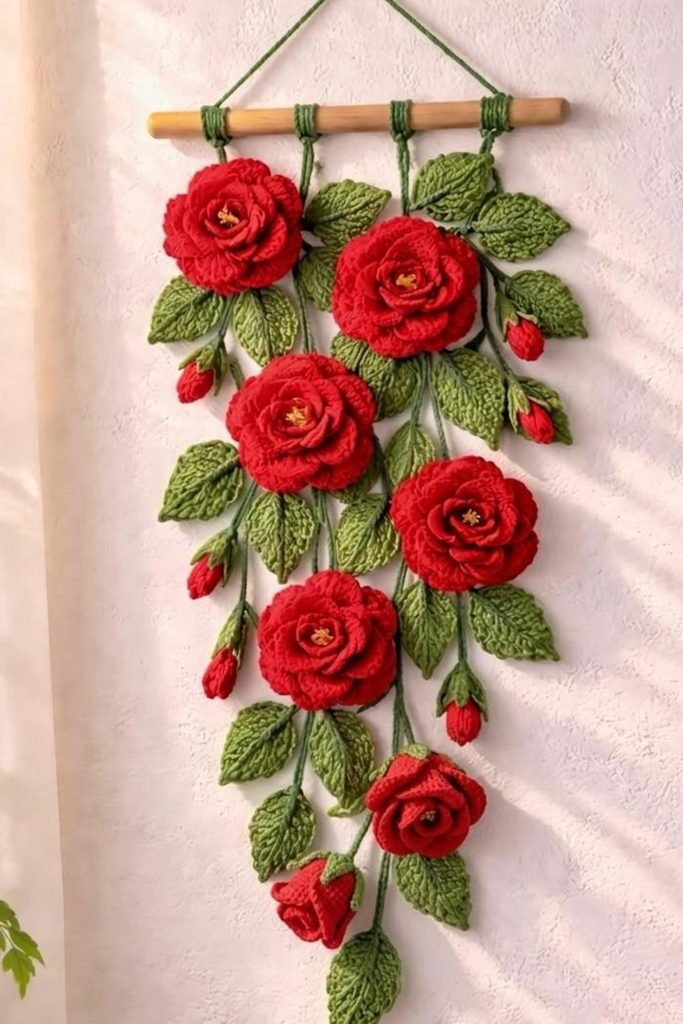
Cascading Red Roses
Large crochet roses need a little extra support, especially when several blooms hang together from one wooden dowel.
Stitch each layered flower securely onto its stem, then add textured green leaves to help balance the fuller blossoms.
Place larger roses near the top and smaller buds below, creating a flowing arrangement that won’t pull unevenly.
Colorful Daisy Hoop
You don’t need complicated flower patterns to create playful crochet wall decor with plenty of color and personality.
Arrange simple daisies around the lower half of a wooden hoop, mixing blue, pink, and cream for cheerful contrast.
Thread pearl beads onto the hanging cords before adding tassels, keeping each strand long enough to move without tangling.

Framed Lily Bouquet
Instead of displaying crochet flowers in another vase, try arranging trumpet-shaped lilies inside an open wooden picture frame.
Shape the petals around the flower centers, then secure each stem to a hidden backing so the blooms stay upright.
Mix white and soft pink lilies with trailing leaves, leaving open space around the flowers to highlight their shape.

Colorful Rose Hoop
Want to make a floral hanging without covering the entire hoop? Cluster your crochet roses along its lower edge.
Mix white, pink, yellow, and burgundy blooms, tucking dark green leaves behind them to give the arrangement fullness.
Add three hanging cords with small crochet balls, keeping their lengths staggered so the decorations fall at different heights.

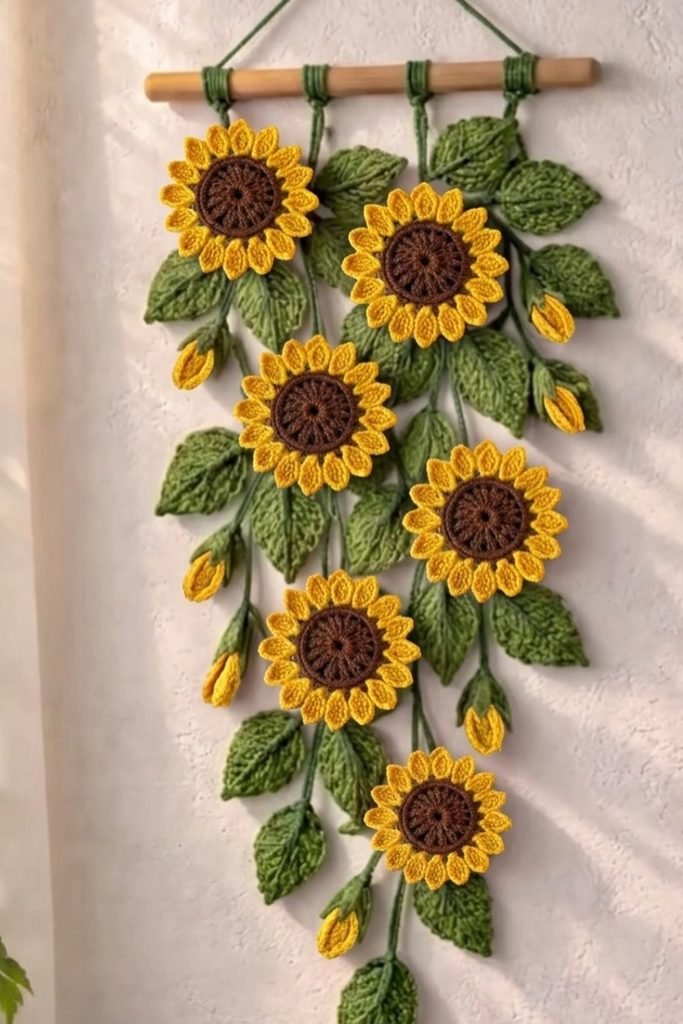
Cascading Sunflower Vines
Sunflowers look especially cheerful when you arrange several blooms along trailing stems instead of making one oversized flower.
Crochet dark brown centers first, then add golden petals and textured green leaves for a more natural botanical appearance.
Include a few unopened yellow buds between the larger flowers, allowing the vines to cascade from a wooden dowel.
Smiling Daisy Garland
Kids’ bedrooms are a fun place to experiment with crochet flowers that have little embroidered smiles in their centers.
Use soft pink, green, yellow, and white yarn for the petals, keeping the faces simple with black embroidery.
Connect the daisies with crocheted chains at different lengths, making sure the flowers hang facing forward rather than twisting.

Framed Yellow Bloom
Sometimes one oversized crochet flower makes a stronger statement than an entire collection of smaller blooms on your wall.
Work five broad yellow petals around a textured center, adding sturdy green leaves and a long trailing stem underneath.
Mount the flower against an open black frame, securing its upper section so the heavier petals don’t pull forward.

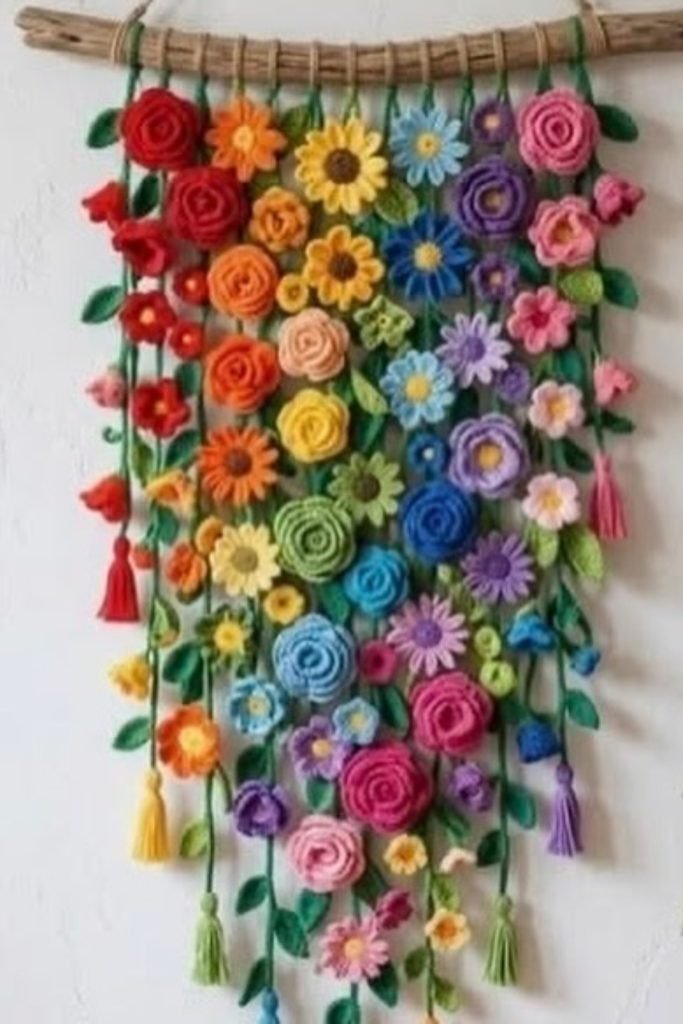
Rainbow Flower Cascade
A rainbow of crochet flowers can turn a plain wall into a colorful garden without needing separate decorations everywhere.
Mix roses, daisies, and smaller blossoms in different shades, attaching them to green vines at slightly irregular intervals.
Hang the strands from a natural wooden branch, placing fuller blooms near the top and smaller flowers toward the bottom.
FAQs
How do you keep crochet flowers from drooping on a wall hanging?
I recommend using cotton yarn for flowers that need to hold their shape, especially larger roses and sunflowers.
You can also add lightweight floral wire to stems or use a firm backing to support heavier blooms.
How do you attach crochet flowers to a wall hanging?
The easiest method is to crochet your flowers separately and attach them using a yarn needle and matching yarn.
For cascading flower designs, connect the blooms to crocheted chains or leafy vines before securing them to a wooden dowel.

Hi, my name is Ali Mehmood! I’m a passionate writer and DIY enthusiast who loves turning creative ideas into practical, hands-on projects.
I created this website to share inspiring, budget-friendly ideas that you can do yourself – whether it’s organizing your home, crafting something unique, or creating fun projects for kids and pets.
I believe DIY isn’t just a hobby – it’s a smart way to save money, reduce waste, and enjoy the satisfaction of making things with your own hands.
I’m excited to have you as part of this growing community, and I’ll continue bringing you helpful, realistic, and fun DIY ideas you can actually use.