This post may contain affiliate links: read full affiliate disclosure.
Turning a plain doorway into an arch sounds simple until you start wondering how deep the curve should be, whether you’ll lose headroom.
Then comes the tricky part of bending drywall, smoothing the curved edges, and getting a finish that doesn’t look obviously DIY.
Most of those problems become easier when you choose an arch shape that actually works with your existing opening before making any cuts.
In this article, you’ll find DIY arched doorway ideas that show different curves, finishes, and practical approaches.
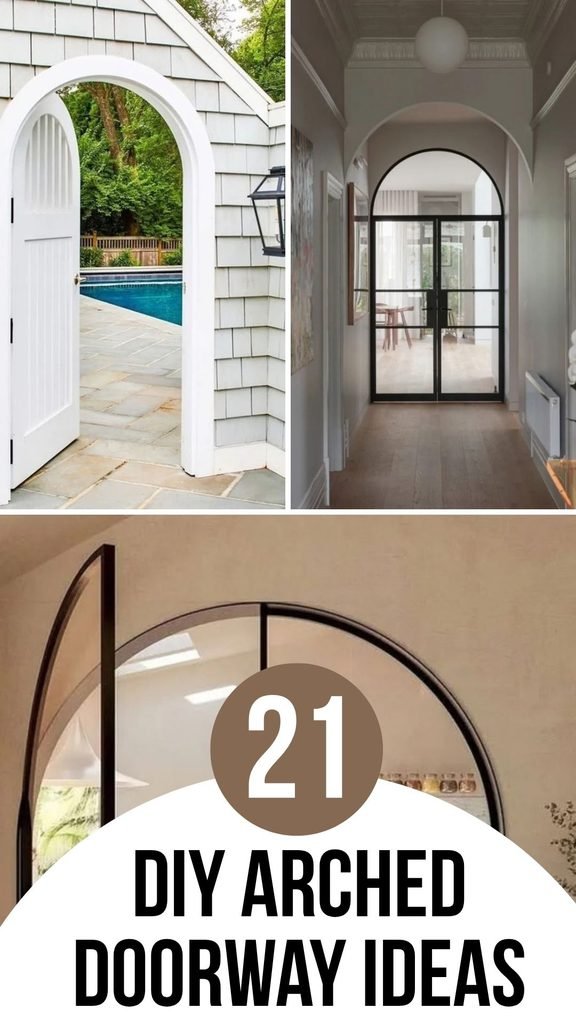
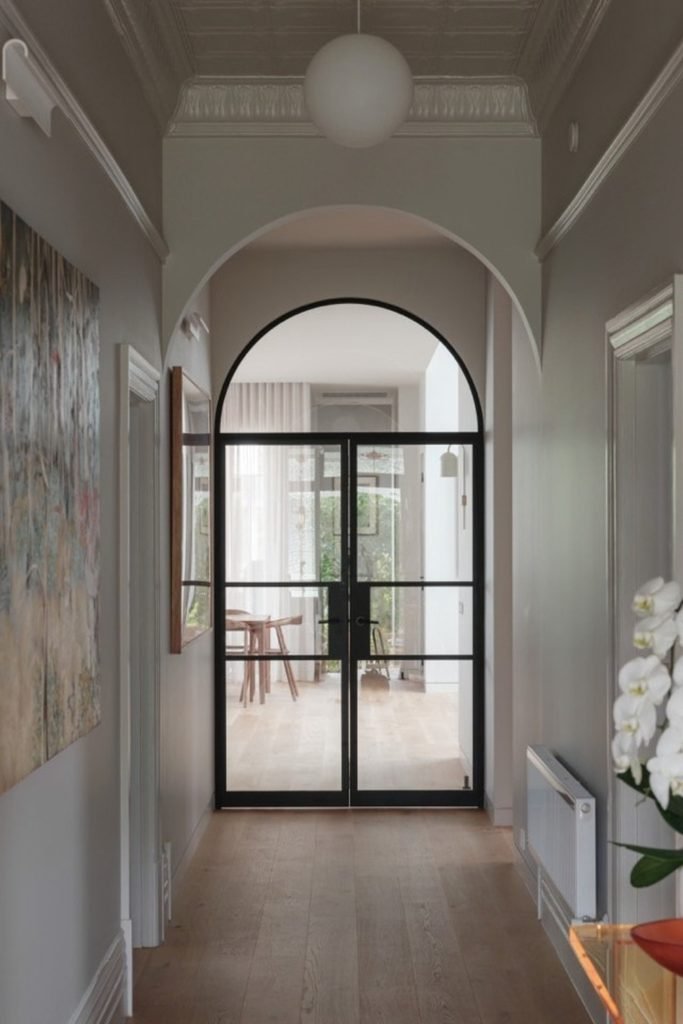
Black Framed Arch
If your hallway feels narrow, a tall rounded opening can pull your eye upward while keeping the passage visually open.
Pair the curve with slim black-framed glass doors when you want separation without blocking natural light between connecting rooms.
Keeping the surrounding walls simple lets the strong arch shape become the architectural detail rather than adding extra decorative trim.
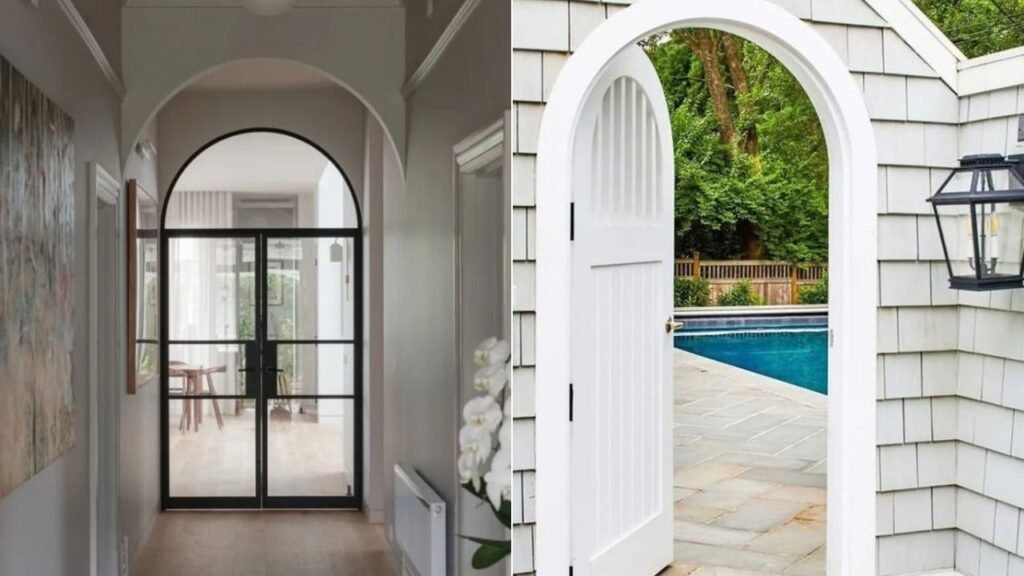
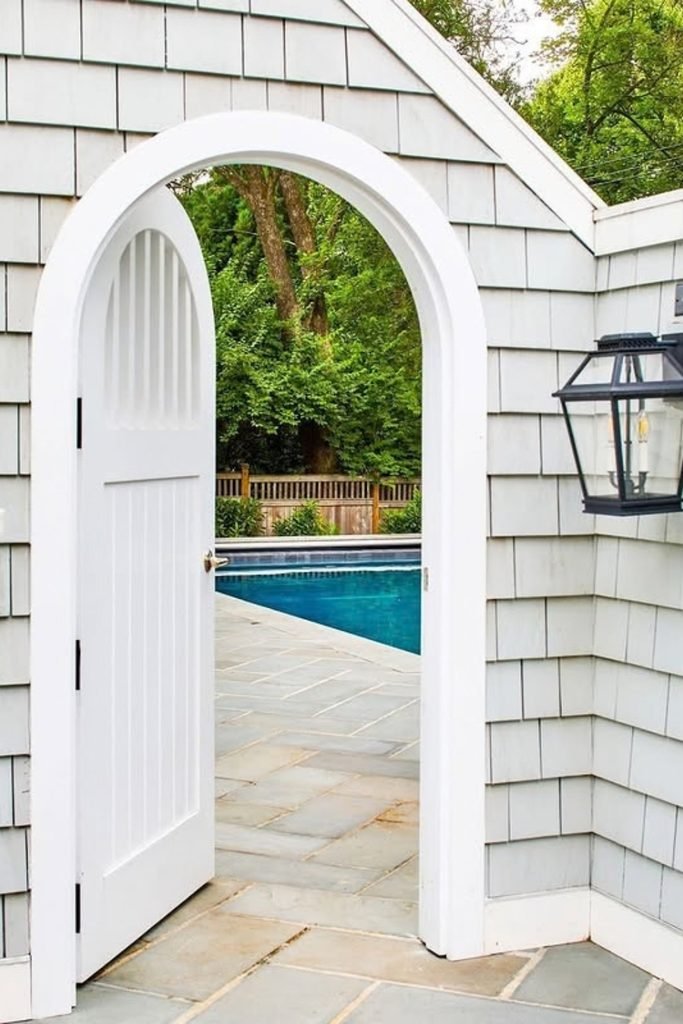
Garden Arch Door
An exterior arch can make a simple garden entrance feel intentional while creating a softer transition between enclosed and outdoor areas.
Use weather-resistant trim around the curve, then fit an arched timber door that follows the opening closely for a finished appearance.
A nearby wall lantern adds practical evening light while helping the curved entrance remain noticeable after the garden becomes darker.
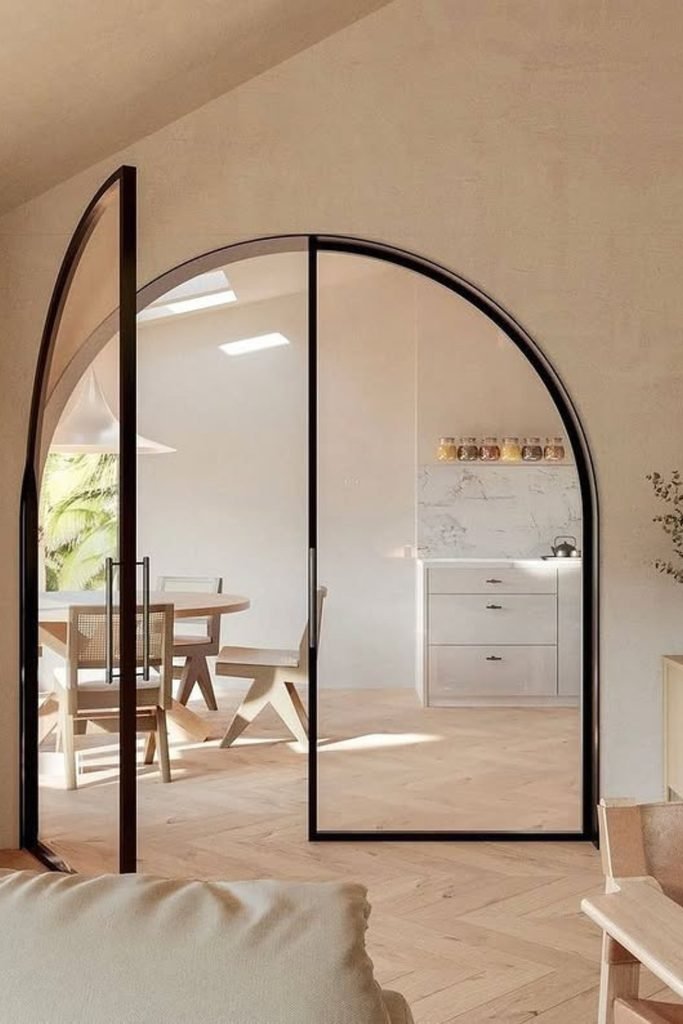
Glass Double Doors
For wider openings, stretching the arch across double glass doors gives you a generous curve without sacrificing too much headroom.
Slim metal frames keep the doorway visually light, while clear glazing allows adjoining living and dining spaces to remain connected.
Plan the curved frame carefully before finishing the wall because an operating arched door needs greater precision than an open archway.
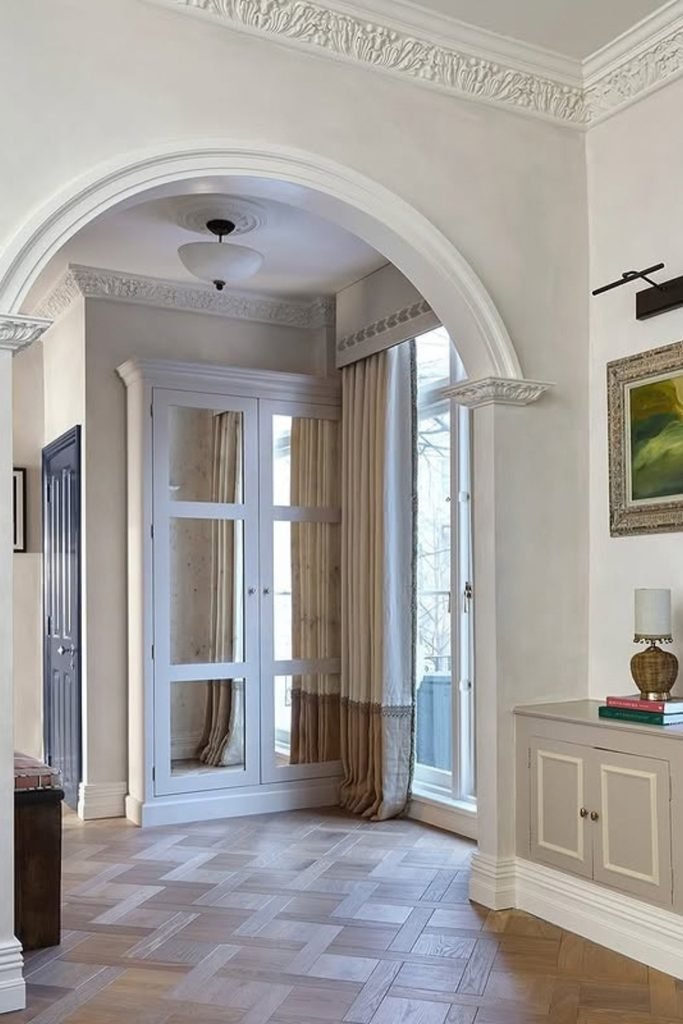
Classic Trimmed Arch
Older rooms can handle more detail, so consider finishing a broad arch with layered molding instead of leaving the edge completely plain.
Decorative corner details can connect the doorway with existing crown molding, tall baseboards, and other traditional features already in your home.
Keep the curve broad enough to preserve comfortable headroom, especially when you’re adding trim that makes the opening visually heavier.
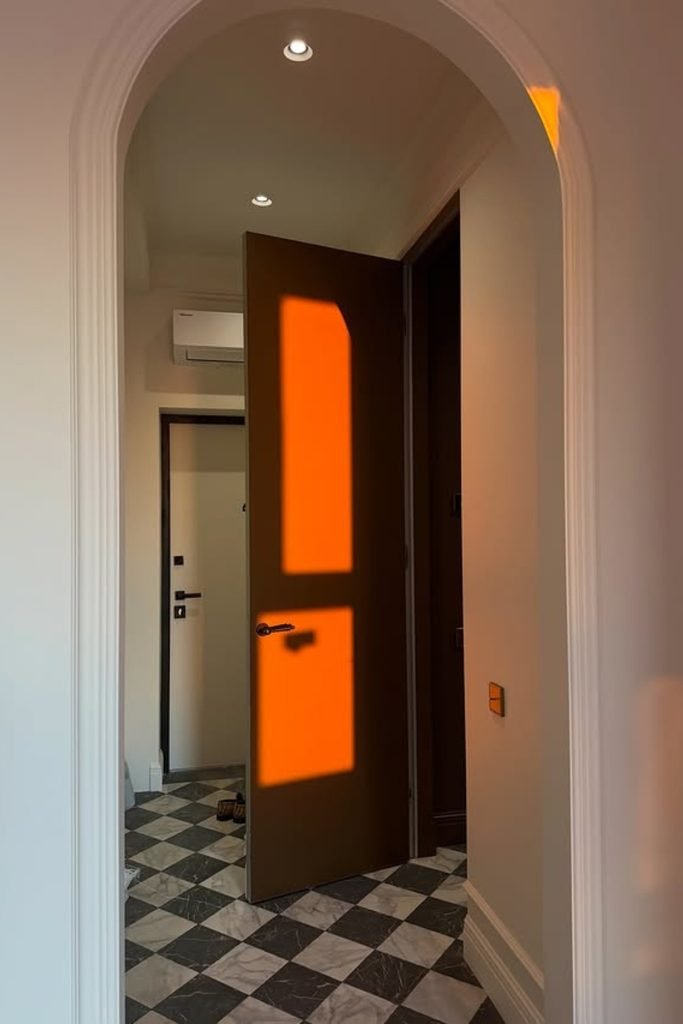
Tall Hallway Arch
When a hallway already has generous ceiling height, let the arch rise taller instead of forcing a wide curve downward.
Adding slim molding around the opening gives the curve definition while keeping enough plain wall space for a clean finish.
Recessed ceiling lights work especially well here because they illuminate the passage without competing with the doorway’s strong rounded profile.
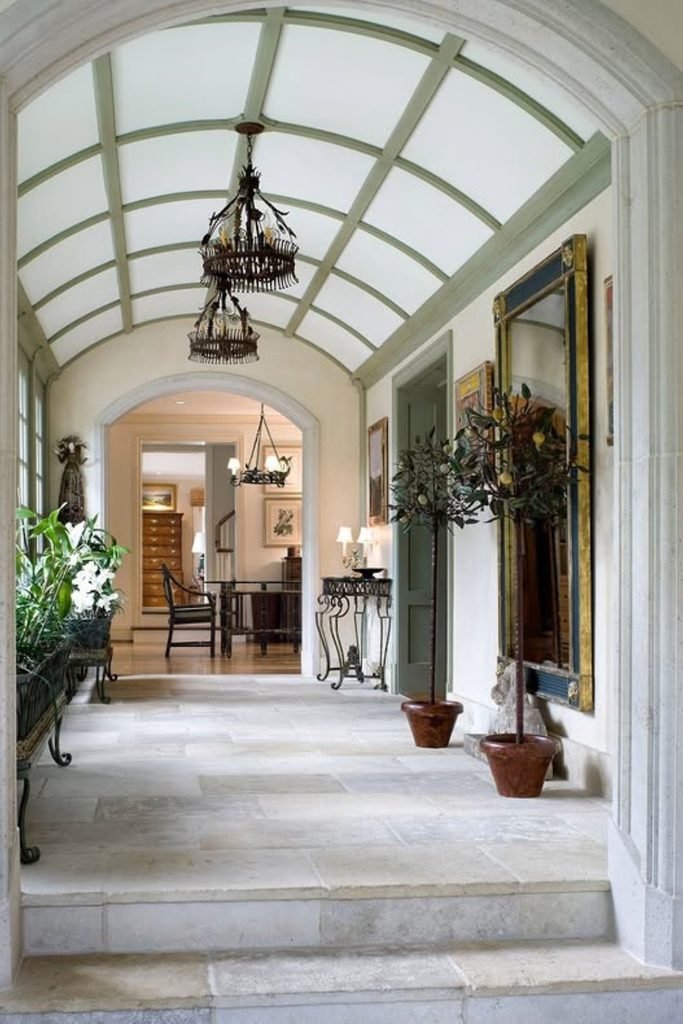
Shallow Stone Arch
A wide passage doesn’t need a dramatic semicircle, especially when preserving height and an open sightline matters more than depth.
Choose a shallow curve, then carry stone or substantial trim around the opening when your surrounding architecture already feels traditional.
Repeating another arch farther down the passage creates continuity, while hanging fixtures naturally guide your eye through the connected spaces.
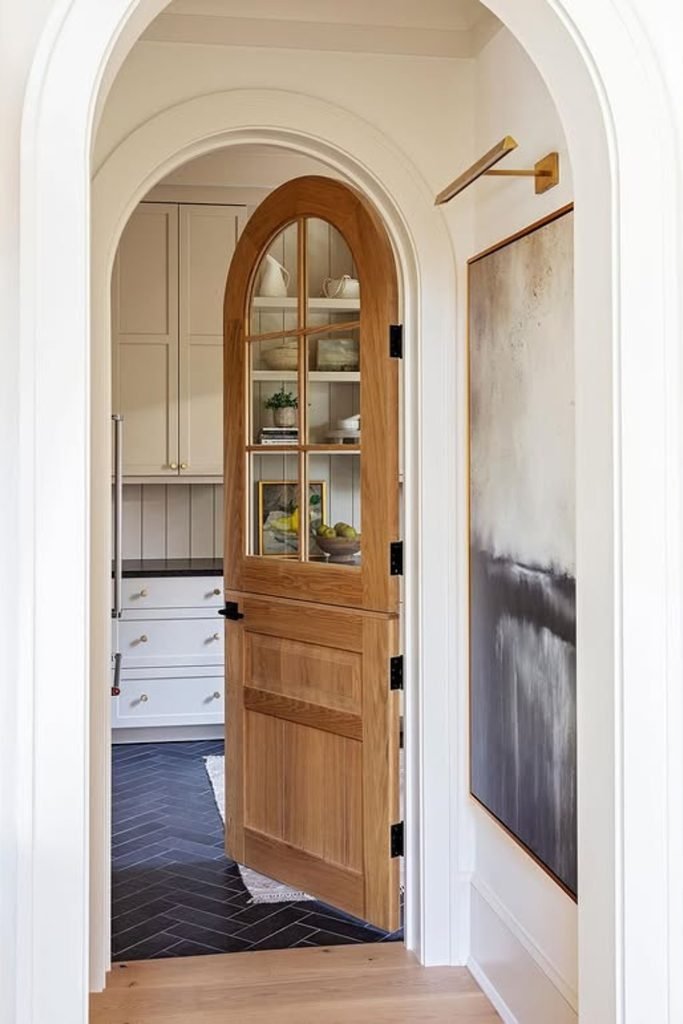
Arched Pantry Door
Want the doorway to feel special without leaving the room completely open? An arched timber door gives you both options.
Match the door’s rounded top carefully to the finished opening, especially around the jamb where small inconsistencies become easy to notice.
Glass panels can borrow light from the adjoining room, while a nearby picture light adds another warm layer after dark.
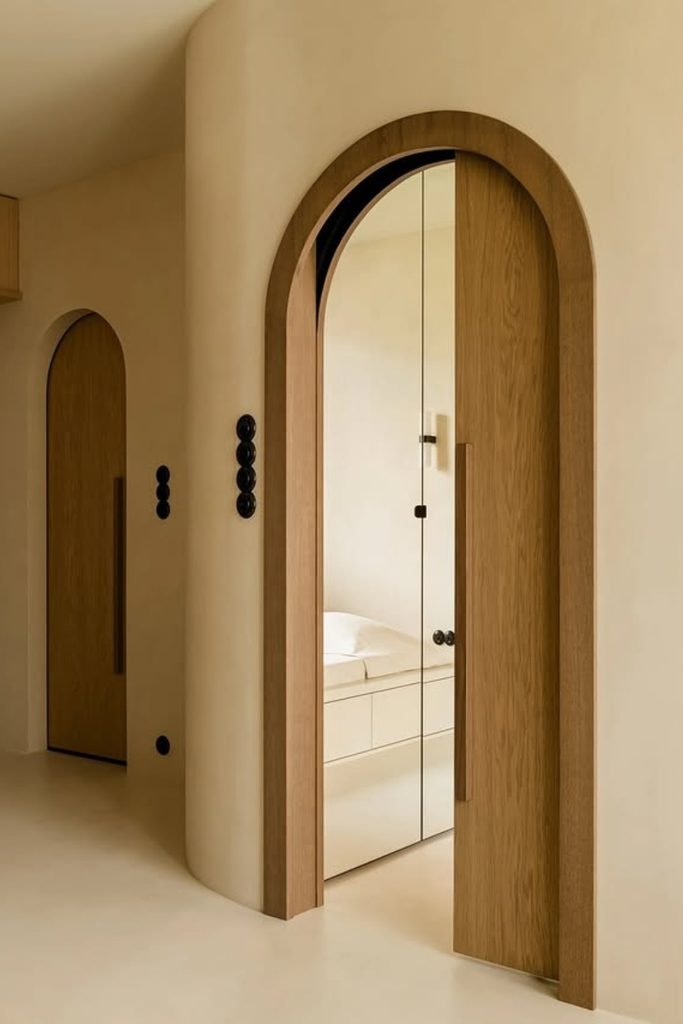
Wood Wrapped Arch
For a warmer modern finish, wrapping the entire curved reveal in wood can make a simple arch feel deliberately built-in.
Keep the surrounding wall smooth and understated so the timber edge defines the opening without requiring decorative casing or extra molding.
This treatment works beautifully for private rooms, where concealed ambient lighting nearby can soften the transition without distracting from the woodwork.
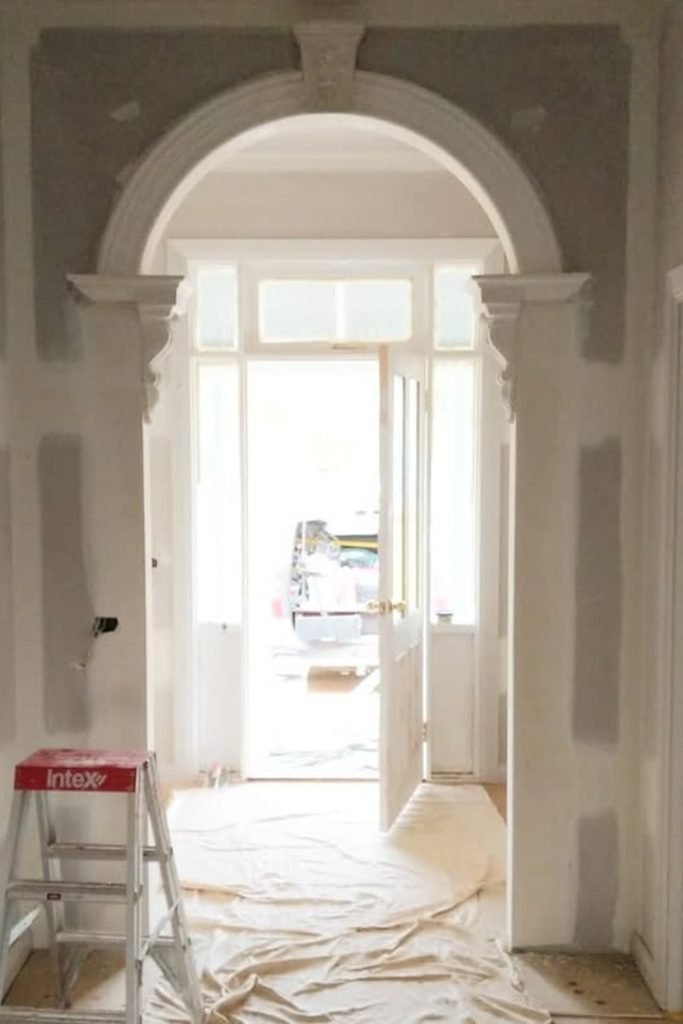
Layered Entry Arch
When an original doorway already has decorative character, build around it rather than flattening every detail into a modern opening.
Layered curved molding and small side brackets can strengthen the arch while helping it connect naturally with traditional doors nearby.
Keep the finish consistent across the trim, then let daylight from the adjoining room highlight those curved details naturally.
Arched Glass Door
Need privacy without making two rooms feel disconnected? A glazed arched door lets borrowed daylight travel through the opening beautifully.
Shape the jamb and casing to follow the same curve, then choose divided glass panels that visually emphasize the rounded top.
This works especially well between bedrooms, studies, or dressing areas where natural light can supplement softer ambient lighting inside.
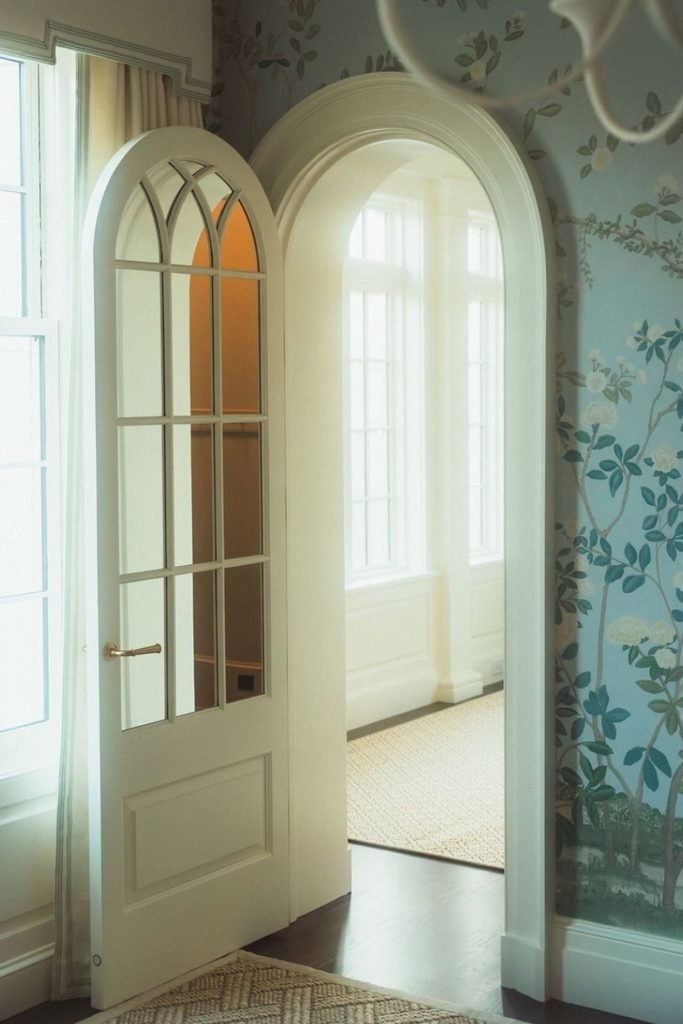
Paneled Archway
Decorative wall paneling can make a newly added arch feel original to the house instead of looking like a later renovation.
Continue the same molding lines toward the opening, then frame the curve with layered casing for a more integrated transition.
Keeping walls and trim one color prevents the details from becoming busy, while nearby ceiling lighting gently defines their depth.
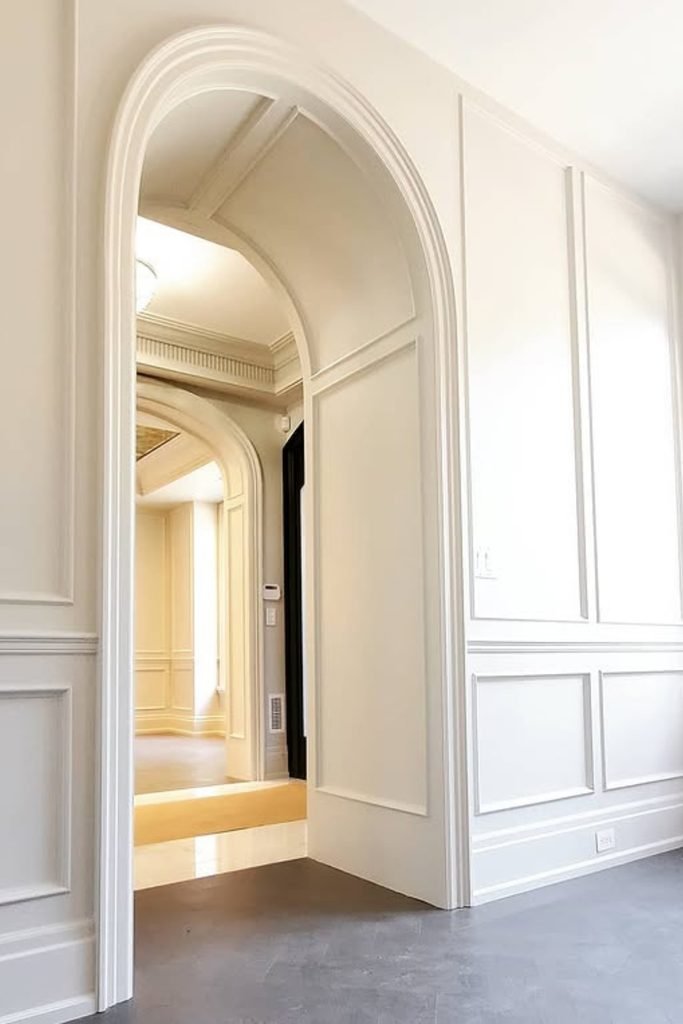
Plaster Hallway Arch
Skip decorative casing when you want an arch to feel relaxed and architectural rather than crisp, formal, or heavily finished.
A softly plastered curve suits narrow hallways especially well because its seamless edges avoid adding visual bulk around the opening.
Carry the same textured finish through nearby niches and arches, then use warm pendant lighting to soften the long passage.
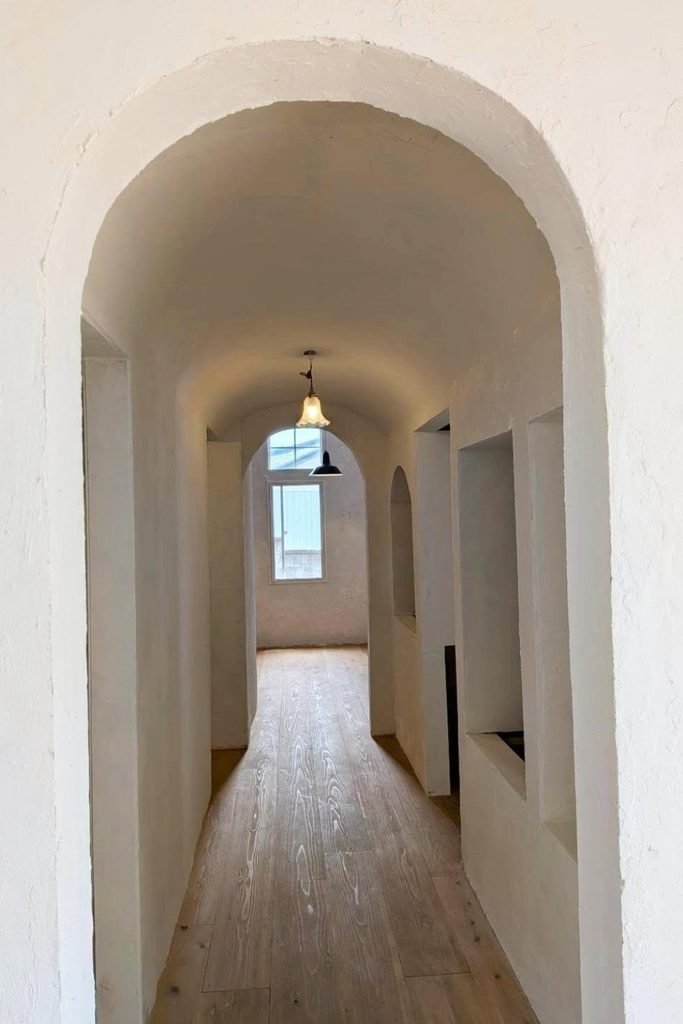
Framed Hall Arch
If your hallway needs a focal point, place the strongest arch where it can frame the view toward the main entrance.
Substantial side trim and a rounded casing suit taller openings, especially when nearby doorways already carry traditional molding and proportions.
Layer modern ceiling fixtures through the hallway so the lighting contrasts gently with the more classical architectural details around the arch.
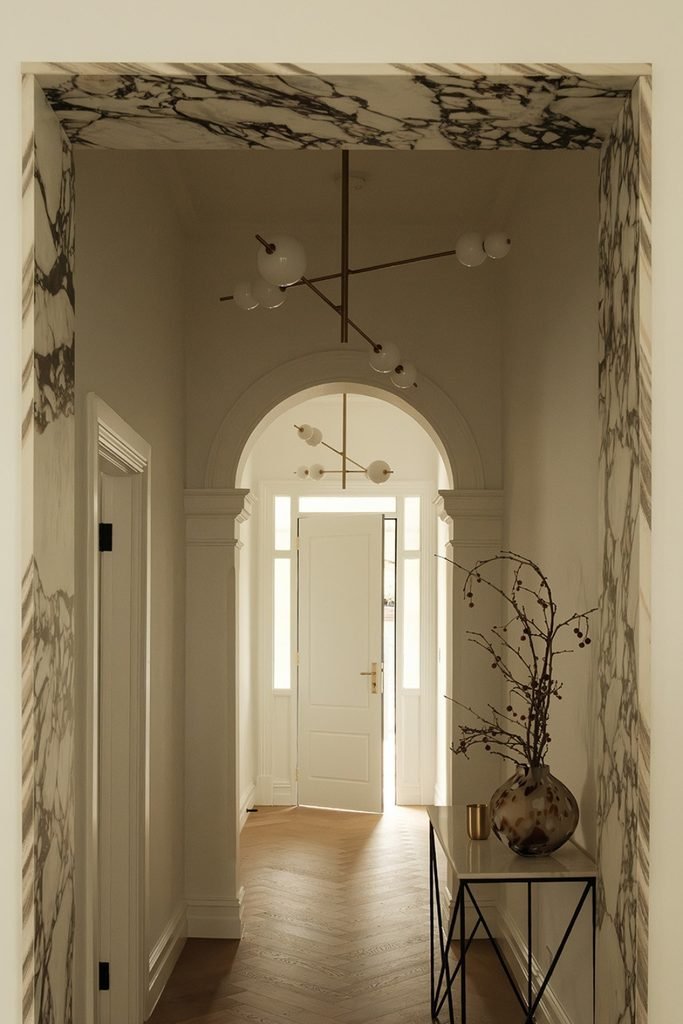
Slim Rounded Arch
Small connecting rooms often benefit from a narrow arch because the vertical proportions make the ceiling feel noticeably taller.
Keep the casing slim and close to the curve, which gives definition without making a modest opening feel unnecessarily heavy.
Natural window light can carry through the doorway, while a simple pendant beyond adds soft illumination deeper into the room.
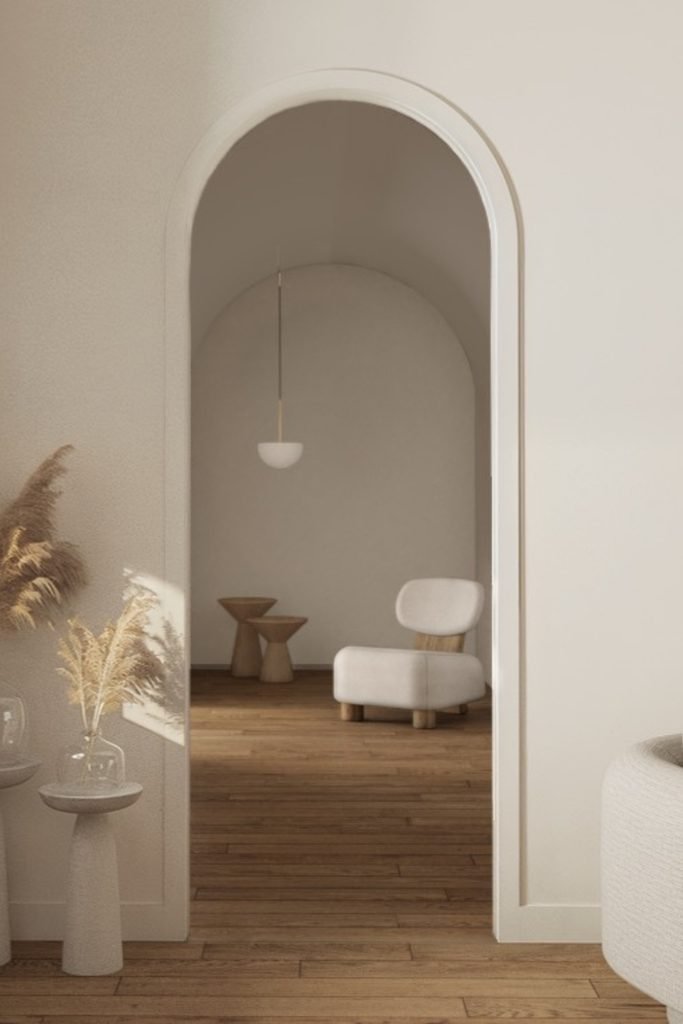
Deep Entry Arch
Give a deep doorway more purpose by carrying the rounded ceiling through its entire reveal instead of treating it as flat.
This approach works beautifully near an entrance, where the arch can frame large glazed doors and naturally pull daylight inward.
Keep the reveal smooth and lightly finished, then add a compact ceiling fixture to brighten the deeper section after sunset.
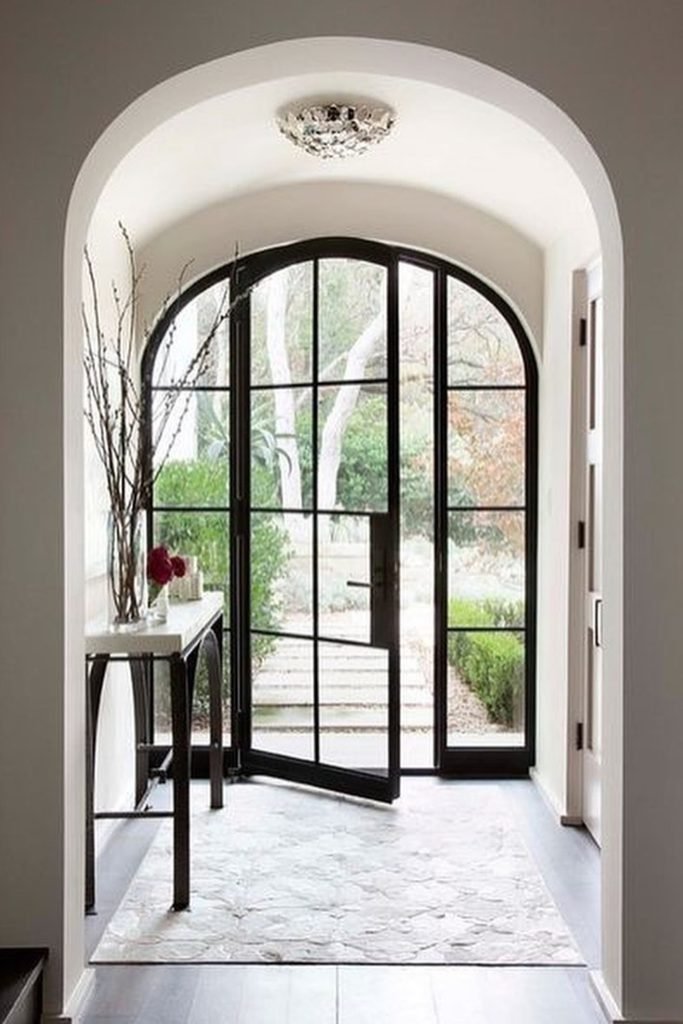
Paneled Passage Arch
When your doorway has real depth, extending wall panels through the curved reveal can turn an ordinary passage into architectural millwork.
Map every panel before installation so spacing follows the curve evenly and the center detail lands neatly at the arch crown.
A hanging lantern centered beyond the opening reinforces the symmetry while providing warm light through the long entrance passage.
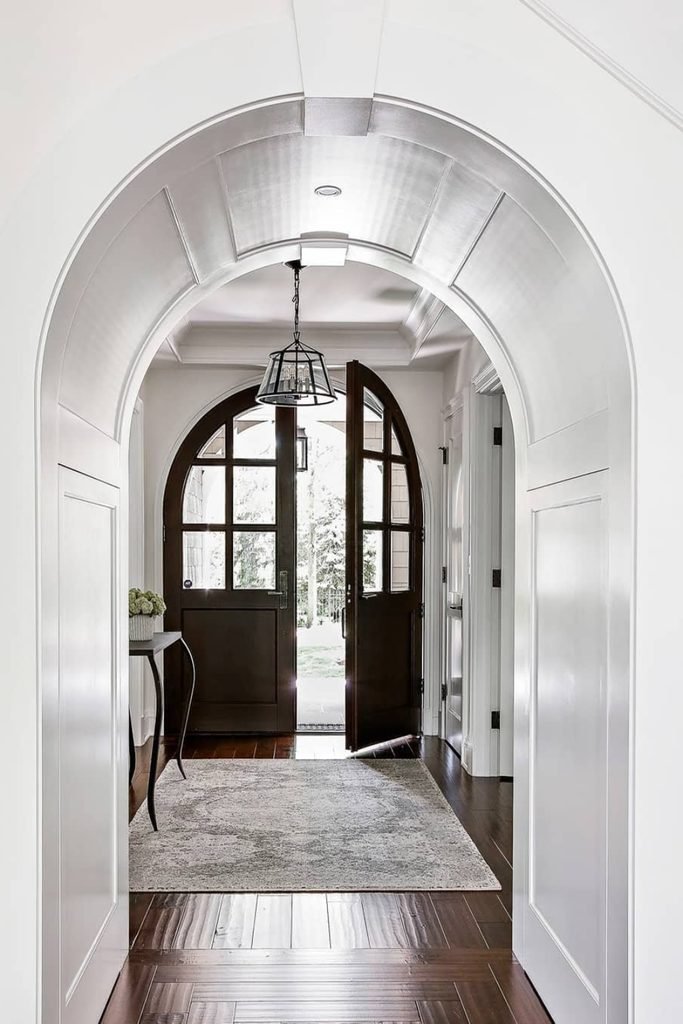
Stone Framed Entry
For an exterior doorway, stone around the curve can protect the opening visually while giving a simple stucco wall stronger definition.
Match the timber door to the same rounded profile, then use divided glass to bring daylight into the entrance beyond.
Mounting a lantern directly above the arch keeps nighttime lighting practical while reinforcing the doorway as the exterior focal point.
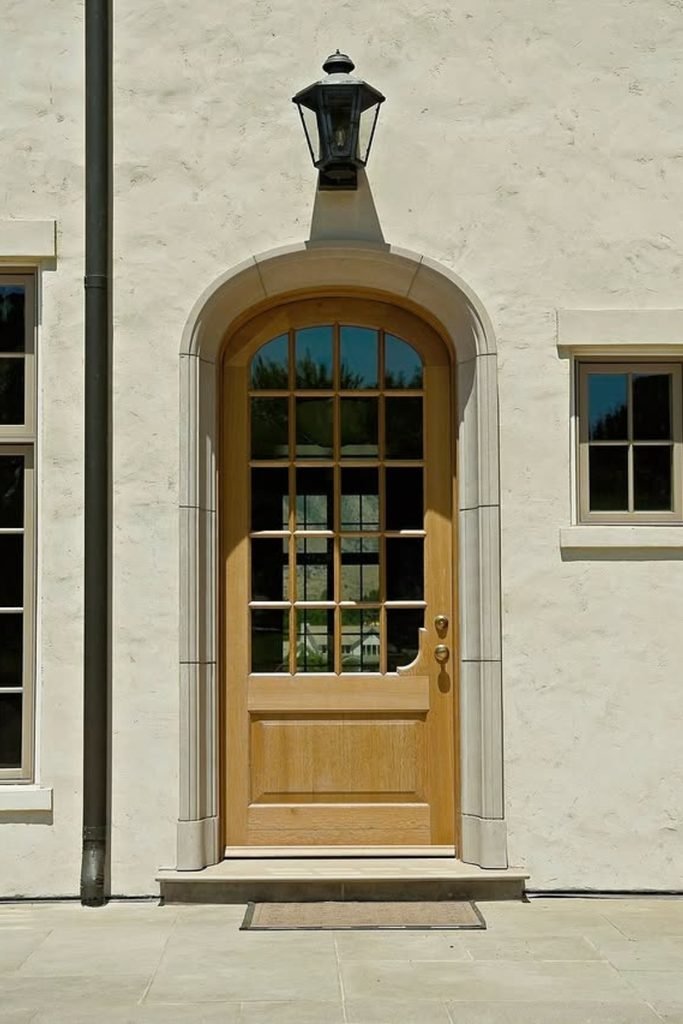
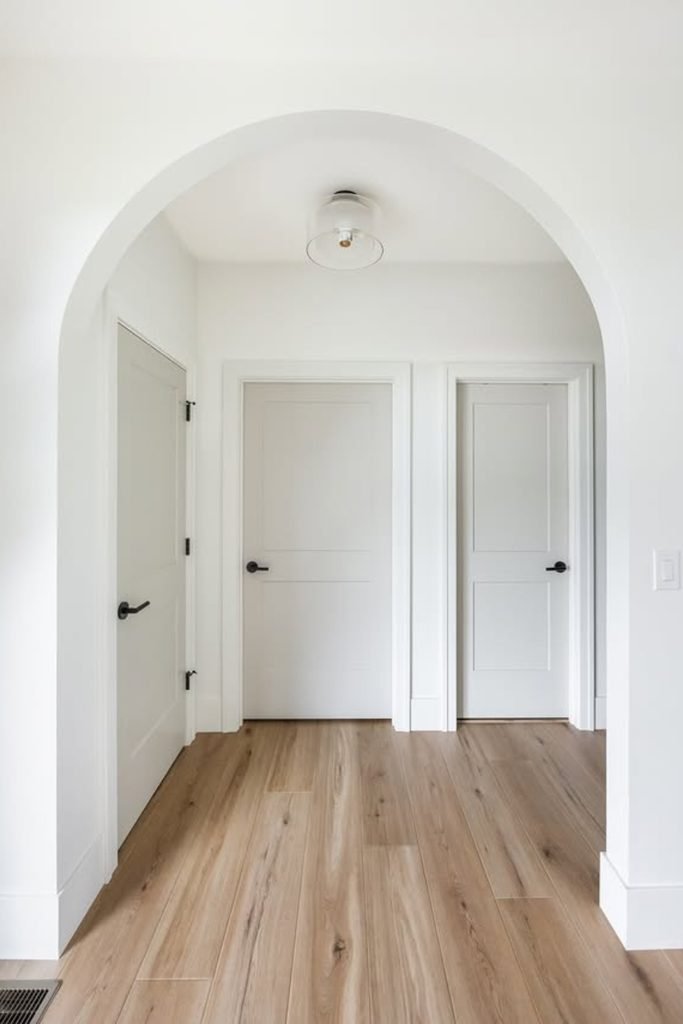
Simple Wide Arch
Sometimes the easiest upgrade is also the cleanest, especially when a wide hallway already has enough room for a generous curve.
Skip decorative casing and finish the drywall smoothly, letting the broad arch soften the transition without making nearby doors compete visually.
A compact ceiling light beyond the opening provides practical illumination while the white finish helps daylight spread throughout the hallway.
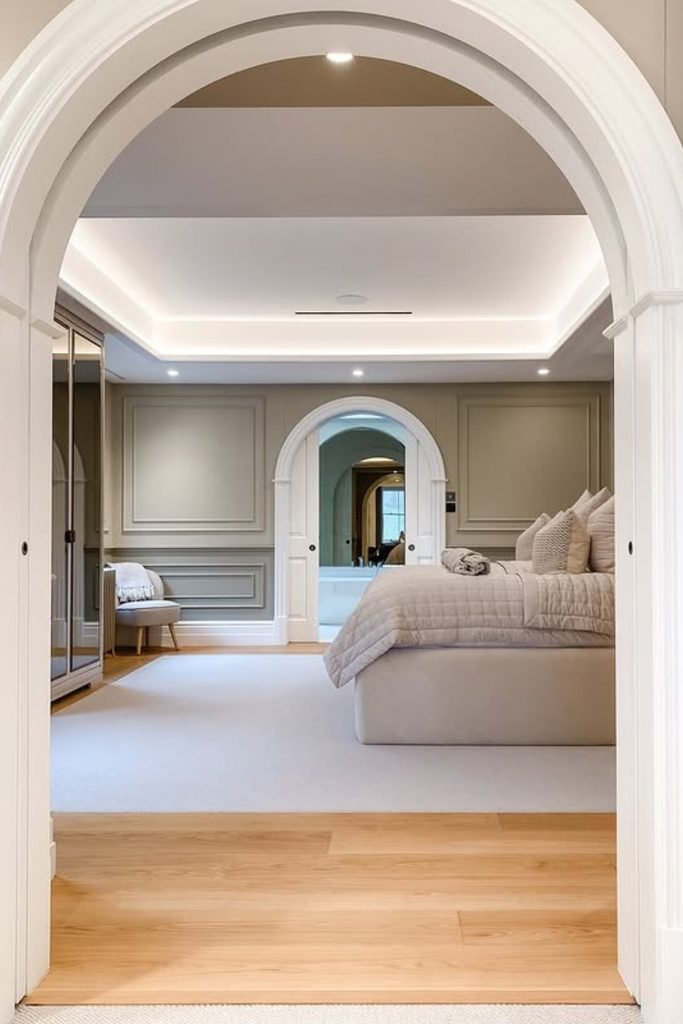
Bedroom Statement Arch
A larger bedroom entrance can carry heavier molding, so use layered curved trim when you want the doorway to feel substantial.
Continue vertical detailing down both sides to balance the broad curve and connect it with paneled walls inside the room.
Recessed lights and concealed ceiling lighting can layer brightness beyond the arch without taking attention away from its decorative profile.
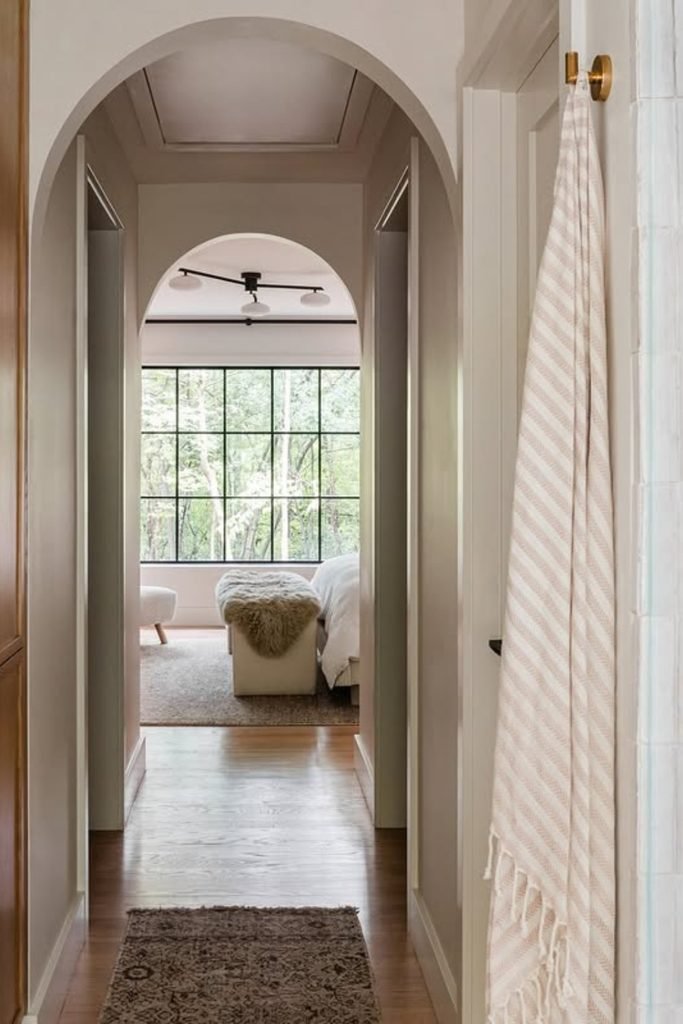
Repeated Hallway Arches
Repeating an arch farther down a hallway is an easy way to make separate openings feel planned rather than randomly shaped.
Keep both curves similar in height and profile, especially when the second doorway remains visible through the first throughout the day.
Natural window light becomes the endpoint of the view, while simple ceiling fixtures keep the passage comfortable after daylight fades.
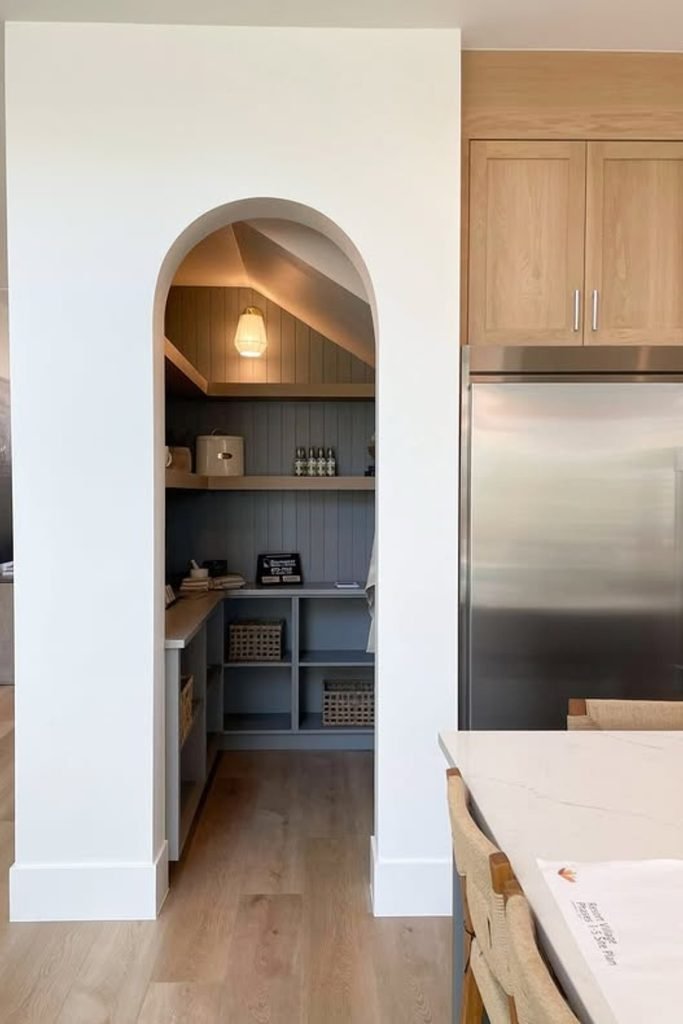
Pantry Pocket Arch
A narrow arched opening can turn a tucked-away pantry into a feature without taking valuable wall space from the kitchen.
Keep the curve tall and simple so the compact entrance feels open, then continue flooring through both spaces for continuity.
Inside, darker cabinetry adds depth, while a warm pendant gives the small pantry focused light without crowding the doorway.
FAQs
Can I Add an Arch Without Widening My Existing Doorway?
Yes, you can often build the curved section beneath the existing header while keeping the original opening width unchanged.
Before removing framing, though, check what sits above the doorway so you know whether any structural work is involved.
How Can I Keep a DIY Arched Doorway From Looking Uneven?
Use that same template for both curved framing pieces, keep your blocking flush, and check the shape before adding drywall.
Getting the curve right early matters because corner beads and joint compound can smooth small imperfections, but they cannot easily hide poor framing.

Hi, my name is Ali Mehmood! I’m a passionate writer and DIY enthusiast who loves turning creative ideas into practical, hands-on projects.
I created this website to share inspiring, budget-friendly ideas that you can do yourself – whether it’s organizing your home, crafting something unique, or creating fun projects for kids and pets.
I believe DIY isn’t just a hobby – it’s a smart way to save money, reduce waste, and enjoy the satisfaction of making things with your own hands.
I’m excited to have you as part of this growing community, and I’ll continue bringing you helpful, realistic, and fun DIY ideas you can actually use.