This post may contain affiliate links: read full affiliate disclosure.
Beautiful decorative bowls can cost more than you expect, but making your own isn’t always as easy as it looks.
Soggy paper, uneven edges, and bowls that lose their shape can turn a fun DIY project into a frustrating mess.
Luckily, you don’t need expensive supplies or advanced crafting skills to create something beautiful. With newspaper, glue.
In this article, you’ll discover 20 creative paper mache bowls DIY ideas with practical tips to help you recreate each look at home.
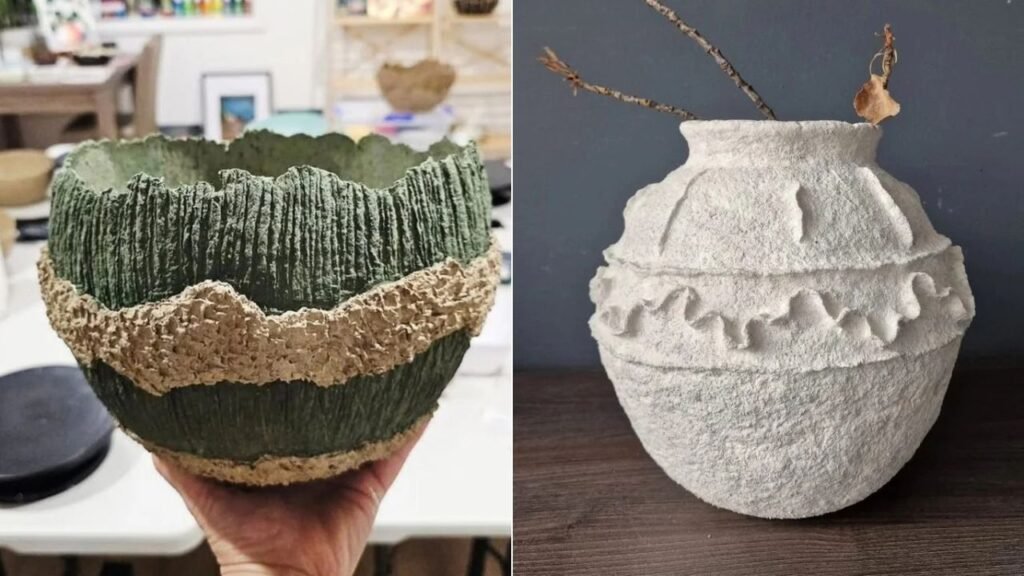
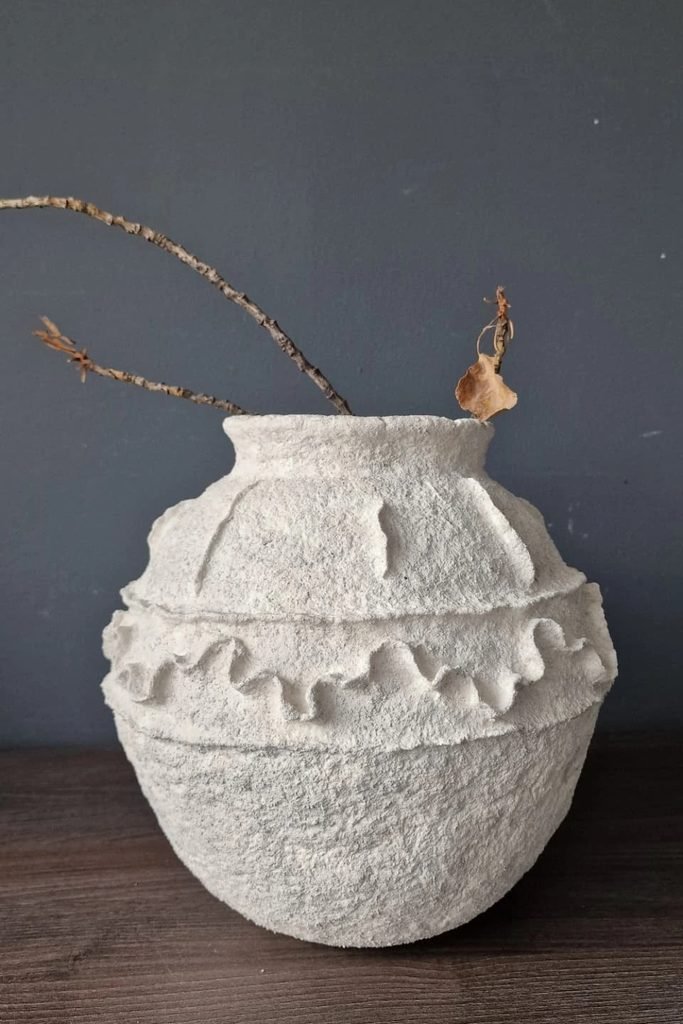
Sculpted Ruffles
Want your paper mache project to resemble handmade pottery? Build a rounded bowl using overlapping paper layers around a balloon mold.
Attach folded paper strips across the middle to create raised ruffles, then let everything dry before removing the mold carefully.
Finish with chalky white paint, leaving the surface slightly rough, and display dried branches inside for an earthy centerpiece.
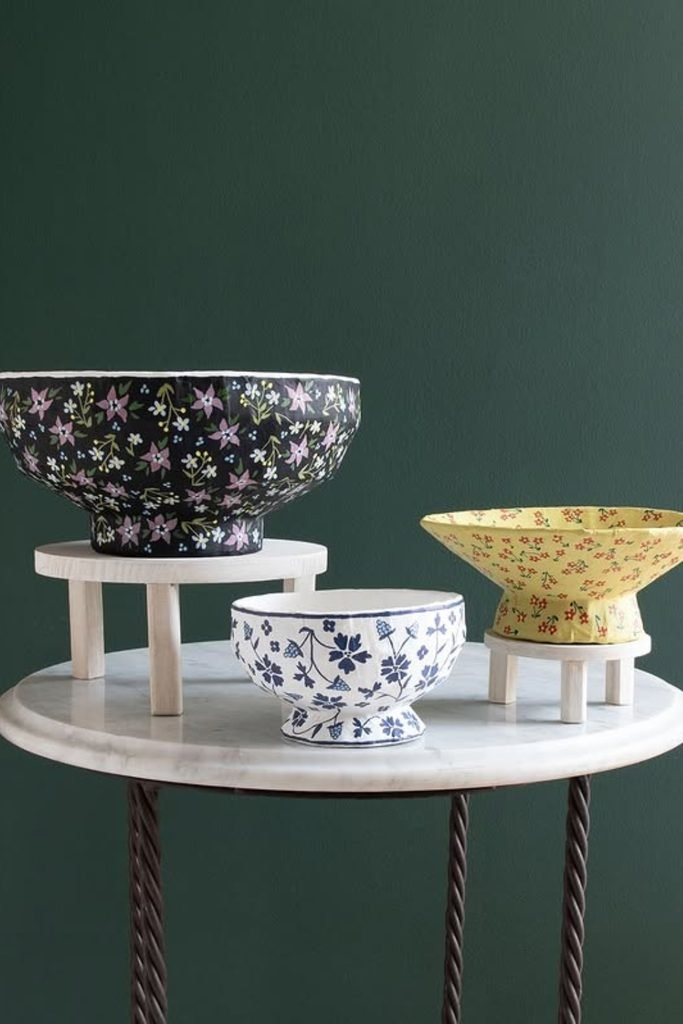
Floral Pedestals
Small pedestal bases can completely change how your handmade bowls look, giving them height without needing complicated sculpting techniques.
Attach short cardboard cylinders beneath different bowl shapes, reinforcing each connection with paper strips before adding your favorite floral patterns.
Try black, pale yellow, and white backgrounds with tiny painted flowers to create a coordinated collection for decorative shelves.
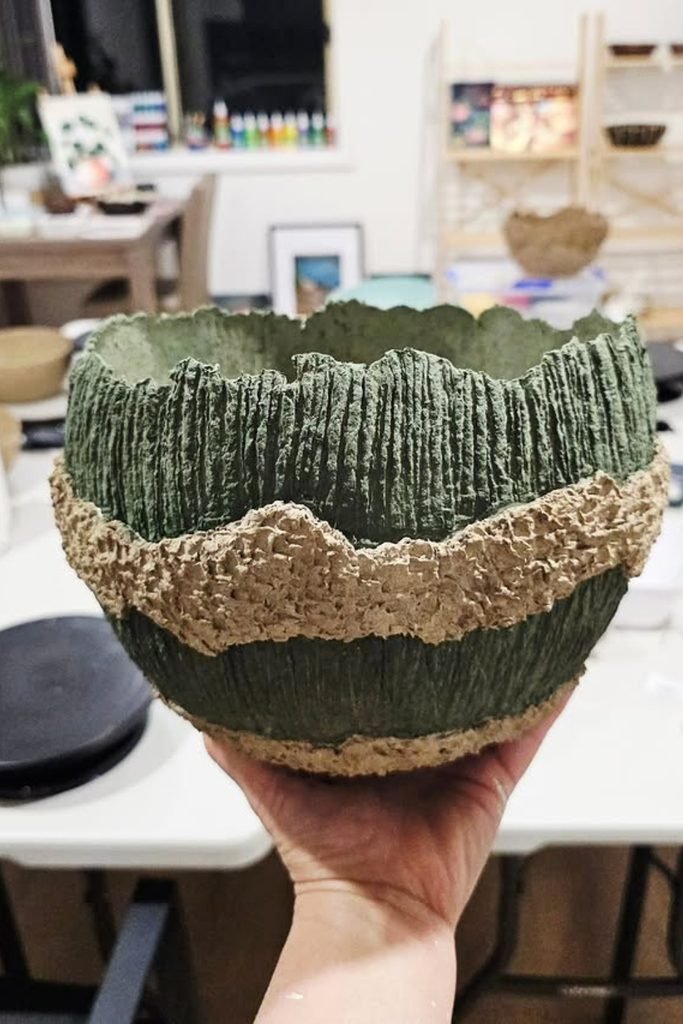
Forest Texture
Deep green paint becomes much more interesting when you add vertical grooves and rough, raised bands around your bowl.
Press textured paper pulp into the outer surface while damp, forming irregular ridges and a thick, uneven middle border.
Once dry, brush earthy beige over the raised sections, letting the green remain visible for a woodland-inspired decorative piece.
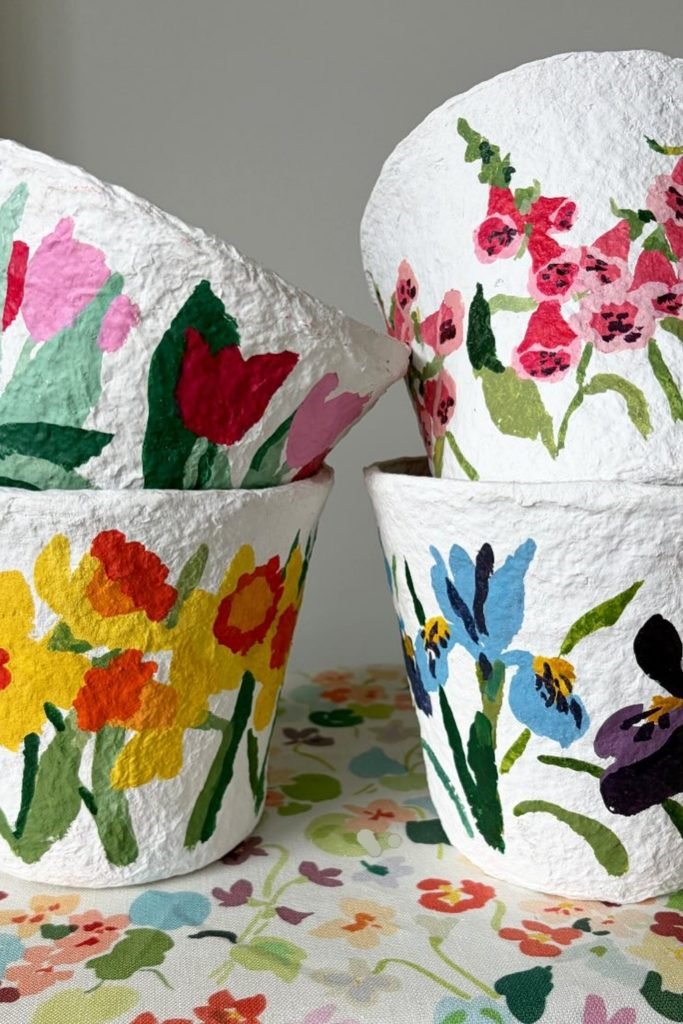
Painted Blooms
Forget perfectly smooth surfaces when making floral bowls, because slightly wrinkled paper gives hand-painted flowers more character and depth.
Shape several bowls with uneven rims, apply a white base coat, and paint oversized tulips, poppies, or colorful garden flowers.
Mix different flower patterns across your collection, then arrange the finished bowls together on an open shelf for cheerful decor.
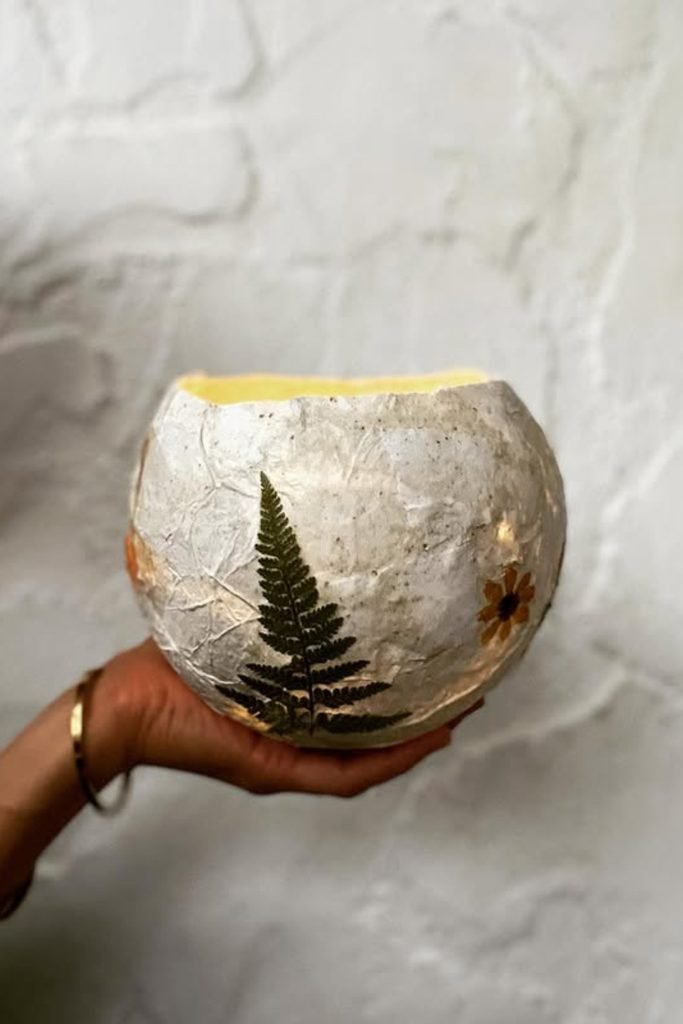
Pressed Botanicals
Bring a little nature into your crafting by pressing dried fern leaves and tiny flowers onto a rounded paper mache bowl.
Use thin paper layers for the base, then attach your dried botanicals with decoupage medium once the surface dries.
Paint the inside soft yellow for a cheerful contrast, and place your finished piece on a sunny windowsill.
Halloween Faces
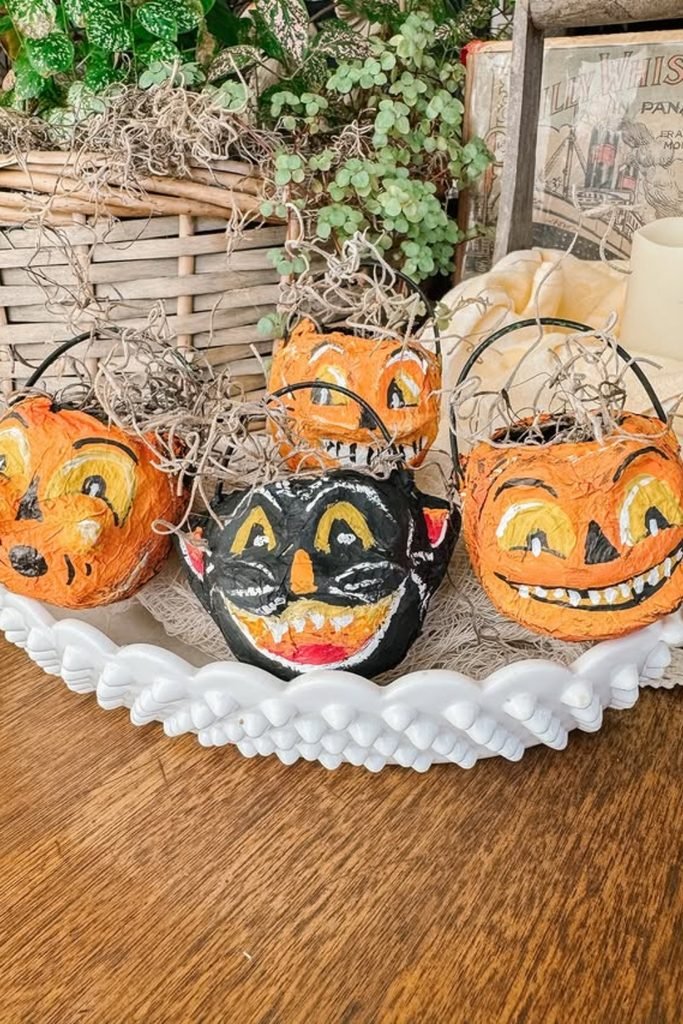
Halloween decorations feel more personal when you turn small paper mache bowls into funny pumpkin and black cat faces.
Build rounded shapes over balloon molds, paint expressive faces with orange and black acrylics, and attach curved wire handles.
Fill them with lightweight decorative moss or dried twigs, then arrange several together for a playful Halloween centerpiece.
Confetti Dots
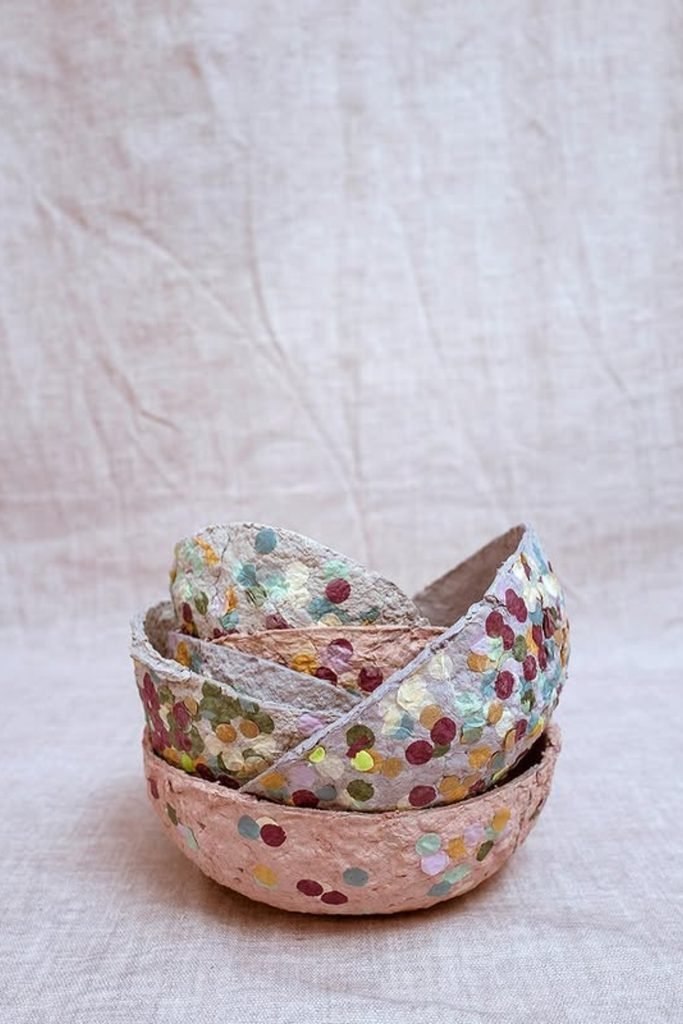
Tiny painted dots can make even the simplest paper mache bowls feel playful without requiring complicated patterns or expensive supplies.
Start with soft pink and cream bases, then scatter colorful dots across the surface using small round brushes.
Experiment with uneven rims and different bowl sizes, creating a cheerful stack for your craft room or dresser.
Tissue Patchwork
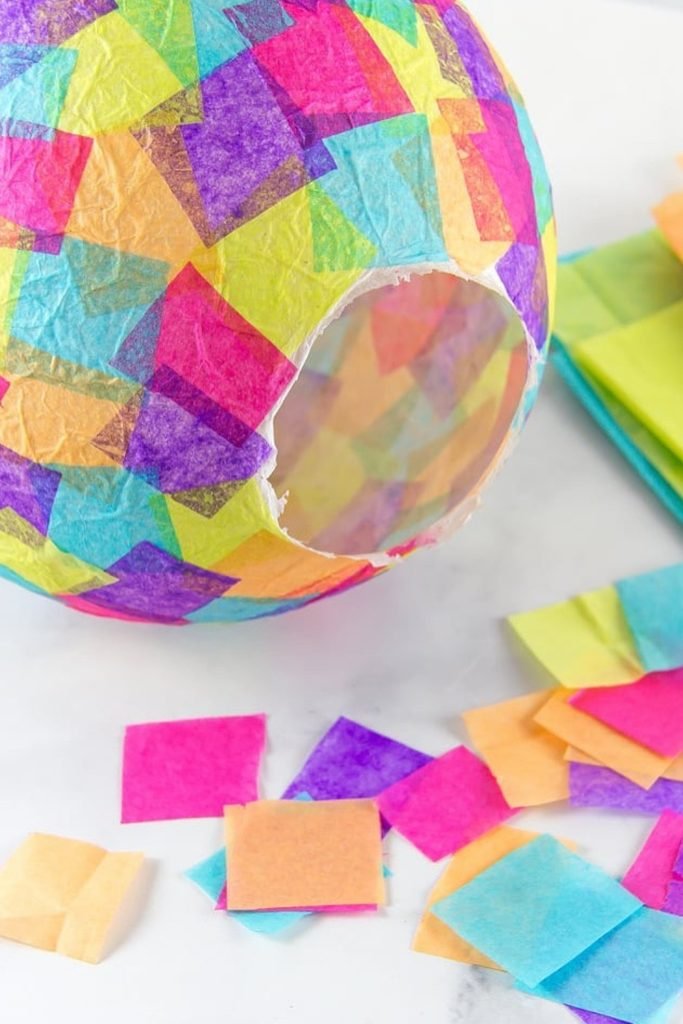
Bright tissue paper squares are an easy way to add color while allowing overlapping shades to create interesting patterns.
Layer pink, purple, turquoise, yellow, and orange pieces over a balloon using diluted glue, smoothing each square gently.
Once completely dry, carefully remove the balloon and trim the opening to create a colorful lightweight decorative bowl.
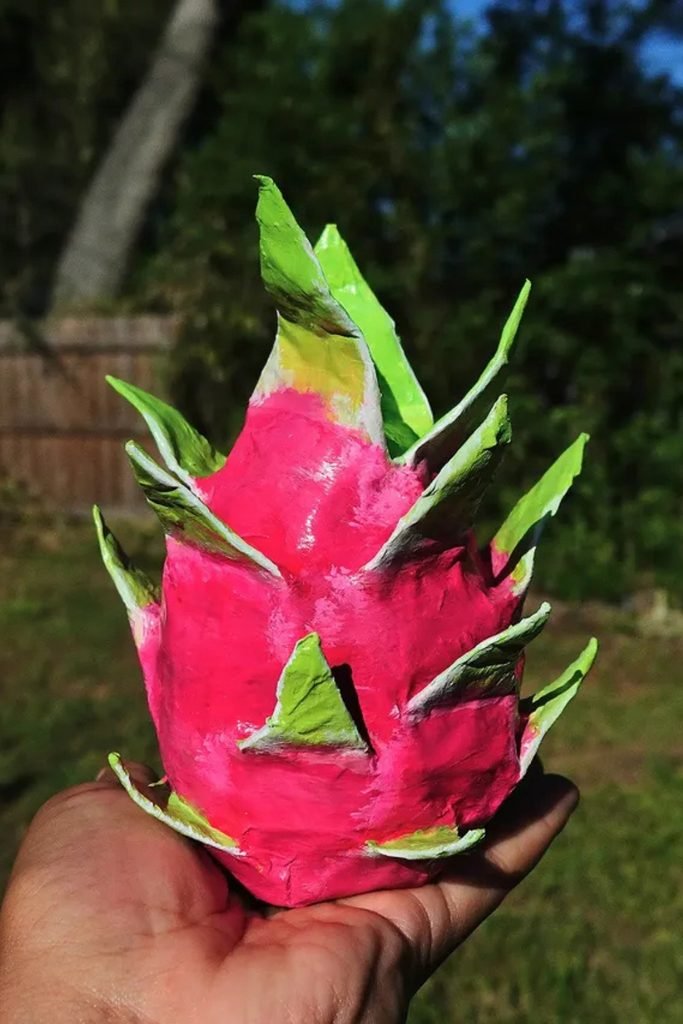
Dragon Fruit
Who says paper mache bowls have to be round and simple when you can borrow shapes from tropical fruits?
Build a deep oval shell, then attach pointed paper fins around the outside to recreate dragon fruit’s distinctive appearance.
Paint the body bright pink and the raised tips green, making a playful decorative container for your craft desk.
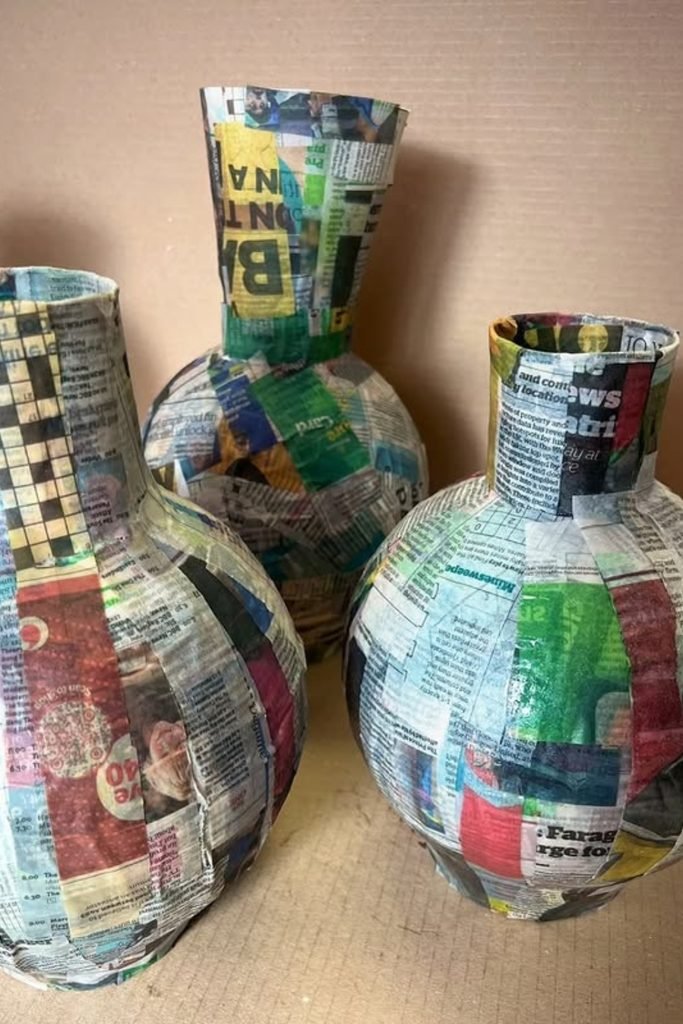
Newspaper Vases
Old newspapers can become surprisingly stylish decorative vases when you build rounded bodies and narrow necks from cardboard.
Start with a balloon for the base, attach a cardboard tube above it, and cover everything with overlapping newspaper strips.
Leave the printed paper visible for an industrial finish, or paint the dried pieces to match your living room.
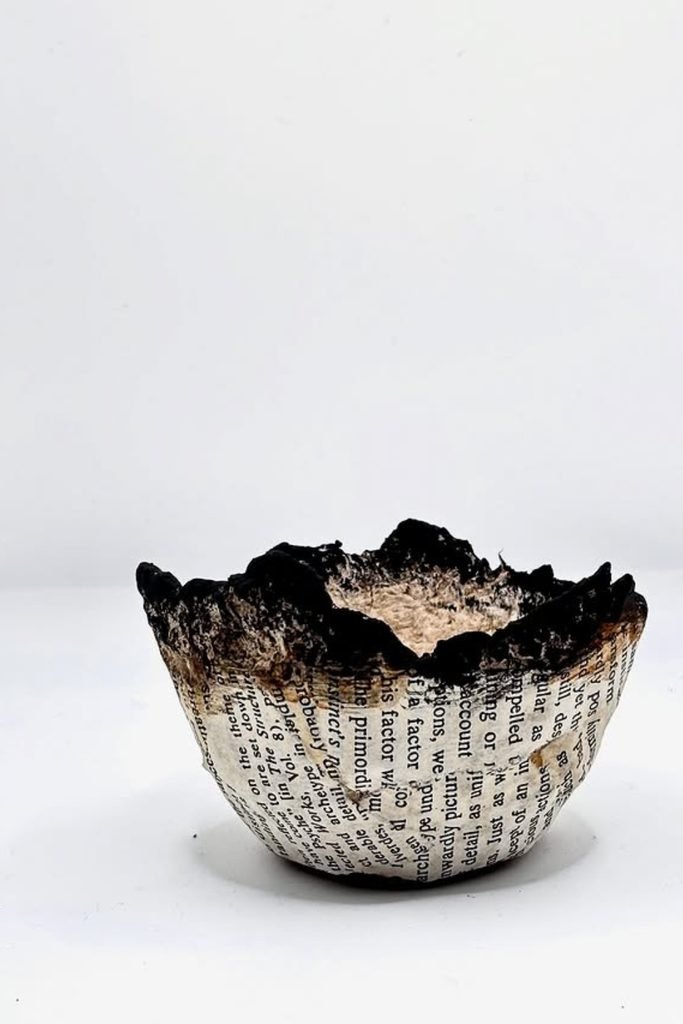
Charred Edges
Looking for something more dramatic than colorful paint? Combine exposed book pages with dark, rugged edges for contrast.
Cover a small bowl mold with printed paper, then build an irregular rim using thicker pulp and black paint.
Dry brush the inner surface with beige tones, creating a charred appearance without actually burning any paper materials.
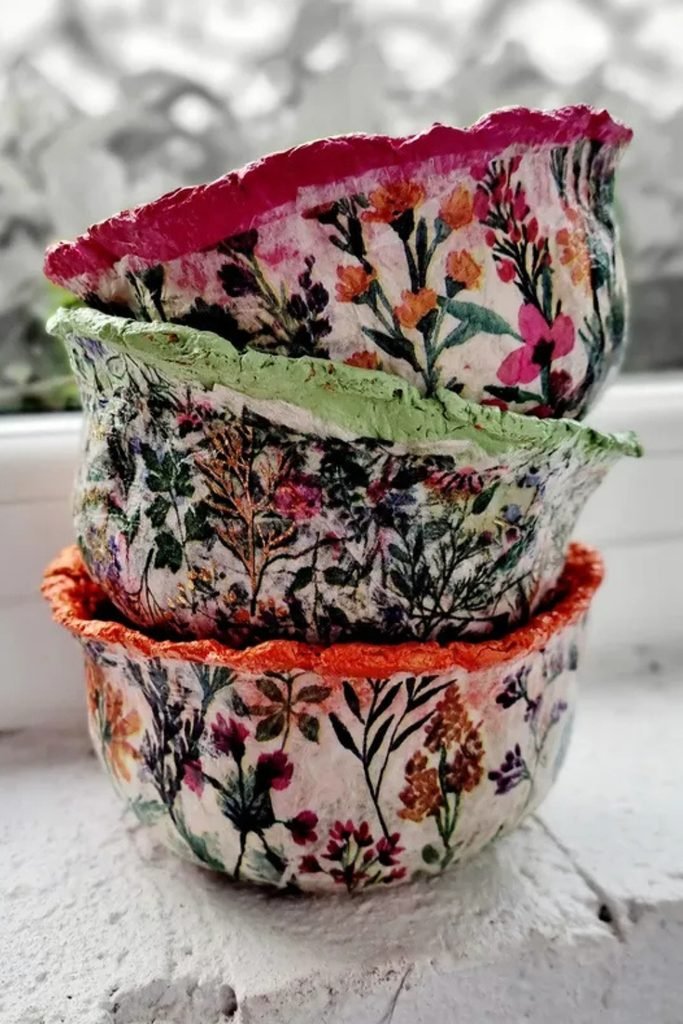
Botanical Decoupage
Floral napkins can save you hours of detailed painting while giving ordinary paper mache bowls a lovely vintage finish.
Separate the printed napkin layer, apply it over a dried bowl with decoupage medium, and smooth gently to prevent tearing.
Finish each rim with pink, sage green, or orange paint, then stack different sizes for a charming dresser display.
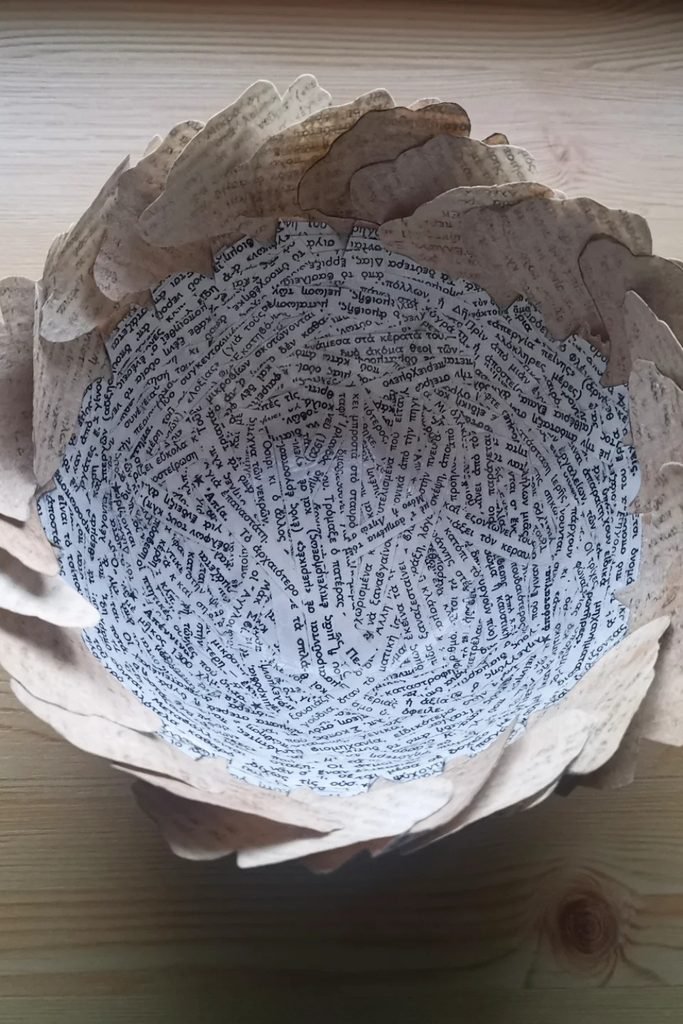
Layered Petals
Old book pages can become delicate flower petals when you shape their edges instead of cutting everything perfectly straight.
Build a sturdy bowl base, then attach overlapping paper petals around the rim, allowing each piece to curve outward.
Leave the printed text visible inside and use muted brown washes on the petals for a vintage floral centerpiece.
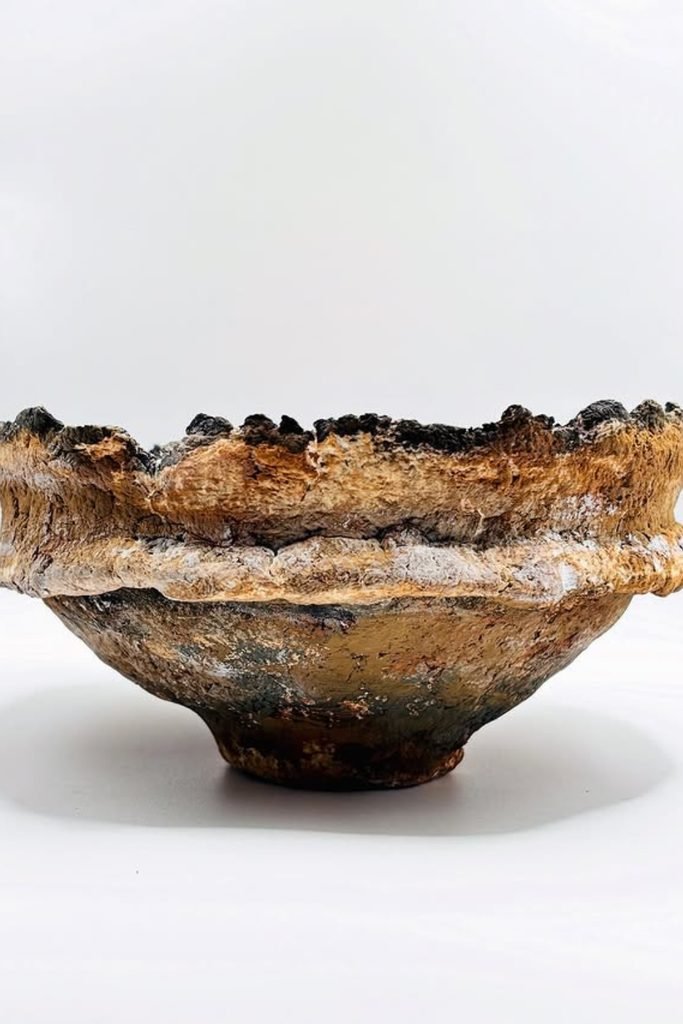
Weathered Stone
Rustic home decor gets more interesting when your paper mache bowl has the rough appearance of aged stone.
Build thick, uneven layers of paper pulp around a wide mold, shaping a raised middle ridge and rugged rim.
Once dry, blend earthy brown, cream, and charcoal paint across the surface to create depth without using real stone.
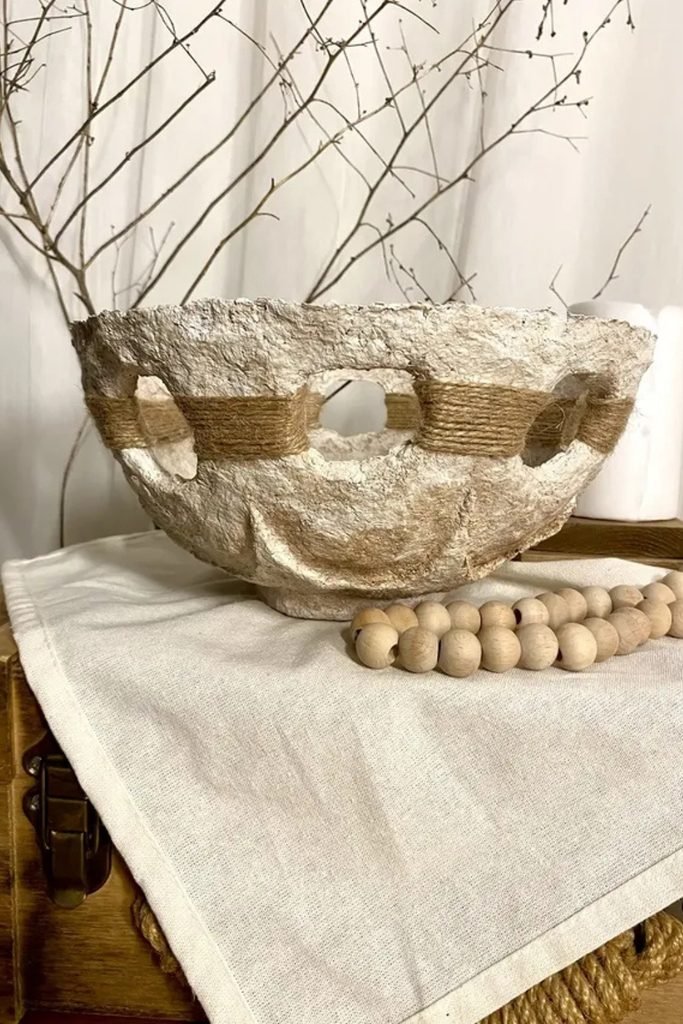
Woven Openings
Instead of covering the entire bowl with paper, try leaving decorative openings around the middle for an airy design.
Shape a wide paper mache shell, carefully cut oval openings once dry, and reinforce their edges with additional paper.
Wrap natural jute twine around the narrow sections between openings, then display the finished bowl alongside wooden beads.
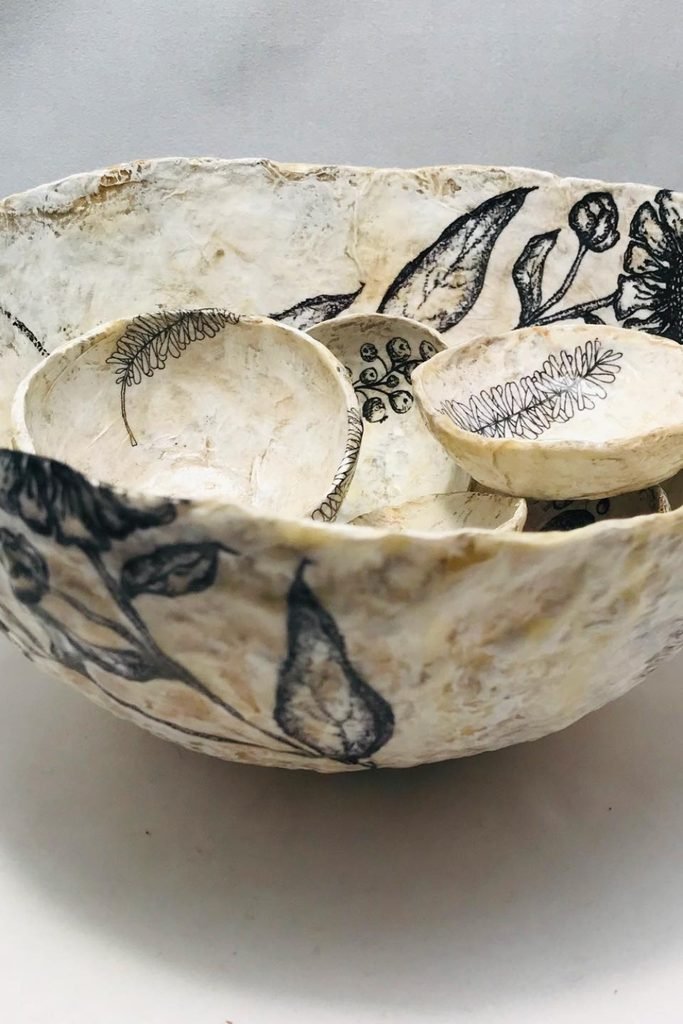
Botanical Sketches
Black botanical drawings against an off-white background can make inexpensive paper mache bowls resemble handmade art gallery pieces.
Use different bowl sizes, apply a warm cream base, and draw delicate leaves, flowers, and branches with waterproof pens.
Let the illustrations vary between each bowl, creating a coordinated collection for shelves or a decorative tabletop arrangement.
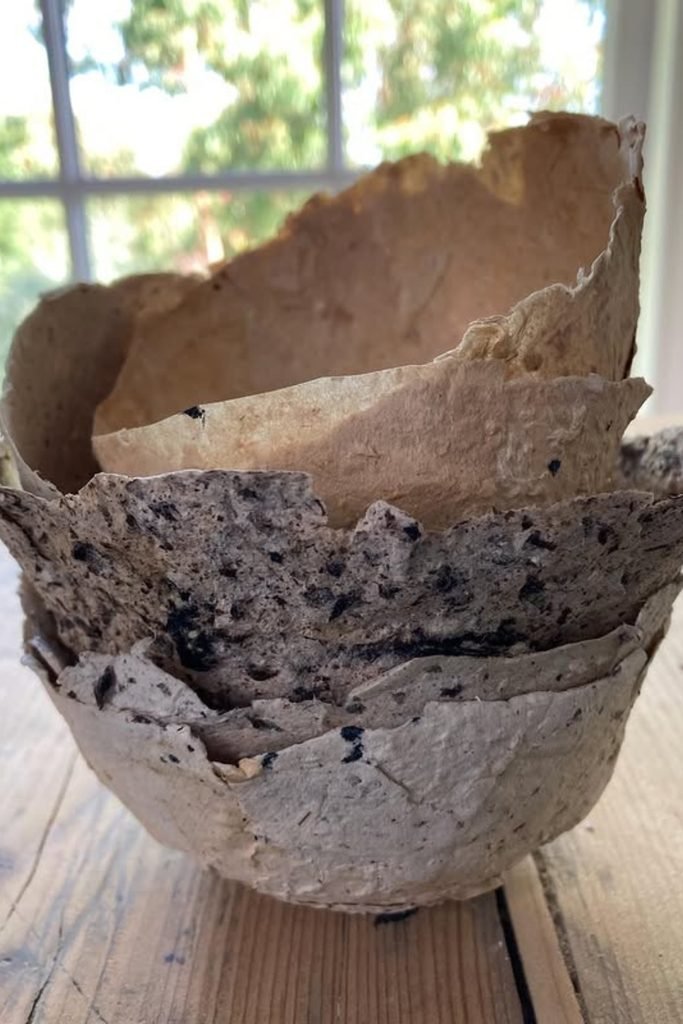
Natural Pulp
Sometimes the best paper mache finish comes from leaving the recycled paper completely unpainted, allowing its natural fibers to stand out.
Blend scrap paper into thick pulp, press it around different bowl molds, and gently shape uneven edges before drying.
Mix lighter and darker paper scraps for subtle color variations, then arrange the finished bowls on a wooden table.
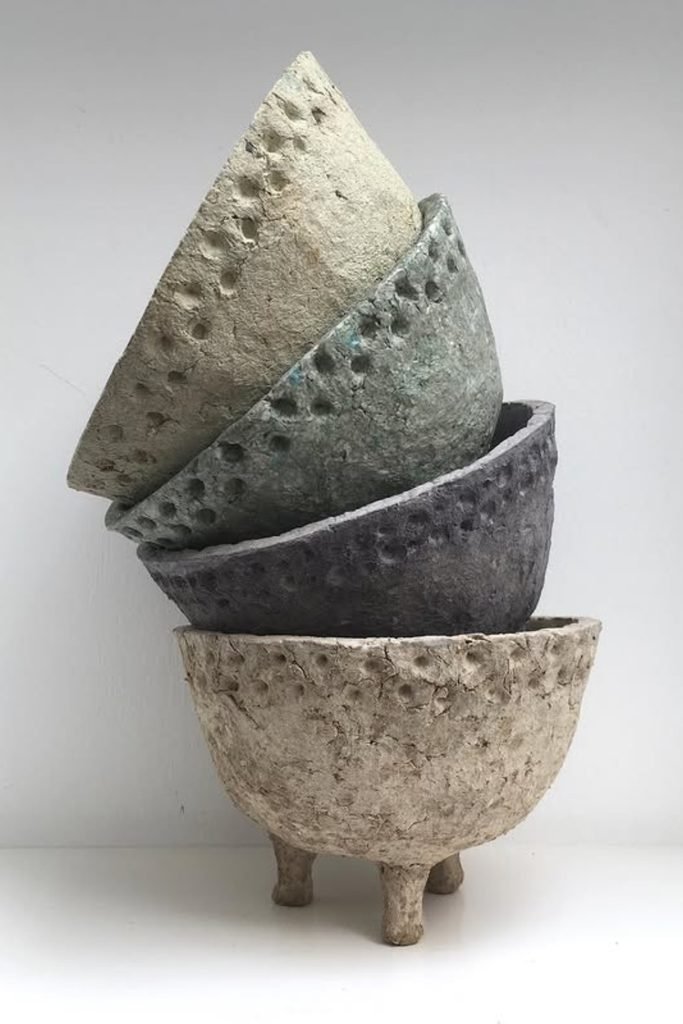
Dimpled Bowls
If smooth bowls feel too ordinary, small pressed dimples can give your paper mache projects a sculptural, pottery-inspired appearance.
Press rounded indentations into thick, damp paper pulp, then let the shaped bowls dry completely before adding muted earthy colors.
Try dusty green, gray, and cream finishes, adding three small reinforced feet beneath one bowl for extra character.
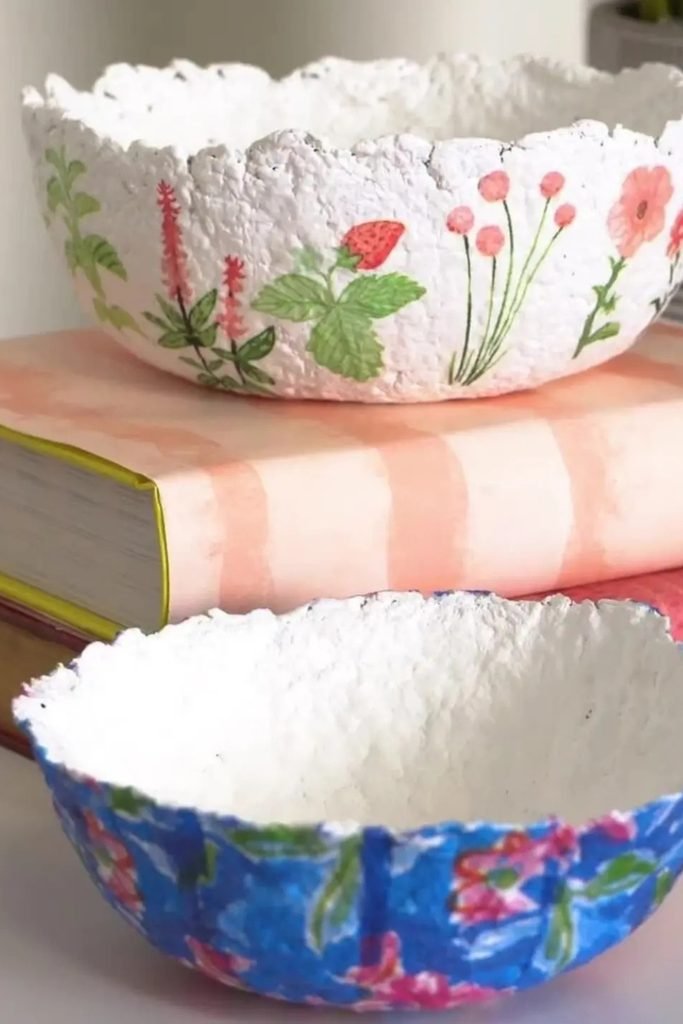
Garden Florals
Your leftover floral napkins can become beautiful bowl decorations without requiring you to paint every tiny leaf by hand.
Cover dried paper mache bowls with white paint, then attach strawberry, flower, and leafy patterns using a decoupage medium.
Pair a soft botanical design with a bright blue floral version, creating cheerful decorative bowls for your bookshelf.
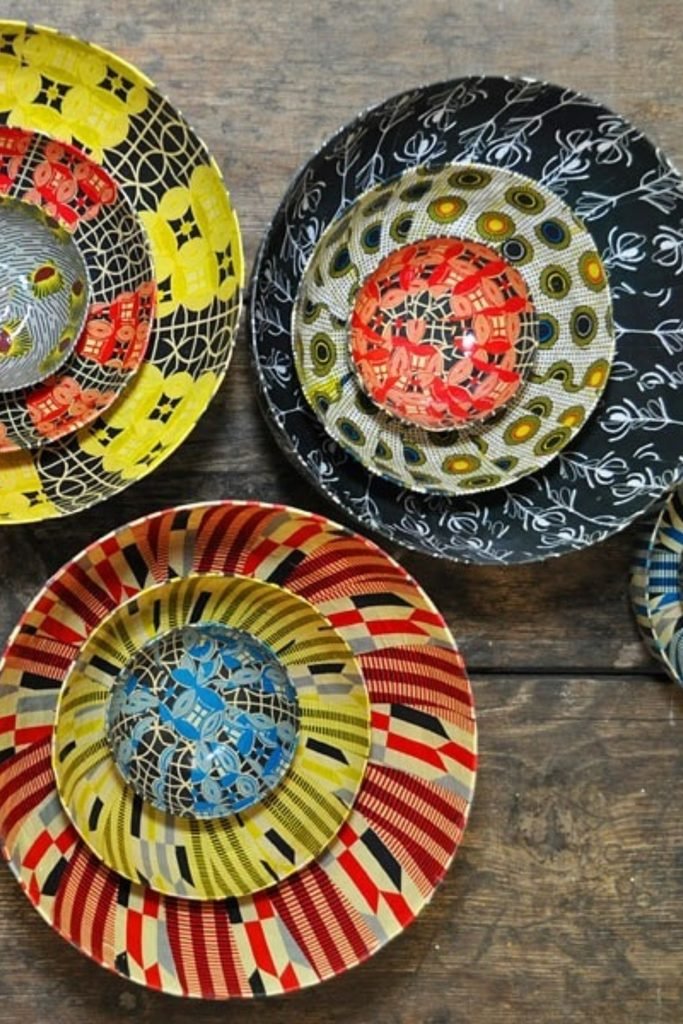
Patterned Collage
Bold geometric prints can turn simple paper mache bowls into colorful statement pieces without needing expensive decorative materials.
Cut patterned magazine pages or printed paper into curved sections, then overlap them inside shallow bowls with decoupage glue.
Combine stripes, circles, and contrasting colors across different sizes, making a lively collection for your coffee table.
FAQs
Can You Make Paper Mache Bowls Without Using a Balloon?
Yes, you can use an existing bowl as a mold instead of dealing with a balloon that might pop halfway through your project.
Cover the bowl with plastic wrap before adding your paper layers so they don’t stick to the surface.
How Do You Stop Paper Mache Bowls From Cracking After Drying?
Cracks usually happen when the paper layers dry unevenly, shrink, or don’t have enough strength to support the bowl’s shape.
Try applying several thin layers instead of one thick, soggy layer, and allow plenty of drying time.

Hi, my name is Ali Mehmood! I’m a passionate writer and DIY enthusiast who loves turning creative ideas into practical, hands-on projects.
I created this website to share inspiring, budget-friendly ideas that you can do yourself – whether it’s organizing your home, crafting something unique, or creating fun projects for kids and pets.
I believe DIY isn’t just a hobby – it’s a smart way to save money, reduce waste, and enjoy the satisfaction of making things with your own hands.
I’m excited to have you as part of this growing community, and I’ll continue bringing you helpful, realistic, and fun DIY ideas you can actually use.