This post may contain affiliate links: read full affiliate disclosure.
Making a DIY beaded curtain sounds simple until you start wondering how many beads you need, which string can handle the weight.
Add uneven lengths or a weak hanging rod, and a fun project can quickly become frustrating.
Once you understand spacing, bead weight, strand length, and secure hanging methods, you can create a curtain that looks polished and moves freely.
In this article, you’ll discover practical tips for planning your project, avoiding common mistakes, and creating 28 DIY beaded curtain ideas.
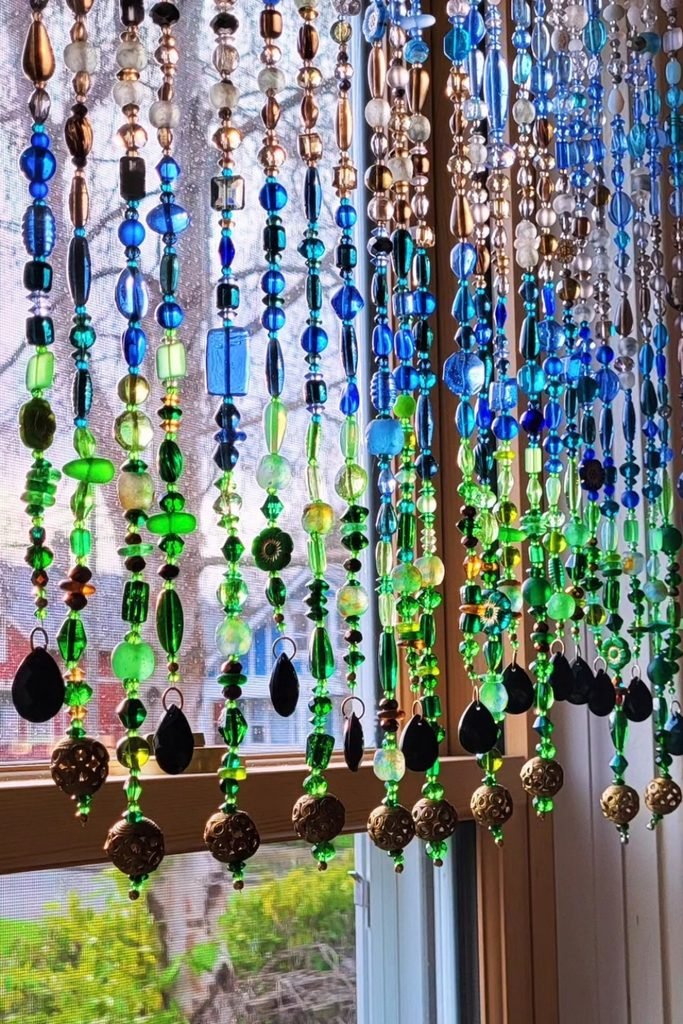
Jewel Tones
Mixing irregular blue, green, bronze, and clear beads gives every strand its own character without making the curtain feel randomly assembled.
Place larger statement beads toward the lower half, where their extra weight helps long strands settle straighter after being moved.
Try this treatment across a sunny window, letting translucent pieces catch daylight while darker beads provide enough contrast to define the pattern.
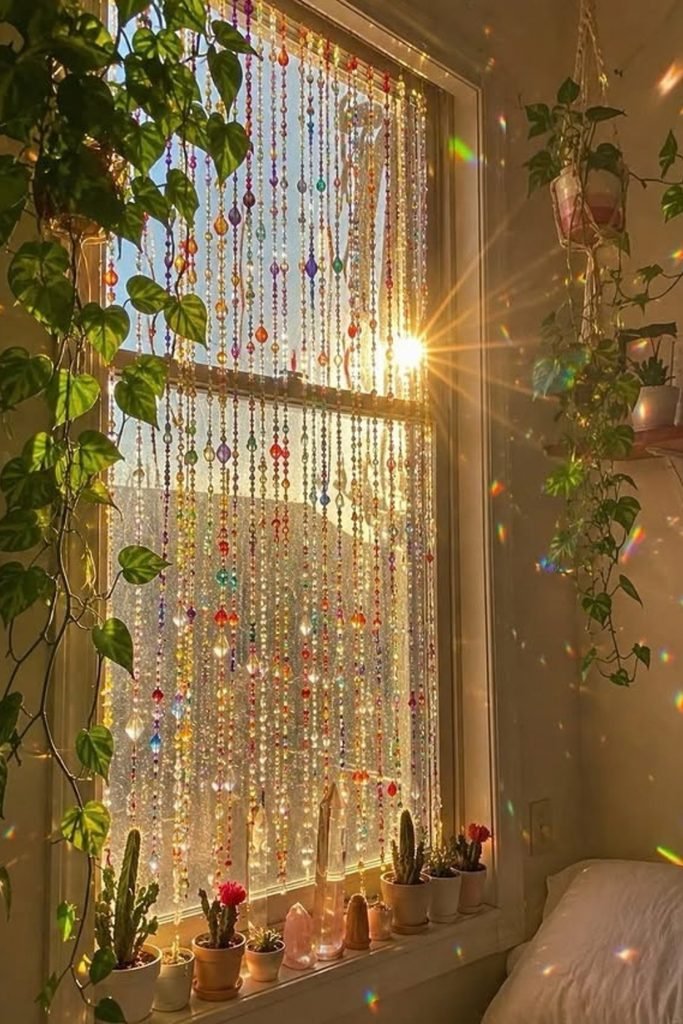
Rainbow Sparkle
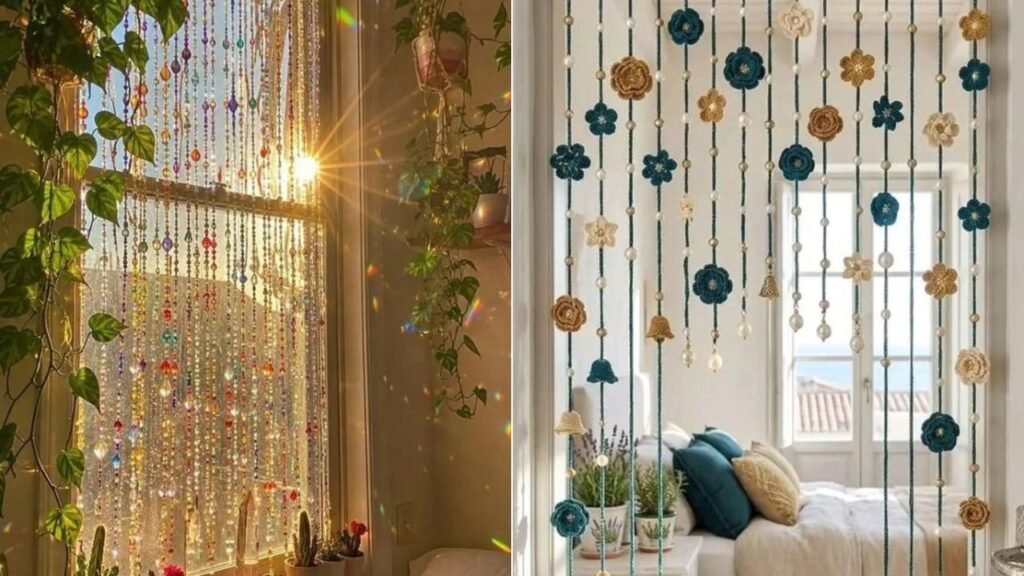
Sunlight does most of the decorating here, so choose transparent faceted beads that can scatter tiny rainbow reflections around the surrounding room.
Instead of packing every strand with strong colors, thread mostly clear beads and scatter brighter pieces irregularly for a lighter finished effect.
Position the finished curtain directly against a bright window, where changing daylight turns your beadwork into an evolving decorative feature.
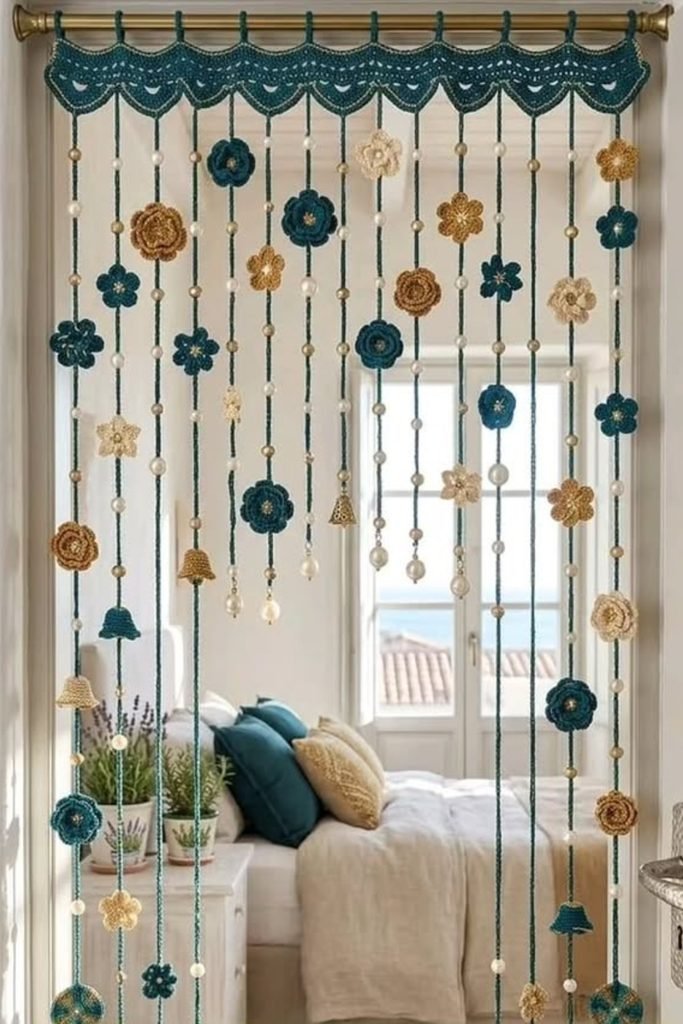
Crochet Blooms
Soft crochet flowers offer a clever alternative when you want a beaded doorway with texture rather than rows of hard decorative beads.
Thread pearl-like beads between teal cords, then stagger handmade flowers and small bell shapes so neighboring strands never repeat identical arrangements.
Finish the top with a crocheted scalloped panel, which hides attachment points while giving the entire doorway a more intentional handmade finish.
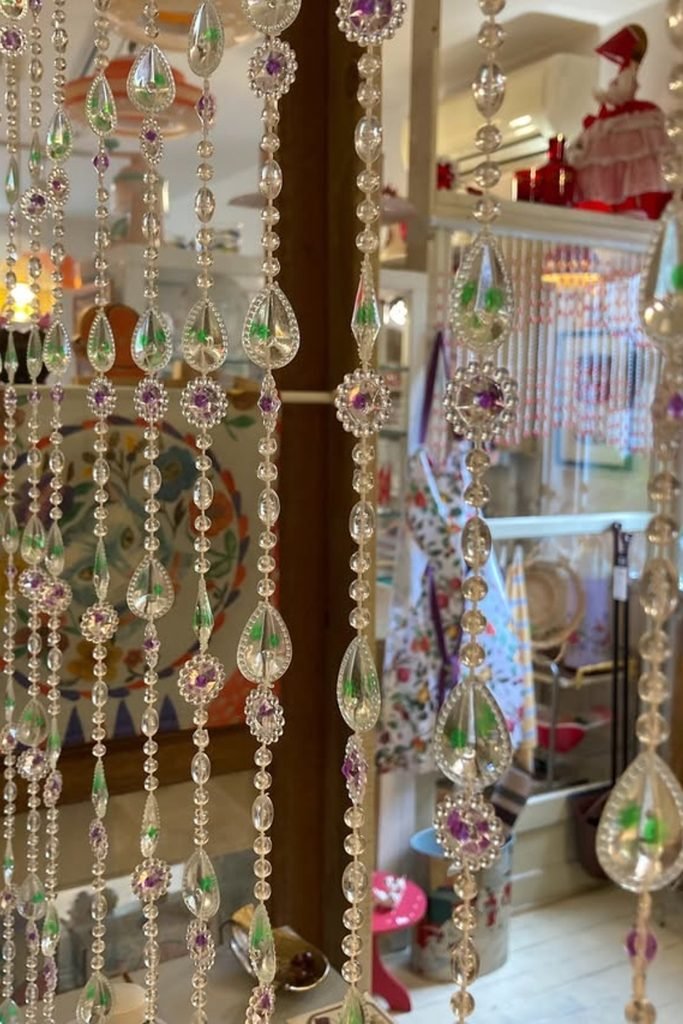
Crystal Drops
For maximum shimmer without introducing lots of color, alternate clear faceted beads with oversized teardrops and occasional jewel-like circular connectors.
Leave small gaps between statement pieces rather than crowding them, allowing each crystal shape to remain visible when the strands overlap.
Use this approach where artificial or natural light reaches the curtain, since reflective surfaces become the main feature instead of complicated patterns.
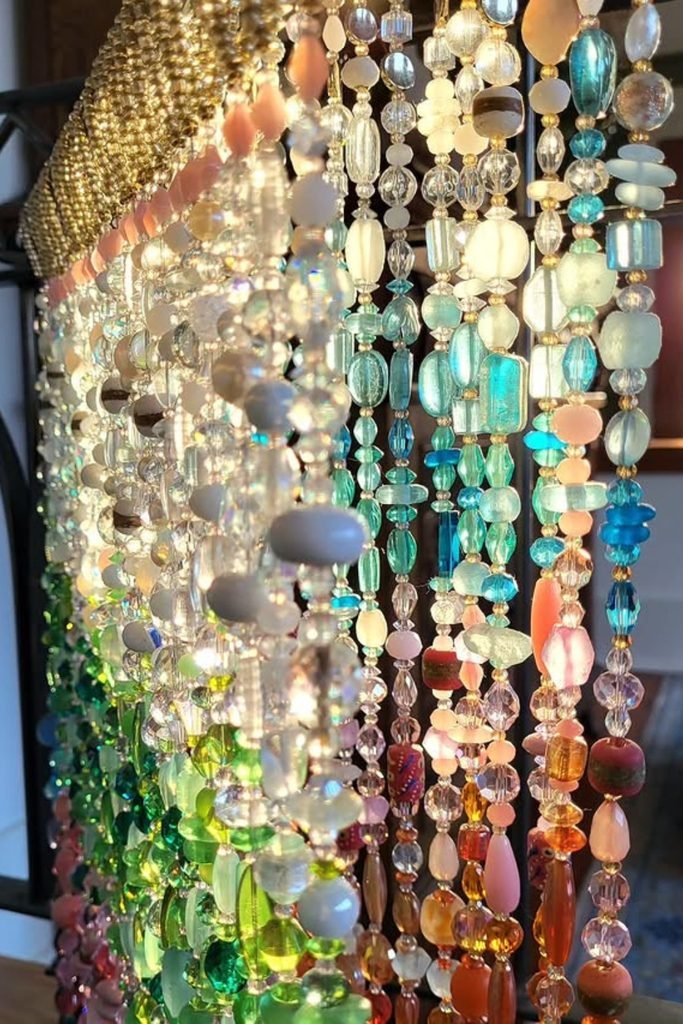
Pastel Gradient
Let color do the organizing by arranging mixed glass beads in soft sections of aqua, blush, green, amber, and clear.
Vary bead shapes within each color family, giving the strands handmade character while the gradual palette still creates visual order.
For fuller coverage, hang strands fairly close together and use small metallic spacers between larger beads to break up heavier sections.
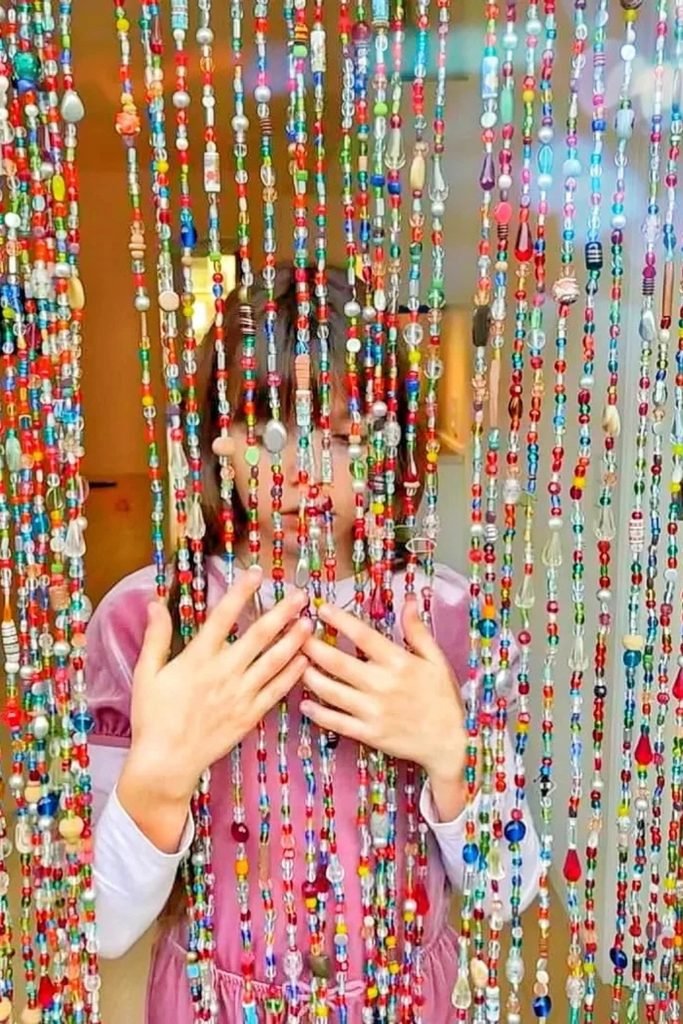
Confetti Strands
Leftover bead collections become useful here because mismatched colors, shapes, and sizes actually make this playful curtain feel more interesting.
Thread smaller beads as the foundation, then interrupt the rhythm with pearls, elongated pieces, charms, or unusual finds from old jewelry.
Dense strand spacing suits a doorway beautifully, but leave enough movement between cords so people can pass through without constant snagging.
Candy Beads
Bold color feels more intentional when oversized textured beads become occasional focal points instead of competing across every inch of each strand.
Build around them with translucent turquoise, pink, orange, lime, and yellow pieces, mixing rounded and elongated shapes for extra variation.
Use medium spacing between strands so individual bead combinations remain noticeable, while the overall curtain still creates a cheerful visual divider.
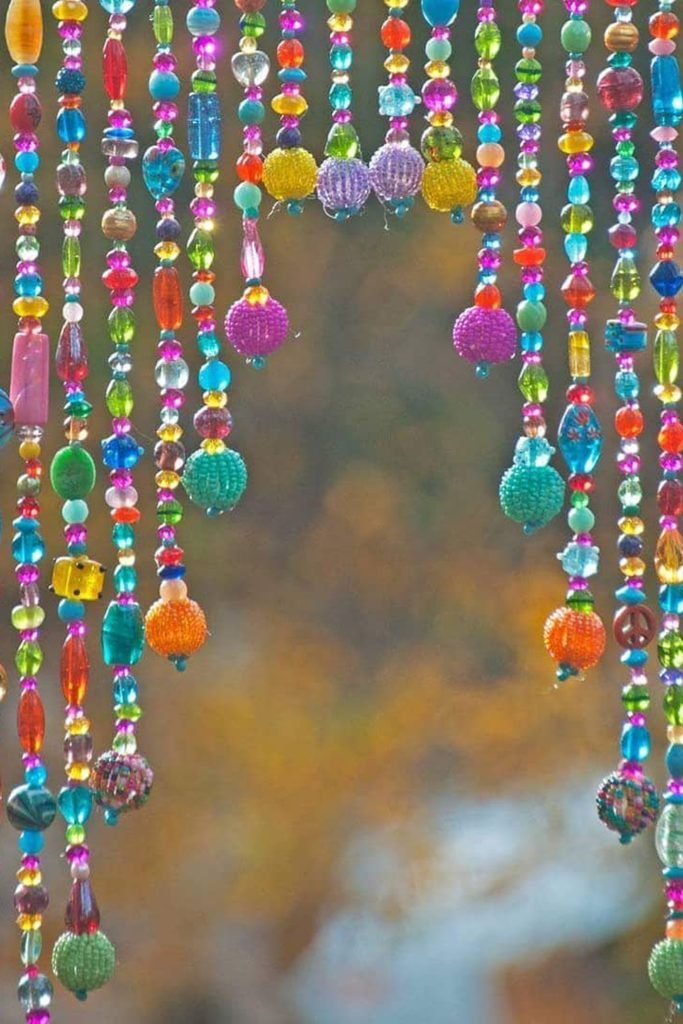
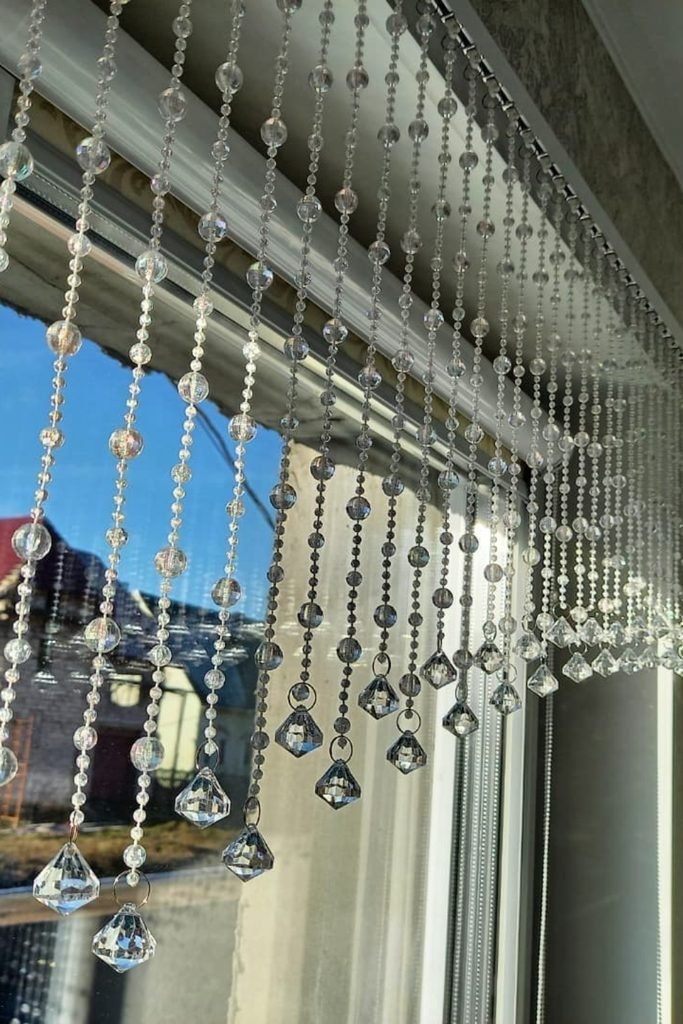
Crystal Fringe
Shorter strands can deliver plenty of sparkle when you finish each one with a faceted crystal drop instead of extending floorward.
Alternate small clear beads with larger rounds, then stagger the finished lengths slightly to create a neat fringe along the window.
Mount the strands across the upper frame where direct daylight reaches them, allowing every hanging crystal to catch and redirect light.
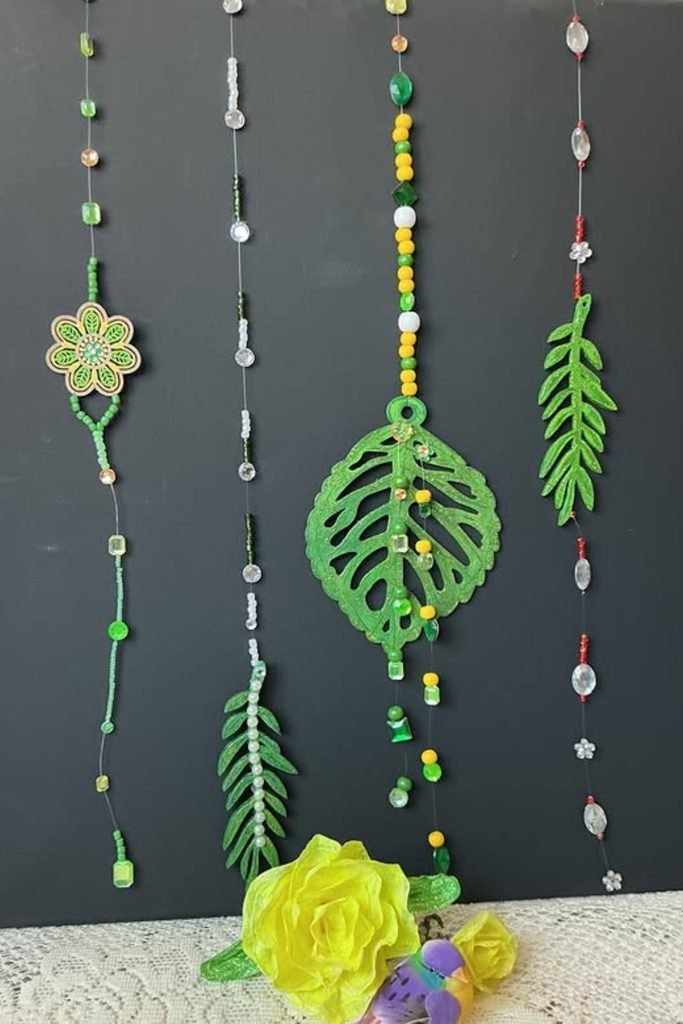
Botanical Strands
Bring a leafy direction into your curtain by pairing green botanical cutouts with small beads instead of filling every cord completely.
Give larger leaves generous breathing room, then use yellow, white, and green bead clusters to connect the botanical details visually.
Sparse spacing makes this version lighter and easier to hang, making it useful when you want decoration without blocking the opening.
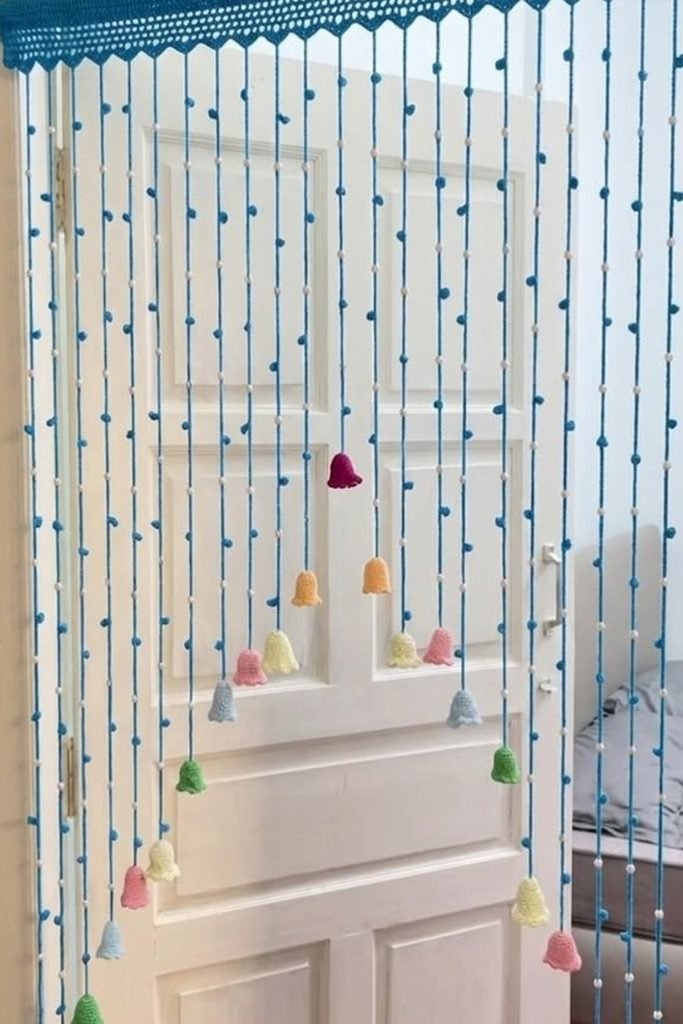
Crochet Bells
Tiny crocheted bells turn simple cord strands into playful details, so you can create interest without buying hundreds of decorative beads.
Space small contrasting beads along blue cords, then attach pastel bells at different heights to break up the straight vertical lines.
A crocheted header neatly gathers every strand at the top while giving your doorway a finished edge that hides individual attachments.
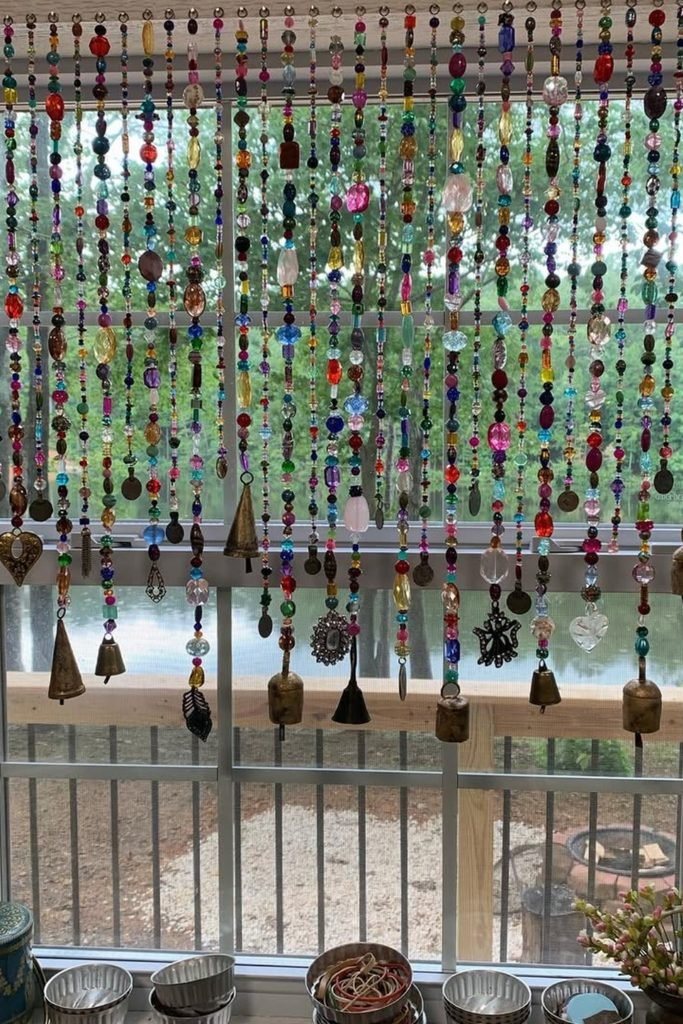
Charm Collection
Turn collected beads and old jewelry into something useful by letting every strand feature its own mix of colors and keepsakes.
Work heavier metal charms and bells toward the bottom, where their weight can help lighter bead sections hang with better control.
Instead of matching every strand, repeat a few bead colors across the curtain so the eclectic collection still feels visually connected.
Bell Finish
Give a colorful curtain extra movement by finishing individual strands with small metal bells rather than using ordinary stopper beads underneath.
Build each cord from mixed bright beads, then repeat turquoise accents near the bottom to visually connect otherwise different strand patterns.
Reserve the heavier bells for selected strands, creating an uneven lower edge while preventing the metal details from overwhelming your beadwork.
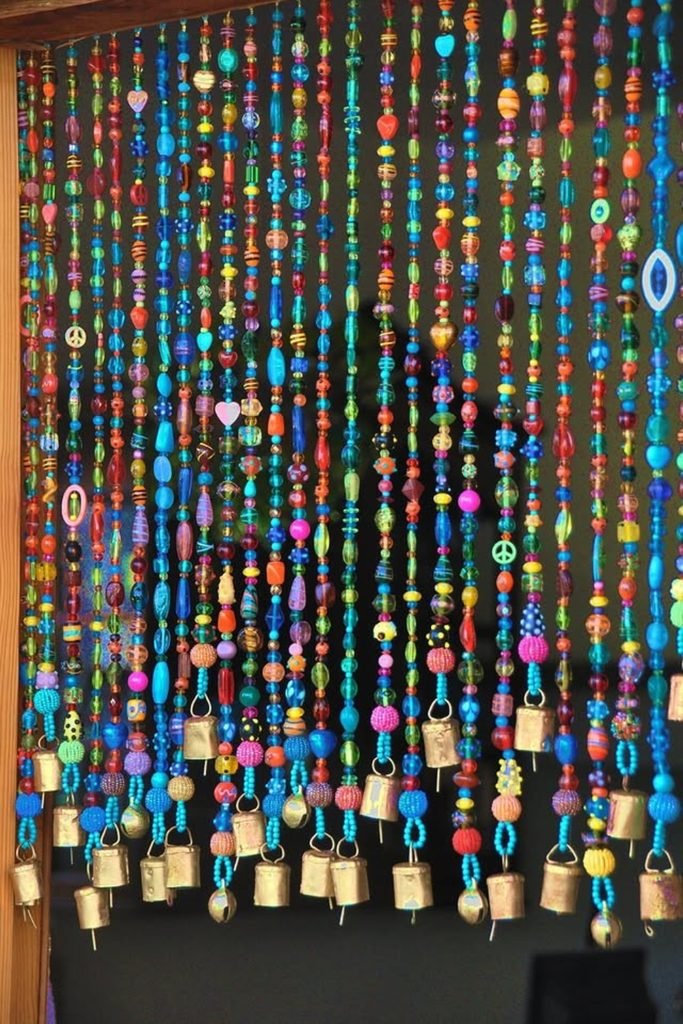
Floral Fringe
Turn a doorway into a cheerful focal point by mixing flower-shaped beads with simple rounds, hearts, stars, and tubular pieces.
Instead of cutting every strand equally, shorten the center section so the curtain forms an opening that feels easier to cross.
Finish the header with bright pom-pom trim, tying the playful colors together while neatly disguising where individual strands are attached.
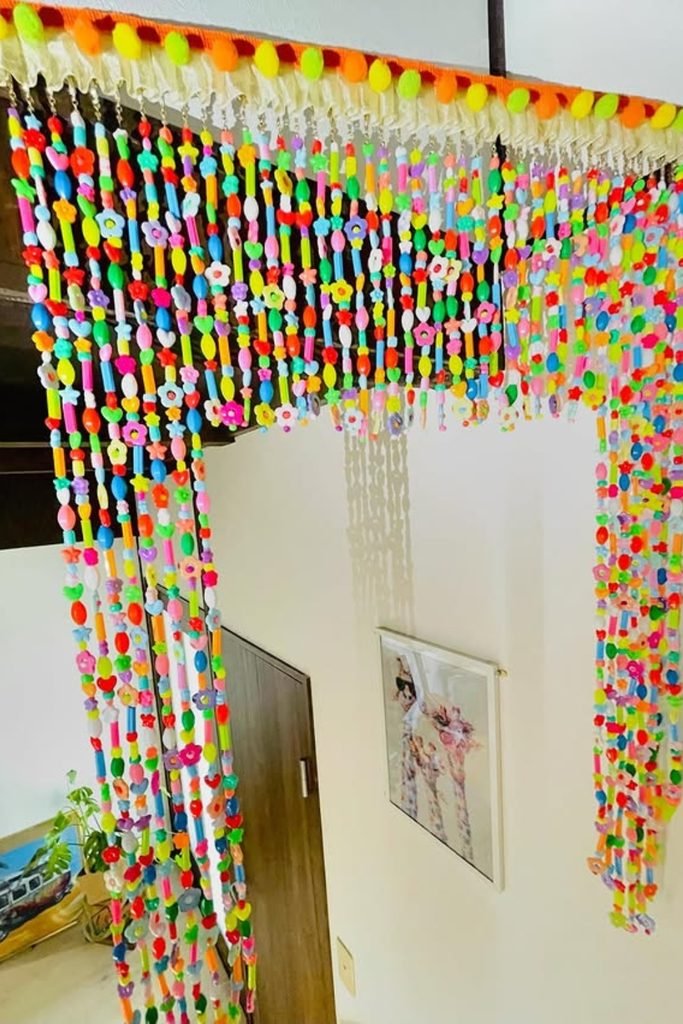
Sunlit Screen
For a large window, tiny translucent beads can create an impressive sparkle without making each strand visually heavy or overly complicated.
Run many narrow strands closely across the entire frame, mixing colors randomly so sunlight produces scattered flashes rather than obvious stripes.
Choose lightweight beads for a curtain this wide, since dozens of closely spaced strands can add surprising weight to the mounting rail.
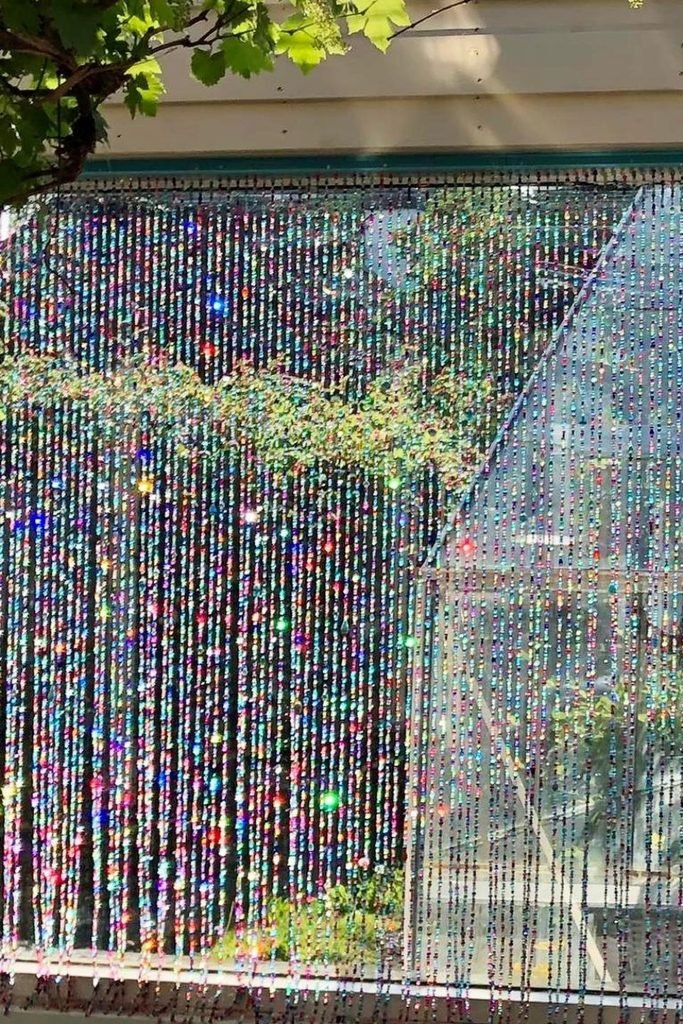
Tassel Drops
Tassels give shorter bead strands a soft ending, making them useful when you want window decoration without covering the entire glass.
Mix bright transparent beads freely across the upper section, then attach blue tassels at staggered heights for an intentionally uneven lower edge.
Secure each tassel beneath a larger connector bead, which creates a cleaner transition and prevents the silky threads from crowding nearby beads.
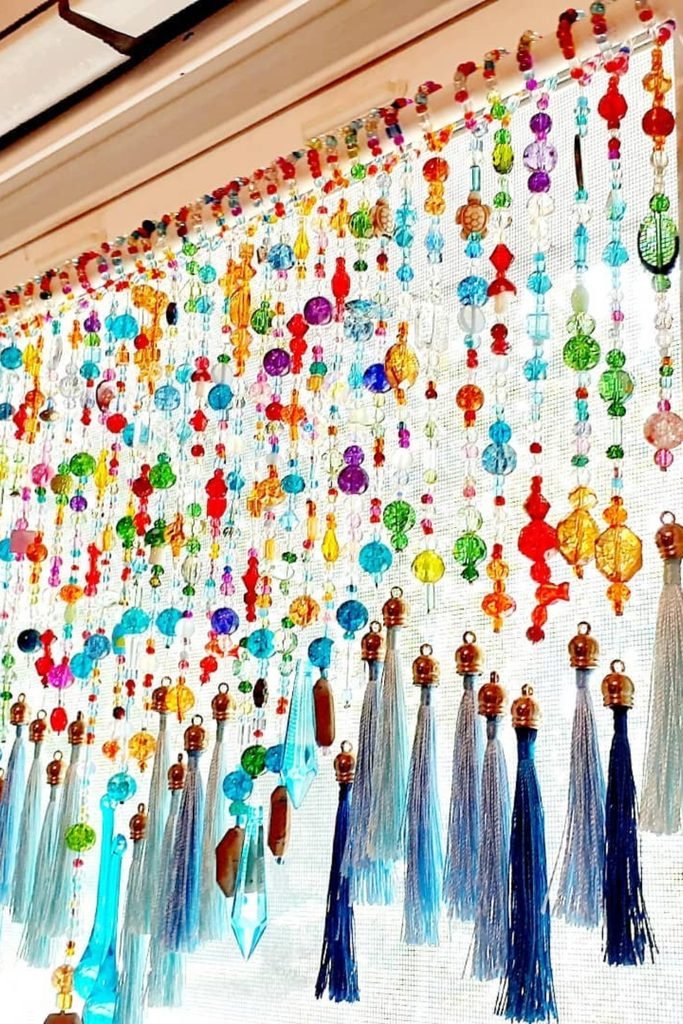
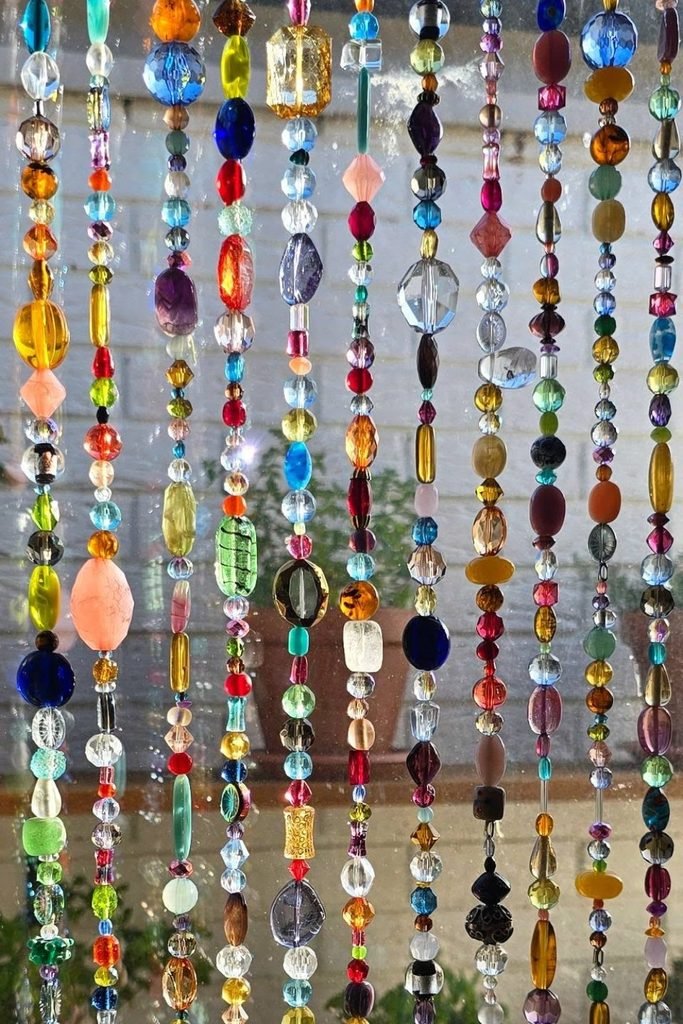
Mixed Glass
Skip strict color patterns when your bead collection already contains beautiful differences in shape, transparency, texture, and size worth highlighting.
Balance chunky pieces with smaller faceted beads along each strand, preventing large beads from gathering together and creating visually heavy sections.
Sun-facing windows suit this arrangement because clear and colored glass responds differently throughout the day, giving mismatched strands a shared sparkle.
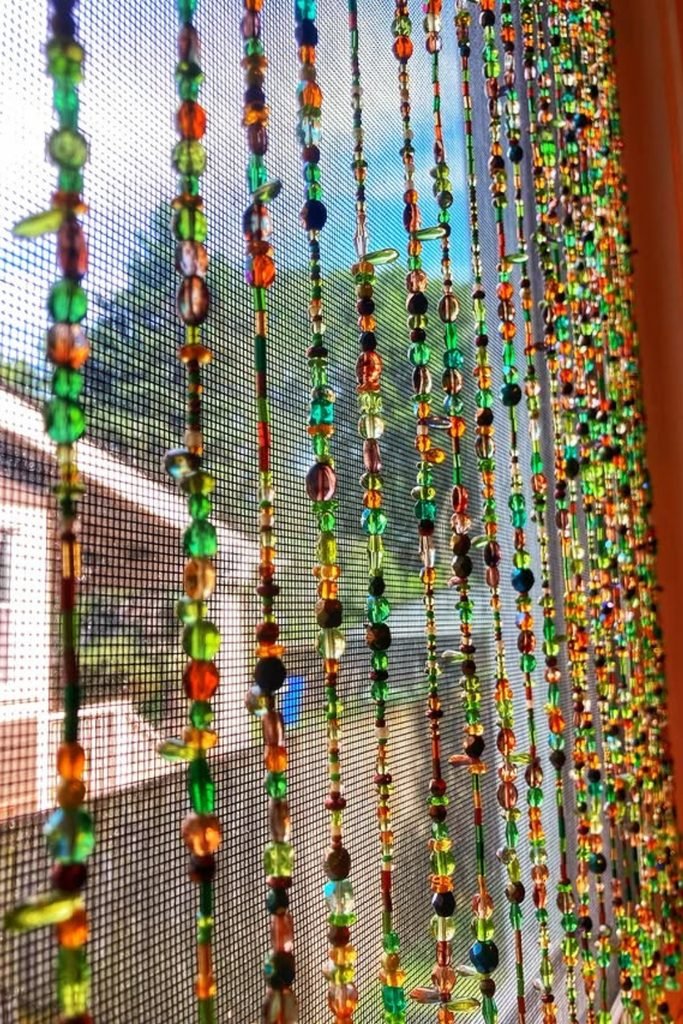
Earthy Glow
Earthy greens and amber beads bring warmth to a sunny window without relying on the brighter rainbow palette used in many curtains.
Mix tiny seed beads with irregular glass pieces, spacing larger shapes occasionally so each strand stays delicate rather than visually crowded.
Run the strands from the top of the window downward, letting daylight illuminate translucent pieces while deeper tones add definition between them.
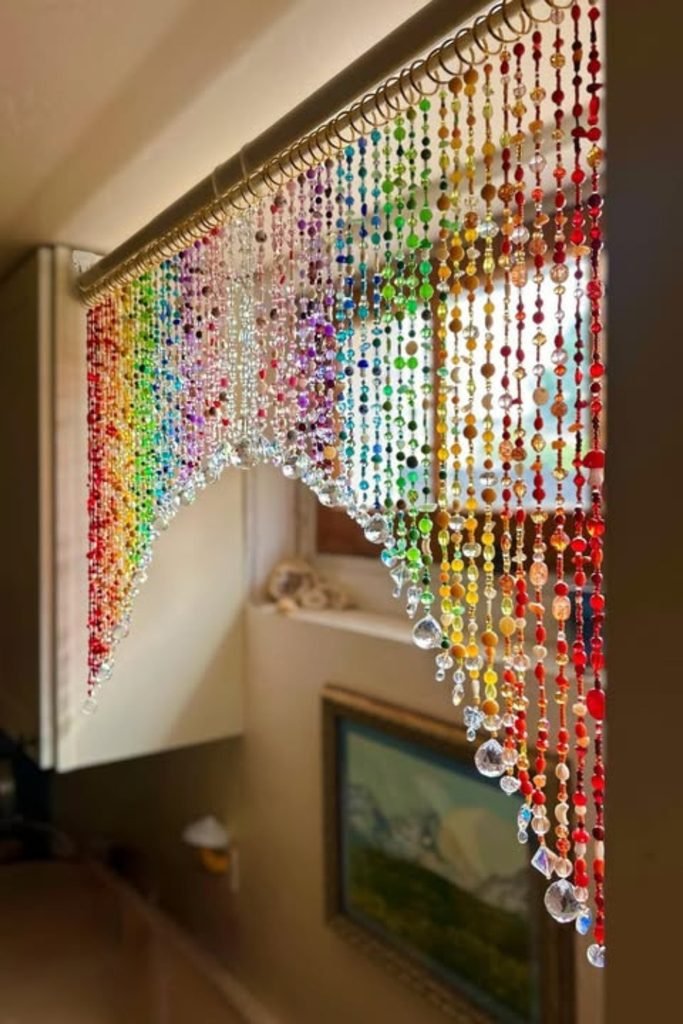
Rainbow Arch
Changing strand length can turn the curtain itself into a pattern, creating an arched opening that remains decorative and practical to cross.
Arrange colors in rainbow sections, then shorten strands gradually toward the center before lengthening them again to form a balanced curve.
Finish each strand with a clear faceted drop, adding enough weight for straighter hanging while emphasizing the sculpted lower edge.
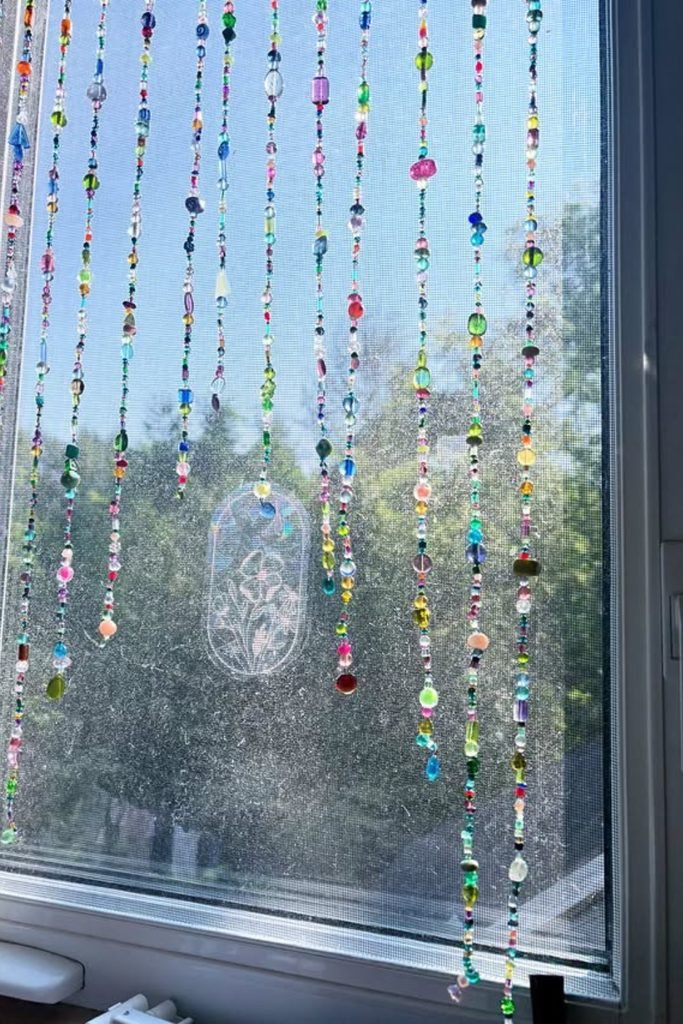
Airy Suncatcher
You do not need hundreds of tightly packed strands when the goal is simply adding little flashes of color near a window.
Space slender strands generously apart and alternate tiny seed beads with occasional larger glass pieces, giving every decorative bead room to stand out.
Try varied strand lengths for a relaxed finish, while a few heavier bottom beads help the longest cords hang more steadily.
Garden Sparkle
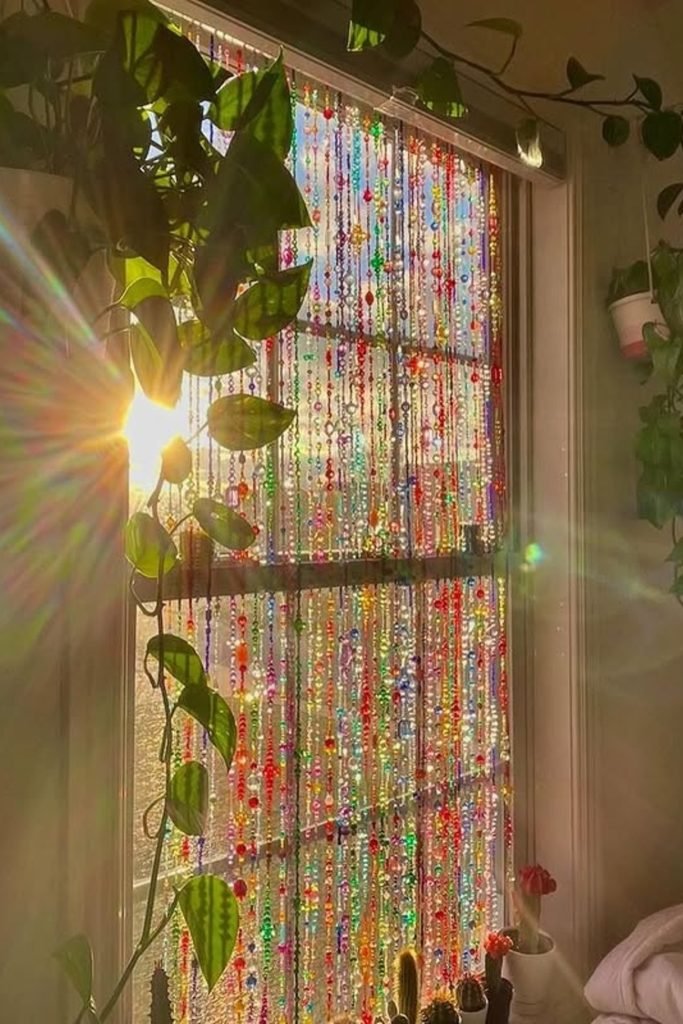
Pairing colorful beadwork with trailing houseplants makes a sunny window feel layered without adding another bulky piece of décor nearby.
Choose mostly transparent beads so daylight passes through the curtain, then scatter stronger reds, blues, and pinks for brighter reflected color.
Closely spaced strands create richer sparkle here, so use lightweight beads and a secure top rail to manage the combined finished weight.
FAQs
What Is the Best String to Use for a DIY Beaded Curtain?
Strong nylon cord, monofilament, or flexible beading wire can all work, but your choice should match the weight of your beads.
Heavier glass strands need stronger material and secure crimps, while lightweight acrylic beads give you more flexibility with thinner cord options.
How Can I Make a DIY Beaded Curtain Without Spending Too Much?
Start with inexpensive filler beads, then mix in thrifted jewelry, leftover craft beads, or a few statement pieces where they matter most.
Acrylic and wooden beads can also reduce costs compared with filling an entire doorway using glass, crystal, or gemstone beads throughout.

Hi, my name is Ali Mehmood! I’m a passionate writer and DIY enthusiast who loves turning creative ideas into practical, hands-on projects.
I created this website to share inspiring, budget-friendly ideas that you can do yourself – whether it’s organizing your home, crafting something unique, or creating fun projects for kids and pets.
I believe DIY isn’t just a hobby – it’s a smart way to save money, reduce waste, and enjoy the satisfaction of making things with your own hands.
I’m excited to have you as part of this growing community, and I’ll continue bringing you helpful, realistic, and fun DIY ideas you can actually use.