This post may contain affiliate links: read full affiliate disclosure.
Finding the right window privacy solution gets tricky when you still want plenty of natural light coming through.
Curtains can feel too heavy, while leaving the glass uncovered can make bathrooms, bedrooms, or street-facing rooms feel exposed.
From removable finishes to creative coverings, you can block awkward sightlines while adding something decorative to the room.
In this article, you’ll find practical privacy window ideas for DIY projects that balance privacy, natural light, style, and budget.
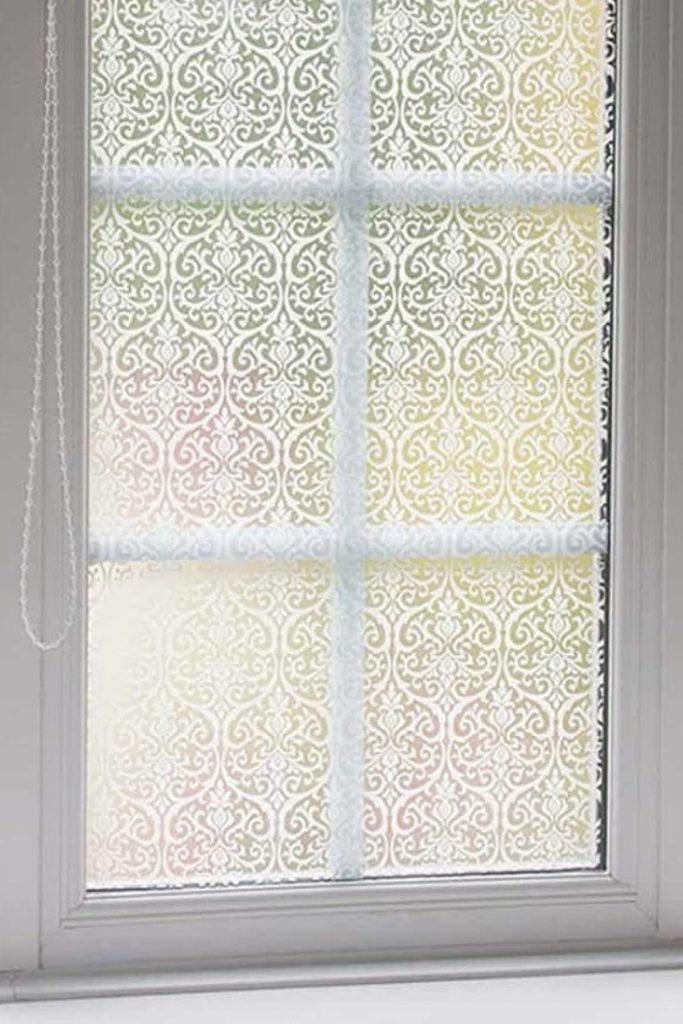
Patterned Privacy Film
Turn a plain window into a decorative feature by choosing patterned privacy film that softens outside views without sacrificing daylight.
Measure each pane separately, trim the film carefully, and apply it to clean glass for crisp edges around every frame.
Use this treatment where you want privacy to feel ornamental, such as entry windows, bathrooms, or overlooked sitting areas.
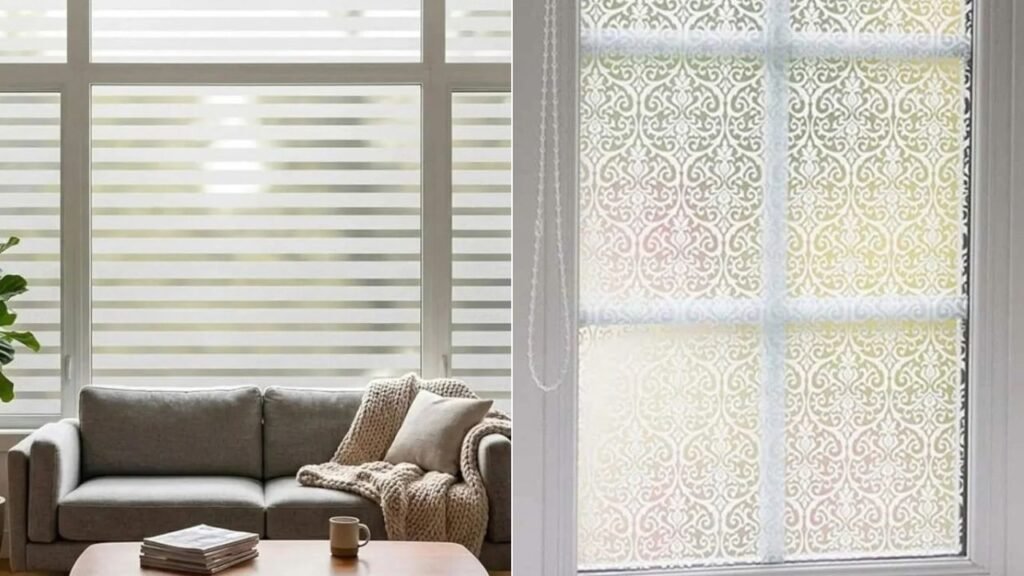
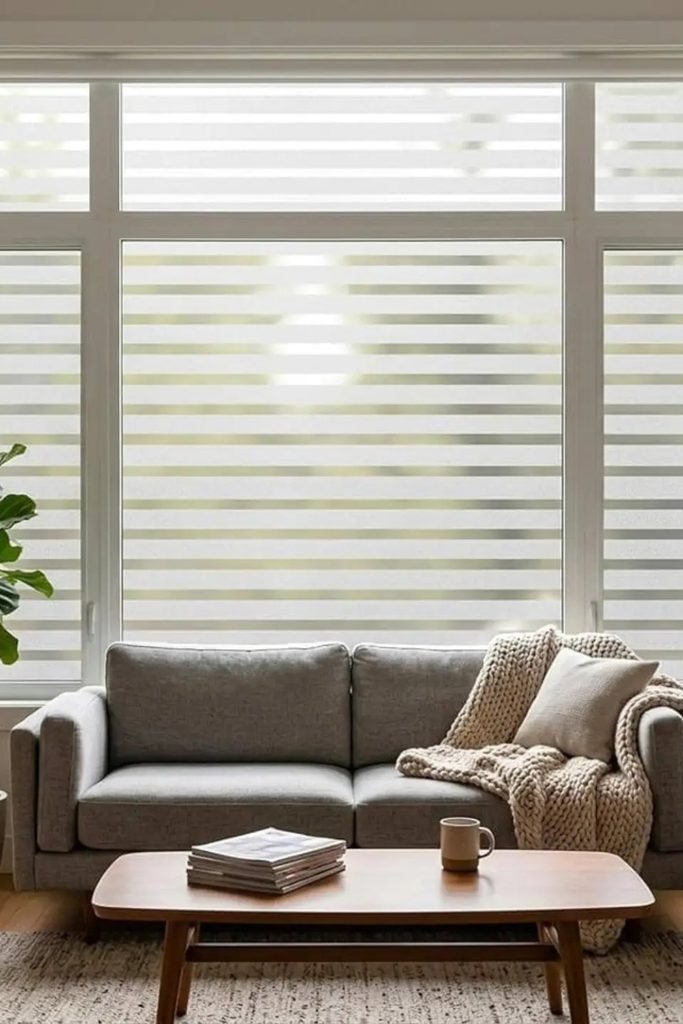
Frosted Stripes
Horizontal frosted stripes are useful when full coverage feels too closed, because narrow clear bands still allow softened outdoor light through.
Create the pattern with alternating strips of privacy film, using a level and equal spacing so the lines stay balanced.
Try it across large living room windows where you need broad screening but still want the glass to feel visually lighter.
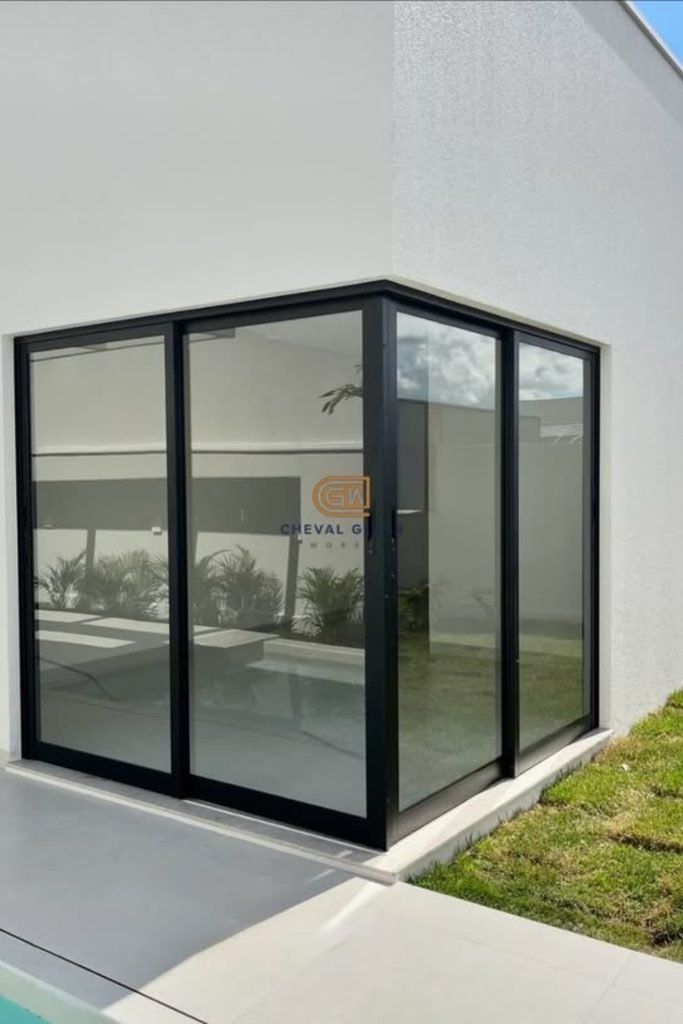
Tinted Privacy
If your windows face an open yard or neighboring property, tinted film can reduce daytime visibility while preserving a sleek exterior.
Cut each section to match the glass, then smooth the film carefully so bubbles do not interrupt the dark finish.
Pair it with curtains or another nighttime covering, since reflective privacy treatments may become less effective once interior lights are brighter.
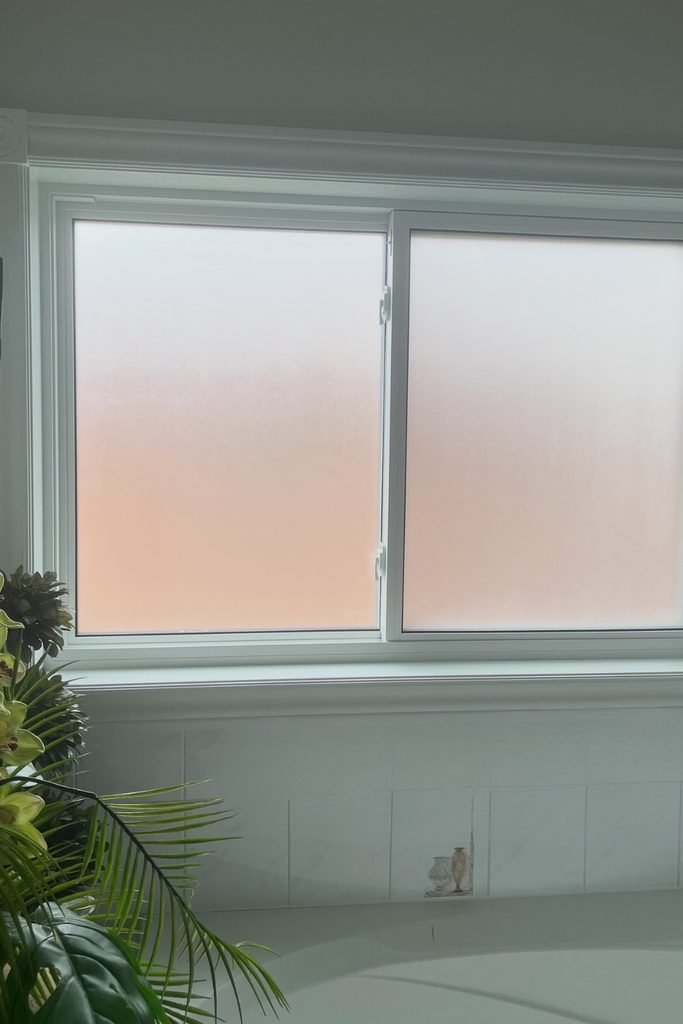
Bathroom Frosting
Bathroom windows need dependable coverage, and a simple frosted finish can blur direct views while letting soft daylight fill the room.
For a DIY version, apply frosted film to thoroughly cleaned panes, working slowly from one edge to prevent trapped bubbles.
Full-pane coverage suits bathrooms facing close neighbors because it removes awkward sightlines without relying on curtains around a damp area.
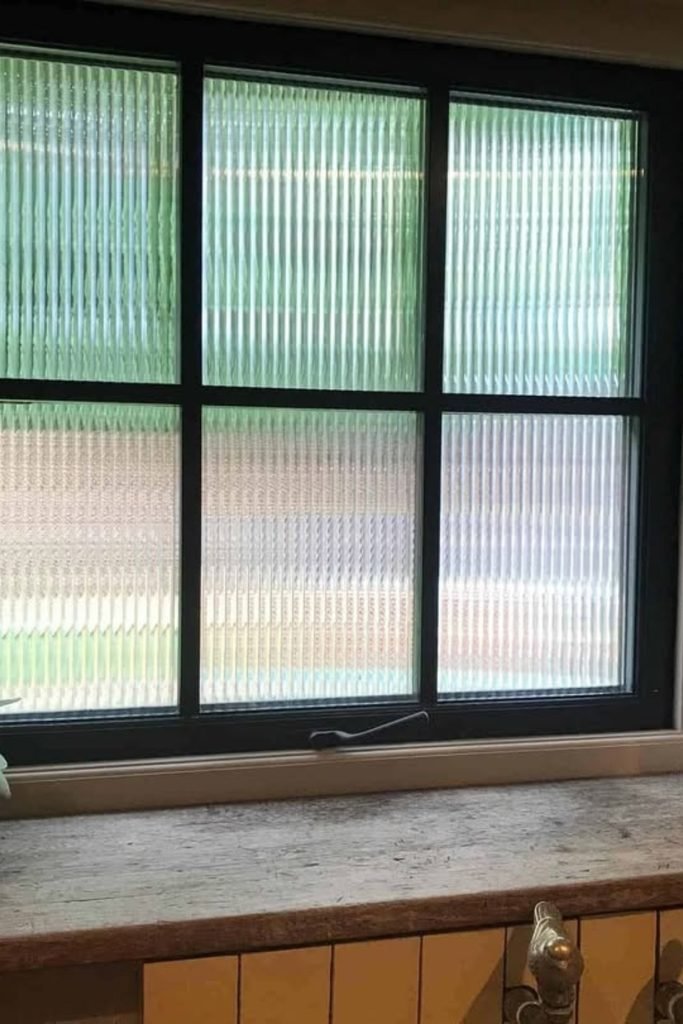
Reeded Privacy Film
Give kitchen windows privacy without making the room feel closed by using reeded film that gently distorts outside views.
Apply the film across each pane after cleaning the glass thoroughly, then smooth downward to avoid bubbles and uneven edges.
The vertical texture suits windows above sinks or counters, where you still want daylight but not a clear view inside.
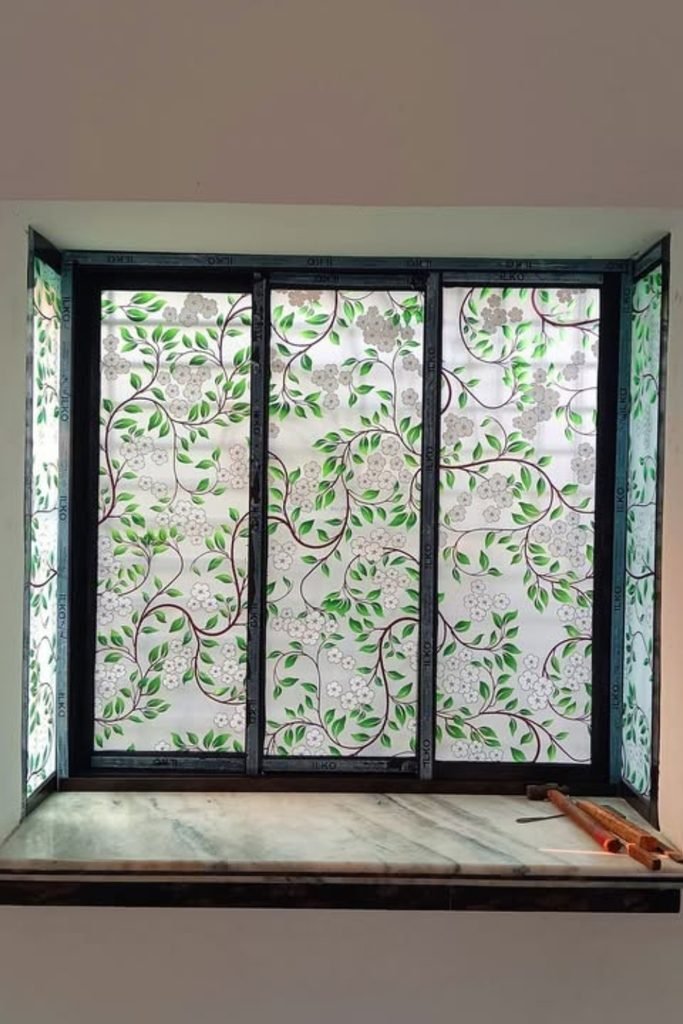
Floral Window Film
If plain frosting feels too basic, turn privacy into decoration with floral film that gives the window a softer finish.
Cut separate pieces for each pane, matching the pattern carefully so the vines and flowers appear naturally connected across sections.
This approach can brighten small bedrooms, bathrooms, or stairway windows where privacy matters but you still want some personality.
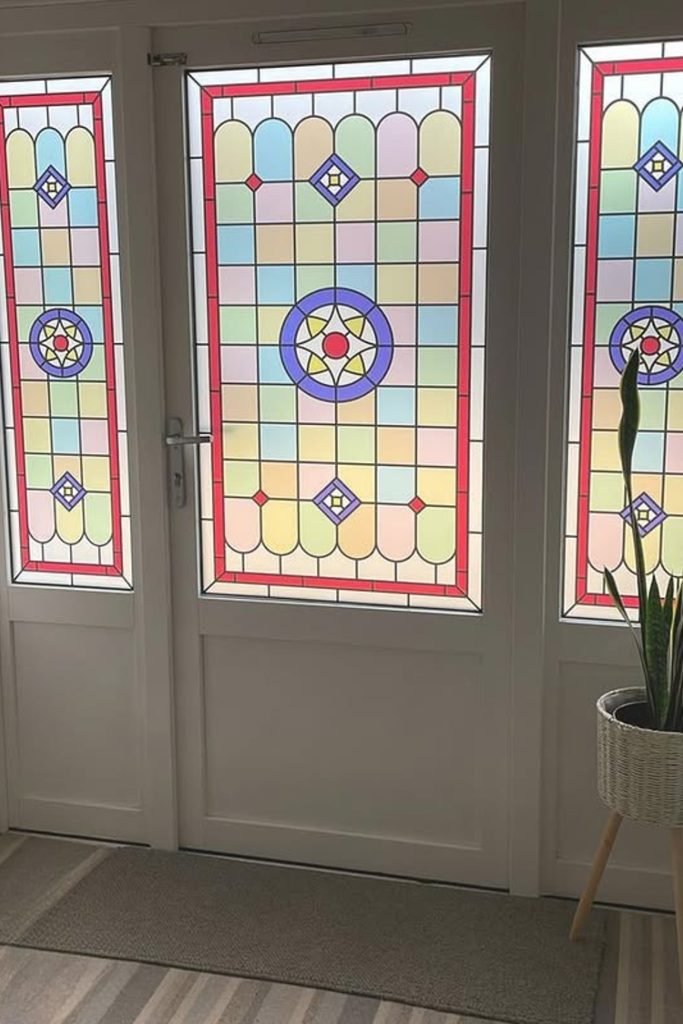
Stained Glass Entry
Front door glass can expose the entryway quickly, so colorful stained glass film gives privacy while creating a welcoming focal point.
Choose a repeating design for the main door and sidelights, then align borders before pressing each section firmly onto glass.
Because the pattern obscures direct sightlines, it works well for entrances where curtains would feel bulky or inconvenient around doors.
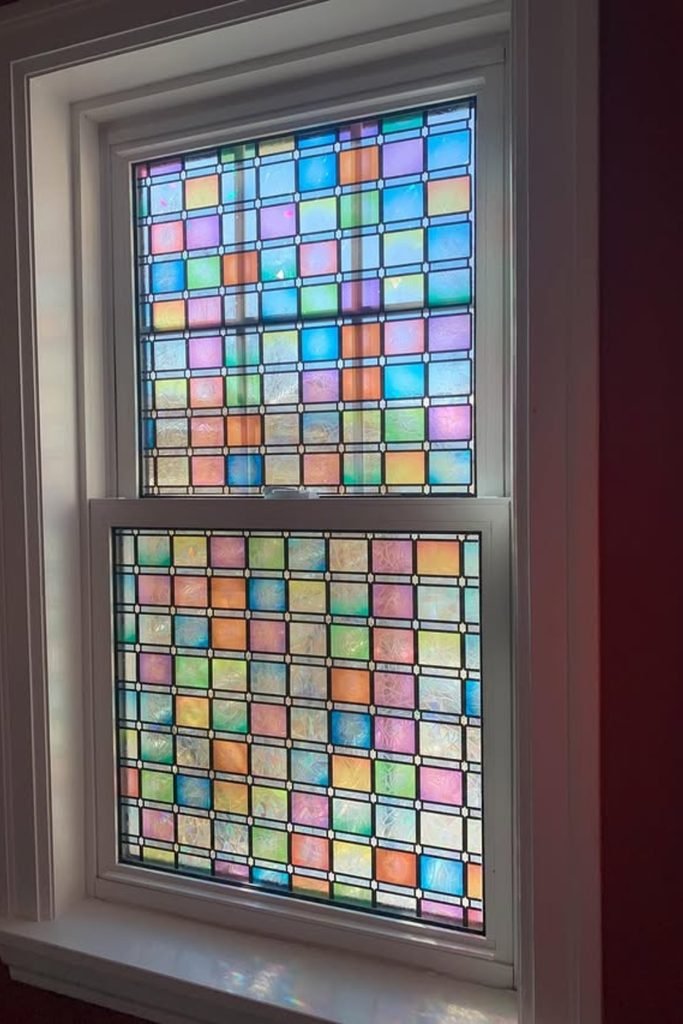
Mosaic Window Film
Small windows are perfect for bolder treatments, and mosaic film turns unwanted outside views into colorful blocks of filtered daylight.
Measure both window sections individually, then trim the film around the edges so the dark grid appears neat and intentional.
Use this idea in bedrooms, landings, or creative spaces where changing sunlight can make the colored panes feel more decorative.
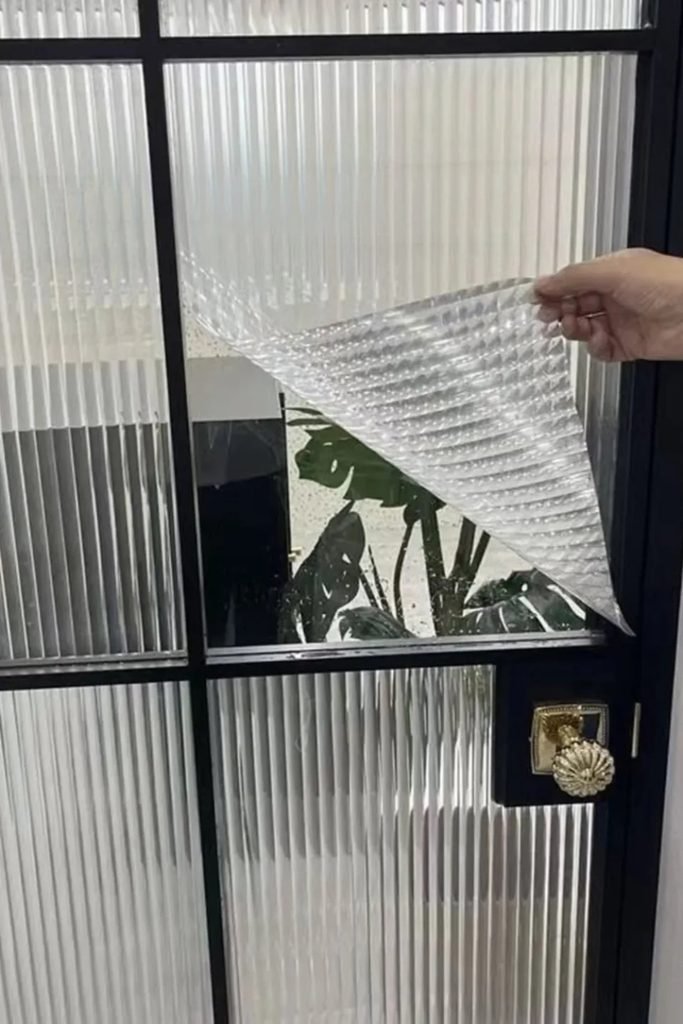
Removable Reeded Film
Renters can get a fluted glass effect without replacing anything by choosing removable reeded film that peels away when needed.
Cut individual sections slightly smaller than each pane, then press and smooth carefully until the vertical ridges appear straight.
Try it on glazed doors or interior partitions where clear glass feels exposed but permanent frosting would be an unnecessary commitment.
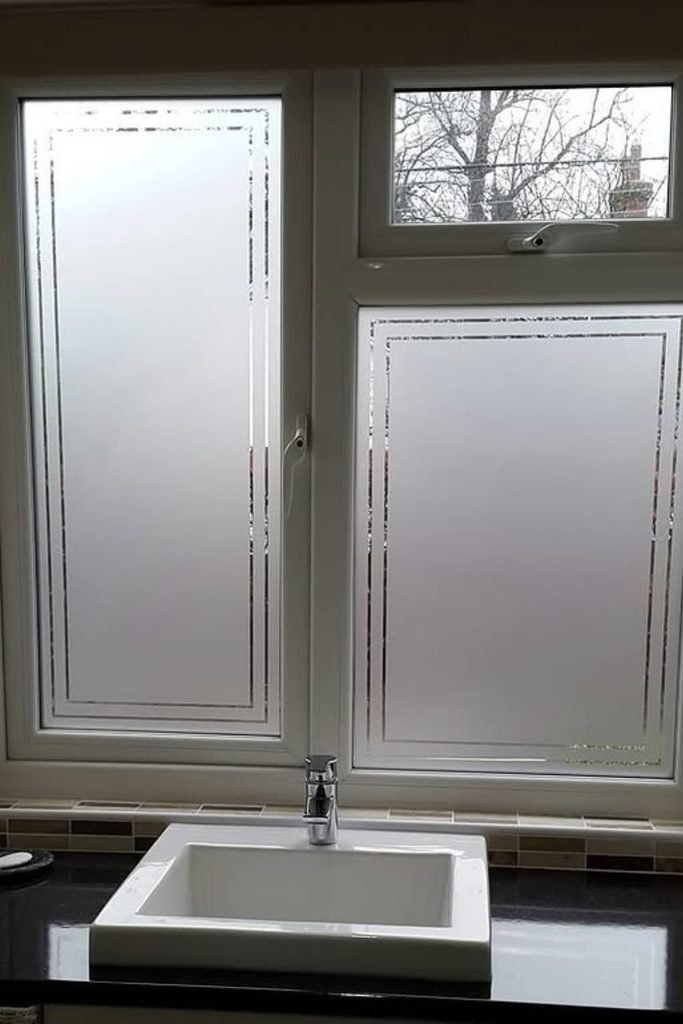
Framed Frosting
Instead of frosting every inch, leave a slim clear border around each pane to make basic privacy film feel custom.
Mark the border with removable tape before applying or trimming the frosted section, checking that every side remains evenly spaced.
It suits bathroom windows above sinks, where the opaque center blocks direct views while the narrow perimeter adds subtle definition.
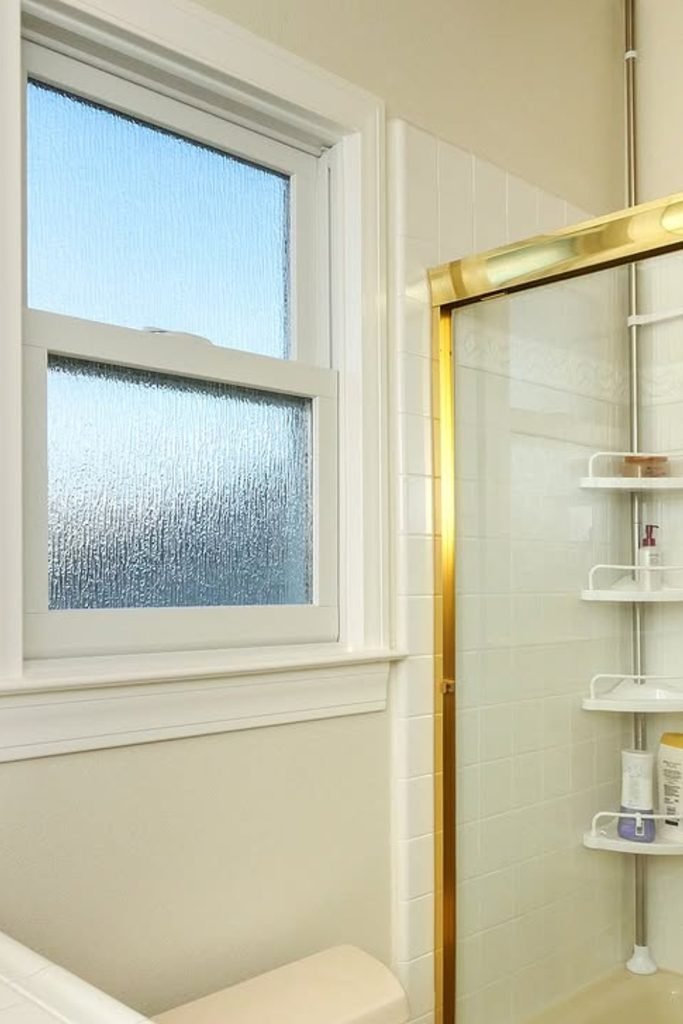
Textured Bathroom Glass
For a shower-side window, textured privacy film handles the visual problem without adding fabric that sits close to a damp zone.
Choose a water-resistant film with enough distortion, then cover both panes fully so changing viewing angles do not expose gaps.
Natural light can still brighten the shower area, making this useful when curtains or blinds would crowd an already compact bathroom.
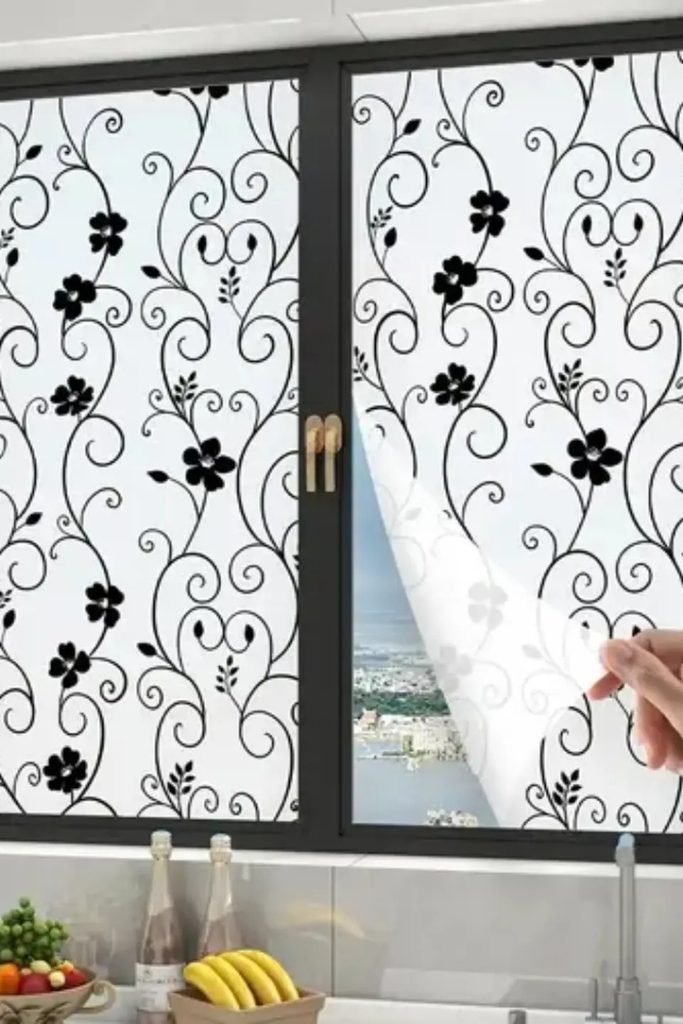
Botanical Privacy Film
Let the privacy treatment become part of your kitchen décor by choosing frosted film with bold vines and contrasting flowers.
Match the pattern across neighboring panes before trimming, since careful placement makes an inexpensive DIY covering appear much more polished.
This decorative approach suits windows overlooking nearby buildings, giving you visual screening while turning otherwise plain glass into a feature.
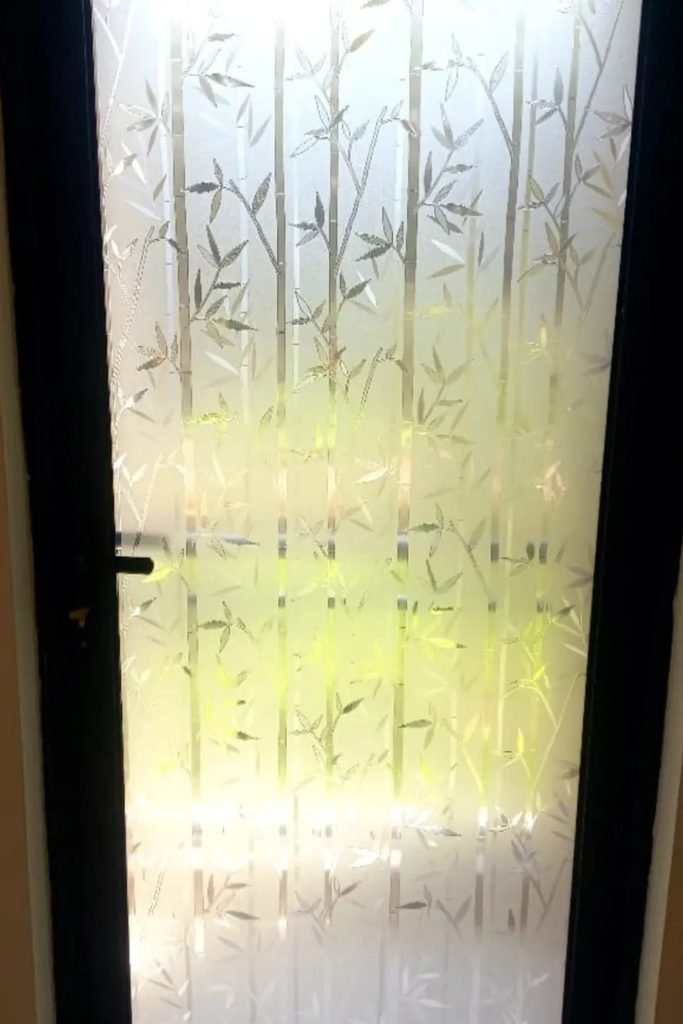
Bamboo Privacy Film
Bring a calmer feel to narrow glass doors with bamboo-patterned film that breaks up direct views while softly filtering daylight.
Position the tallest bamboo stems vertically before trimming, so the pattern follows the door height instead of looking randomly cropped.
It fits entryways or patio doors where you want stronger screening without covering the glass with a heavy curtain or blind.
Distorted Glass Film
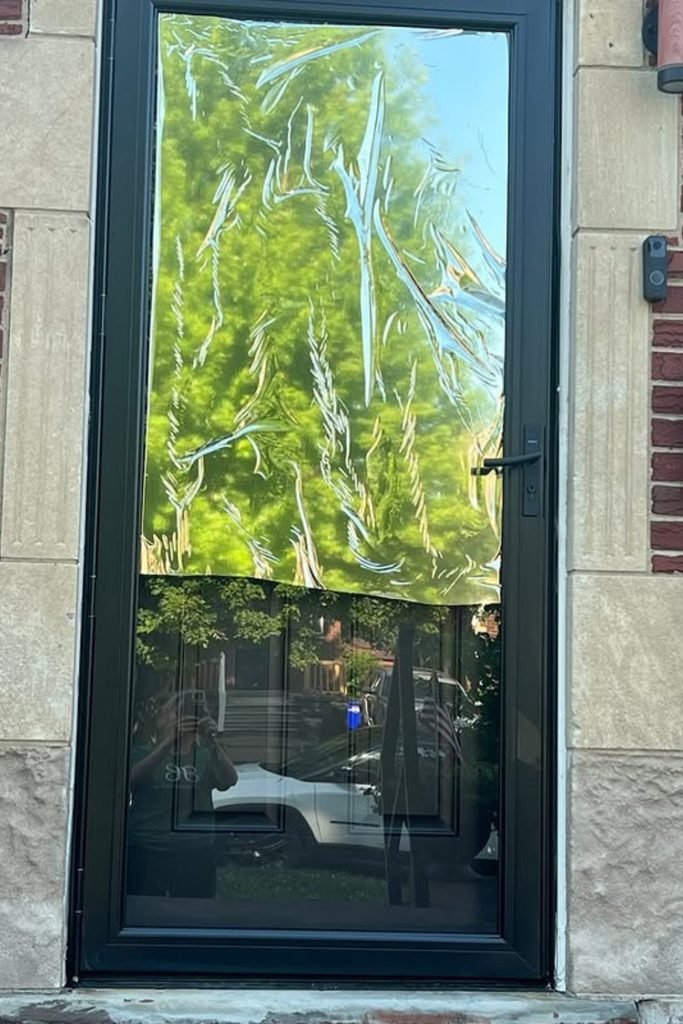
A clear textured film is useful when you dislike frosted glass but still need to make faces and interiors harder to recognize.
Choose a heavily distorted pattern, cut it precisely around the door glass, and smooth outward until every crease and bubble disappears.
Because it preserves brightness and some outdoor color, try it on entry doors where complete opacity would make the hallway darker.
Floral Door Cover
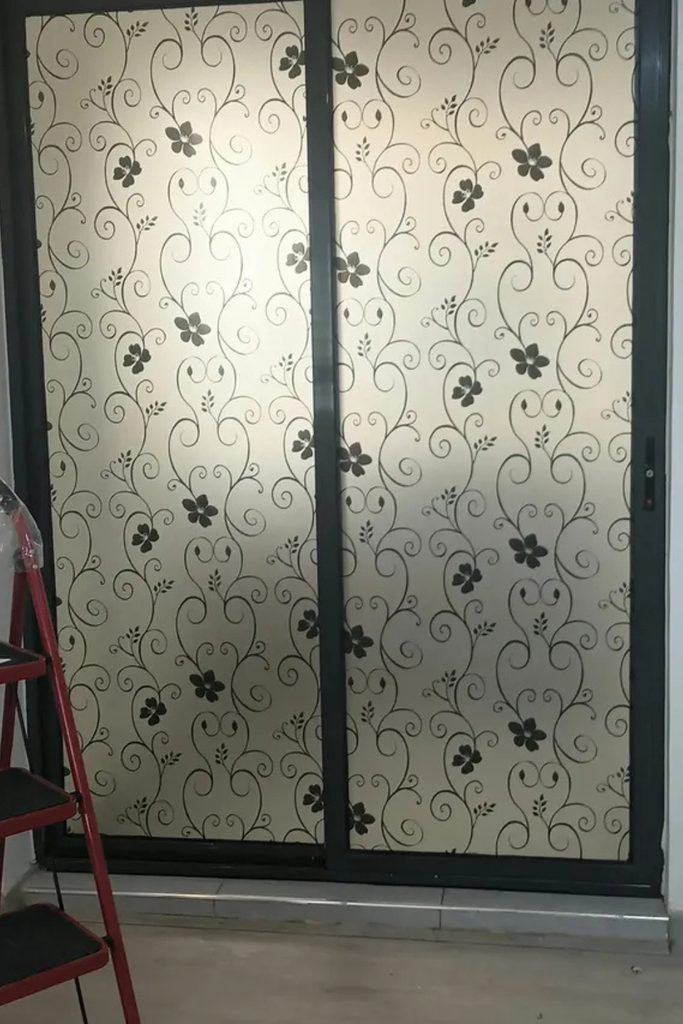
Large sliding doors can become uncomfortable after dark, so a dense floral privacy film offers coverage across a much wider surface.
Start from one upper corner and work across each panel carefully, matching repeated vines where separate film sheets must meet.
Choose this approach when decorative screening matters as much as privacy, since the oversized pattern can replace another wall-like design feature.
Interior Shutters
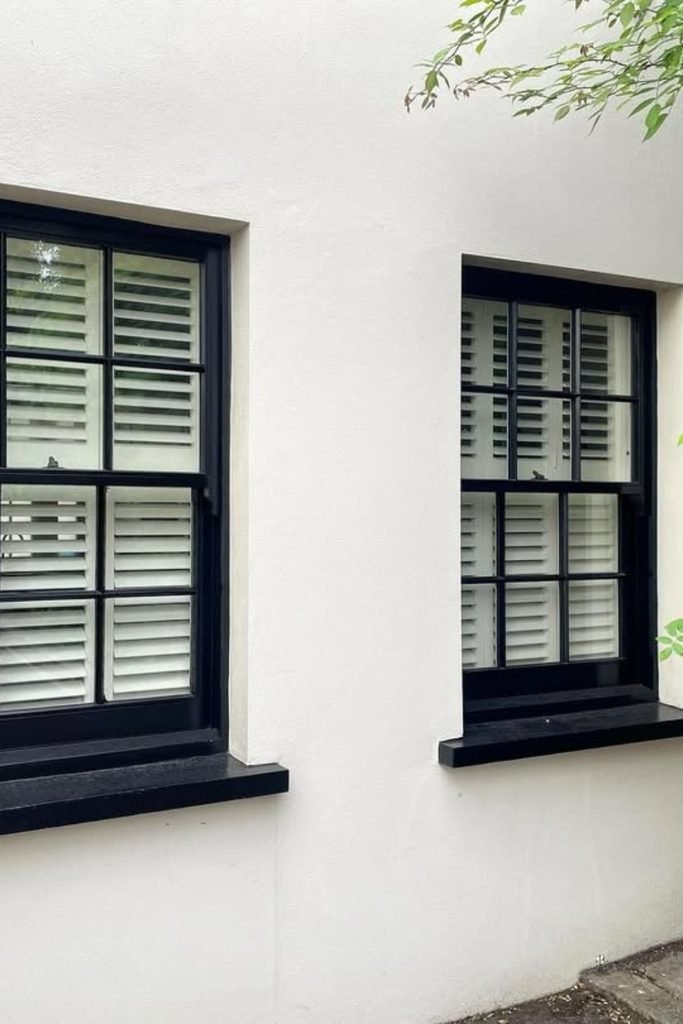
When you want privacy you can adjust throughout the day, interior shutters give far more control than permanently covering the glass.
Fit louvered panels inside the window recess, then tilt the slats upward to interrupt sightlines while still directing daylight indoors.
They make sense for ground-floor windows facing close boundaries, where privacy needs can change as the sun and activity shift.
Wave Privacy Film
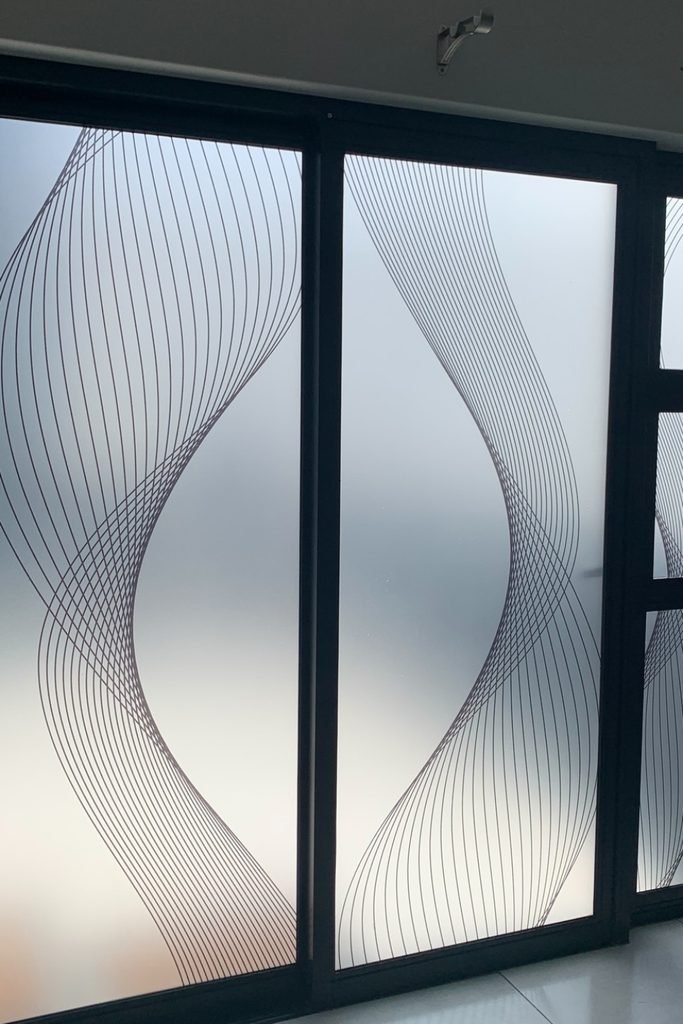
Large glass doors can feel less exposed when frosted film includes a flowing line pattern instead of a completely plain surface.
Center the wave design across adjoining panels before trimming, allowing the curves to continue naturally rather than stopping awkwardly between frames.
This treatment suits modern rooms where you need substantial privacy but want the covered glass to contribute something visually interesting.
Half Lace Privacy
Street-facing bay windows rarely need complete coverage, so lace across the lower panes can shield seated areas while preserving outdoor views.
Cut lace to each lower pane and attach it with a removable starch mixture, smoothing wrinkles before the coating fully dries.
Leaving the upper panes uncovered lets daylight pour inside while preventing pedestrians from getting an easy eye-level view into your room.
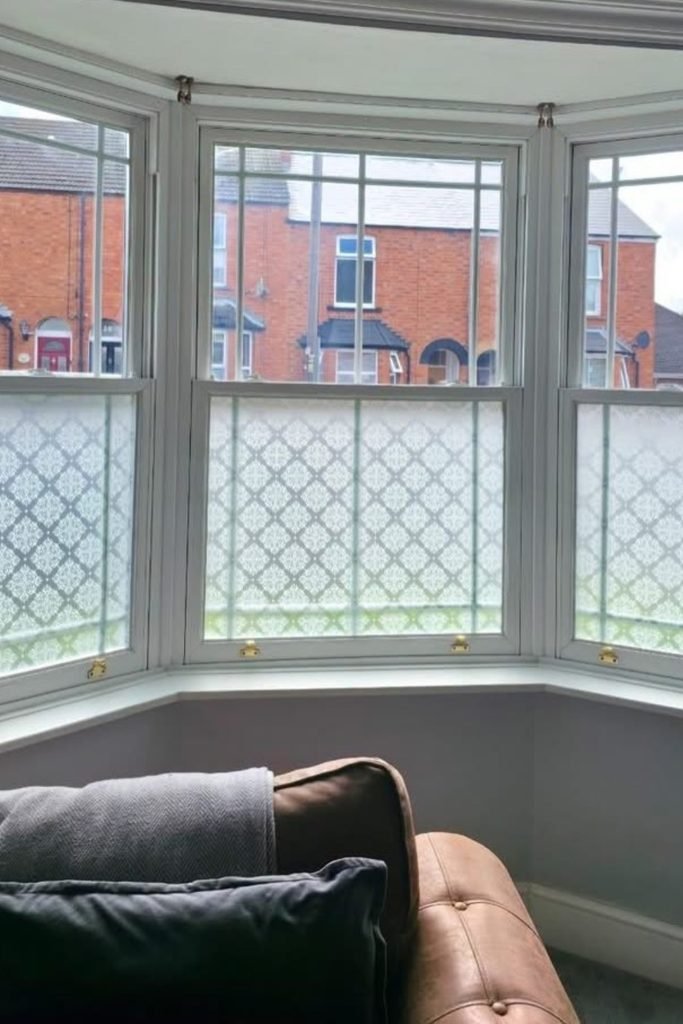
Geometric Privacy Film
Older divided windows gain a cleaner update with geometric privacy film that obscures views without hiding their original grid-like character.
Measure every pane independently and repeat the same pattern direction throughout, since inconsistent angles can make multiple sections look visually cluttered.
Use it for workshops, kitchens, or utility rooms where durable-looking privacy feels more appropriate than soft curtains or decorative fabric.
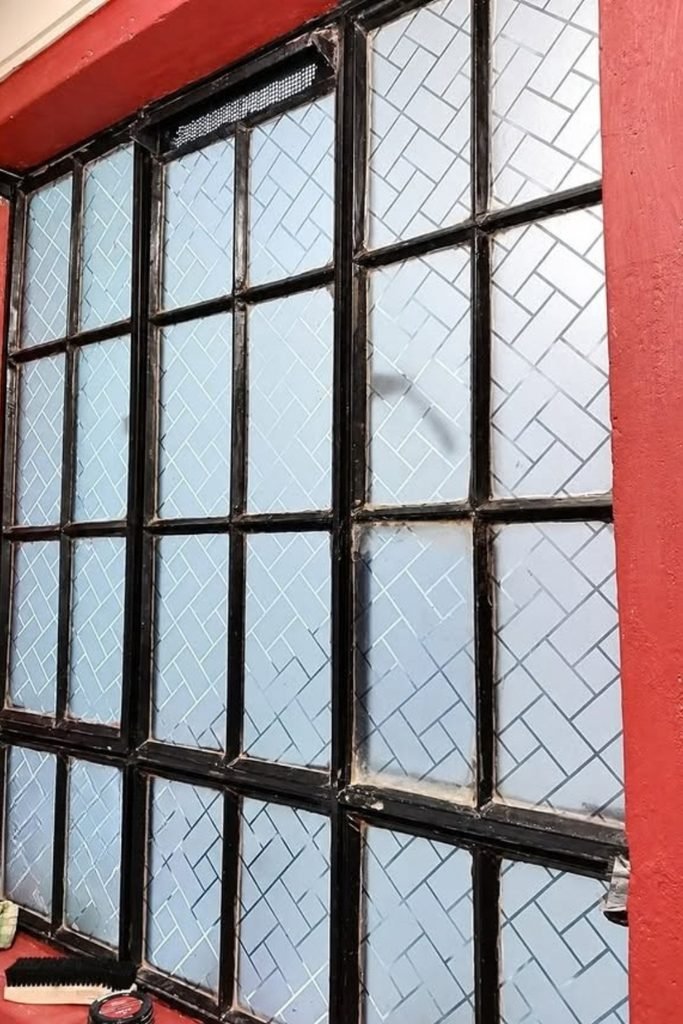
Adjustable Cellular Shade
Sometimes permanent frosting is unnecessary, and a cellular shade lets you switch between open views, filtered daylight, and fuller privacy easily.
Mount the shade squarely inside or above the frame, checking its width carefully so lowered edges do not leave revealing gaps.
This flexible option suits dining spaces and kitchens where privacy changes throughout the day and you still want clear windows occasionally.
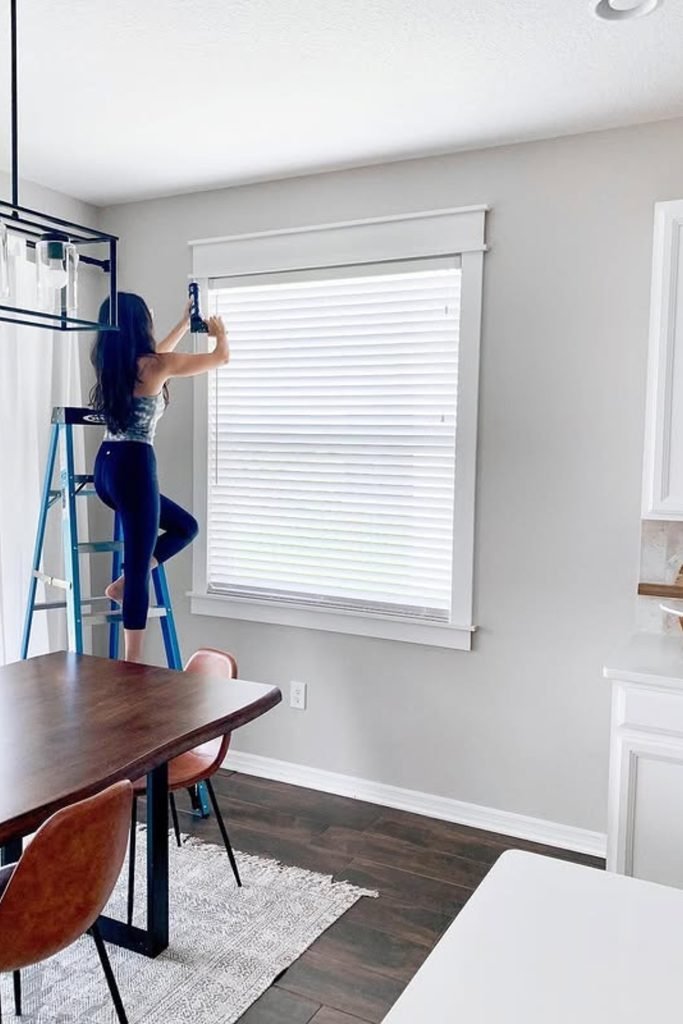
Layered Frosted Design
Plain frosting can feel more intentional when clear borders and overlapping rectangles turn the privacy layer into a simple architectural pattern.
Plan the design with removable tape first, then apply frosted sections carefully while leaving narrow clear channels between selected areas.
This works nicely for bedrooms or living spaces where strong screening matters, but completely uniform frosted glass feels too commercial.
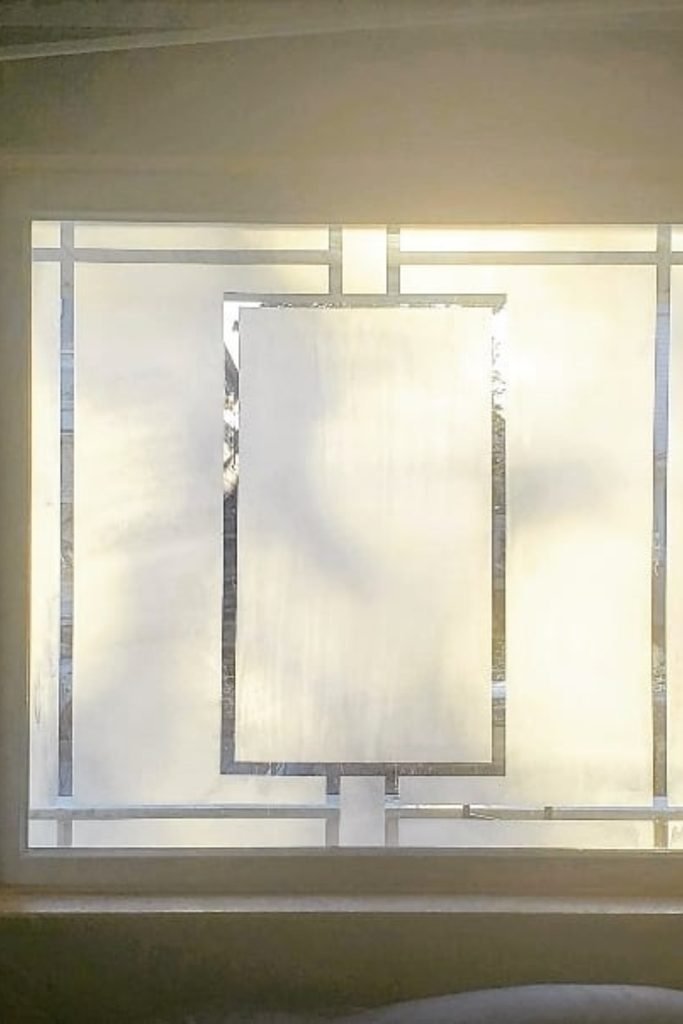
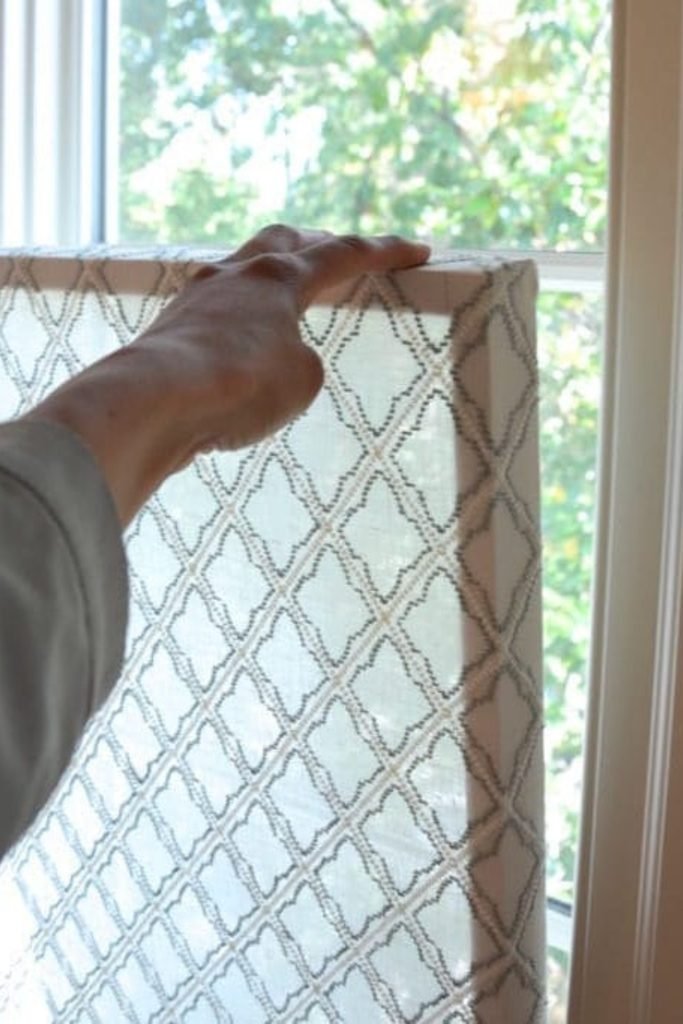
Removable Lace Screen
For privacy you can lift away whenever needed, stretch patterned lace across a lightweight frame sized closely to your window opening.
Secure the fabric tightly around the frame so it stays smooth, then place the finished panel against the lower exposed section.
It is handy for rentals or street-facing rooms because you can soften direct views without attaching anything permanently to the glass.
FAQs
What Is the Cheapest DIY Way to Add Privacy to a Window?
Removable privacy film is usually an affordable starting point because you can cut one roll to fit several smaller window panes.
For an even more handmade option, try lace attached with starch or stretch leftover fabric across a simple removable frame.
How Can I Test Whether My Privacy Window Works at Night?
Wait until dark, turn your indoor lights on normally, then step outside and check how clearly the room remains visible.
Ask someone to stand near the window and farther back, since silhouettes can become noticeable depending on lighting and treatment density.

Hi, my name is Ali Mehmood! I’m a passionate writer and DIY enthusiast who loves turning creative ideas into practical, hands-on projects.
I created this website to share inspiring, budget-friendly ideas that you can do yourself – whether it’s organizing your home, crafting something unique, or creating fun projects for kids and pets.
I believe DIY isn’t just a hobby – it’s a smart way to save money, reduce waste, and enjoy the satisfaction of making things with your own hands.
I’m excited to have you as part of this growing community, and I’ll continue bringing you helpful, realistic, and fun DIY ideas you can actually use.