This post may contain affiliate links: read full affiliate disclosure.
Roman shades can look beautifully tailored until you try making them yourself and suddenly face confusing measurements, fabric choices, and mounting decisions.
Choosing the wrong method can leave you with a shade that hangs crooked, feels bulky, or simply looks more homemade than you planned.
The good news is that you can simplify the project by matching the right fabric, construction method, and mounting style to your window.
In this article, you’ll discover practical Roman shades DIY ideas that can help you create polished, functional window treatments.
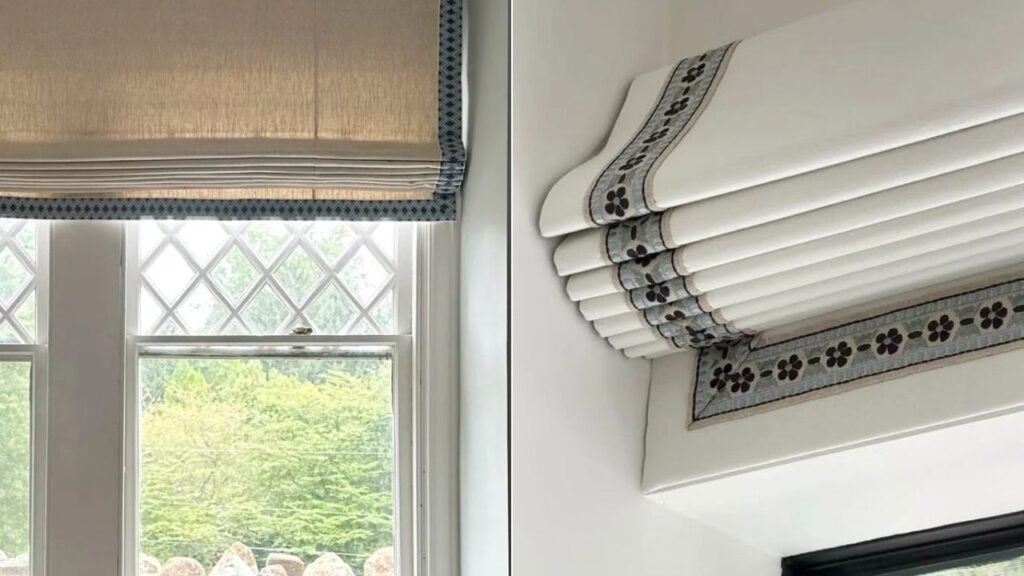
Floral Border
Plain fabric can feel far more custom when you sew decorative ribbon along the edges and repeat it across each folded section.
Choose trim with enough contrast to remain noticeable when raised, then carefully align every strip before stitching for consistent folds.
Using one narrow motif also lets you upgrade affordable neutral fabric without introducing a busy pattern across the entire window treatment.
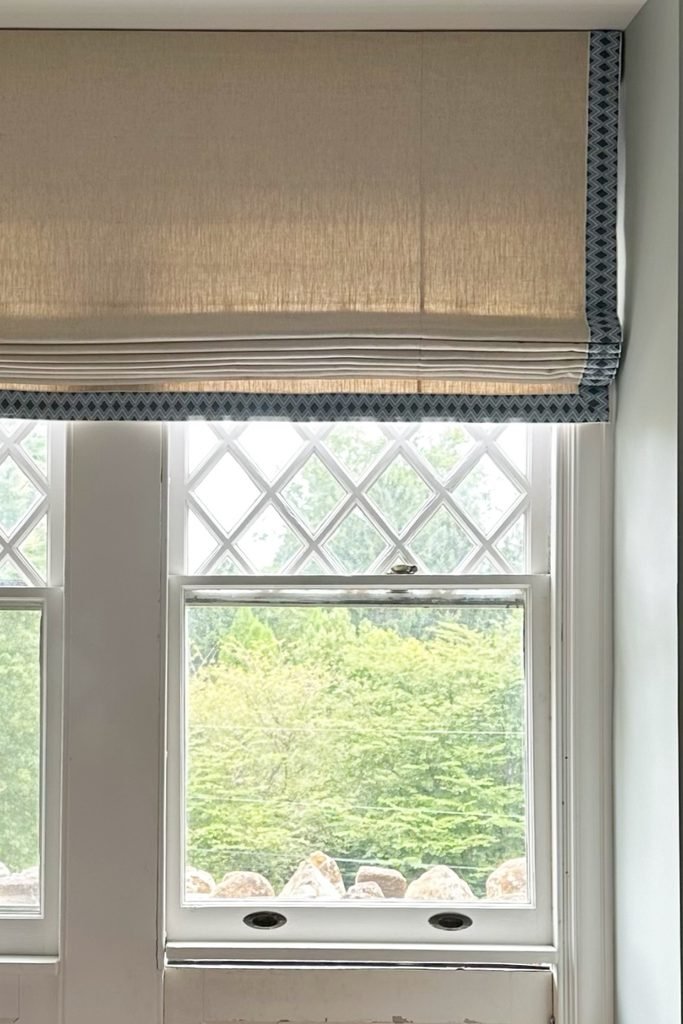
Hidden Contrast
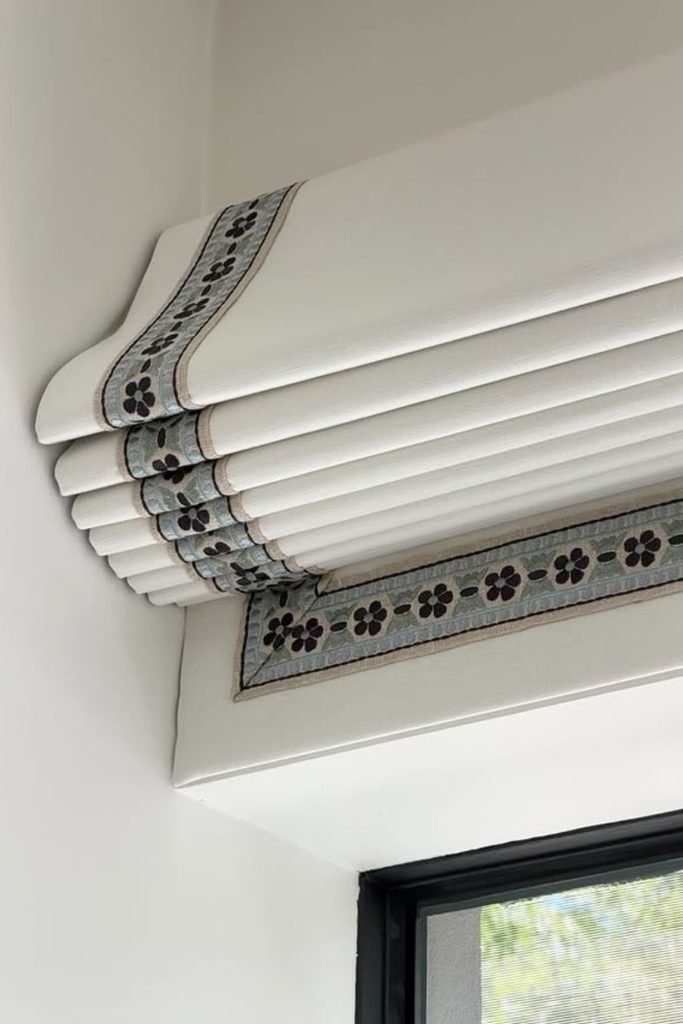
Want a pattern without covering the whole window in it? Add contrasting fabric where the shade reveals it naturally during operation.
A neutral face handles everyday light beautifully, while patterned side and bottom sections introduce character whenever the folds begin stacking.
Measure those border pieces together before sewing, since matching their widths makes a wide Roman shade appear noticeably more professionally finished.
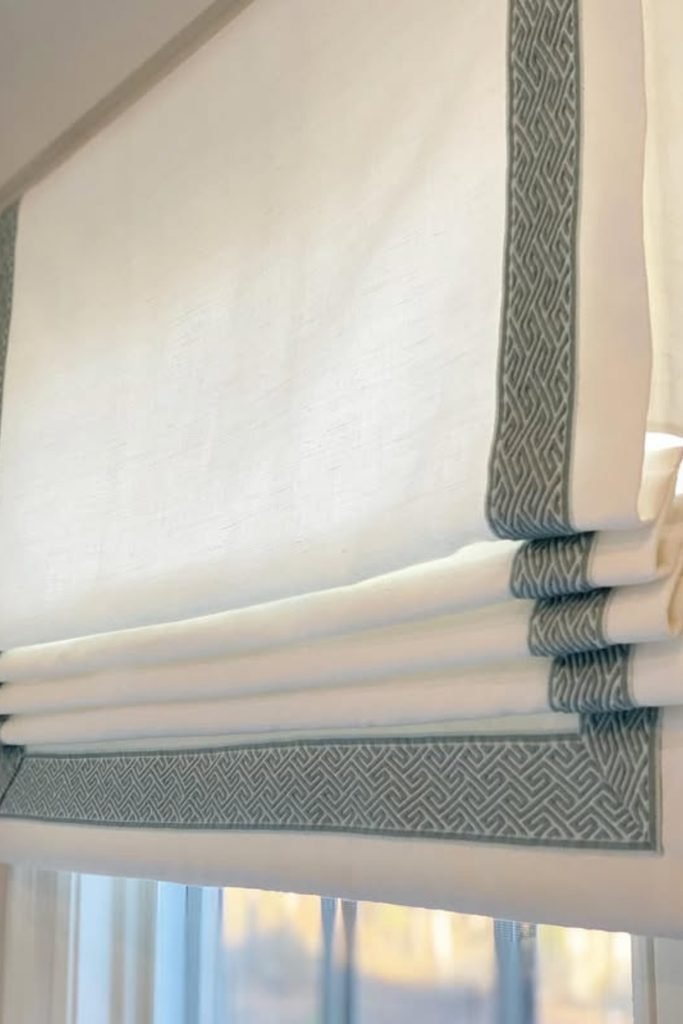
Framed Trim
Give a simple white Roman shade more definition by running patterned trim vertically down both sides and horizontally near the bottom.
Position the border before assembling your folds, so its corners meet neatly instead of shifting once the finished shade starts moving.
This approach works nicely when you love patterned fabric but want the room to retain a lighter, calmer overall window treatment.
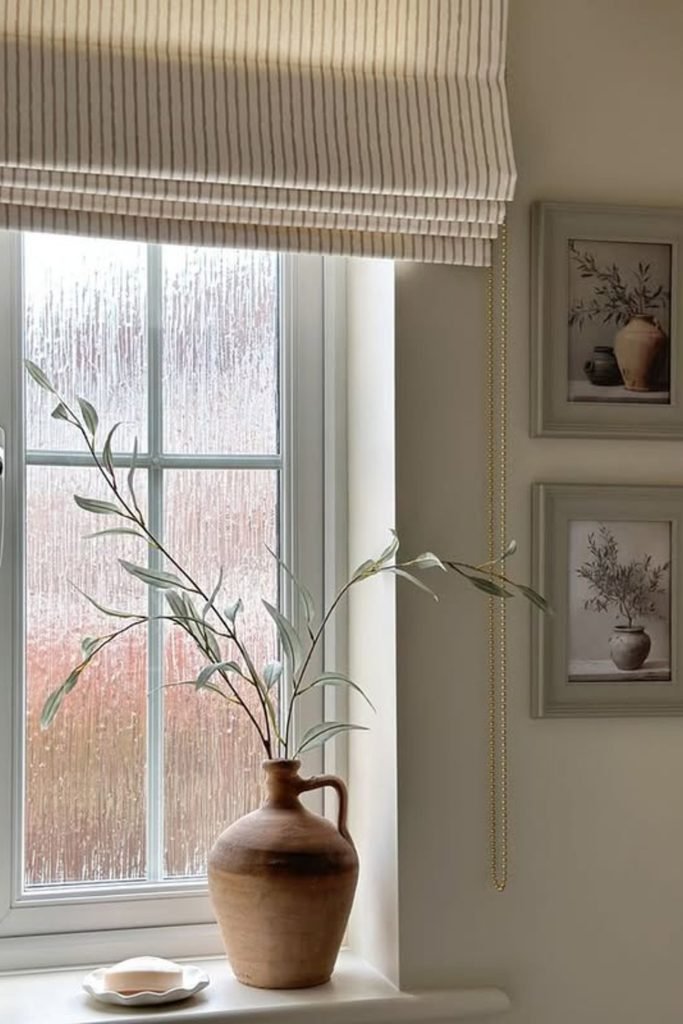
Ticking Stripes
Narrow vertical stripes are forgiving for a simple Roman shade because they provide an easy visual guide while cutting and sewing.
Follow one stripe when squaring your side hems, and the finished edges are less likely to appear slightly crooked when hanging.
For tidy stacked folds, check that those vertical lines remain aligned before attaching the shade to its final mounting hardware.
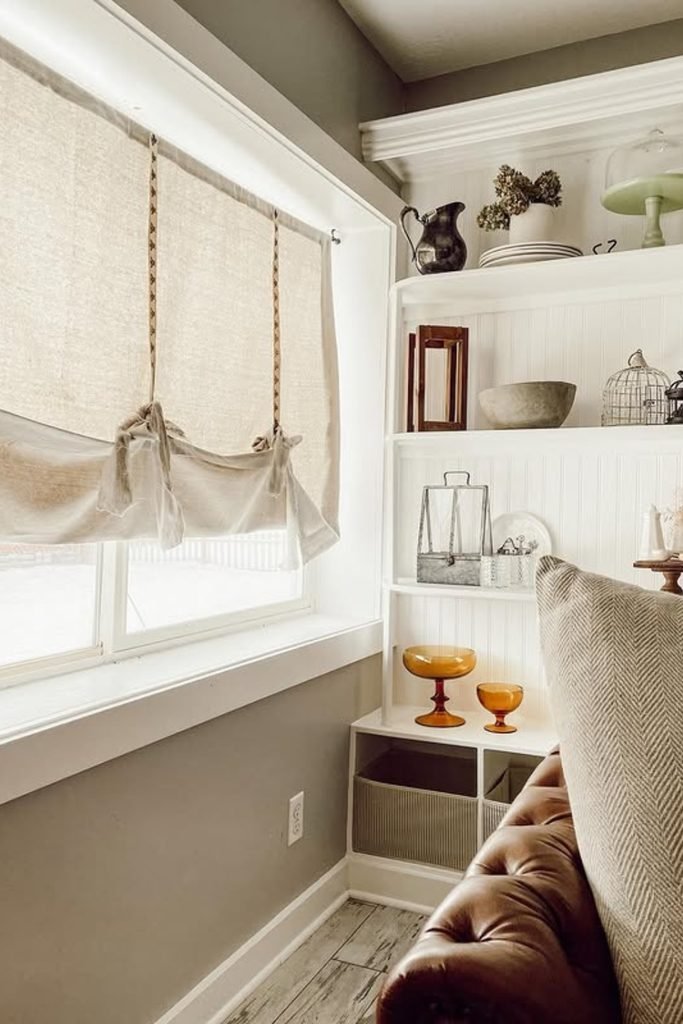
Tied Relaxed Shade
For a softer shortcut, fabric ties can gather the lower edge into loose swags without demanding perfectly engineered horizontal folds.
Space each tie evenly across the width, because uneven placement can pull lightweight fabric sideways and make the bottom appear lopsided.
Try this decorative approach where the shade can remain partially raised, since frequent adjustments may require reshaping those relaxed folds by hand.
Mixed Patterns
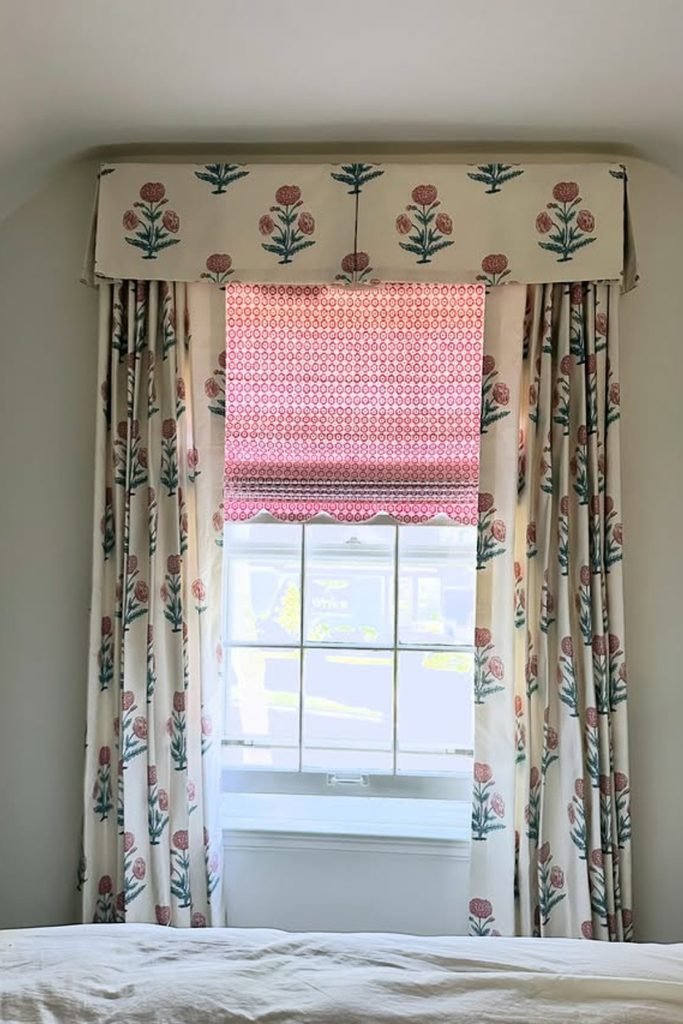
Mixing patterns becomes much easier when the Roman shade uses a smaller print while surrounding curtains carry the larger statement motif.
Pull one or two colors from the curtain fabric into your shade, and separate competing prints with enough plain background space.
This layered setup gives bedrooms stronger light control while letting you experiment with patterned DIY fabric without overwhelming one small window.
Double Trim
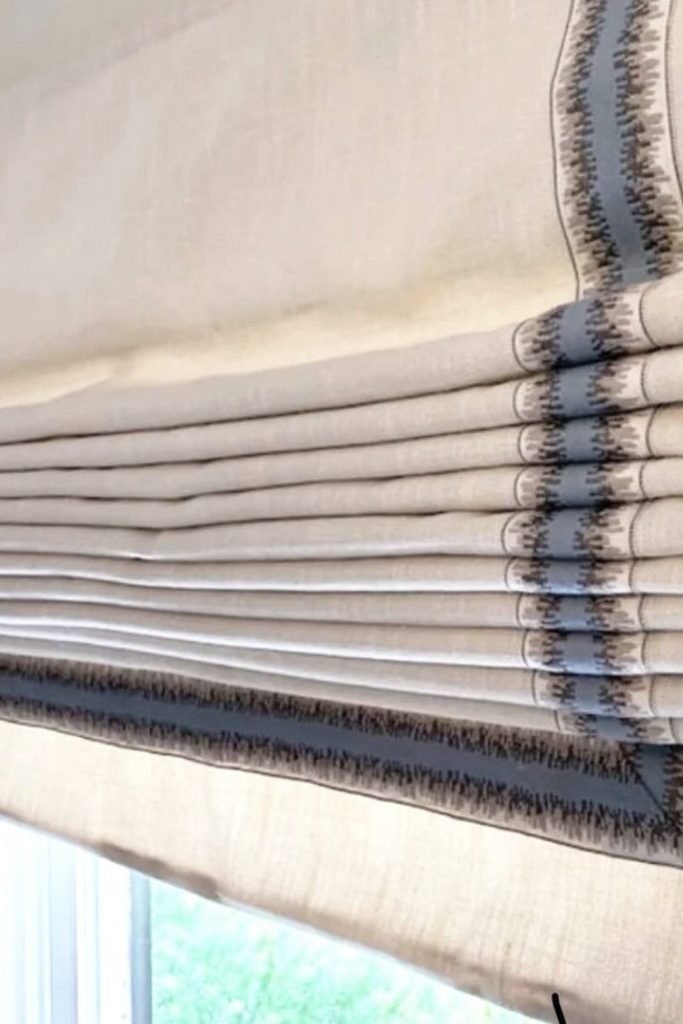
Two narrow vertical borders can make inexpensive neutral fabric feel tailored, while a matching bottom border visually finishes the entire shade.
Mark every trim position from the finished edge rather than the raw fabric, so both sides remain symmetrical after hemming and lining.
Before stitching, raise the fabric into temporary folds and check whether each decorative stripe continues cleanly through the stacked sections.
Floral Trio
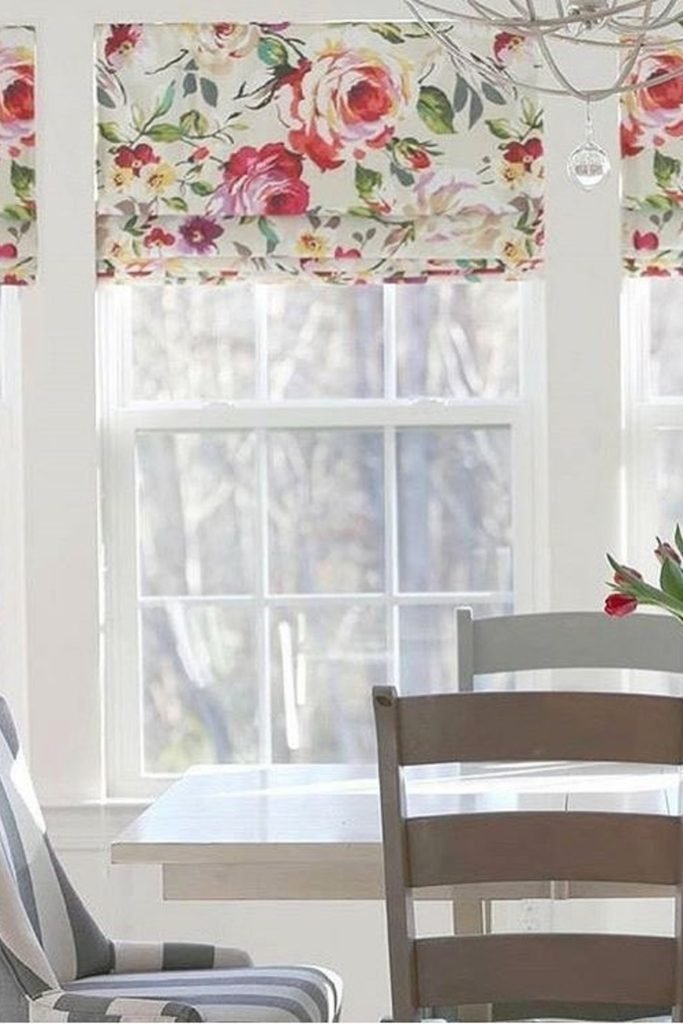
Matching Roman shades across several windows can turn ordinary fabric into a strong feature without adding curtains around every separate opening.
Cut all panels from the same fabric direction, paying close attention to large flowers so neighboring shades begin at similar pattern points.
Working on all three together also helps you repeat identical hems and fold spacing, giving a window wall a more coordinated finish.
Doorway Shades
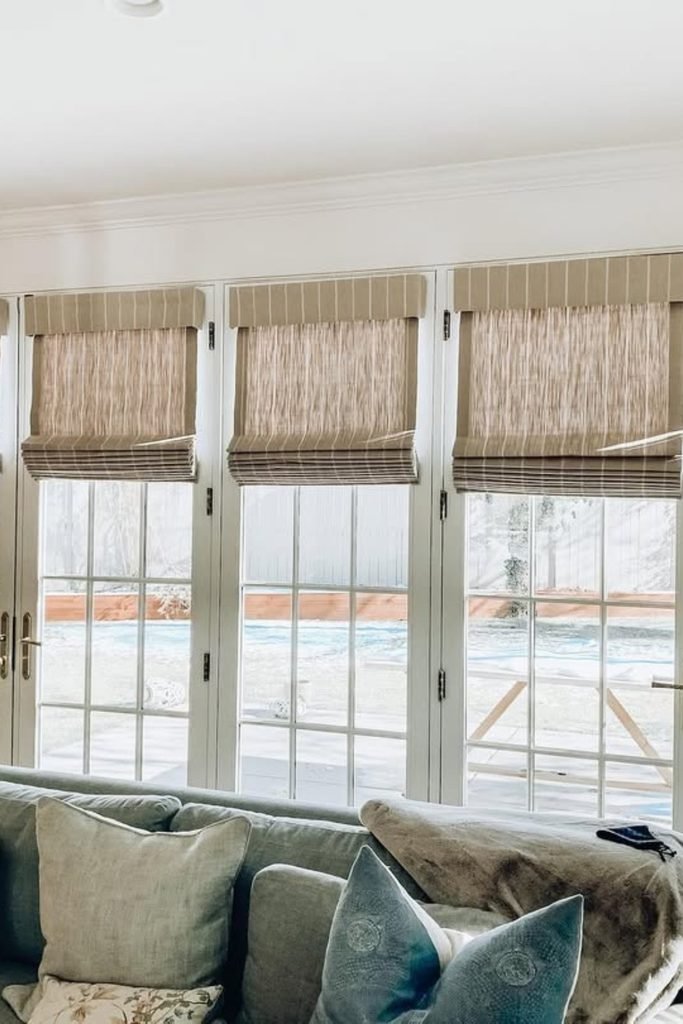
When several glass doors sit together, matching individual Roman shades gives you flexible light control without covering the entire wall.
Cut every panel from the same fabric direction, then repeat identical fold spacing so neighboring shades stack at matching heights.
Separate shades also let you uncover one doorway at a time, which is useful when sunlight shifts across a large room.
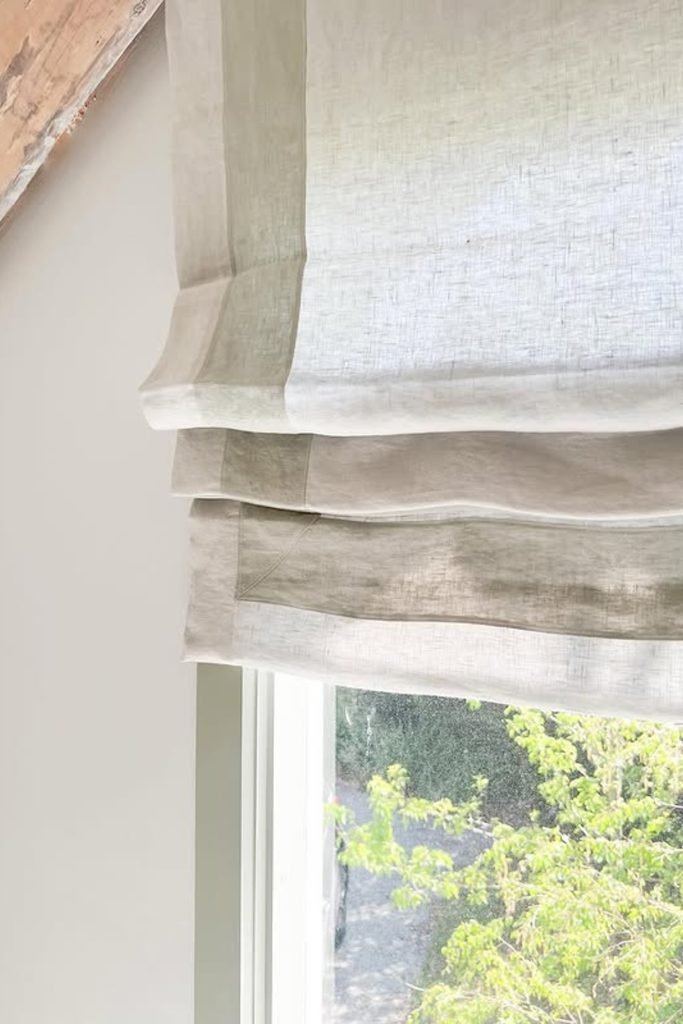
Airy Linen
If you want daylight without a heavy-looking window treatment, lightweight linen creates softer folds while allowing some brightness through the weave.
Prewash your linen when appropriate before measuring, since natural fibers can shrink and turn carefully planned dimensions into a frustrating mismatch.
A gently structured fold suits casual rooms nicely, where perfectly crisp pleats might feel too formal against other natural materials.
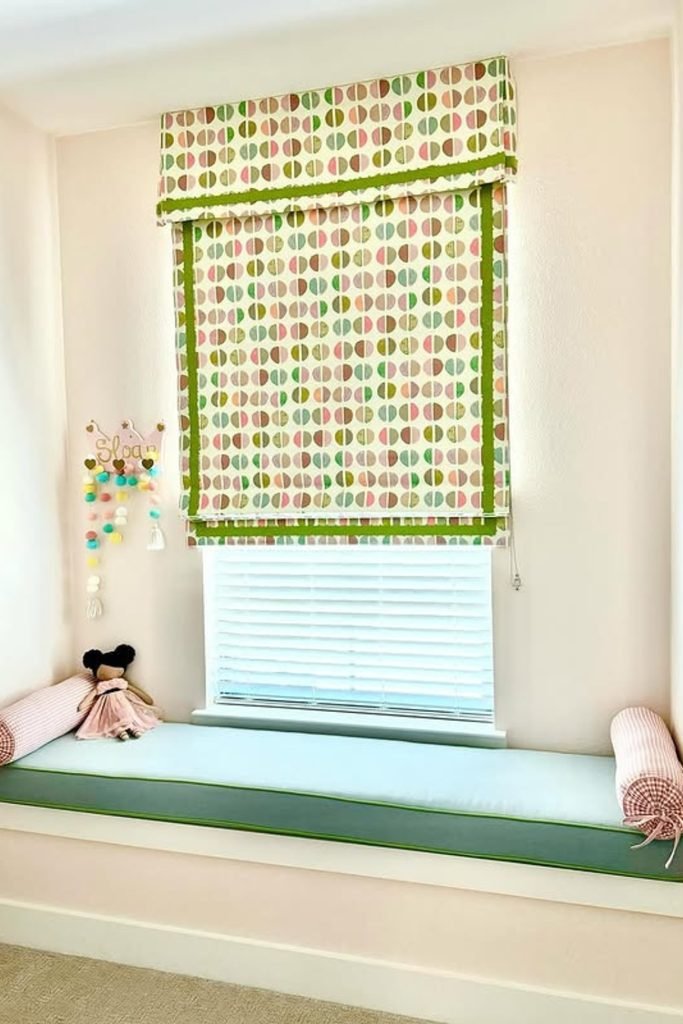
Playful Border
Bold patterned fabric becomes easier to handle when narrow contrasting trim creates a clean frame around the shade’s busy central print.
Choose one color already present in your fabric for the border, helping the finished treatment feel coordinated rather than randomly embellished.
For a window-seat nook, this trick can connect the shade with nearby cushions while still letting each textile have personality.
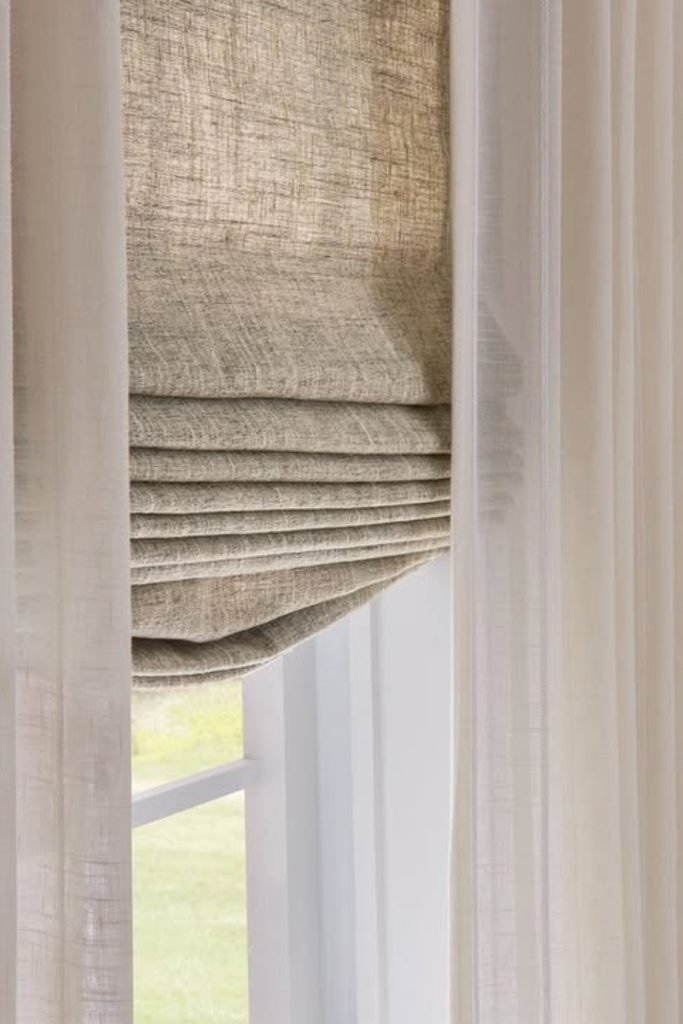
Layered Linen
Pairing textured Roman shades with lightweight curtains gives you two levels of coverage while adding softness around a structured window treatment.
Let the shade handle everyday glare and privacy, then use sheer curtain panels to diffuse brighter daylight without making windows feel closed.
Neutral fabrics are useful here because differences in weave create enough visual depth without requiring several competing colors or patterns.
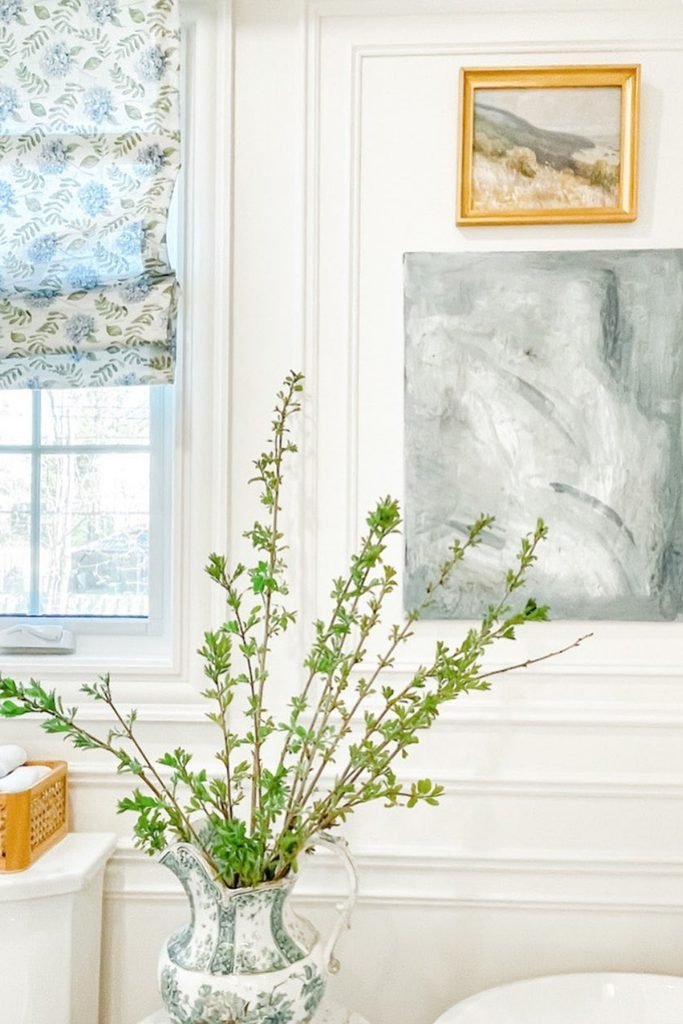
Botanical Print
Small botanical prints are handy when you want a pattern on a Roman shade without making every fold compete for attention.
Center the strongest motifs before cutting, then leave enough allowance around each edge so hemming does not crop important details awkwardly.
For a bright bathroom, pairing pale blues and greens with light-filtering fabric can provide softness while still welcoming plenty of daylight.
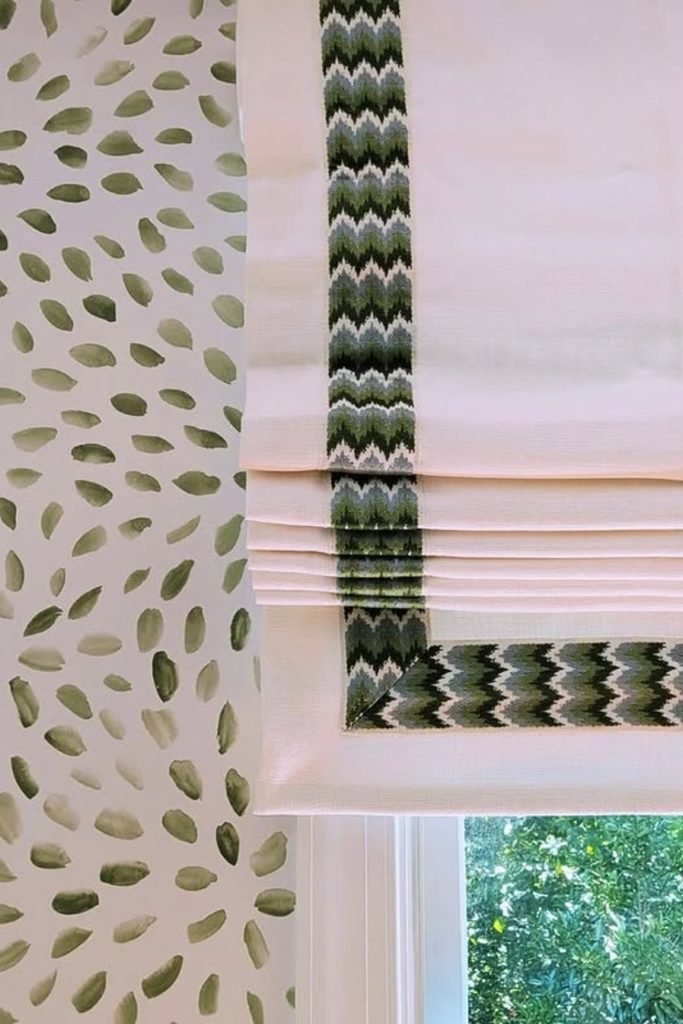
Statement Trim
Sometimes one dramatic trim is all plain fabric needs, particularly when nearby wallpaper already carries plenty of movement and pattern.
Run the decorative band vertically and across the lower section, checking the corner alignment before committing to your final stitching.
Pulling trim colors from surrounding finishes helps a DIY shade belong in the room without requiring an expensive custom-printed fabric.
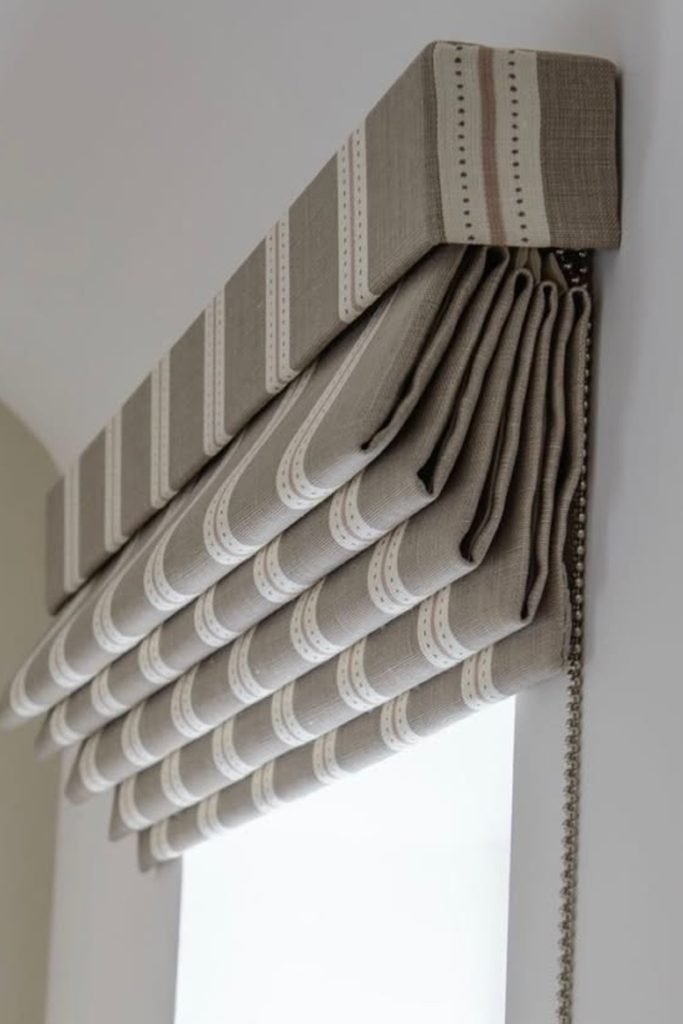
Wrapped Headrail
For a cleaner top finish, wrap the mounting board in matching fabric so brackets and construction details disappear behind one tailored surface.
Continue the same narrow stripe through the shade folds, carefully matching its position before attaching rings or other lifting components.
A covered headrail also makes an outside-mounted shade feel intentionally finished rather than simply attached above an otherwise bare window opening.
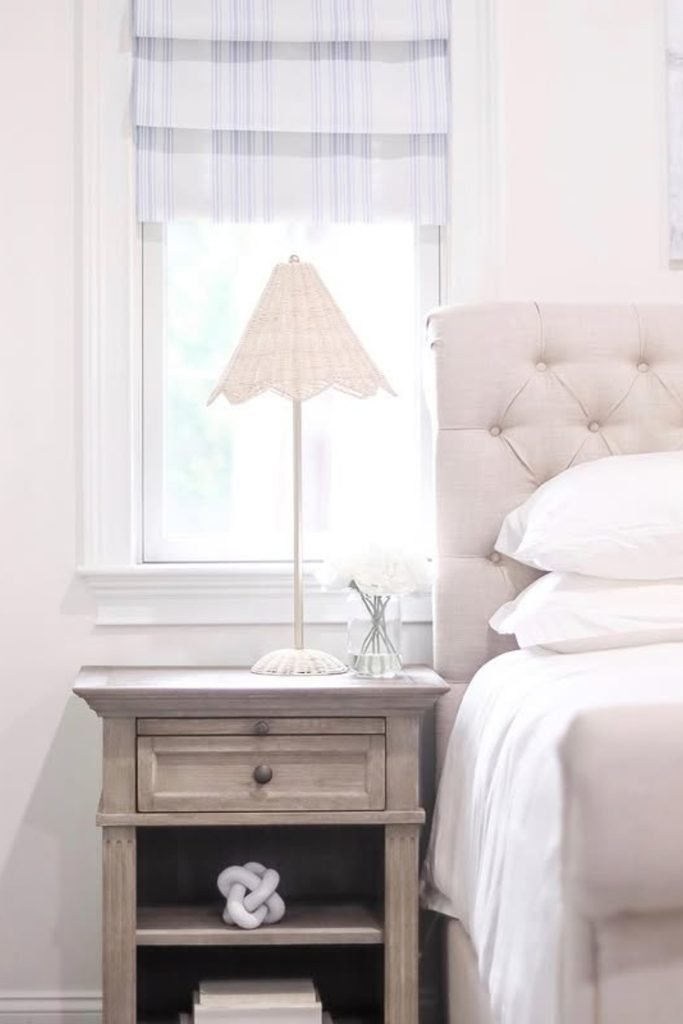
Sheer Stripes
Bedroom Roman shades do not always need blackout lining, particularly when your main goal is softening daylight rather than creating darkness.
Choose a lightweight striped fabric for gentle filtering, but test it against sunlight first because opacity can change dramatically after installation.
Subtle vertical lines also make narrow windows feel taller while giving you an easy reference for squaring hems during construction.
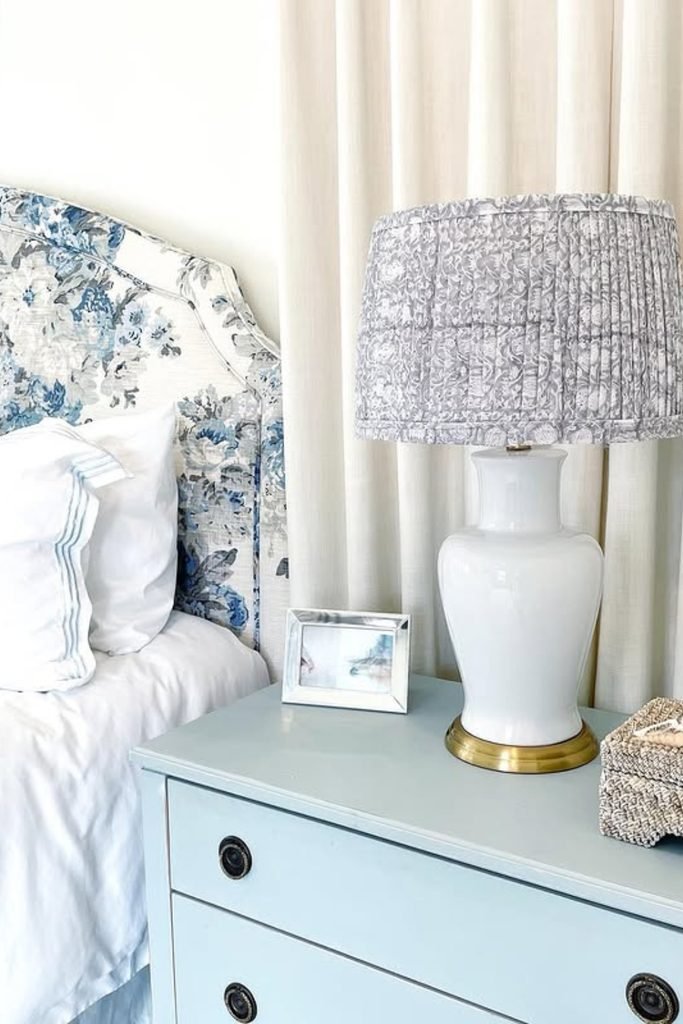
Coordinated Textiles
You can make a bedroom feel thoughtfully connected by repeating similar fabric colors across the Roman shade, headboard, and smaller accents.
Instead of matching everything exactly, choose prints sharing two or three tones so the finished room still has depth and variation.
This approach also makes leftover upholstery fabric useful for a DIY shade when you have enough yardage to match the pattern cleanly.
Geometric Pop
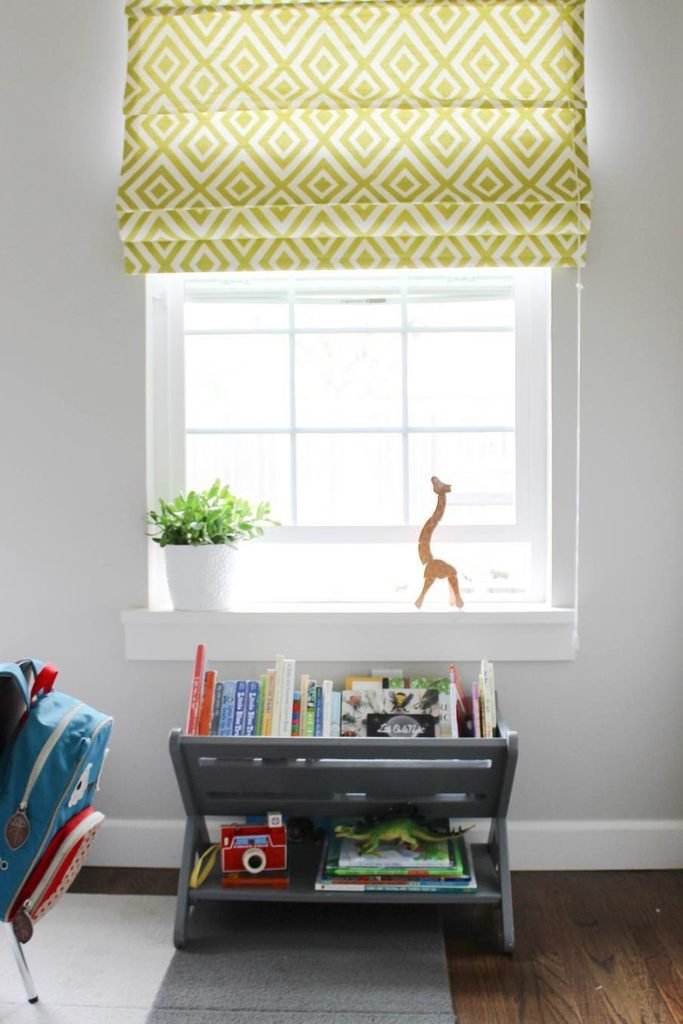
A small window is a great place to experiment with bold geometric fabric because the limited area prevents the pattern from dominating.
Before cutting, center the repeating shapes across the window width so both side hems finish at visually balanced pattern points.
Crisp horizontal folds suit geometric prints well, since straighter stacking preserves the pattern’s structured character rather than making it appear distorted.
Botanical Layer
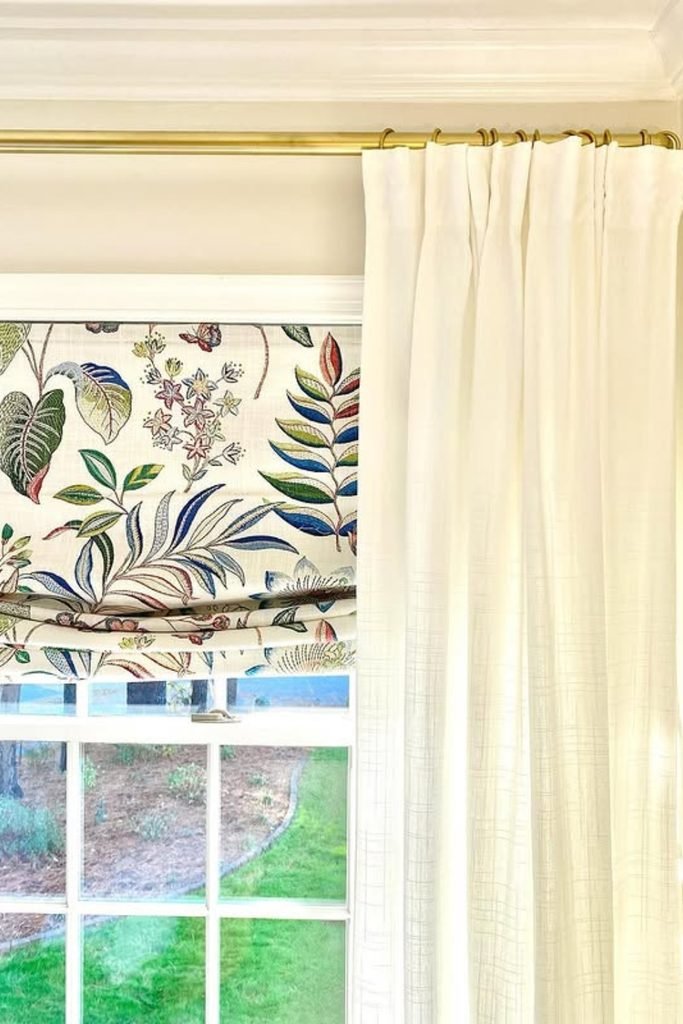
Let a detailed botanical Roman shade become the patterned layer, then surround it with plain curtains for a calmer overall balance.
If your print contains large leaves or flowers, plan the cut while the shade is lowered so favorite motifs remain clearly visible.
Curtains can handle additional softness and coverage, leaving the DIY shade free to provide color without carrying every window-treatment job alone.
Peach Bands
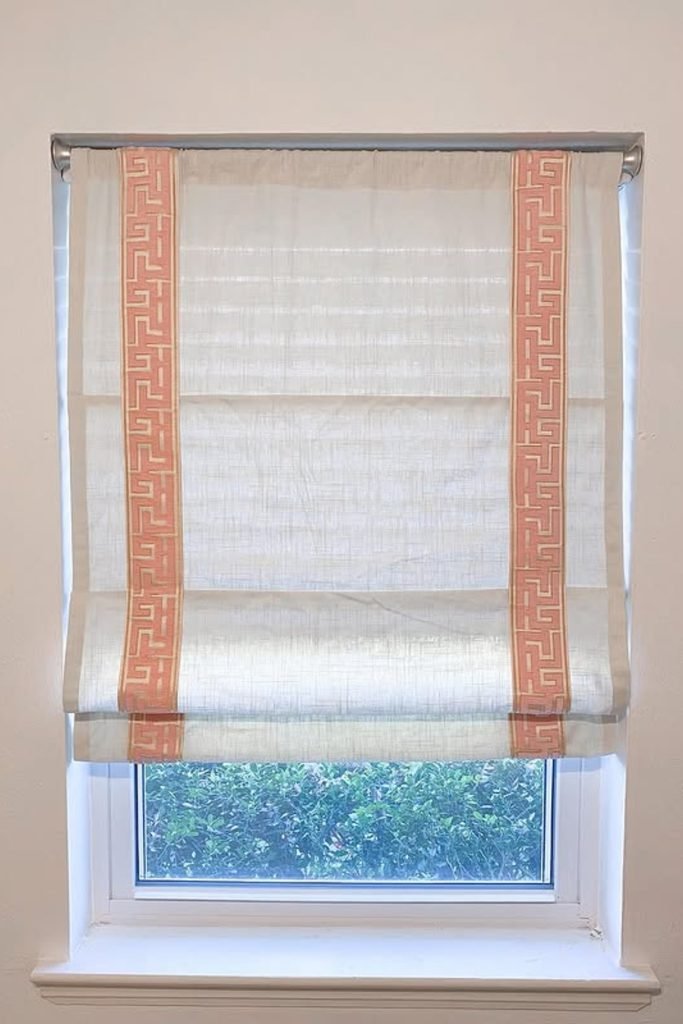
Decorative tape can rescue very simple fabric when you want a custom finish without paying for expensive patterned yardage.
Place two vertical bands equal distances from the sides, then pin everything temporarily and compare their alignment before sewing permanently.
On semi-sheer fabric, stronger colored trim also creates structure visually, helping a lightweight DIY shade appear more substantial when fully lowered.
Muted Botanical
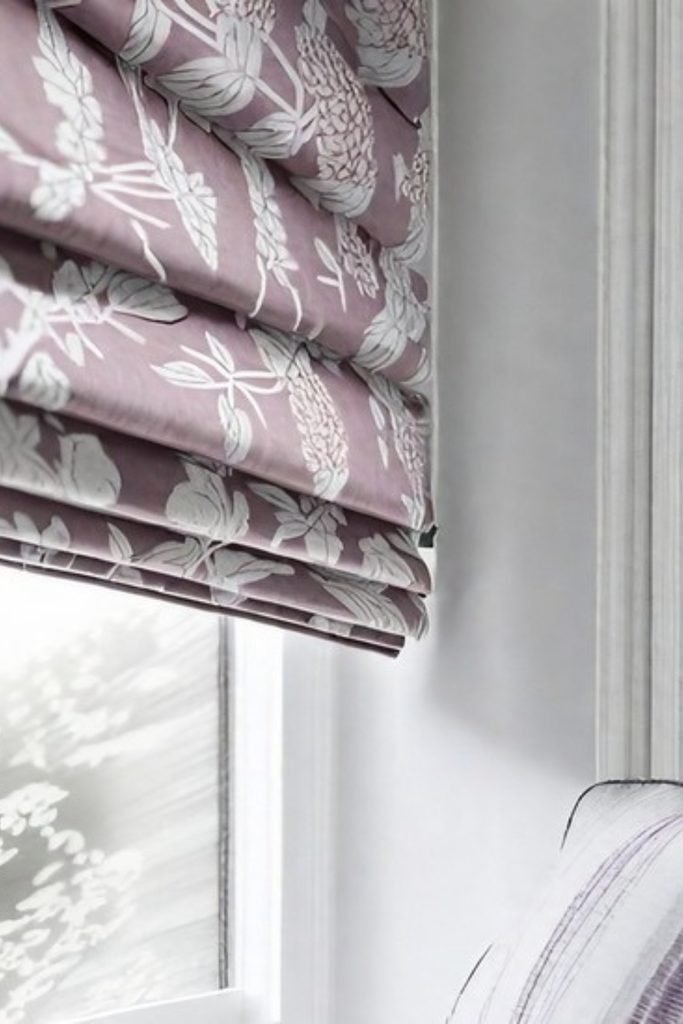
Dusty botanical fabric is a smart middle ground when plain shades feel too simple but bright patterns seem overwhelming.
Choose a print with enough contrast to stay recognizable after folding, since delicate motifs can disappear inside closely stacked pleats.
For a polished finish, position larger leaves away from hem lines so important parts of the design are not awkwardly divided.
FAQs
What Fabric Works Best for DIY Roman Shades?
Medium-weight cotton or linen blends are usually easiest because they hold folds without becoming too bulky.
Lightweight fabric creates softer folds, while heavier material may need stronger support. If you want more privacy or darkness, add suitable lining before assembling the shade.
How Can I Stop My DIY Roman Shade From Hanging Crooked?
Start by measuring the window in several places, square your fabric carefully, and make sure every fold and support line stays level.
Uneven spacing can pull one side higher than the other. Temporarily test the shade before finishing the installation so small alignment problems are easier to correct.

Hi, my name is Ali Mehmood! I’m a passionate writer and DIY enthusiast who loves turning creative ideas into practical, hands-on projects.
I created this website to share inspiring, budget-friendly ideas that you can do yourself – whether it’s organizing your home, crafting something unique, or creating fun projects for kids and pets.
I believe DIY isn’t just a hobby – it’s a smart way to save money, reduce waste, and enjoy the satisfaction of making things with your own hands.
I’m excited to have you as part of this growing community, and I’ll continue bringing you helpful, realistic, and fun DIY ideas you can actually use.